Cheers, I'm hoping towards the end of the year. Want to have the car painted and subframes etc all painted and in before I start on the engine, I doubt it will take long to do.Great work! Looks really well protected. When do you plan to g eat into the engine build?
You are using an out of date browser. It may not display this or other websites correctly.
You should upgrade or use an alternative browser.
You should upgrade or use an alternative browser.
'73 3.0CS - M88 Jerez Schwarz build
- Thread starter nosmonkey
- Start date
-
- Tags
- restoration list
Oldbmwcoupes
Well-Known Member
I’m anxiously waiting to see what combination of possible m30 stuff you choose to assemble
Marc-M
Well-Known Member
me 2 - it’s going to be great fun.... love the steel fab work .... I often think what it would be like to restomod - old looks, new drive.... very very appealing...I’m anxiously waiting to see what combination of possible m30 stuff you choose to assemble
Also interested in the Upol raptor liner as I have used a 3m product but it’s so dammed expensive… and looks very similar and may be even better?
I have a B10 3.5 here getting bored out to 3.7L, 11.5:1 pistons with a 144mm s14 long rod set up, ported B35 head, with a 300 degree cam, km steel rockers, jenvey ITBs and a repro alpina airbox. Unsure on engine management just yetI’m anxiously waiting to see what combination of possible m30 stuff you choose to assemble
I've heard fantastic things about the 3m seam sealer. Buzzweld here in the UK do a glass flake that is added to the raptor to make it even more resistant to abrasion but I didn't require it. I've yet to use raptor properly but first impressions are good and £100 worth is enough to do the underside. It's also tintableme 2 - it’s going to be great fun.... love the steel fab work .... I often think what it would be like to restomod - old looks, new drive.... very very appealing...
Also interested in the Upol raptor liner as I have used a 3m product but it’s so dammed expensive… and looks very similar and may be even better?
Oldbmwcoupes
Well-Known Member
I love the engine plan! Sounds like a hard hitting drive train. I have similar plans with a stroker 4.0 l engine. I’m debating a stand alone or Motronic 1.3
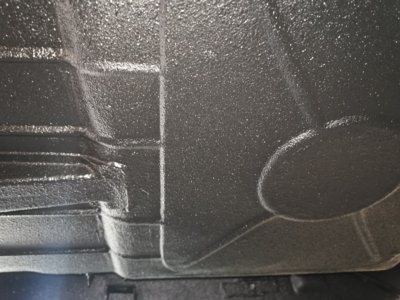
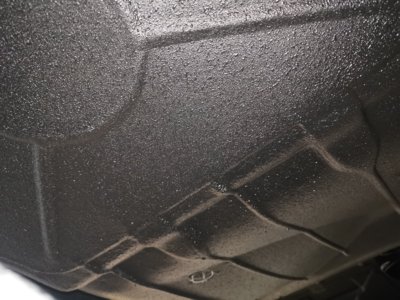
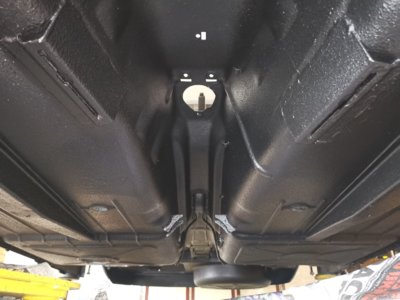
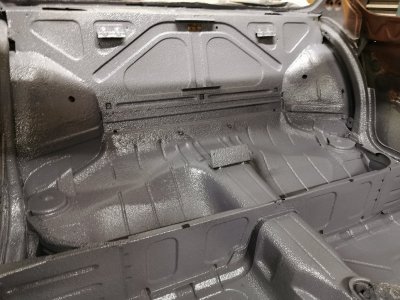
So now that the raptor has properly cured I went and inspected it all. No welds visible where the floors have been fitted and all the nooks and crannies are fully enclosed. Very happy with how this has turned out, and I'll definitely be using this in the future!
Attachments
With an engine like that I'd definitely look to going standalone, modern systems and infinite adjustability!I love the engine plan! Sounds like a hard hitting drive train. I have similar plans with a stroker 4.0 l engine. I’m debating a stand alone or Motronic 1.3
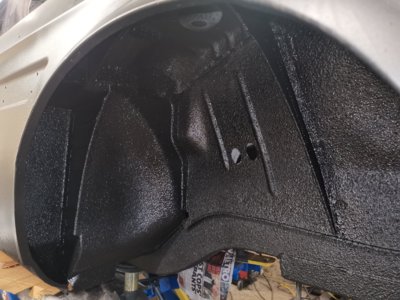
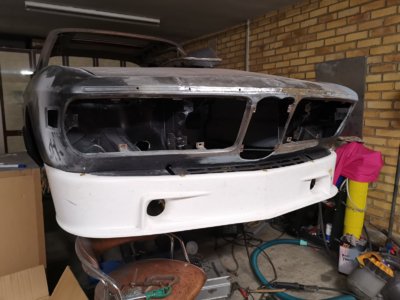
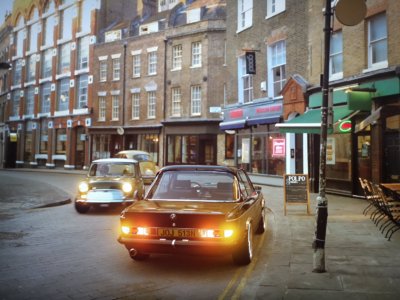
Front arches and chassis legs are now raptor coated. A few days to cure then will get the front subframe on and the wider e12 arms to see how it all sits. Also got the spoiler riv nuts installed on the new front panel, the nosecone was quite heavily damaged from shunts in the past so was cut out, everything painted and cleaned and straightened then re welded. Finally photo is getting bored on Gran Turismo and doing some mock ups to see if I like the new colour
Attachments
Why e12 arms? Longer will require a different tension strut and the inner bolt is smaller.
As mine is a 74 AFAIK it should have had the later style arms. They had clearly been replaced at some point in the past as one was a different colour but the were both the shorter arms. Tension strut fitted on just fine and the bolt diameter was fine too which is oddWhy e12 arms? Longer will require a different tension strut and the inner bolt is smaller.
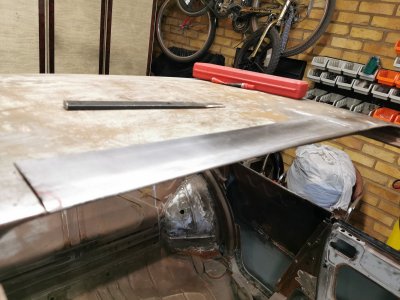
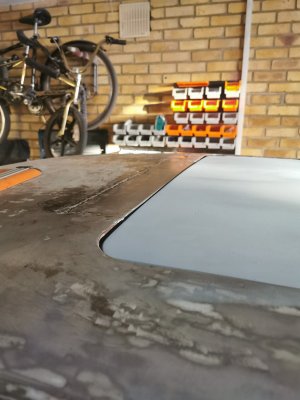
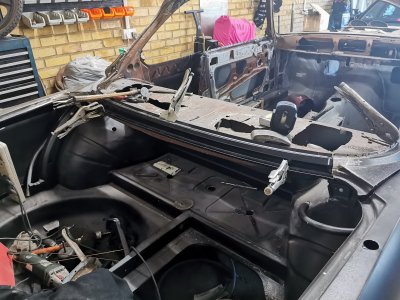
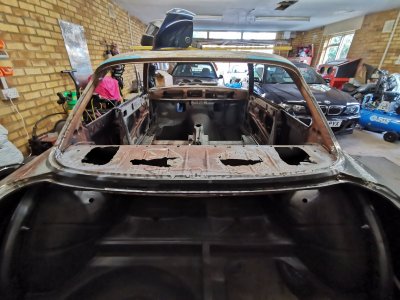
In other news, the car is finally back down on all 4 wheels for the first time in a very long time! Started to strip the roof down to bare metal and removed the rear lower screen frame. Just these areas left to do now and the welding machines can get a long deserved break!
Attachments

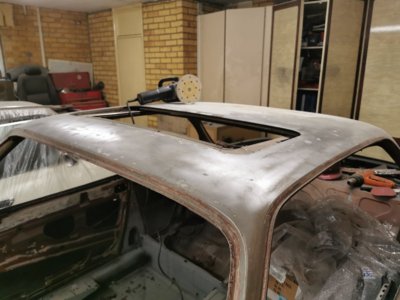
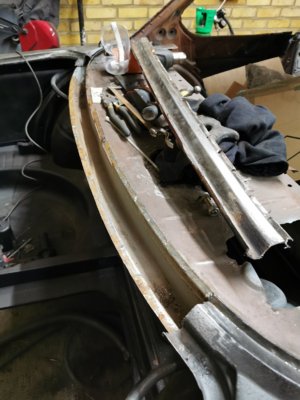

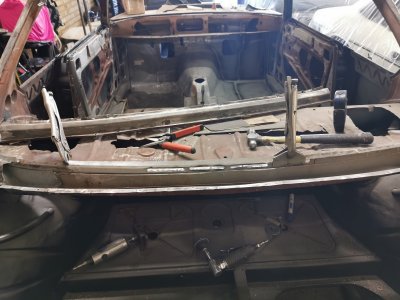
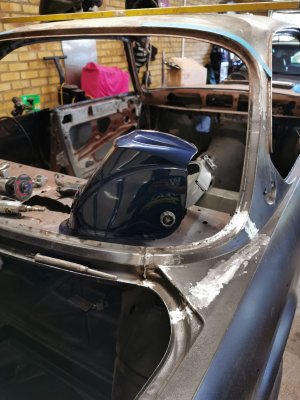
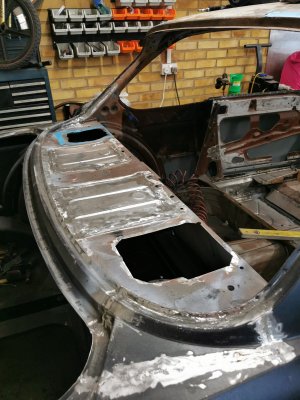
A bit more done. Rust around the sunroof cut out, still needs some finishing work, man I hate welding roof panels! The lower rear window frame was also removed, a repair piece welded to the inner framework before a new frame was fitted. Tops of the rear quarters back on, these have a bit more work to do still and they need to be lead loaded too, gaps all look OK as well with only minor fettling required. I'm really pleased that the welding is almost over!
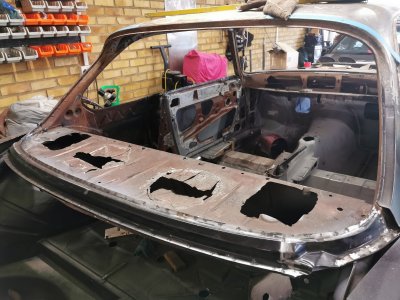
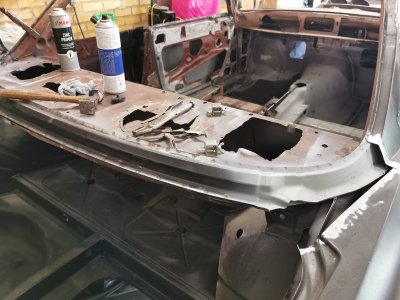
Next up, those speaker holes....
Next up, those speaker holes....
Attachments
-
 IMG_20220511_162639.jpg289.8 KB · Views: 137
 -
 IMG_20220511_151350.jpg247.2 KB · Views: 147
 -
 IMG_20220511_185156.jpg251.7 KB · Views: 142
 -
 IMG_20220512_195931.jpg194.7 KB · Views: 144
 -
 IMG_20220514_185240.jpg344.3 KB · Views: 124
 -
 IMG_20220522_175233.jpg317.6 KB · Views: 144
 -
 IMG_20220529_125307.jpg267.8 KB · Views: 132
 -
 IMG_20220529_172541.jpg258.5 KB · Views: 126
 -
 IMG_20220529_190309.jpg288.6 KB · Views: 131
 -
 IMG_20220529_195032.jpg308.4 KB · Views: 160
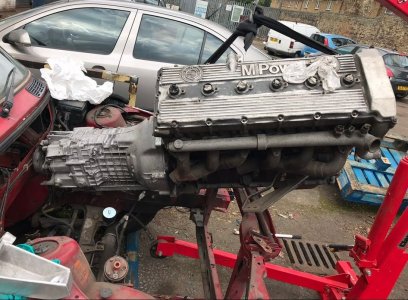
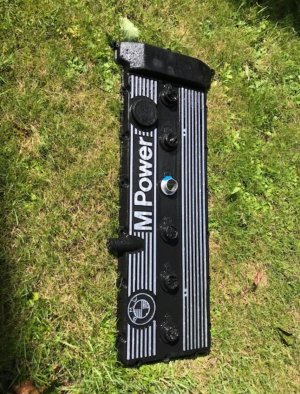
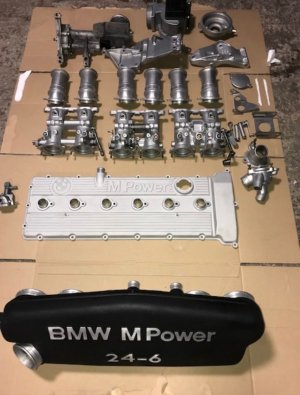
Unfortunately, the M30 build will no longer be happening.
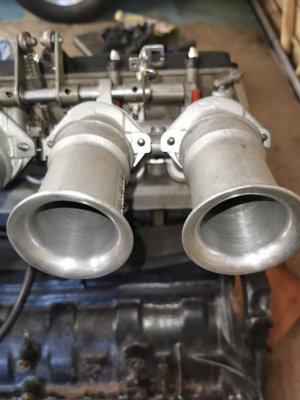
An E28 M5 has very kindly donated its heart, M88/3 power is now on the way! As such all my M30 items will be for sale soon. The b10 engine is already gone but I do have a very nice complete b34 sans ecu. Km steel rockers, daddywad manifold and Jenvey itbs
An E28 M5 has very kindly donated its heart, M88/3 power is now on the way! As such all my M30 items will be for sale soon. The b10 engine is already gone but I do have a very nice complete b34 sans ecu. Km steel rockers, daddywad manifold and Jenvey itbs
Attachments
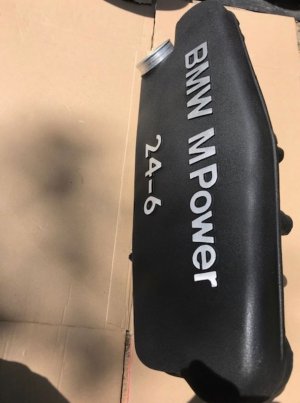

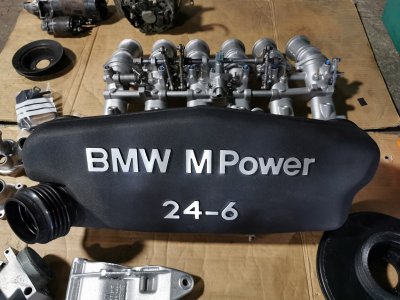
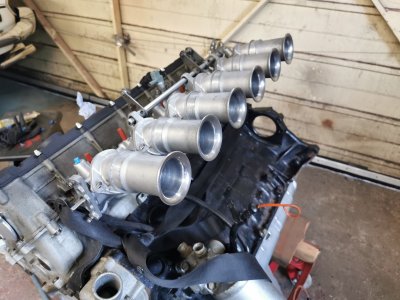
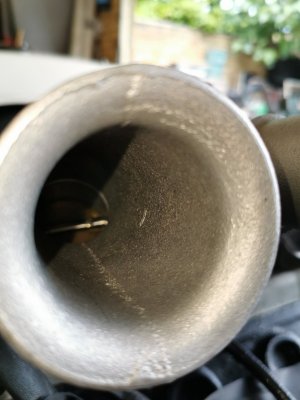
Trumpets have had the casting marks smoothed and polished. I will at some point go standalone but for now will just get it running as per factory.
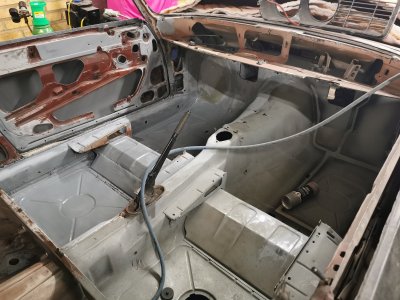
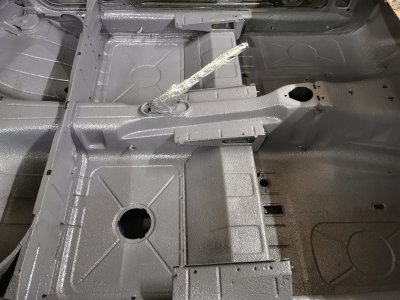
Also started getting the zinc paint down on the floor and got the parcel shelf cleaned up a bit more. Need to hit the seams with some epoxy so I can seal them all and get the lizardskin down too! A nice feeling doing something other than welding
Also started getting the zinc paint down on the floor and got the parcel shelf cleaned up a bit more. Need to hit the seams with some epoxy so I can seal them all and get the lizardskin down too! A nice feeling doing something other than welding
Attachments
Ceramic insulation is done. Time will tell how well it works.
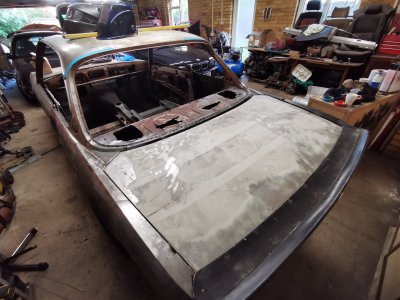
Also started on the leadwork
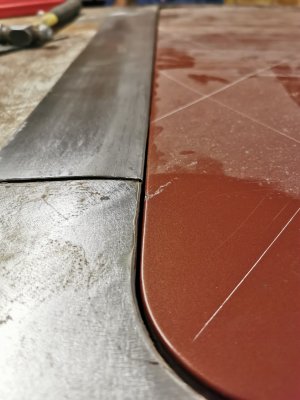
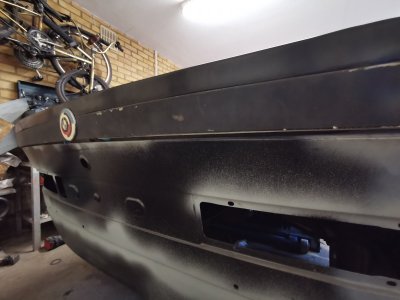
Leadwork is all finished up now on the tops of the wings. Where the car had been in a bit before the gaps on the front end were everywhere. I've got 2 bonnets here that are both approx 3mm shorter on one side than the other which is odd and ruled that out. The gaps are a hell of a lot better but around the front badge it is about 1mm tighter than I'd like. Also the passenger side just didn't match up gap wise with the drivers side. A bit of lead on the edging just to get the gaps a bit tighter and more consistent. It's not bolted down so not final, but it's around 5-6mm each side and around 4mm at the front edge so far.

