A thread to learn from the experts on fixing these up.
My observations (probably common knowledge to many of you already)...
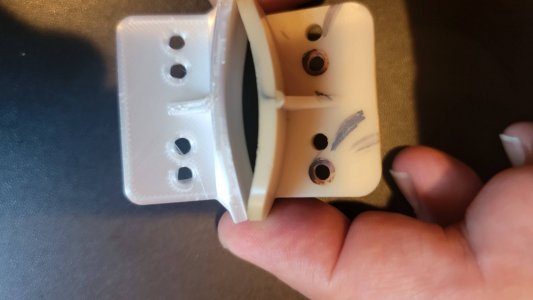
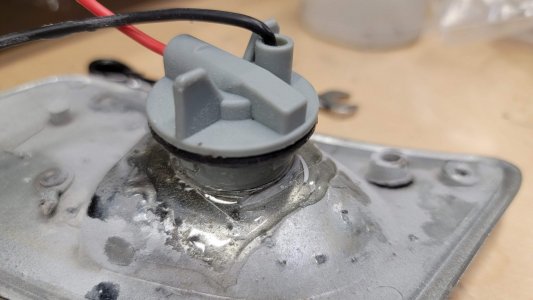
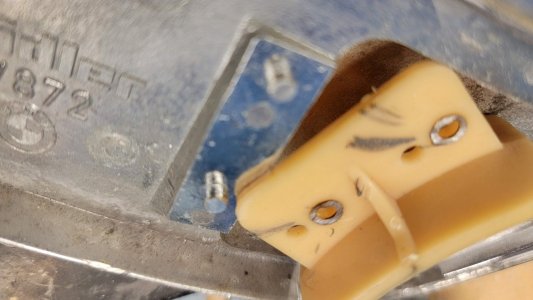
The factory bulb socket is really just two spring loaded pins with spade lugs behind but if yours are complete junk and you have a strong stomach for applying cutting tools to your original parts, I have seen an ingenious approach to replacing them (thanks to @JetDexter for this). You can shorten the cylinder, enlarge the hole a bit to remove the bulb tab grooves, and epoxy a modern socket to the housing. Works well and no one will know the difference. Has the added benefit of not needing to worry about the ground wire (note: the socket in the photo is a single filament 1156-style because that car was wired up with DRLs and had the parking lights disabled so only turn signals -- but the approach is the same for a dual filament 1157 socket, just one more wire).
Again, I'm not an expert on any of this so others please correct me where I'm wrong.
My observations (probably common knowledge to many of you already)...
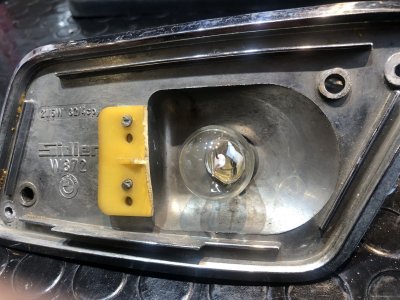
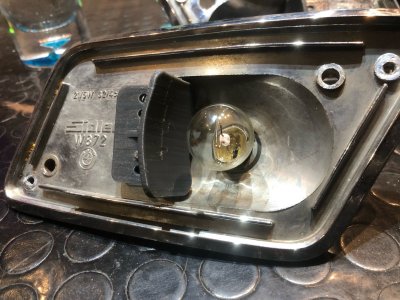
- Unlike the headlight buckets and taillights, which were made by Hella, the parking light housings and lenses were sourced from Sidler.
- The housings are chrome plated pot metal (high zinc?) and prone to pitting.
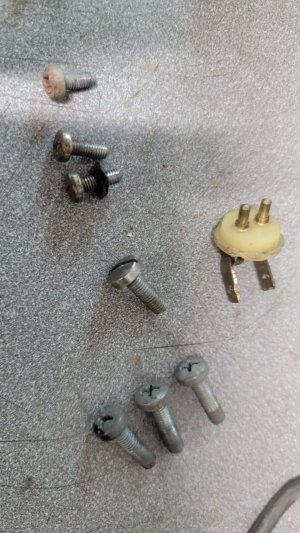
- The two lens screws are chrome plated M4 phillips head, not the oval head sheet metal screws listed on realoem (07119902454). There is also a small rubber washer between the screw and the lens. Not worth trying to re-plate these tiny screws. McMaster Carr has 10mm long 318 stainless steel JIS pan head screws that work perfect, 10 for $15.
- The housings are secured to the car via steel brackets with M5 nuts attached. The brackets are unique left/right and available on W&N. The original screws for this are phillips pan heads.
- There are two gaskets per side, one thick one for the housing to the body and one thin one for the lens to the housing.
- The lens gasket isn't shown in the factory parts diagram but is available somewhere (I can't find where I got them now).
- The housing to body gaskets are unique left to right and I thought NLA but have been told they are available somewhere (cs-werk? I got a pair from @sfdon)
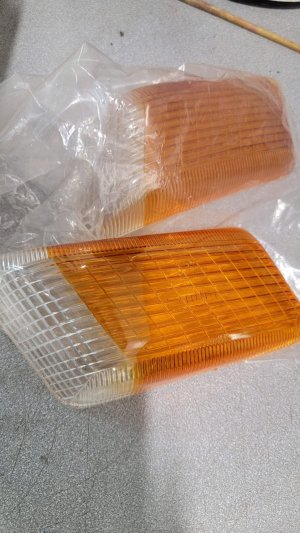
- The lenses appear to have come in a variety of colors. I've seen all yellow, all white, and half white/half yellow (Italian).
- The lenses also come in US or Euro size, with US versions protruding from the body further.
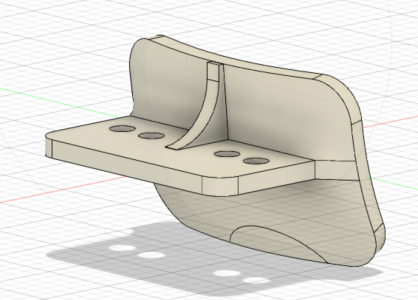
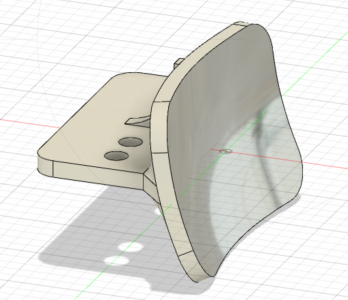
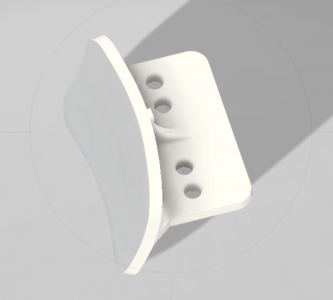
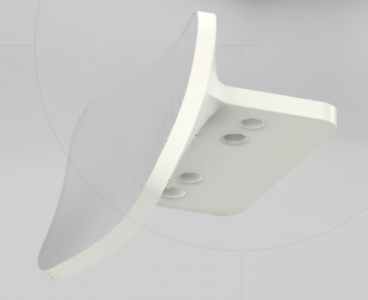
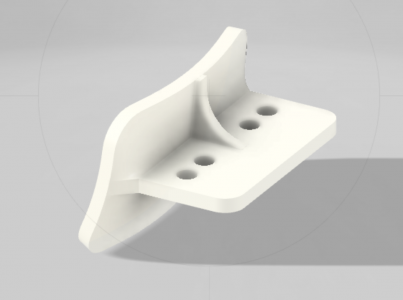
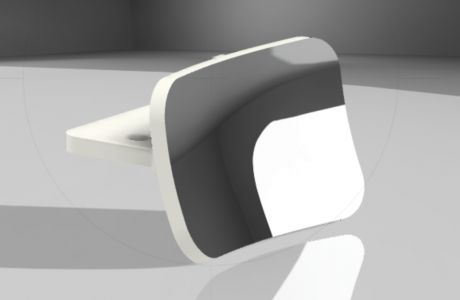
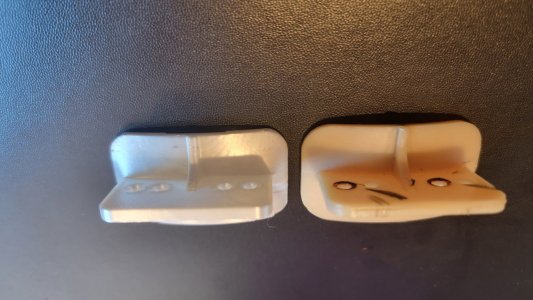
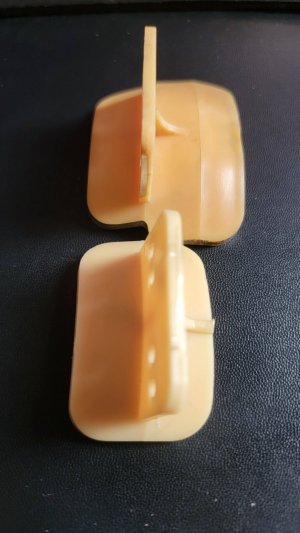
- The metal portion of US housings are the same as Euro but the attached plastic reflector is larger and thus euro lenses cannot be attached to US housings without modification to the reflector. Common approach to this seems to be Dremel, which works fine I imagine but, for the record, the angle of the Euro reflector is slightly different than US (not that it makes any difference). I've contemplated drawing up the Euro reflectors in CAD because I have one broken but they are a complex shape and I'm not sure if there is any other demand. If there isn't any other demand then I'm in the market for a used housing with an intact reflector. FYI, I've seen reflectors in both yellowish and gray plastic. Both have a reflective silver coating on the concave surface, although that often takes a beating over time. I'd be interested in what people have used to restore this (other than silver rattle can).
- The other difference is single filament bulbs in euro coupes and dual filament in the US. The parking light bulb in a euro coupe is in the H1 low beam headlight housing.
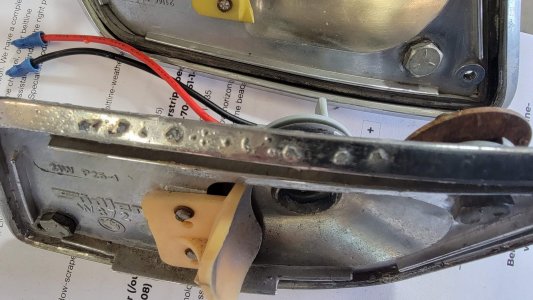
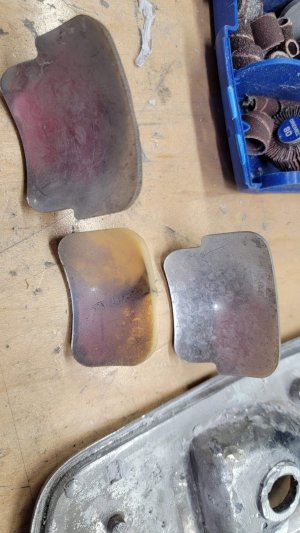
- Re-plating a housing is a job. You have to grind down the two reflector retaining studs in order to pry off the plastic reflector. You also must relieve the crimps in the socket post portion of the housing so that the bulb socket guts can be removed. I found that a deep socket is useful for applying pressure to push the guts out. Finally, you must grind off the rivet holding the ground wire terminal to the housing.
The factory bulb socket is really just two spring loaded pins with spade lugs behind but if yours are complete junk and you have a strong stomach for applying cutting tools to your original parts, I have seen an ingenious approach to replacing them (thanks to @JetDexter for this). You can shorten the cylinder, enlarge the hole a bit to remove the bulb tab grooves, and epoxy a modern socket to the housing. Works well and no one will know the difference. Has the added benefit of not needing to worry about the ground wire (note: the socket in the photo is a single filament 1156-style because that car was wired up with DRLs and had the parking lights disabled so only turn signals -- but the approach is the same for a dual filament 1157 socket, just one more wire).
Again, I'm not an expert on any of this so others please correct me where I'm wrong.
Attachments
Last edited by a moderator: