Since I just did this, here is a little step by step. This represents the re assembly but the removal is, obviously, just the opposite.
Important note: This is for a late style: 10/73 and later. So earlier models may be slightly different. The infamous shear bolts were not present in my 74.
Credit to several other threads on the subject such as this one which goes into much more details:
 e9coupe.com
EDIT: The old E9 driven site used to have pictures of the shear bolts but it is no longer available. I’m sure there are some other links on this site that are more current.
1. You have just taken your ignition lock apart for re-keying or repair or whatever. Time to put it all back together.
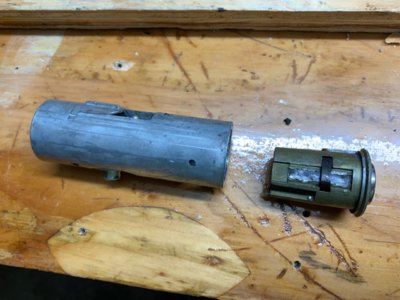
2. There is a spring clip on the tumbler. You may need to push it down so it enters the cutout section of the cylinder
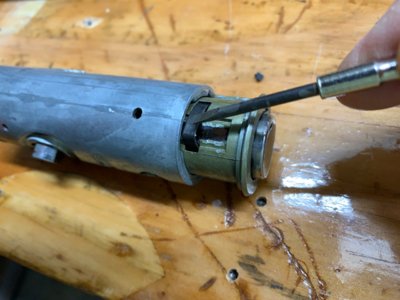
3. Once the tumbler is seated all the way in the cylinder, test with the key to make sure the steering lock pops up and back down properly.
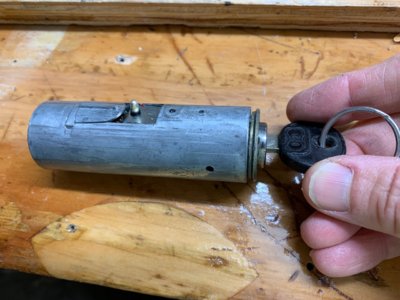
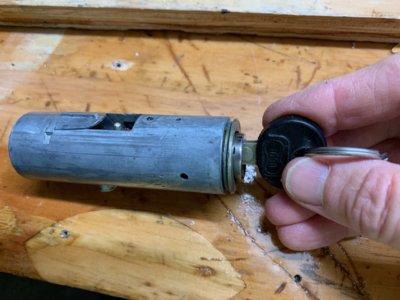
4. Looking down the tube in steering column, you will notice that there is a hole in the middle with the steering column popping through it. This protrudes in the tube right where the lock cylinder needs to go. So we need to lift that tube slightly so we can push the cylinder all the way in there.
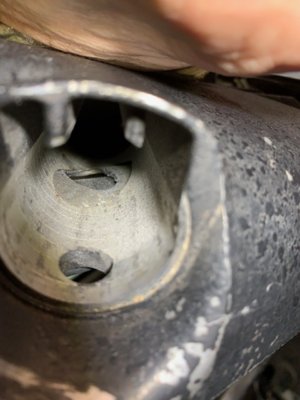
5. To do that, loosen the 4 M6 bolts that attach the steering column assembly to the cover plate above. You probably already had to do that in order to pull the cylinder out.
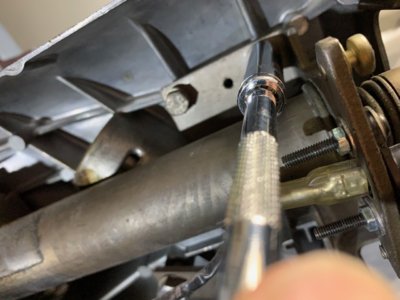
6. Align the cylinder properly in the tube and start pushing it in until it hits the steering column bump from #4. Insert a big flat head screwdriver between the steering column and the top plate and pull up gently until you can push the lock cylinder in. It may require a bit of force to do this. Don't push it all the way in yet.
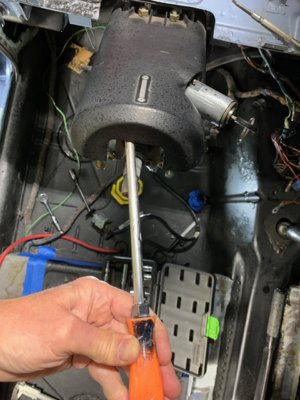
7. From underneath the column, insert the contact switch at the other end of the tube. Hold that switch tightly (green glove...) while you press the cylinder in from the other side until the two mesh properly.
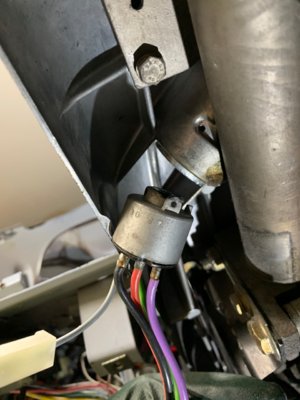
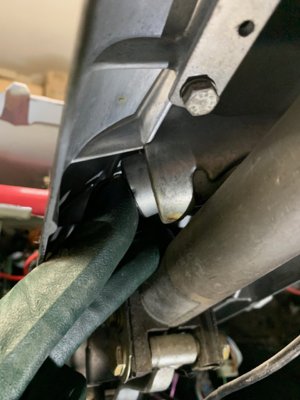
8.Move the whole assembly slightly until you see the tiny hole from the contact switch. Insert the tiny screw you had to remove previously. You did save it very carefully, right?
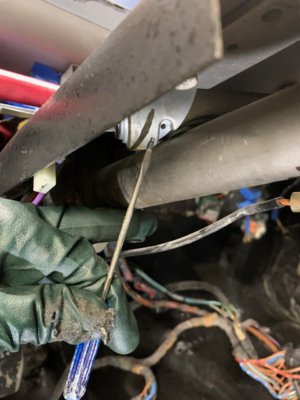
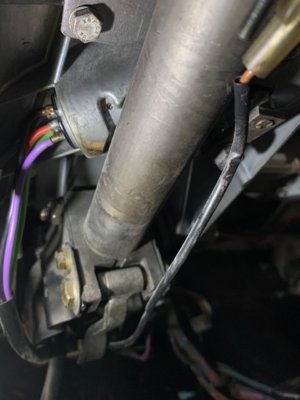
9. On the other side, line up the hole for the fat locating pin to the right of the steering column
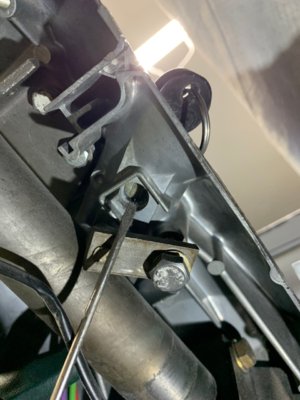
10. Insert the locating pin and tighten that bolt.
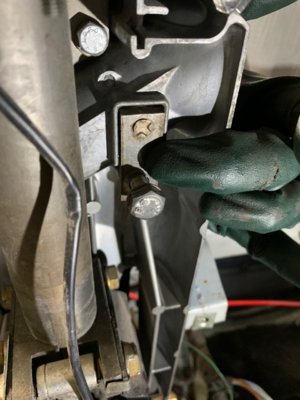
11. Test the system. If all works according to plan, remember to tighten the four M6 bolts that secure the steering column assembly to the top cover.
Voila.
Important note: This is for a late style: 10/73 and later. So earlier models may be slightly different. The infamous shear bolts were not present in my 74.
Credit to several other threads on the subject such as this one which goes into much more details:
how to deal with the clausor and ignition switch
there are some details about this that i would like to share, it is not only about the
 e9coupe.com
EDIT: The old E9 driven site used to have pictures of the shear bolts but it is no longer available. I’m sure there are some other links on this site that are more current.
1. You have just taken your ignition lock apart for re-keying or repair or whatever. Time to put it all back together.

2. There is a spring clip on the tumbler. You may need to push it down so it enters the cutout section of the cylinder

3. Once the tumbler is seated all the way in the cylinder, test with the key to make sure the steering lock pops up and back down properly.


4. Looking down the tube in steering column, you will notice that there is a hole in the middle with the steering column popping through it. This protrudes in the tube right where the lock cylinder needs to go. So we need to lift that tube slightly so we can push the cylinder all the way in there.

5. To do that, loosen the 4 M6 bolts that attach the steering column assembly to the cover plate above. You probably already had to do that in order to pull the cylinder out.

6. Align the cylinder properly in the tube and start pushing it in until it hits the steering column bump from #4. Insert a big flat head screwdriver between the steering column and the top plate and pull up gently until you can push the lock cylinder in. It may require a bit of force to do this. Don't push it all the way in yet.

7. From underneath the column, insert the contact switch at the other end of the tube. Hold that switch tightly (green glove...) while you press the cylinder in from the other side until the two mesh properly.


8.Move the whole assembly slightly until you see the tiny hole from the contact switch. Insert the tiny screw you had to remove previously. You did save it very carefully, right?


9. On the other side, line up the hole for the fat locating pin to the right of the steering column

10. Insert the locating pin and tighten that bolt.

11. Test the system. If all works according to plan, remember to tighten the four M6 bolts that secure the steering column assembly to the top cover.
Voila.
Last edited:
