Lan-rear windows, motors, and trim panels - regrease and renewal

deQuincey

Quousque tandem...?
Site Donor
Messages
8,417
Reaction score
2,430
Location
BIO - 43°15'46.5"N 2°56'03.7"W
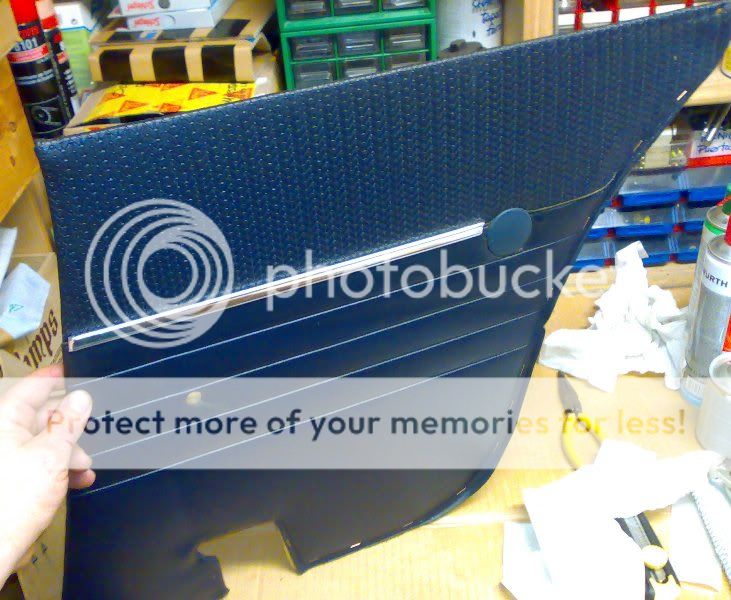
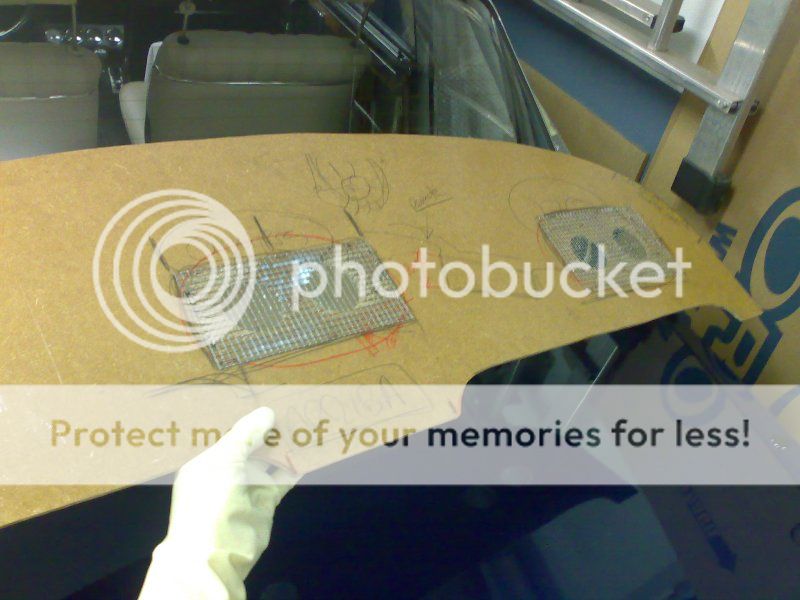
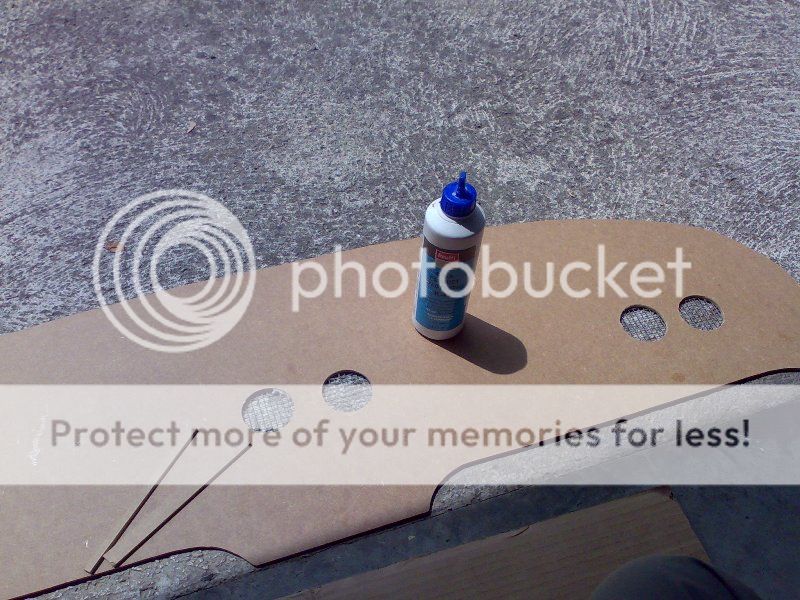
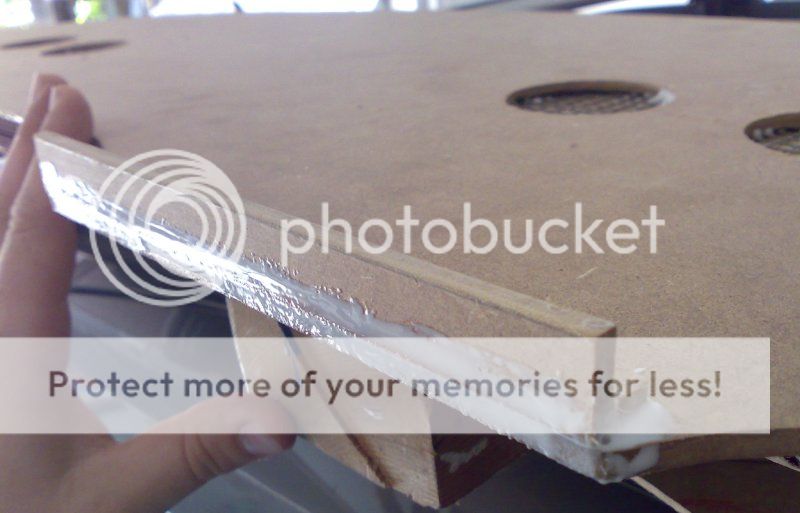
renew all this rear area

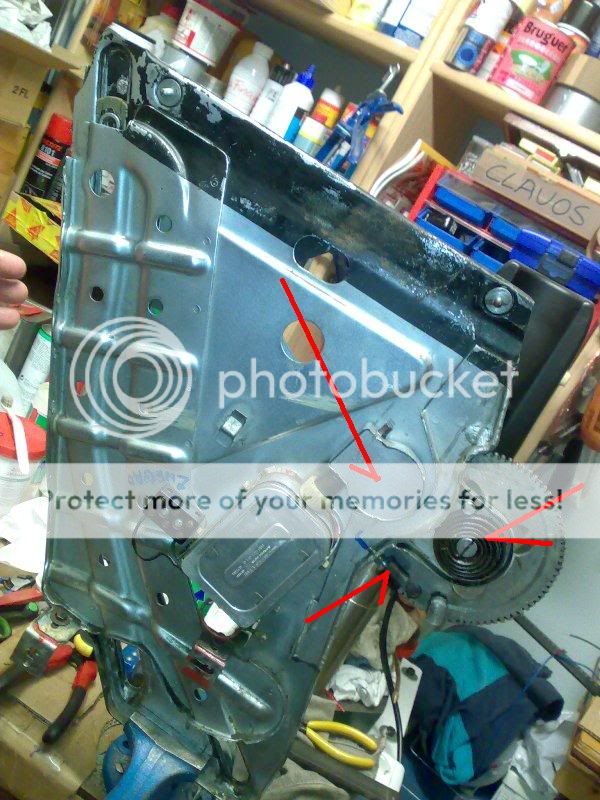
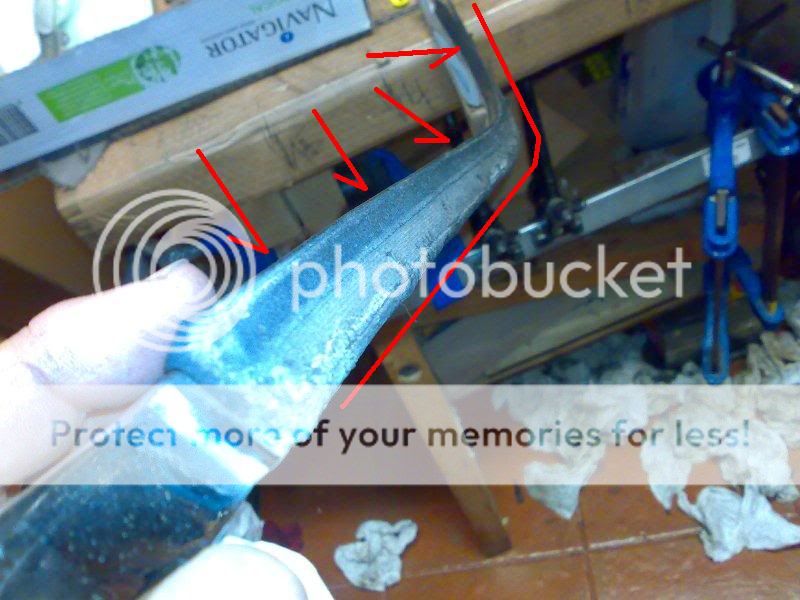
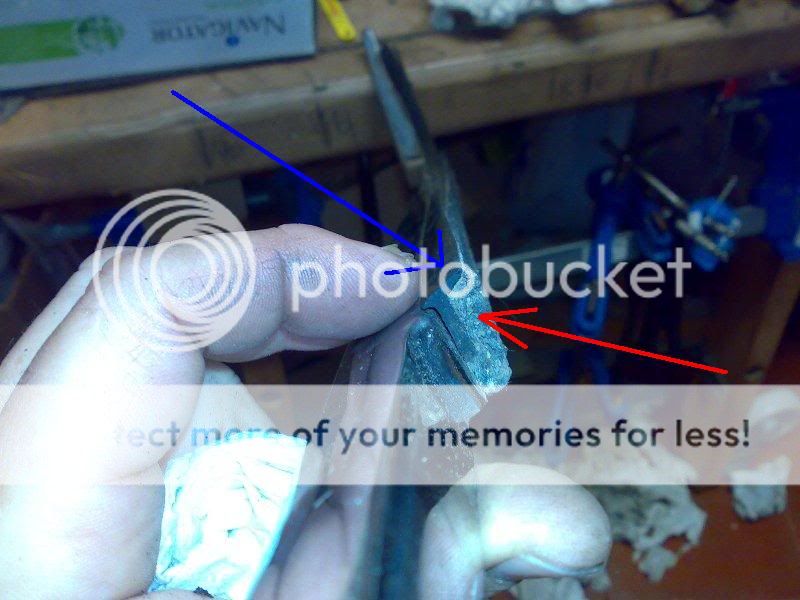
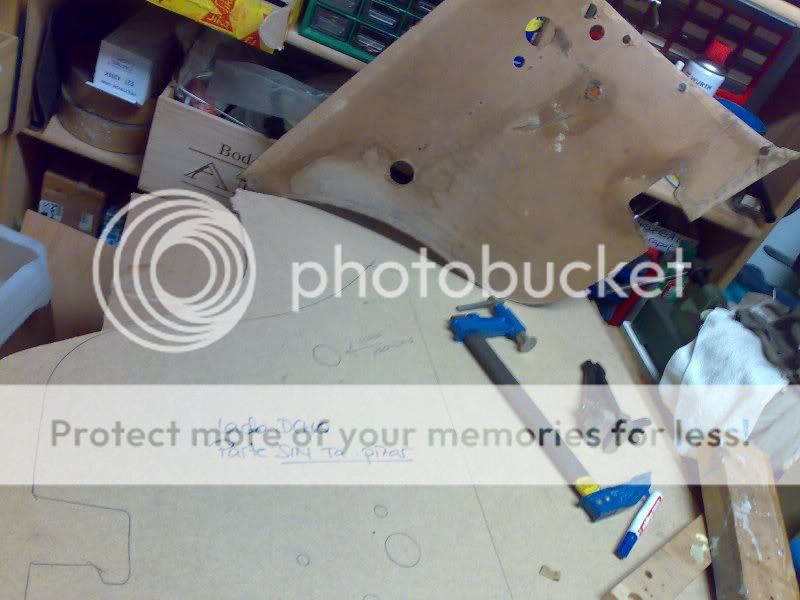
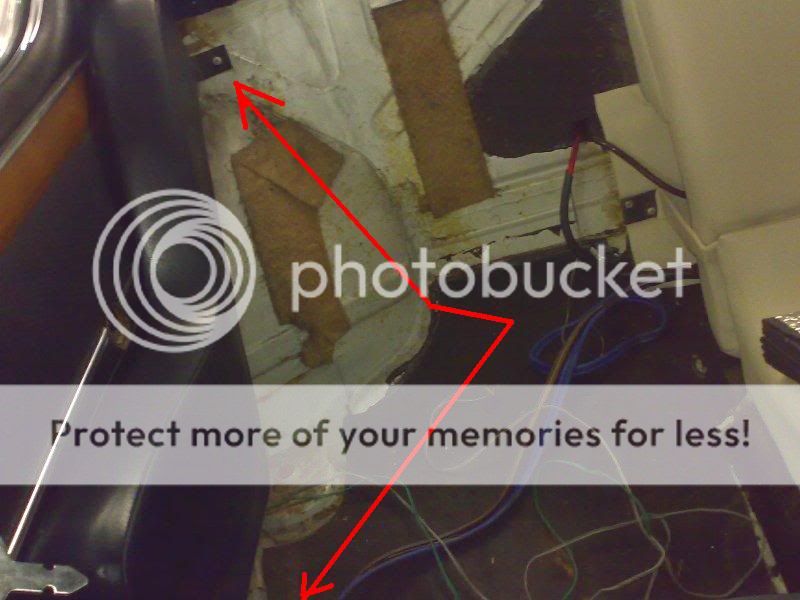
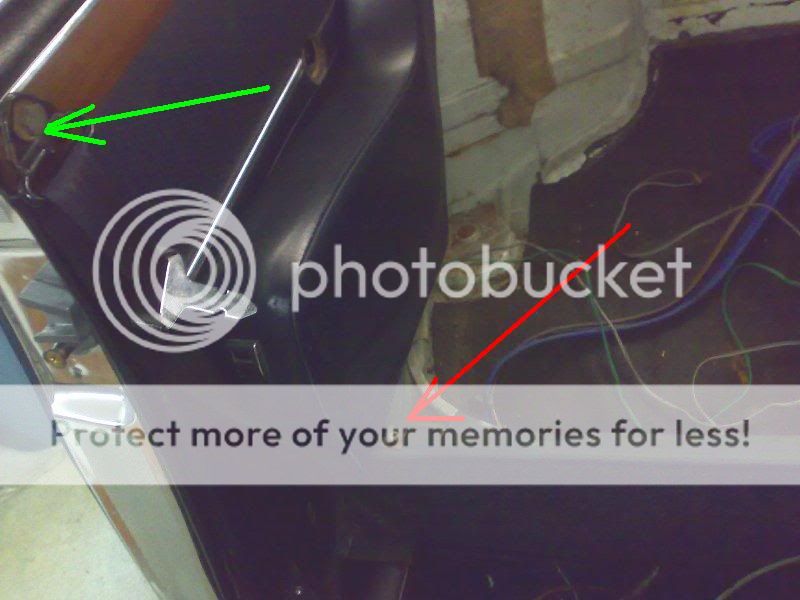
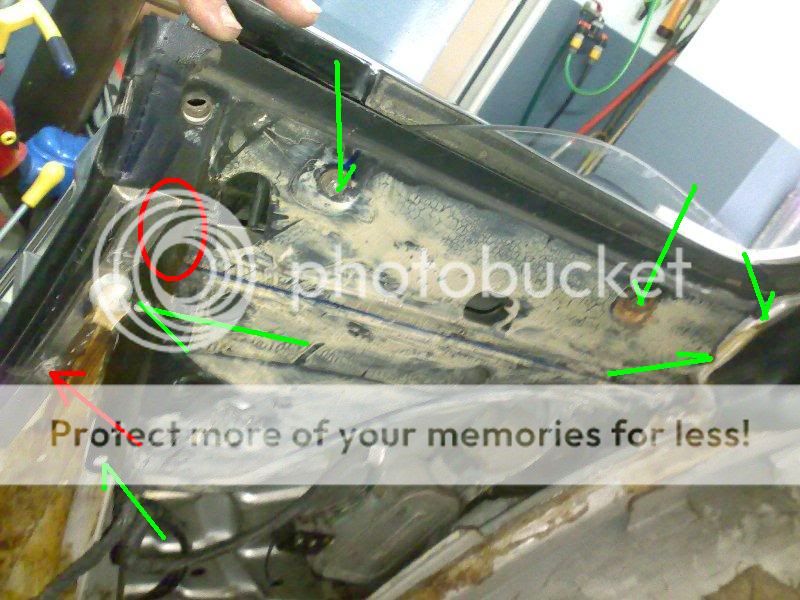
you can see the critical elements to be removed marked with arrows

051120073707.jpg


051120073708.jpg


051120073713.jpg


051120073716.jpg


051120073717.jpg


051120073718.jpg


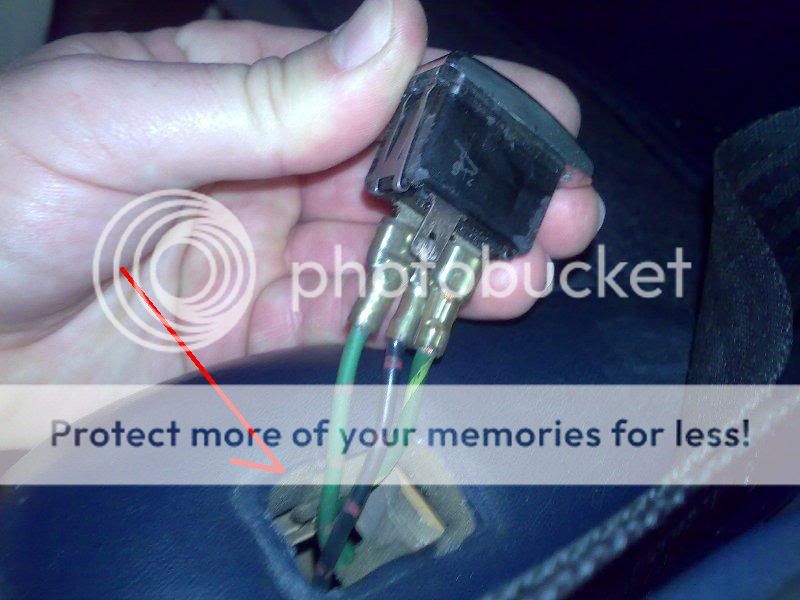
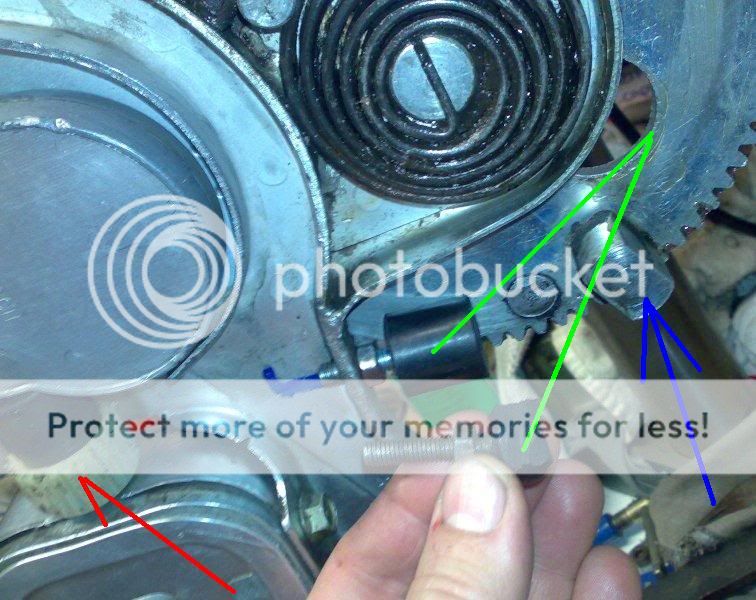
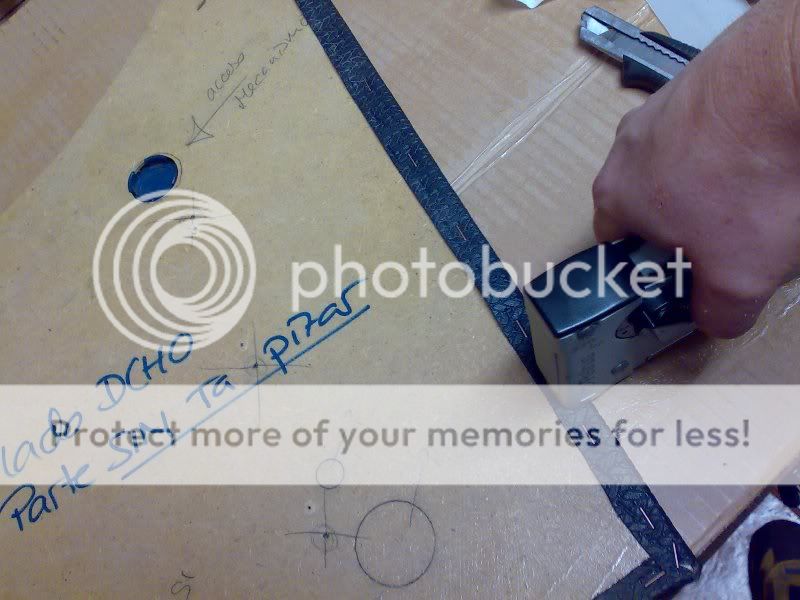
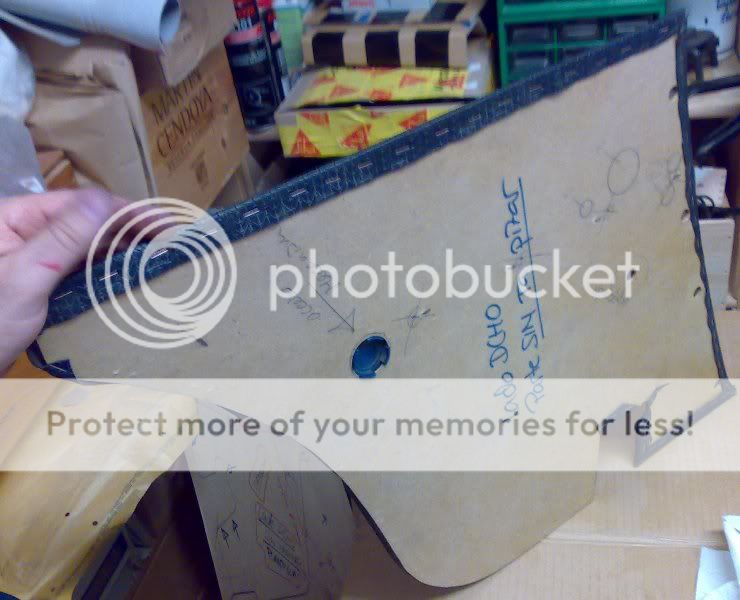
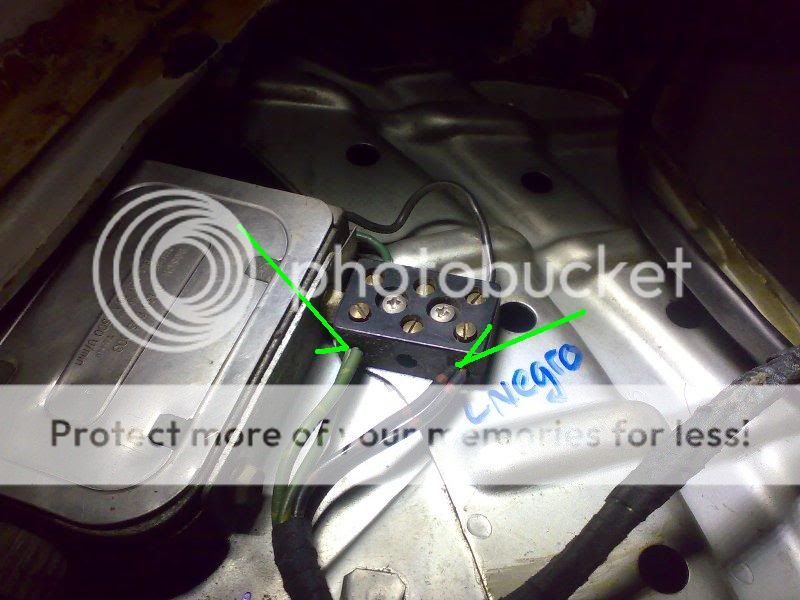
anotar las conexiones del motor y soltarlas

051120073722.jpg


051120073721.jpg


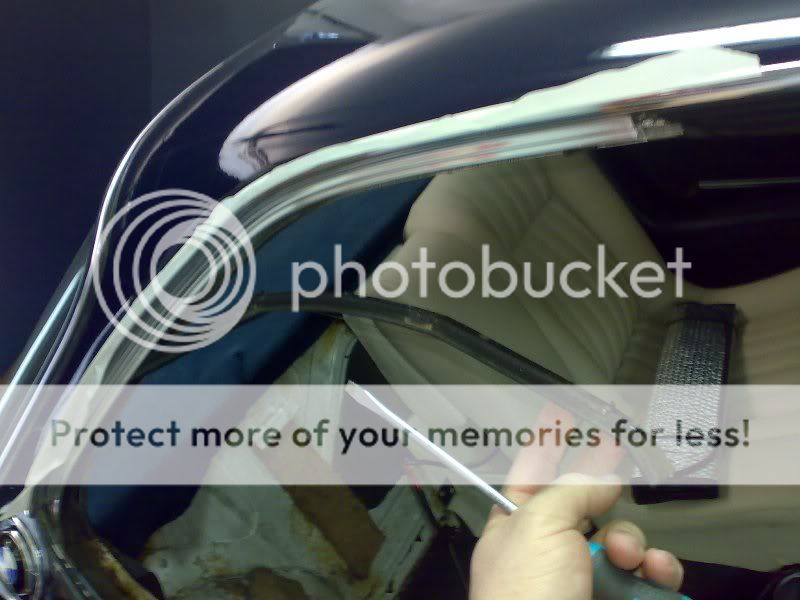
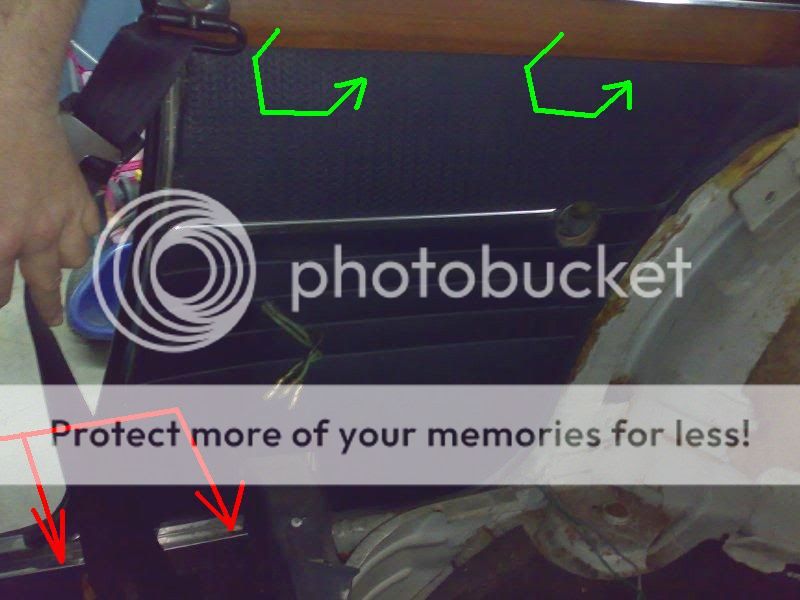
before undoing these last bolts use the electric power to completely open the window to manipulate it and to remove it folded

051120073723.jpg


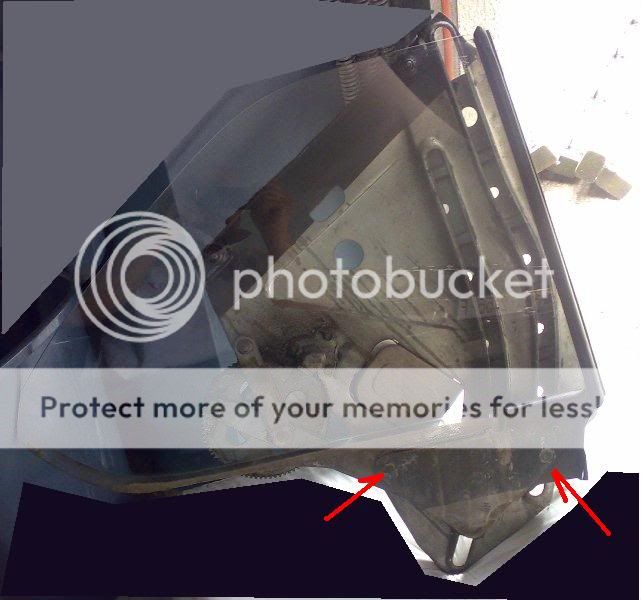
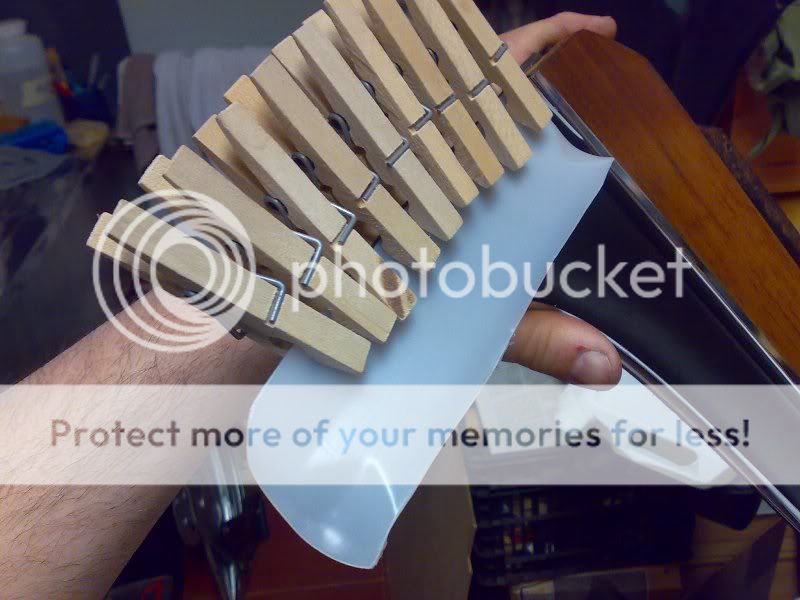
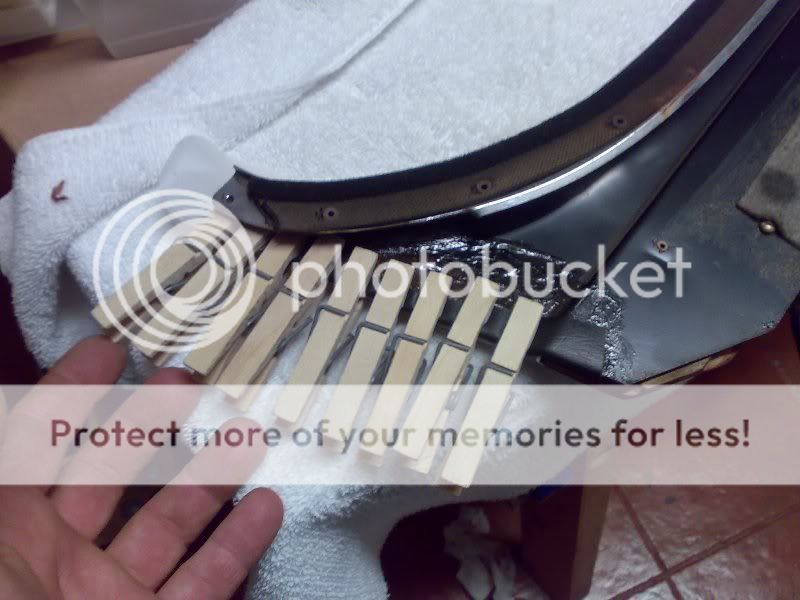
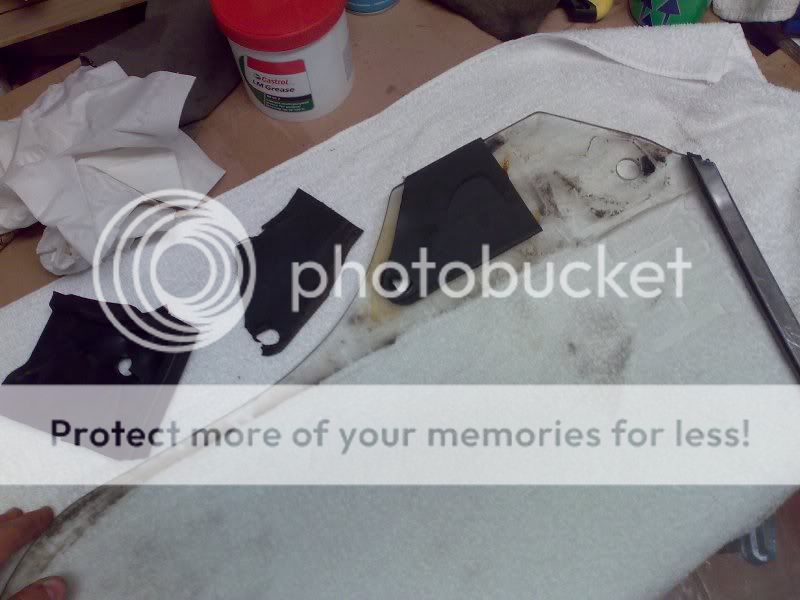
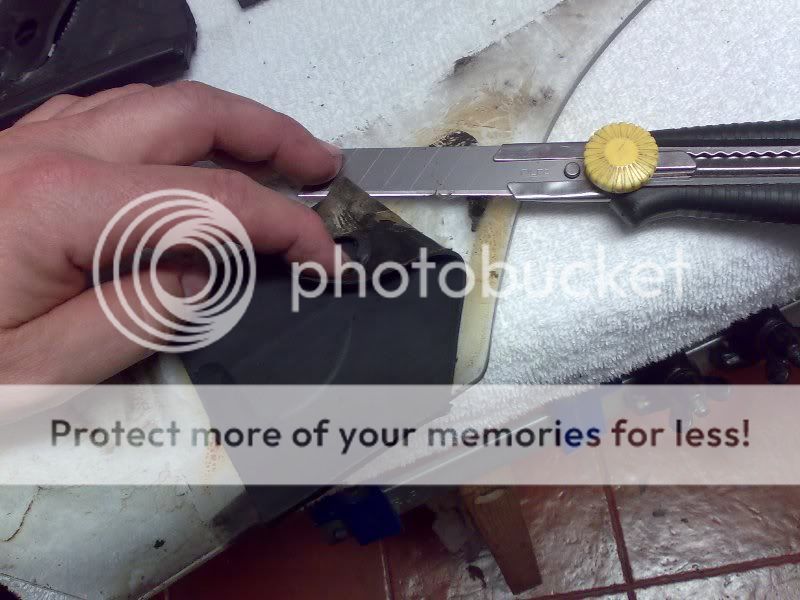
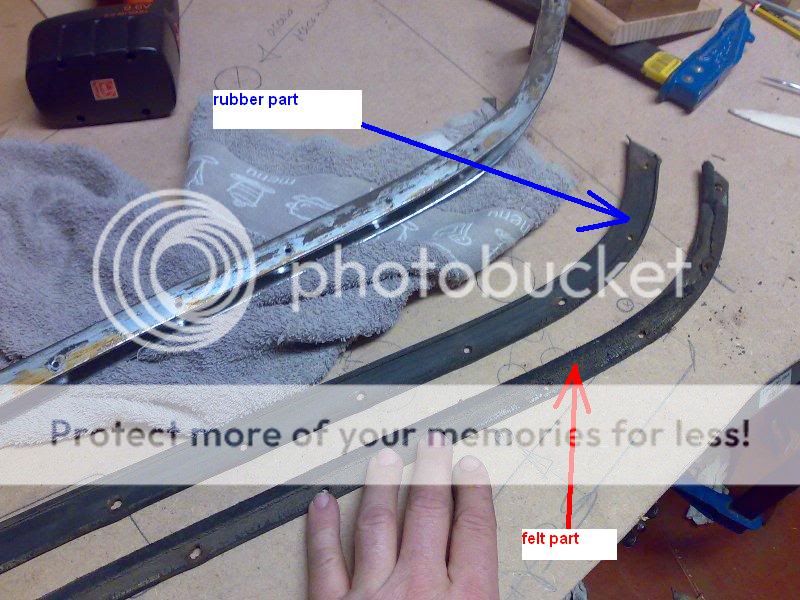
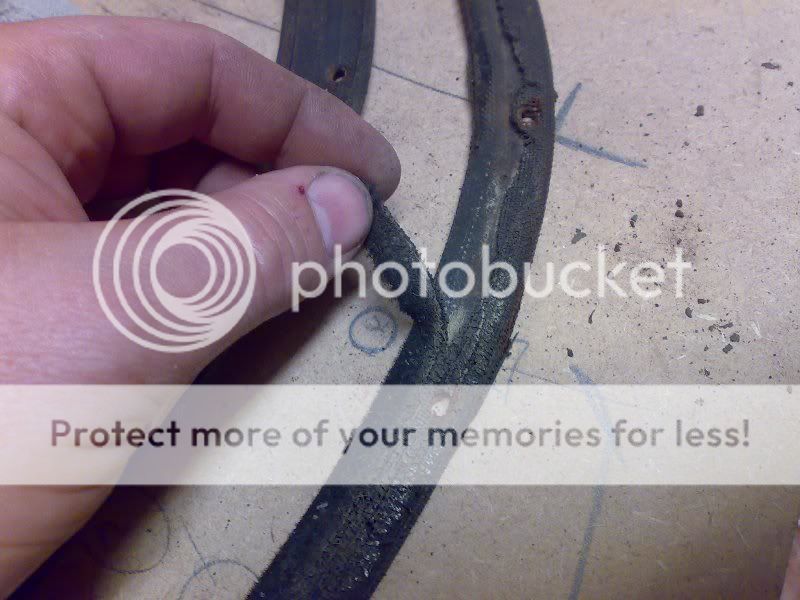
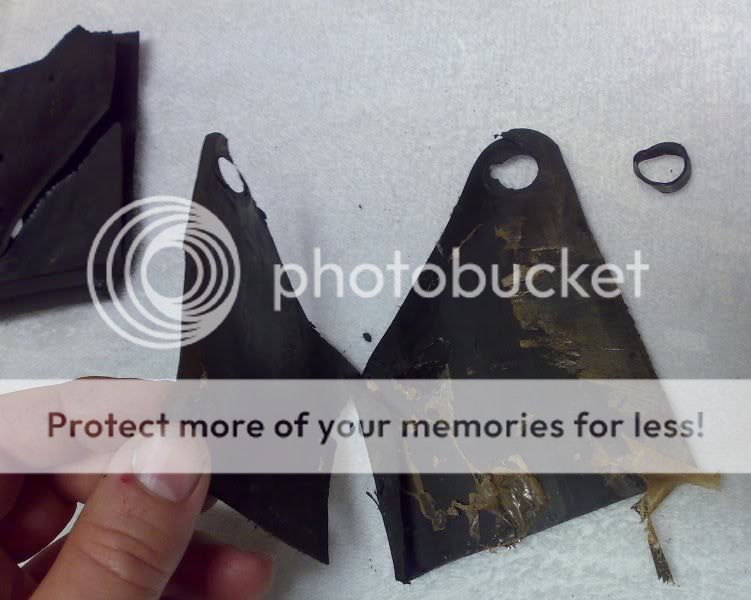
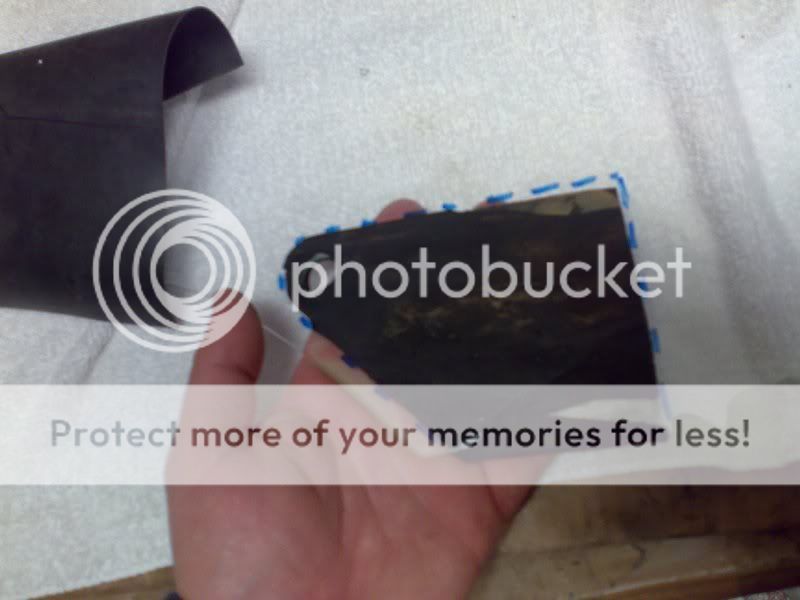
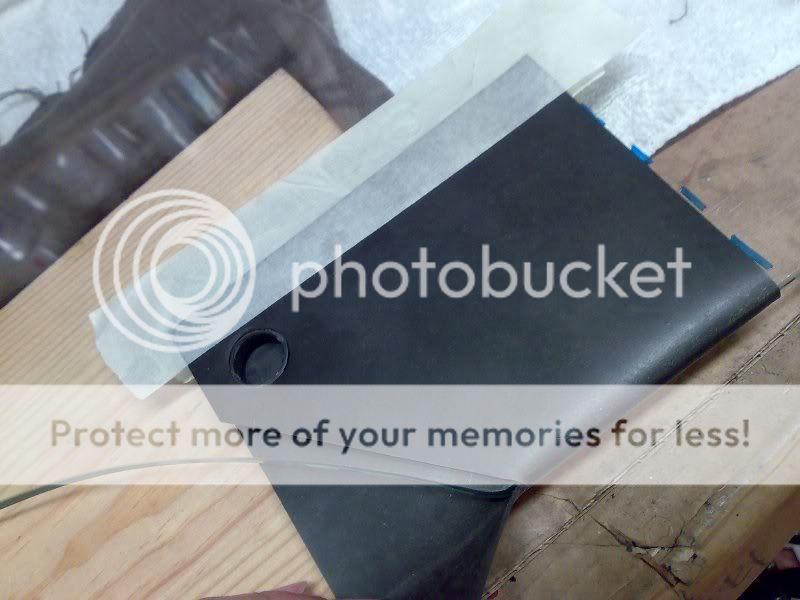
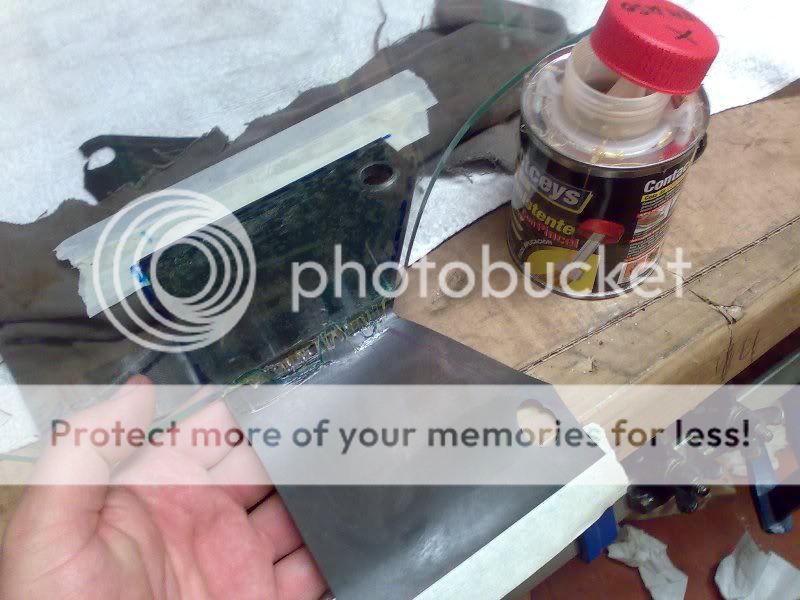
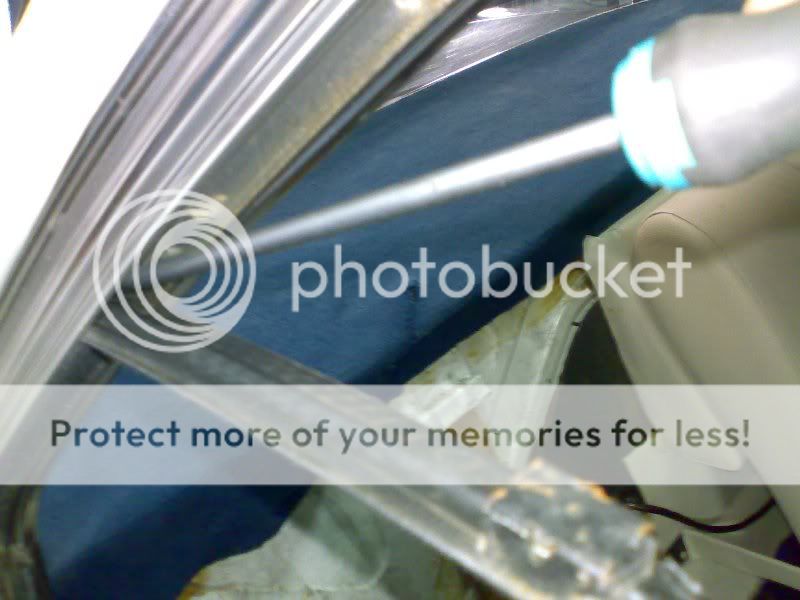
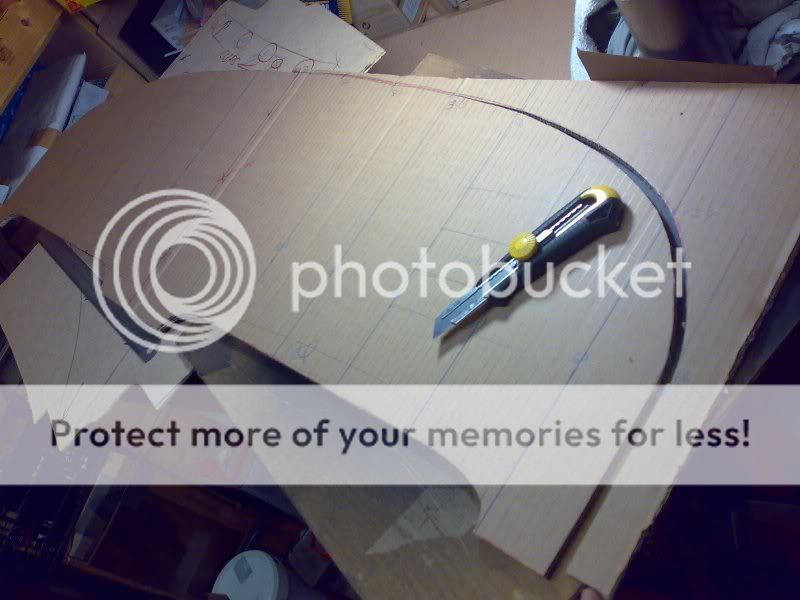
then you should remove the glass, it will be difficult due to the fact that the glass and the rubber and the metallic plate had glued one to the other, a sharp and long blade and you cut the rubber (new rubber elemnts needed)
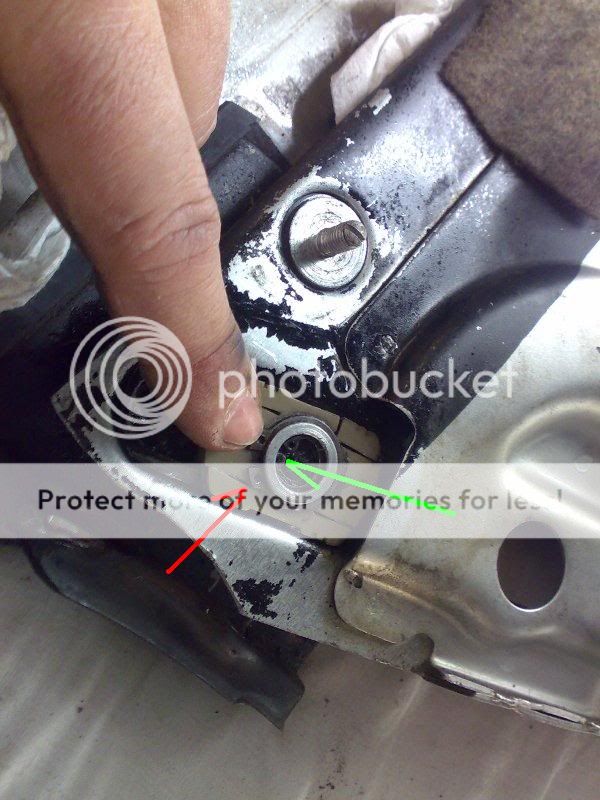
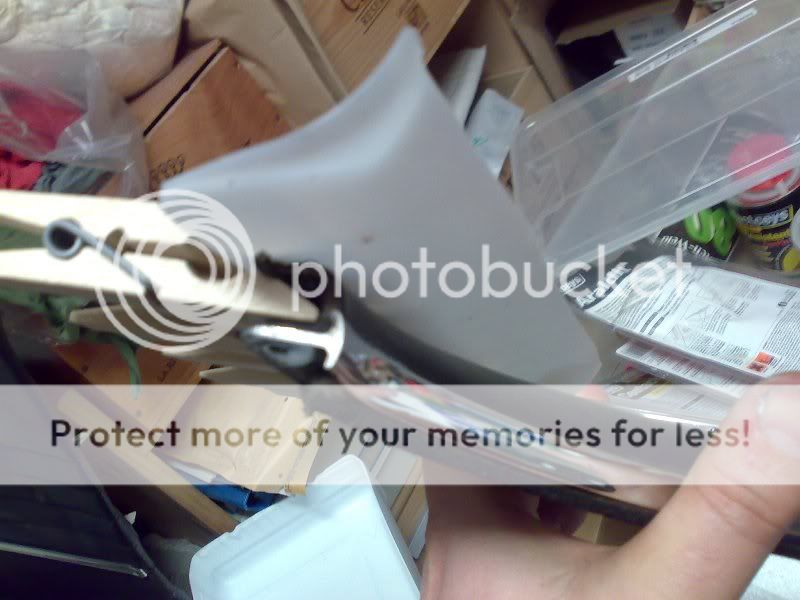
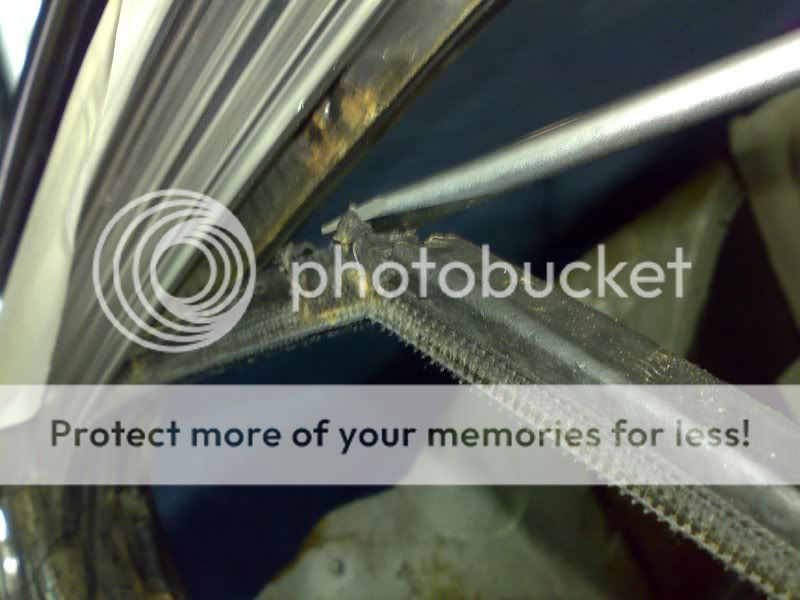
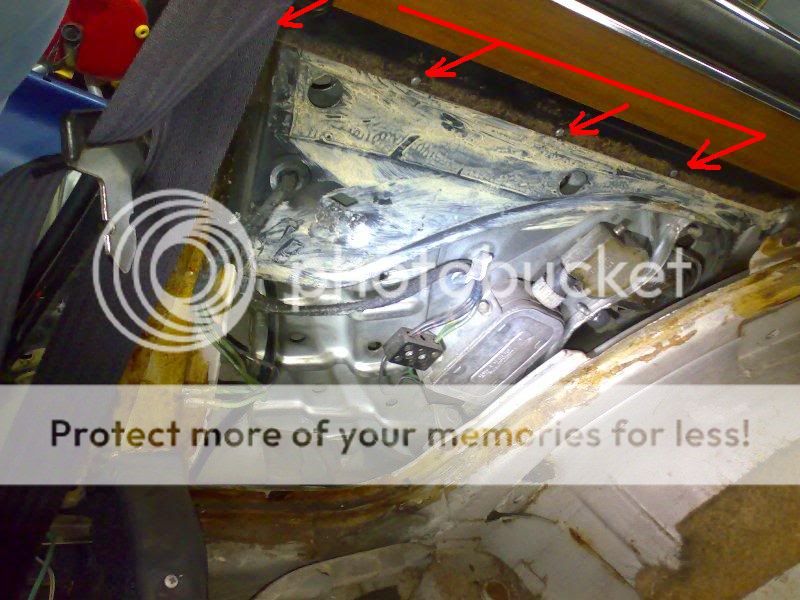
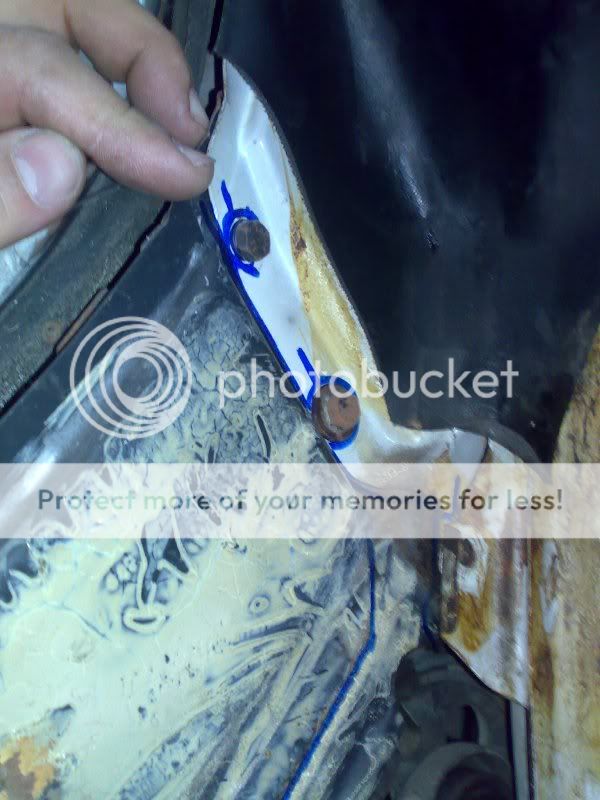
the two red fixing bolts are only accesible from the "back" side, and there you find access dificulties because the metallic suport is there, you will have to manually operate the mechanism
 

deQuincey

Quousque tandem...?
Site Donor
Messages
8,417
Reaction score
2,430
Location
BIO - 43°15'46.5"N 2°56'03.7"W
remove the moving element:

051120073725.jpg


clean the rails, gears,...
061120073728.jpg


remove the gear box to clean the pinion, regrease with LMgrease, and close it again, clean the spring with gasoline and grease it to protect it

061120073726.jpg


here you can see the stop bumpers, they are defining the open / close position of the window

renew if necessary

061120073727.jpg
 

Nicad

Well-Known Member
Site Donor
Messages
3,511
Reaction score
536
Location
Toronto
Thanks for sharing that info. Amazingly clean hands for working on old greasy parts. Do you employ a hand model? <G>
 

adawil2002

Well-Known Member
Site Donor $$
Messages
5,185
Reaction score
3,049
Location
Brunswick, Maine
Nice, more detailed than the blue binder.

Note: Keep track of the positions of the long and short bolts that hold the whole mechanism in the car
 

deQuincey

Quousque tandem...?
Site Donor
Messages
8,417
Reaction score
2,430
Location
BIO - 43°15'46.5"N 2°56'03.7"W
a question

adding relays to the electric circuit, but adding something else: "a breaker"

I will carry on the same upgrade that "stevehose" explained so well some months ago. This is the schematic drawing of the power motor windows electric upgrade inlcuding relays, the source is the "stevehose" thread on this issue:

esquemaoriginal.jpg


I plan to go one step beyond, knowing that in year 1974 a breaker circuit was added to the power windows, this was part number: 61131358777 (available at BMW dealer nowadays), I plan to add this breaker to avoid overtension in the motor operation

My question is if the following schematic conection is correct for the breaker, do you think so ?

my idea to introduce a breaker in the 12v positive cable:

esquemabreakermasreles.jpg


do you think it is correct ??
 

jmackro

Well-Known Member
Messages
2,463
Reaction score
728
Location
San Juan Capistrano, Ca.
DeQuincey:

I added relays to all of my coupe's window motors, and it made a huge difference. My schematic looks just like the first one you posted.

My only comment on the second schematic - the one that adds the circuit breaker - is that having both a fuse AND a circuit breaker - seems unnecessary. More components generally means less reliability, more electrical resistance, and more clutter. I'd keep it simple, and just use either the breaker or the fuse.
 

deQuincey

Quousque tandem...?
Site Donor
Messages
8,417
Reaction score
2,430
Location
BIO - 43°15'46.5"N 2°56'03.7"W
DeQuincey:

I added relays to all of my coupe's window motors, and it made a huge difference. My schematic looks just like the first one you posted.

My only comment on the second schematic - the one that adds the circuit breaker - is that having both a fuse AND a circuit breaker - seems unnecessary. More components generally means less reliability, more electrical resistance, and more clutter. I'd keep it simple, and just use either the breaker or the fuse.

thanks
 

deQuincey

Quousque tandem...?
Site Donor
Messages
8,417
Reaction score
2,430
Location
BIO - 43°15'46.5"N 2°56'03.7"W
need this part, not the rubber, the other one

hi, do you know a source for the part arrowed in red ?

BMW references (left and right) : 51 36 7 740 130 and 51 36 7 740 131


061120073731.jpg


this is the external chrome line that includes the weatherstrip, you can see that the weatherstrip consists of two parts:

one rubber strip arrowed in blue (this part is available in BMW and W&N)

and one textile covered hard strip, I do not know where to find this, can you help ?

061120073730.jpg
 

61porsche

Well-Known Member
Messages
1,732
Reaction score
28
Location
Dallas
My understanding

is that piece is felt and riveted. I haven't taken that part off yet so again that's my understanding. I beleive Arde briefly described it in a post. If that is the case, felt weatherstripping can be had in varying thicknesses, etc. It's commonly used on doors of the architectural type.

I also recall there have been discussions ( HBChris?) that either Coupeking or LaJolla had an alternate seal . So might want to try them by email.

On your side of the pond, Orangener might have a source to share.
 

HB Chris

Well-Known Member
Site Donor $$
Messages
19,418
Reaction score
8,759
Location
Huntington Beach, CA
I made my own with straight felt strips that I cut so as to bend and then pop riveted in place. Any auto Upholsterey shop will have it although I used MB felt. Coupeking sells a one piece replacement.
 

deQuincey

Quousque tandem...?
Site Donor
Messages
8,417
Reaction score
2,430
Location
BIO - 43°15'46.5"N 2°56'03.7"W
glass rubber parts

The rear window glass is supported in a moving element that holds it with two bolts in fixation holes, in order to support the glass correctly and in order to avoid breaking it, a rubber part and two bushings are needed

both of them are NLA, so I have to handmade the parts

this is the rubber cover part, thickness 1,4mm, you can see also a deformed bushing in the top right corner
071120073748-1.jpg

071120073750.jpg


I use a new band of material, unfortunately is is 1mm thick, but i think it will work
071120073749.jpg

the bushing is a problem, NLA, and very difficult to find a similar thing, it aims at avoiding the bolt strenght to break the glass
071120073752.jpg


i will use a rigid plastic tube, but as the diameter is bigger than needed I will do some rework:
071120073753.jpg

071120073754.jpg

I cut it and remove some of it´s length until it fits in the hole
071120073757.jpg

071120073755.jpg


now i have to install the rubber part.
071120073758.jpg

081120073760.jpg

impact glue, see the new rubber corner part, this is available
081120073762.jpg

seems good
081120073771.jpg


compare with the previous situation:
071120073745.jpg
 
Last edited:

deQuincey

Quousque tandem...?
Site Donor
Messages
8,417
Reaction score
2,430
Location
BIO - 43°15'46.5"N 2°56'03.7"W
trim panel

the trim rear panel is in very bad condition, I assume that the moist had affected the material, so I will make a new base part and re-upholster it using the old cover

081120073763.jpg

081120073764.jpg

081120073765.jpg

081120073766.jpg

081120073767.jpg
 

tmason

Well-Known Member
Messages
1,023
Reaction score
72
Location
Reno,Nv
deQuincey
Nice work and great detail! Does your car need a headliner? I'm hoping it does so I can get some tips : )
 

deQuincey

Quousque tandem...?
Site Donor
Messages
8,417
Reaction score
2,430
Location
BIO - 43°15'46.5"N 2°56'03.7"W
update, in spanish, sorry, I will translate in the future

my rear shelf was not original and poorly made, so i had to remake it

161120073796.jpg

161120073798.jpg

161120073801.jpg

i have inlcuded some holes for airvents to improve the closing of the bonnet

211120073865.jpg


211120073864.jpg


I gave a "latex" coat to avoid moisture inside the material

211120073866.jpg

211120073867.jpg
 
Last edited:
Top