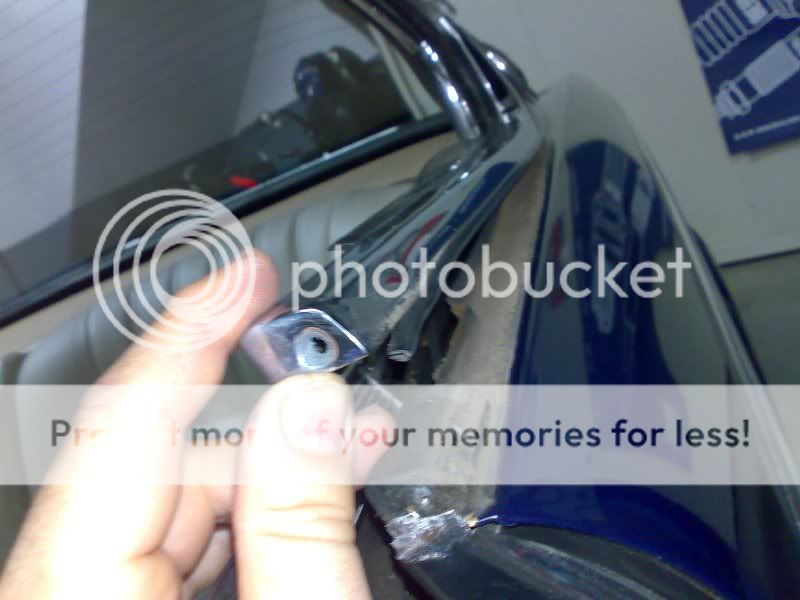
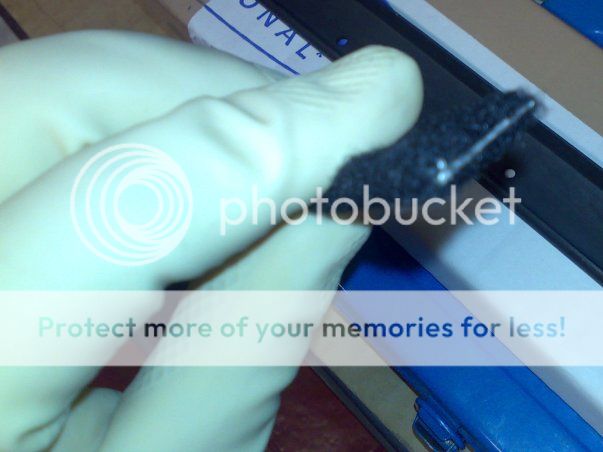
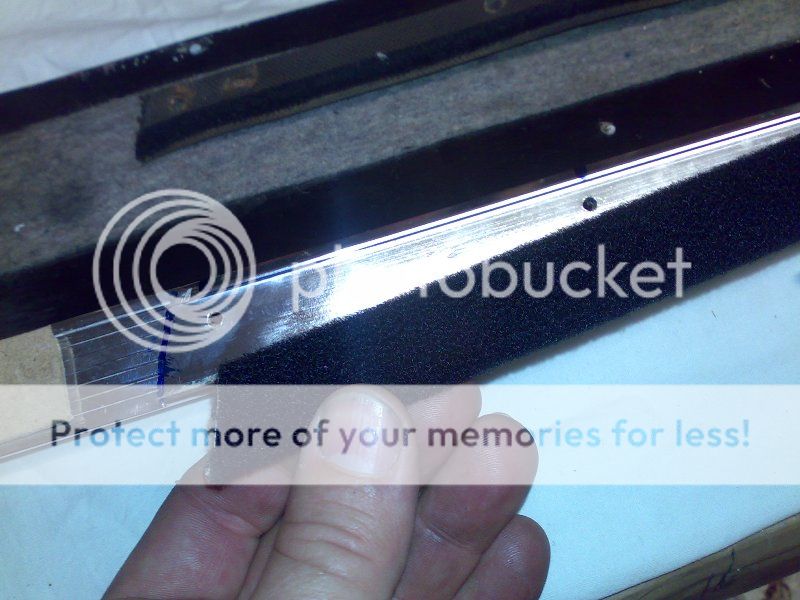
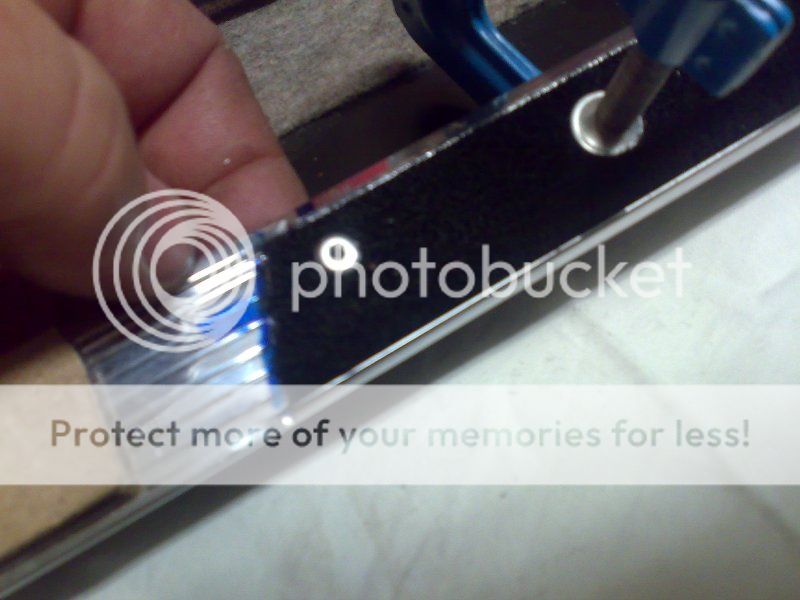
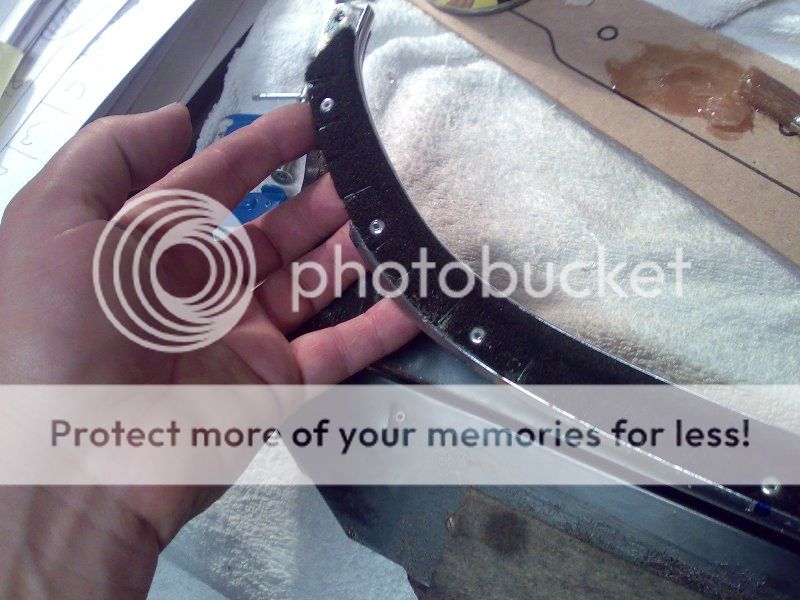
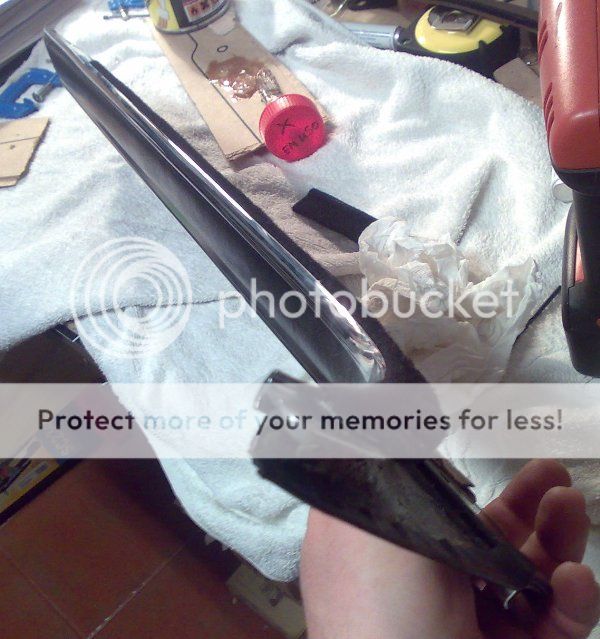
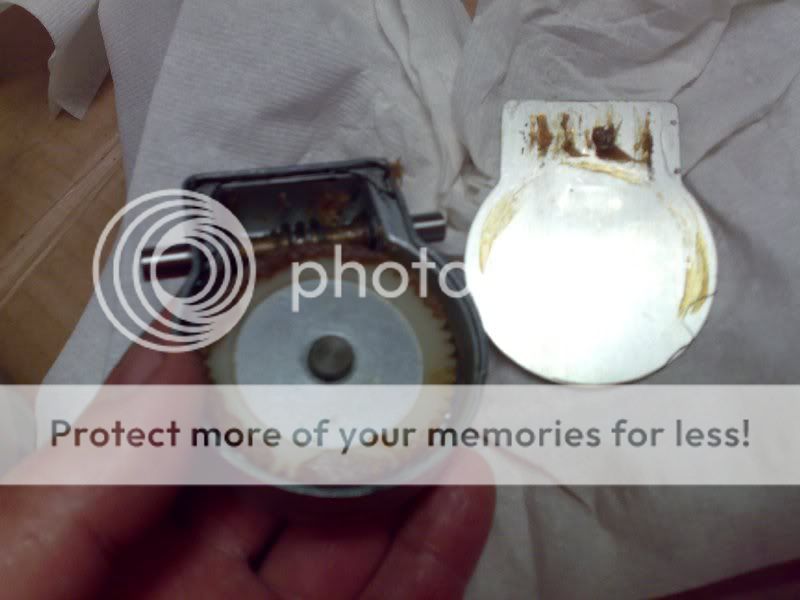
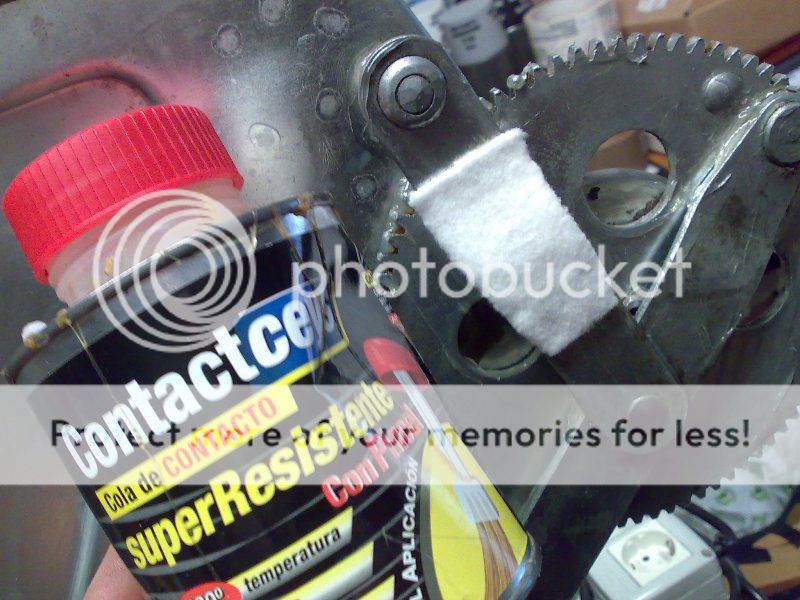
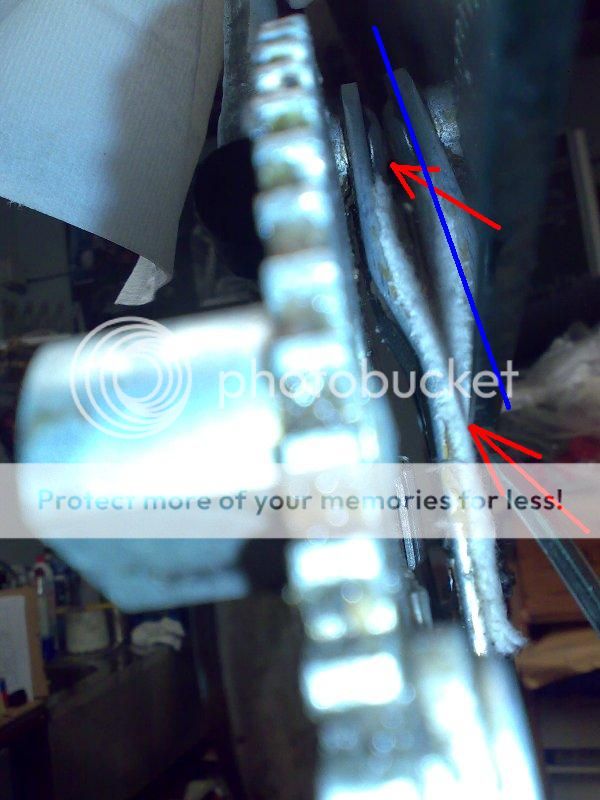
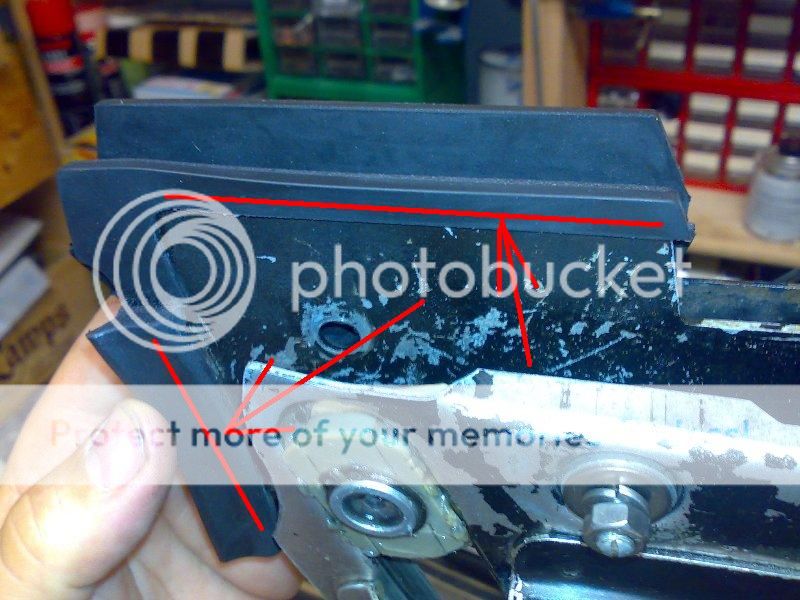
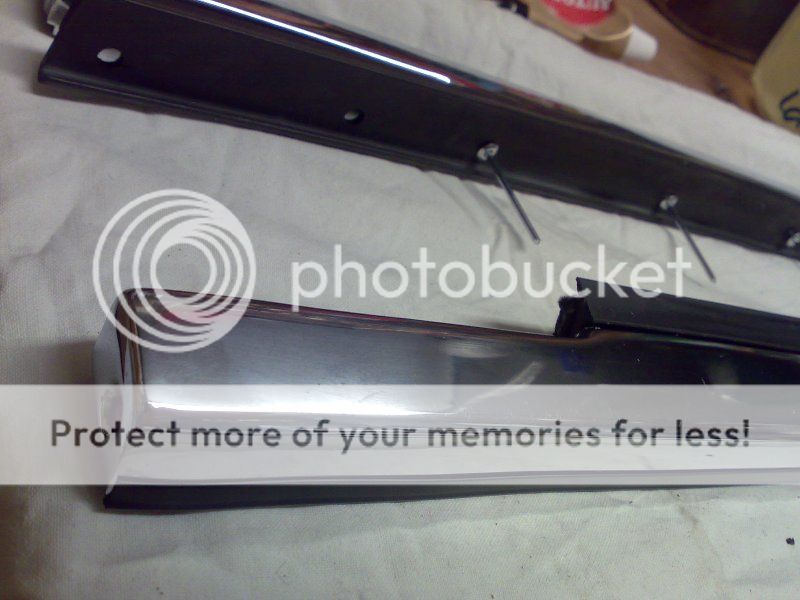
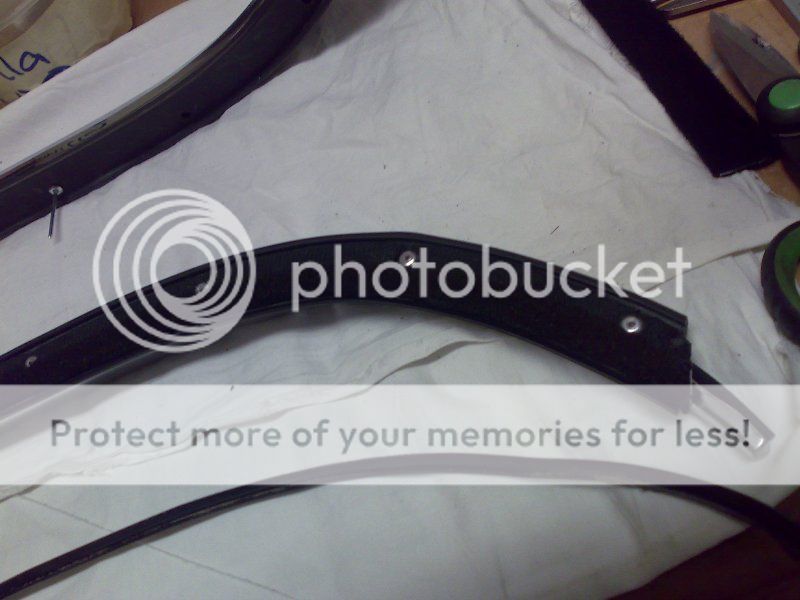
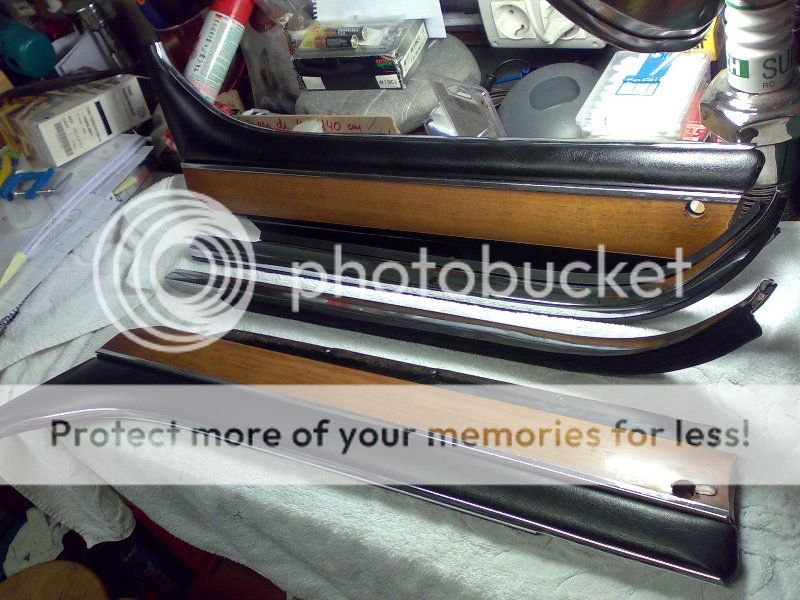
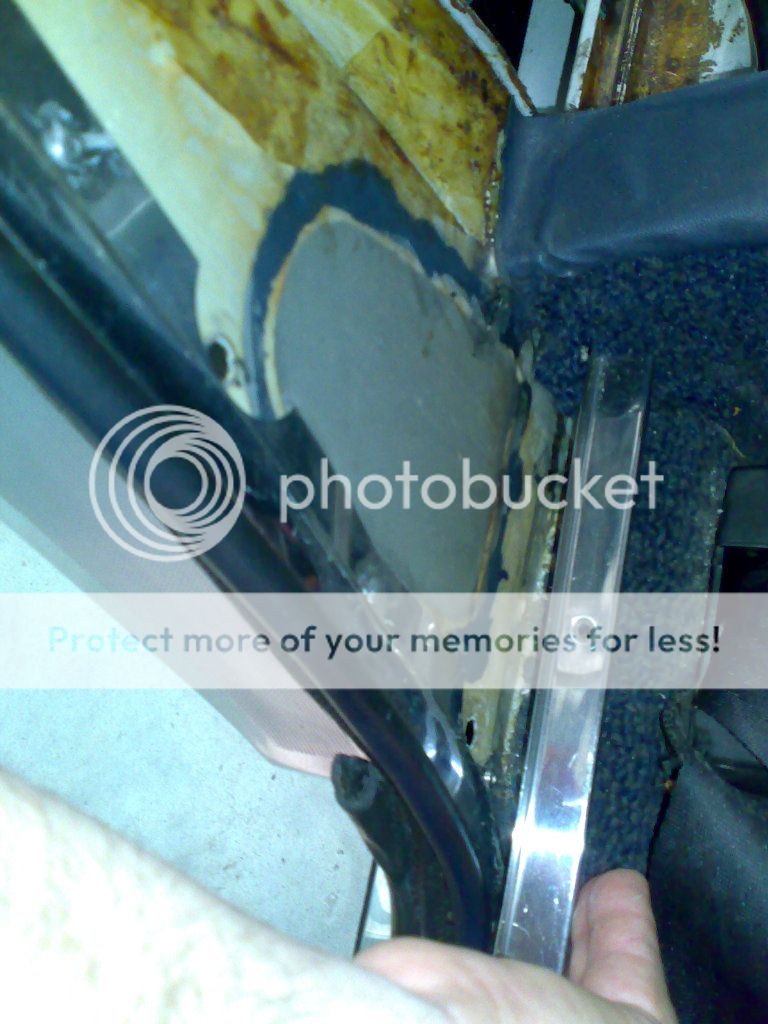
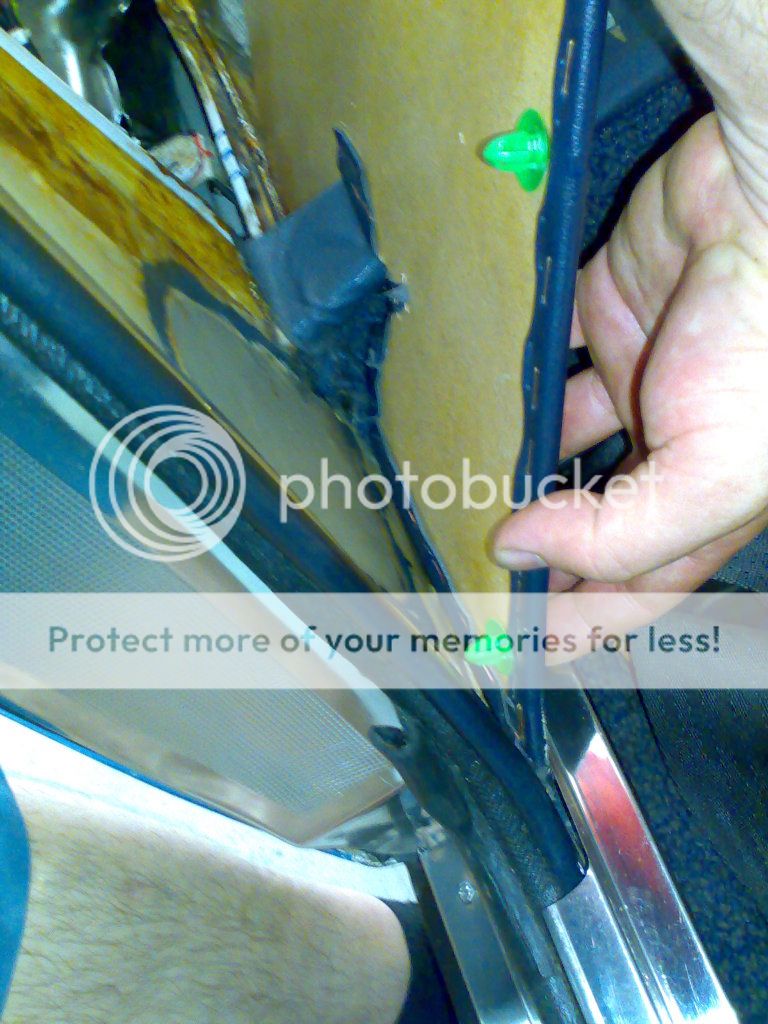
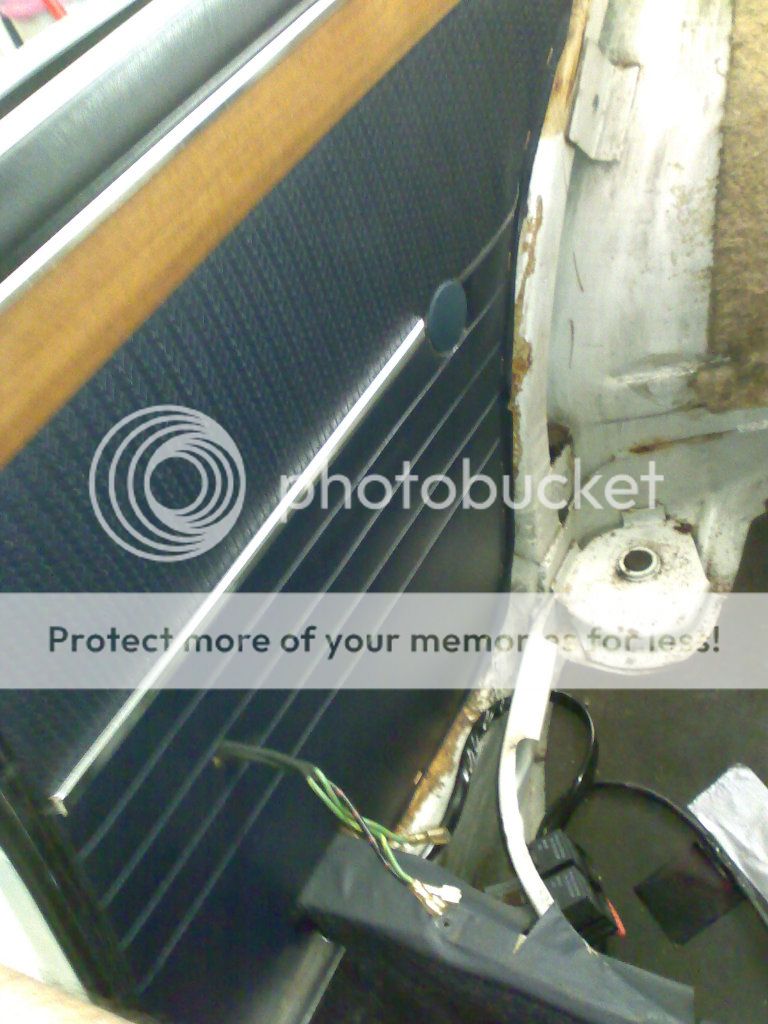
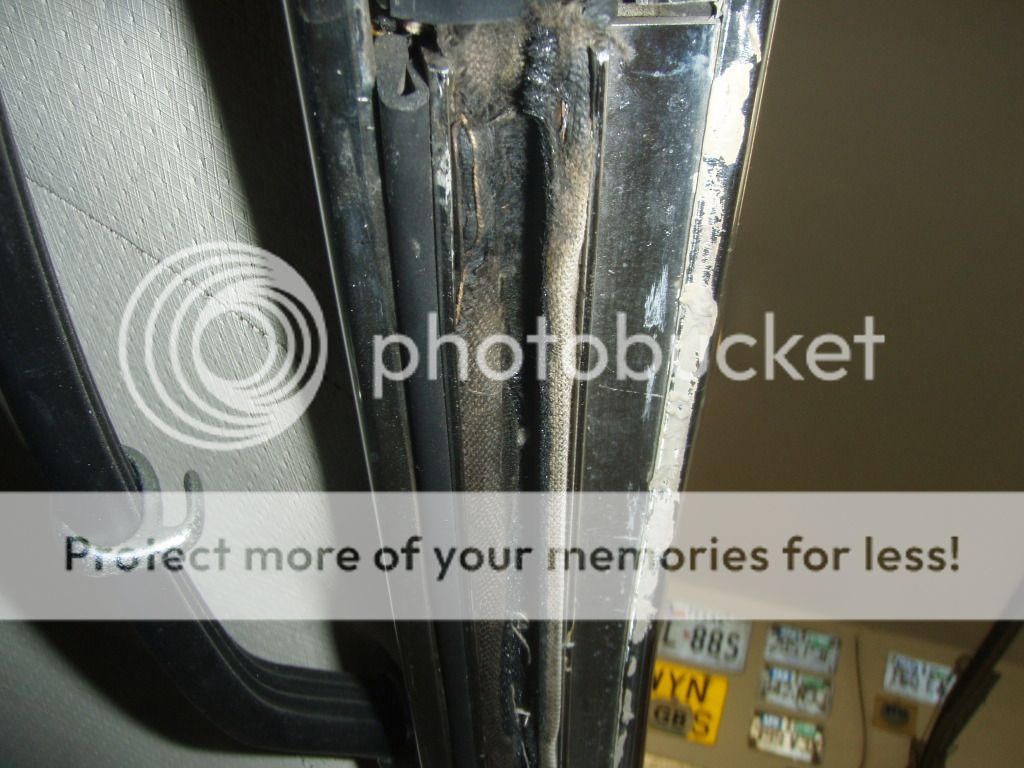
window upper carrier
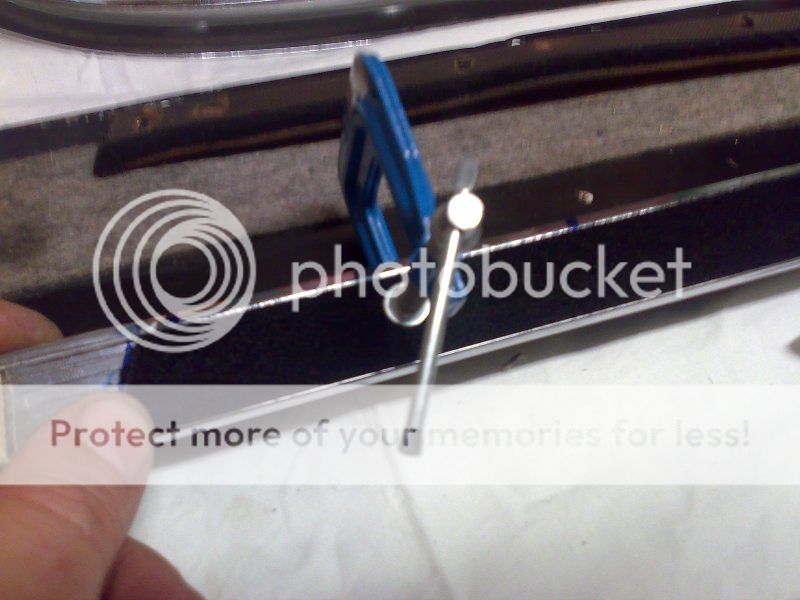
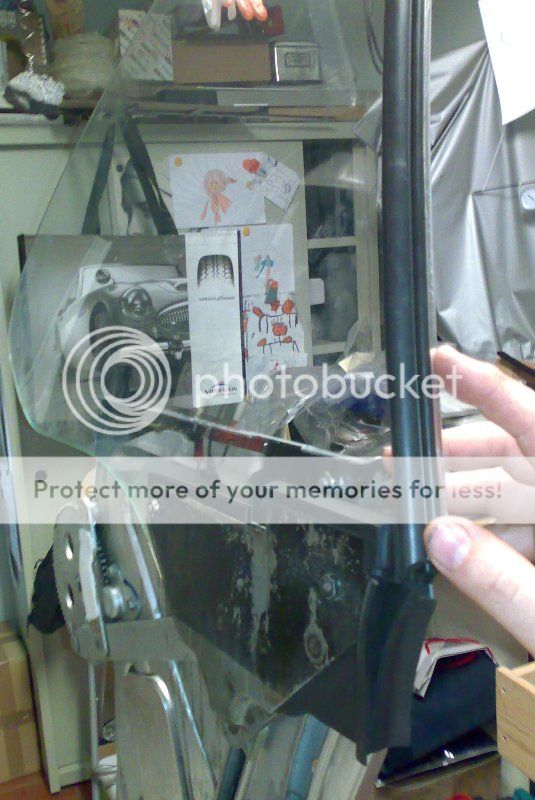
to remove simpli use a flat screwdriver

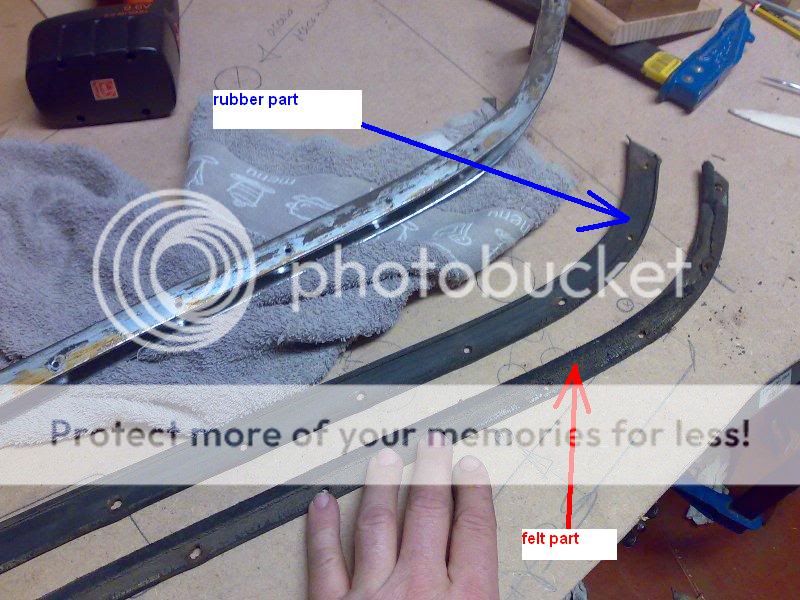
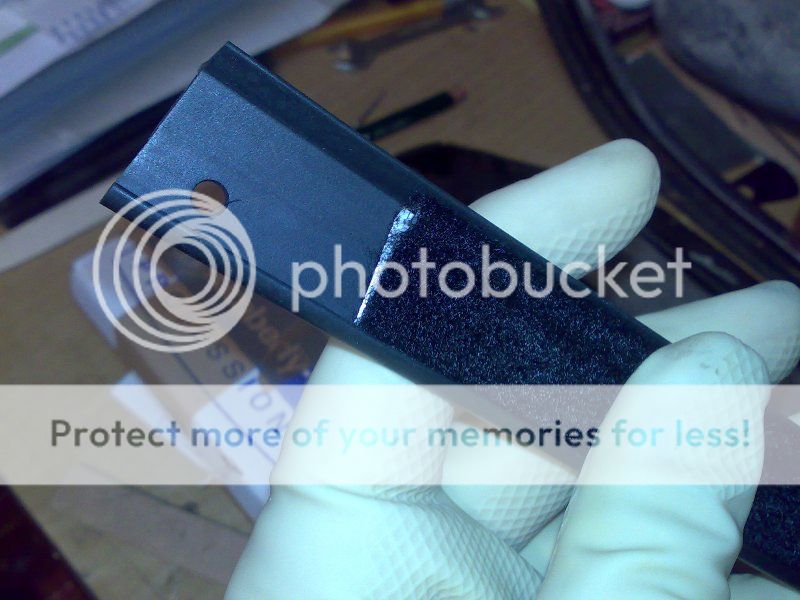
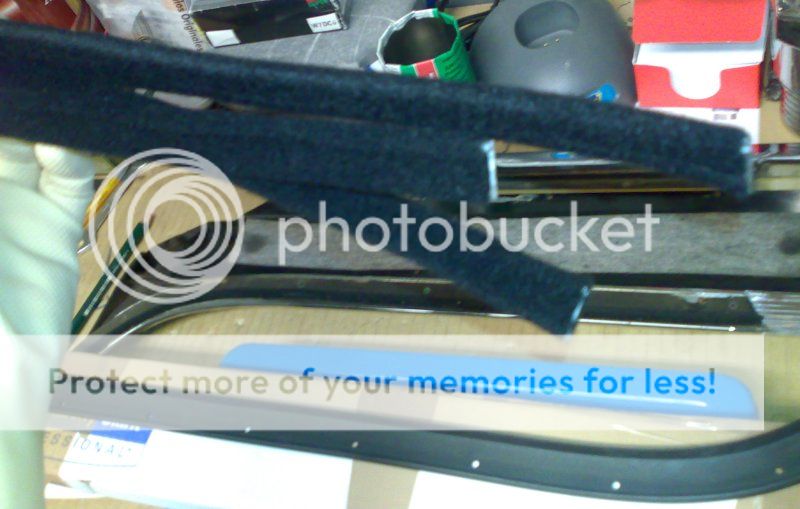
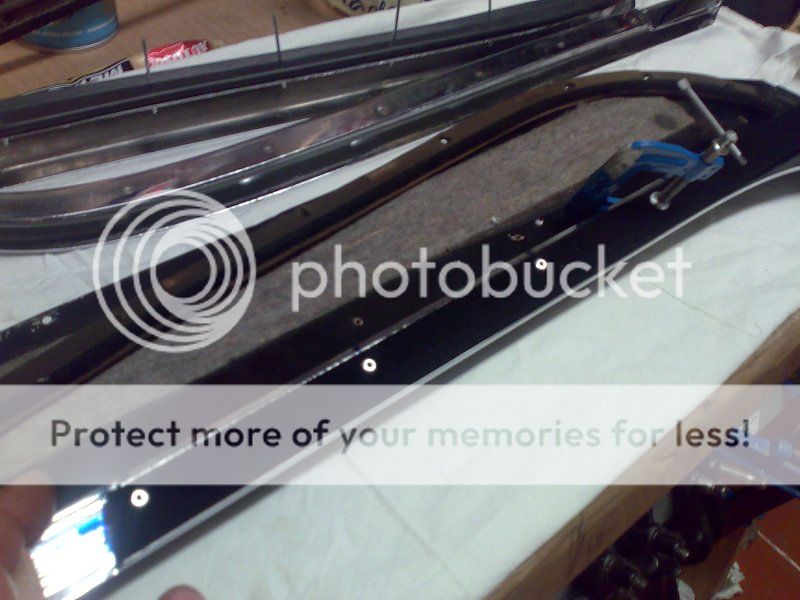
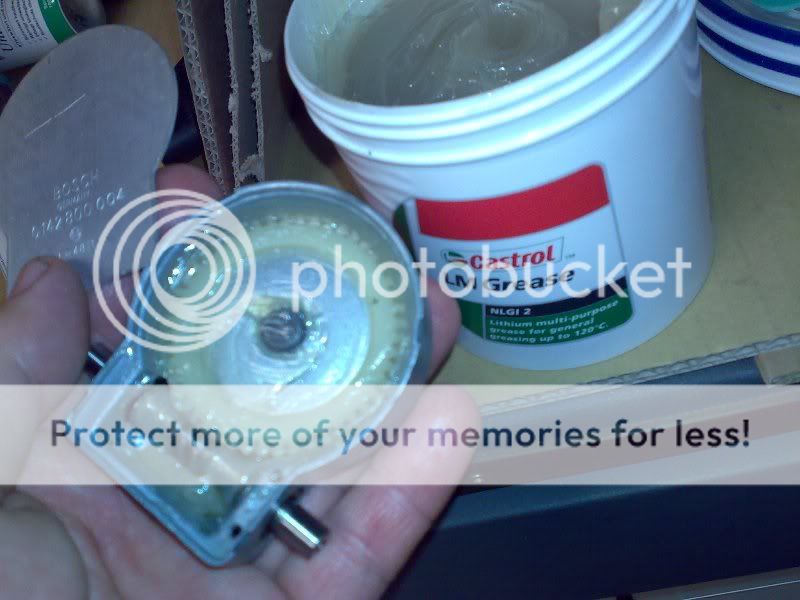
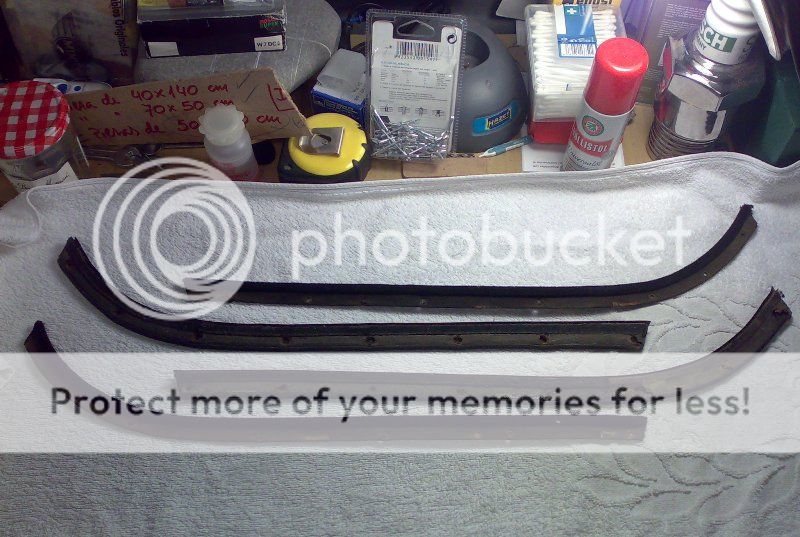
new part is available in w&n, by meters
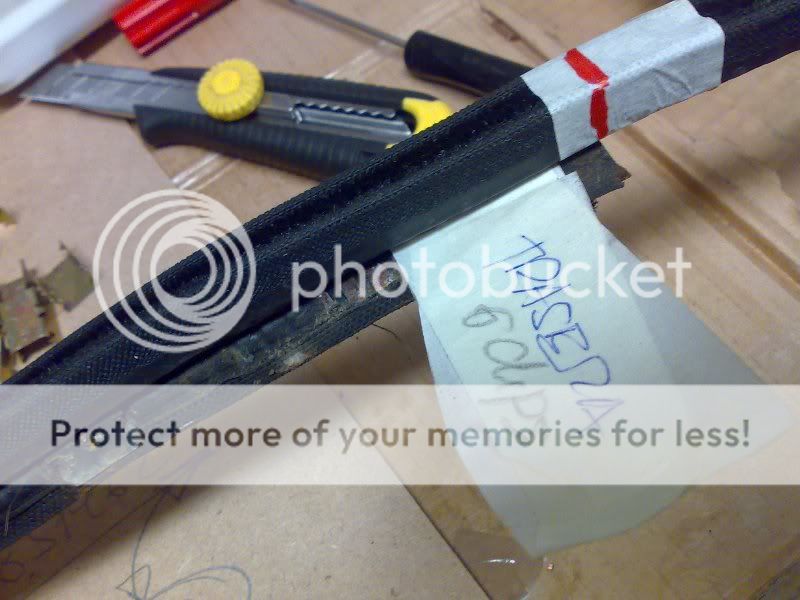
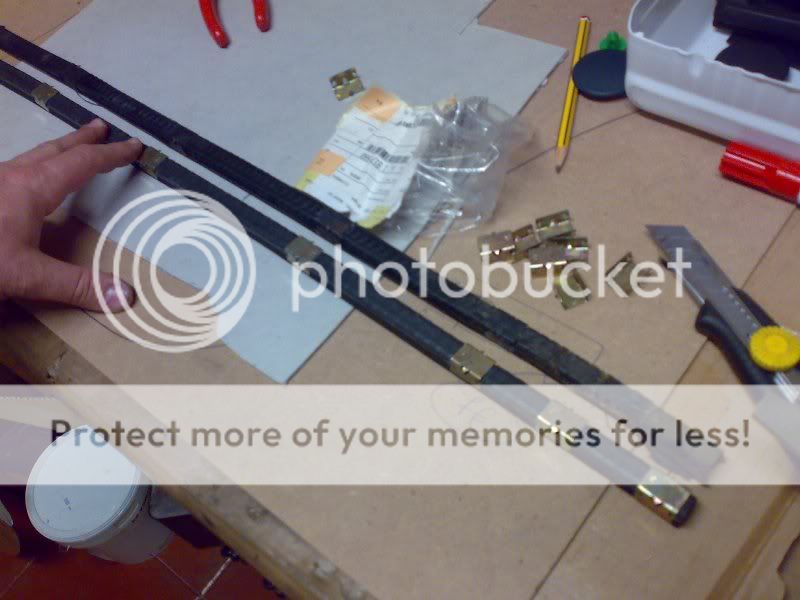
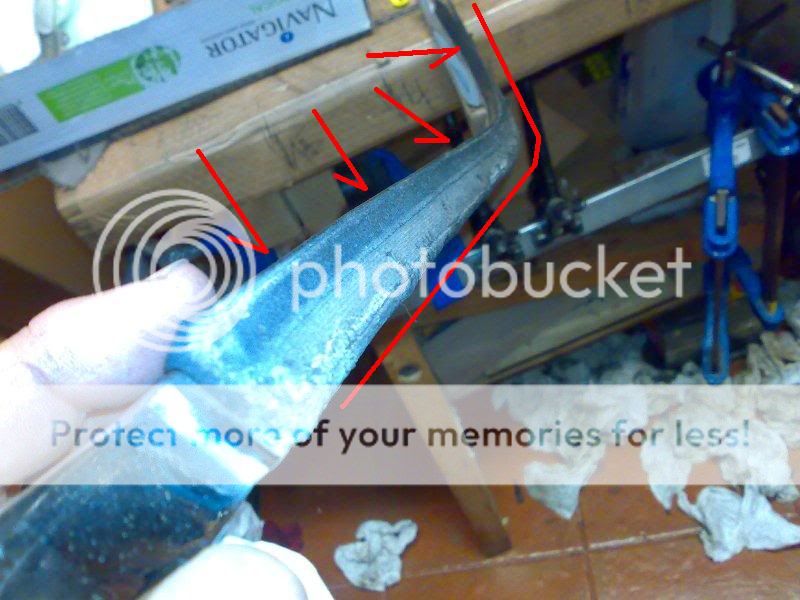
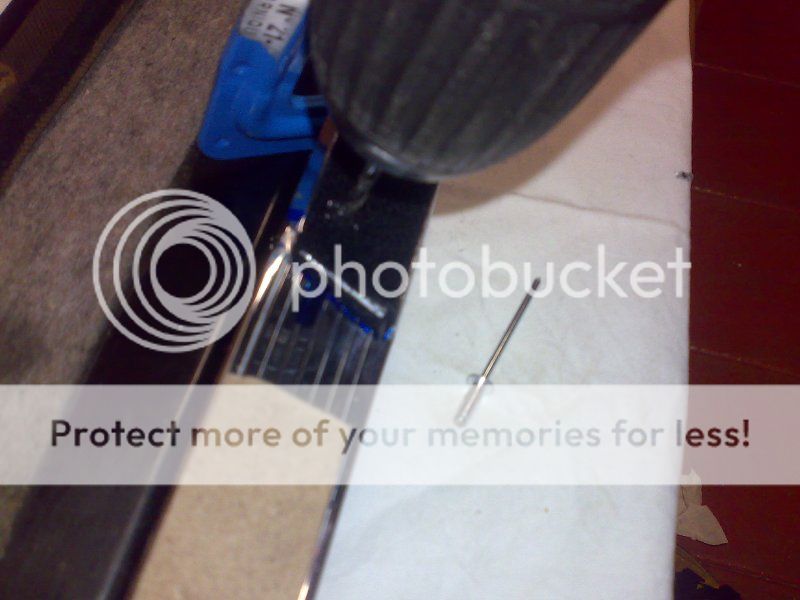
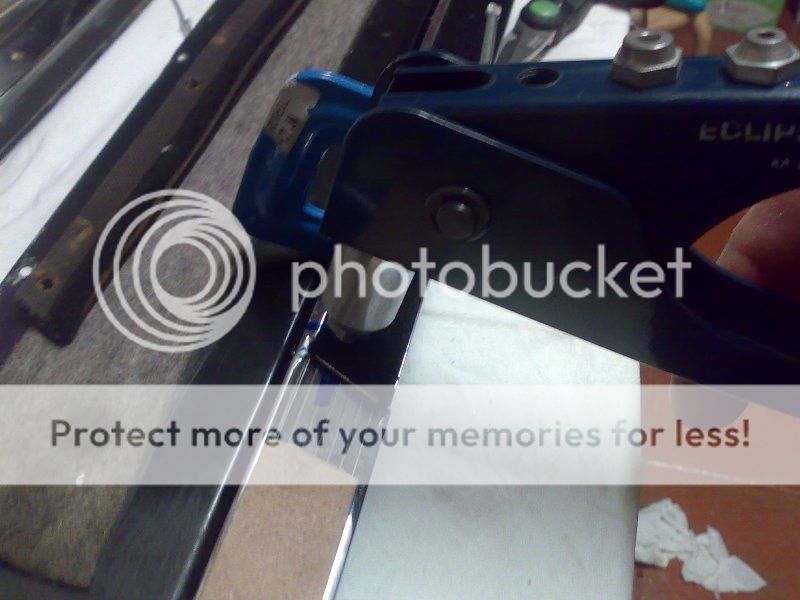
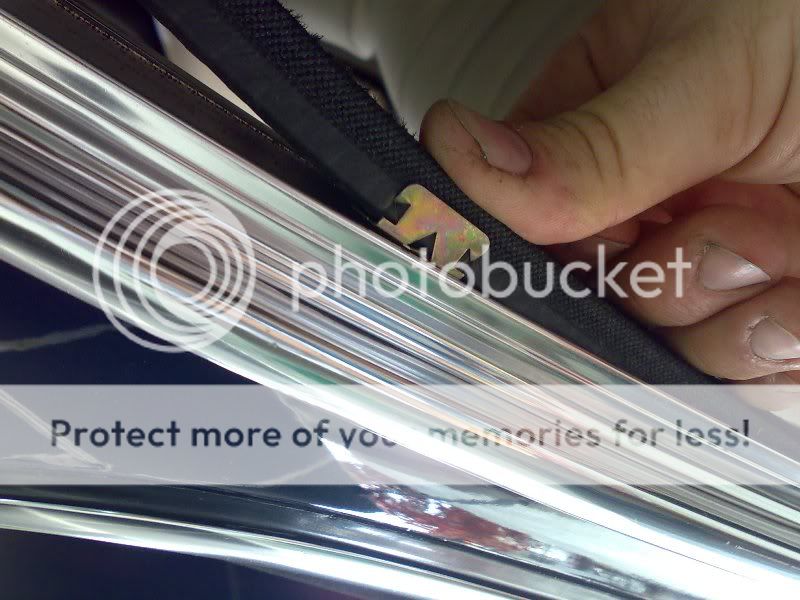
to install simply push the clamps

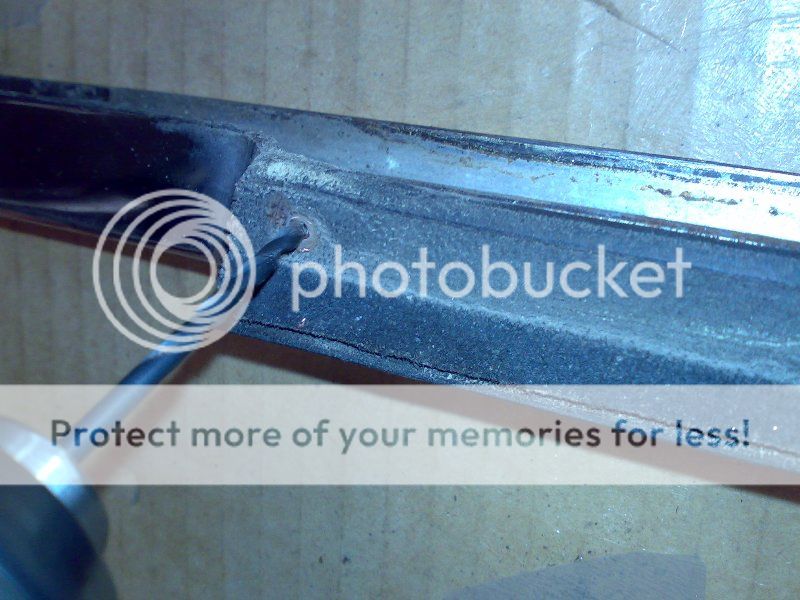
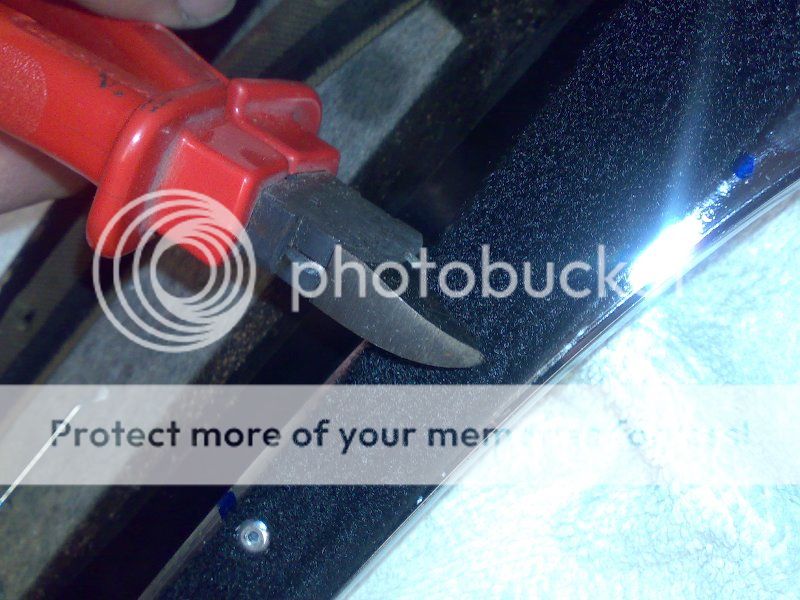
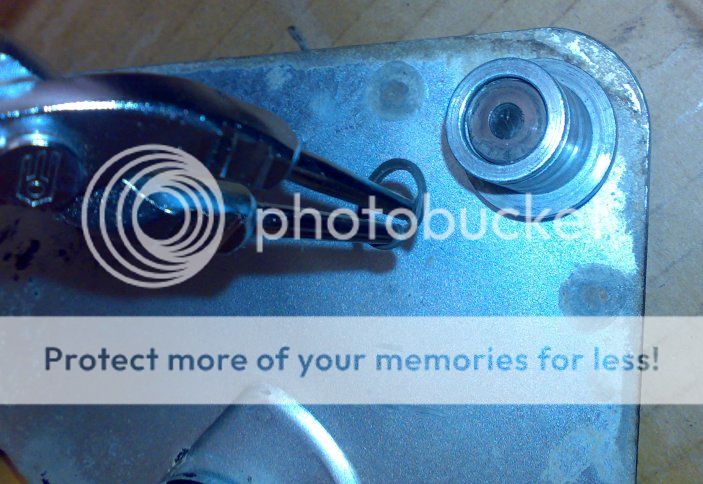
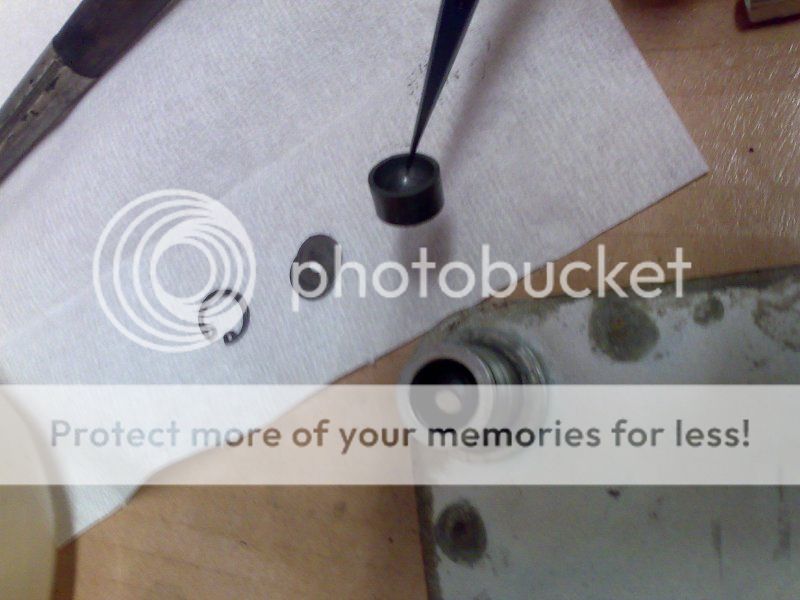
to remove simpli use a flat screwdriver
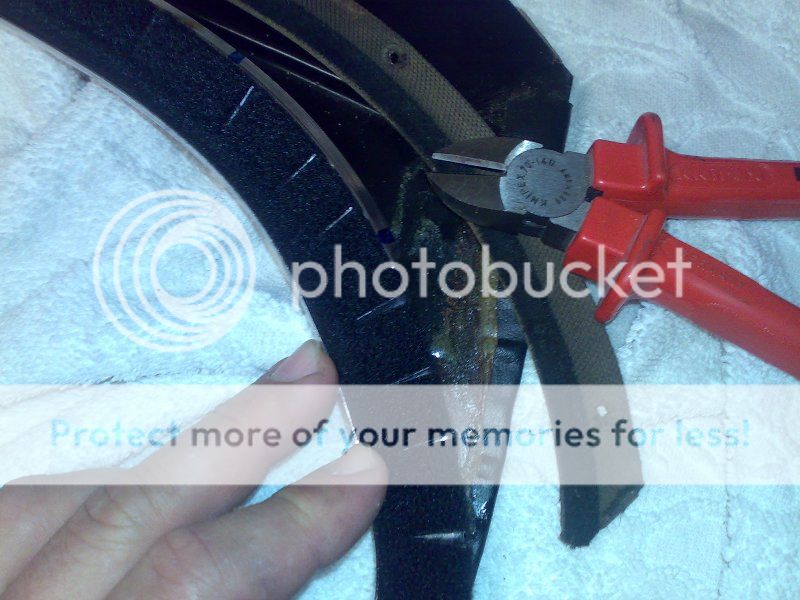
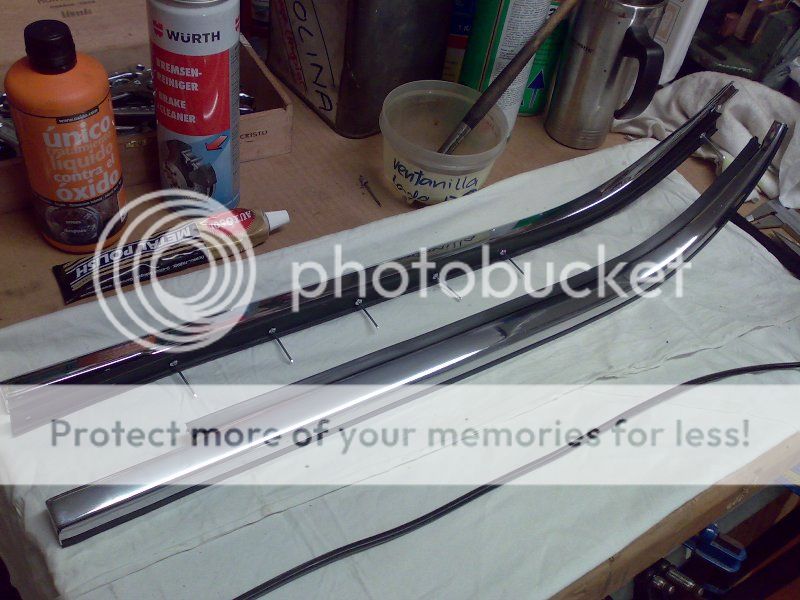
new part is available in w&n, by meters
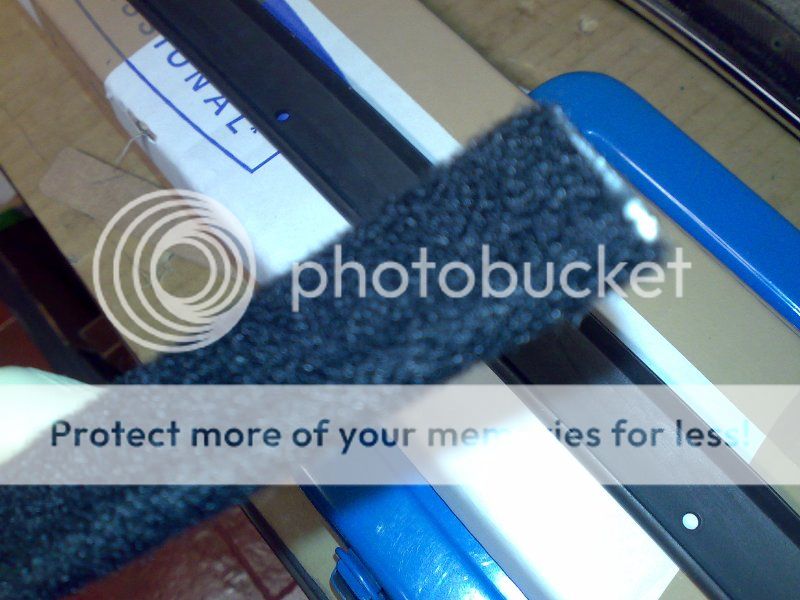
to install simply push the clamps
Last edited: