Lan-renewal of door trim, rubbers, clean and regrease of mechanisms,...

deQuincey

Quousque tandem...?
Site Donor
Messages
8,417
Reaction score
2,430
Location
BIO - 43°15'46.5"N 2°56'03.7"W
more

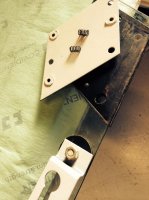
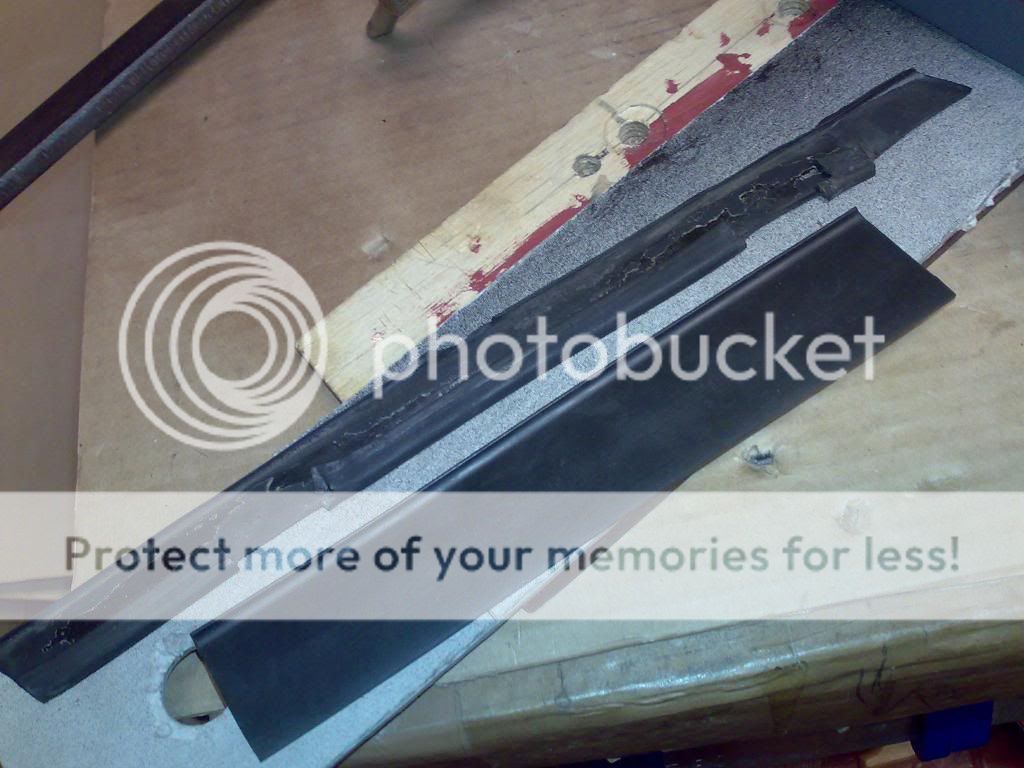
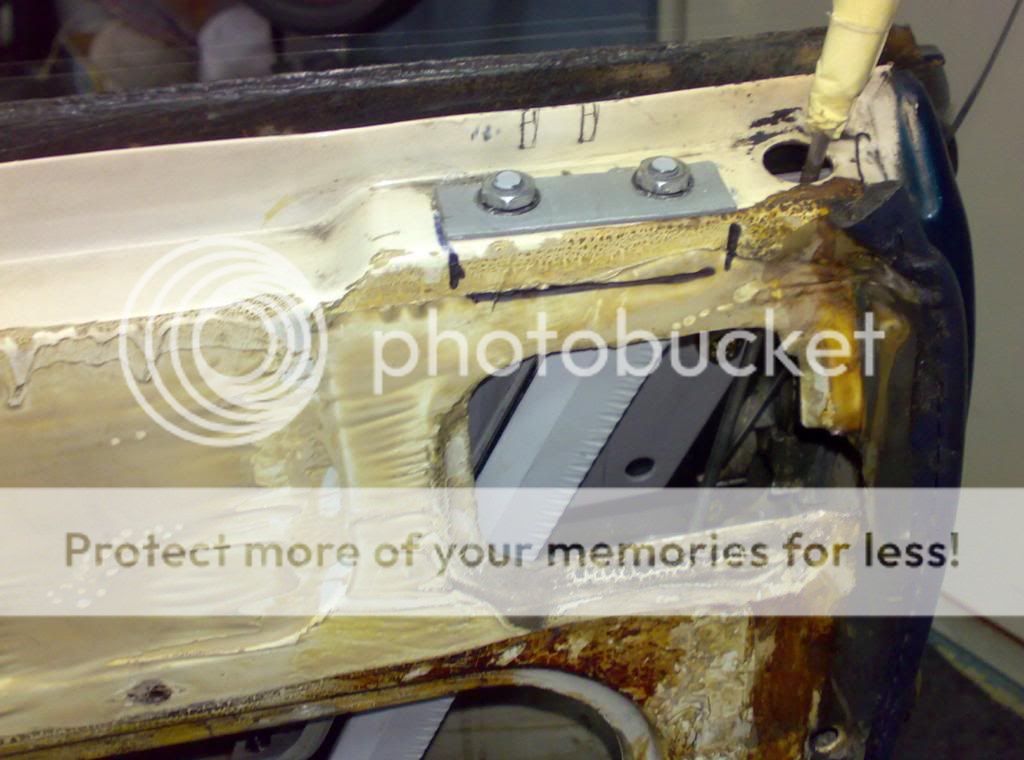
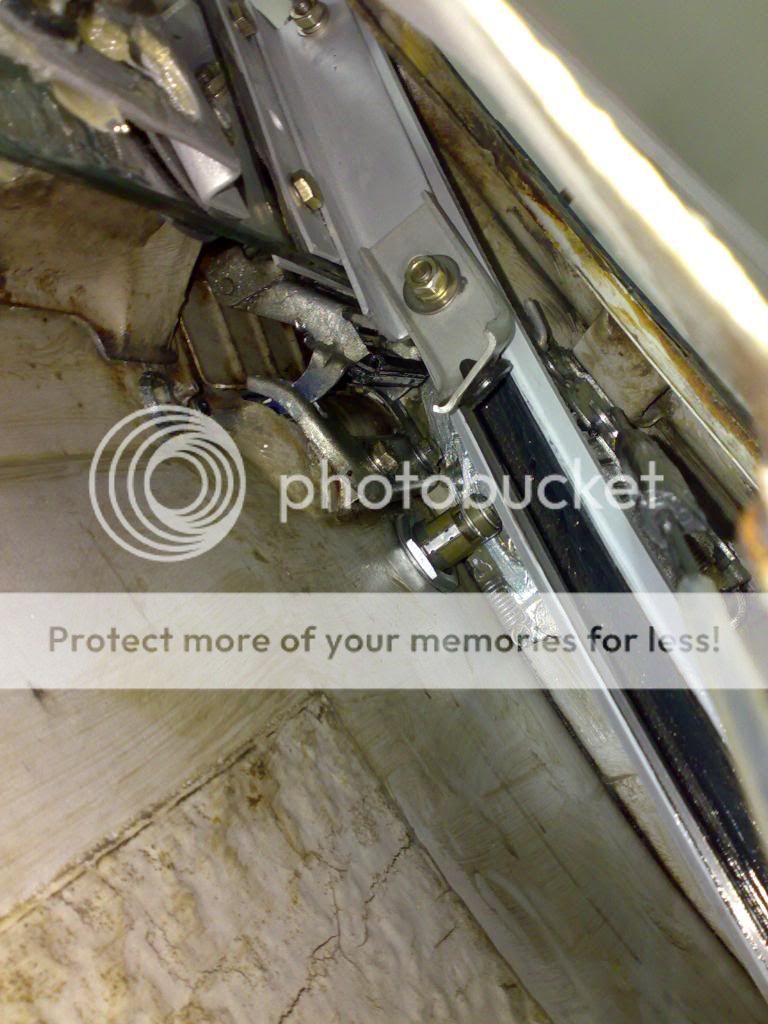
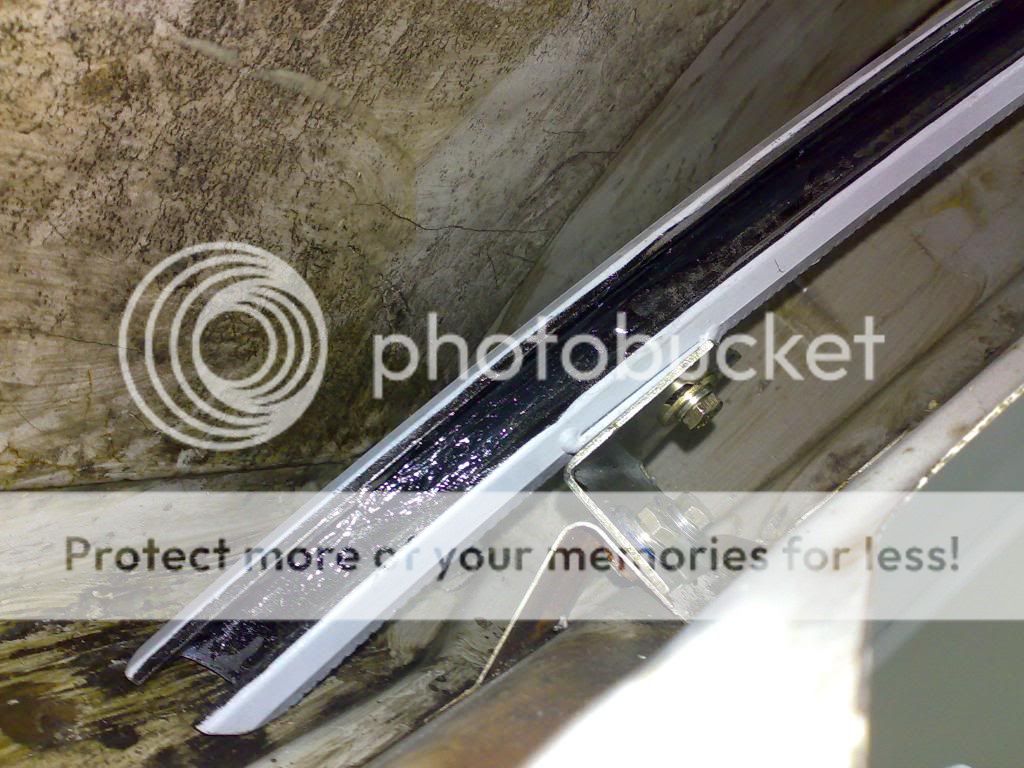
this is the NLA rubber part, and the raw material to produce a solution

281120135323_zps97ca5e3a.jpg

281120135324_zps178a9358.jpg

291120135325_zps49d15b71.jpg

291120135328_zps07aff081.jpg

291120135330_zpsf7a66ffa.jpg

291120135331_zps781a10d1.jpg

291120135333_zps64cc0205.jpg

291120135334_zpsac2ad59e.jpg

291120135337_zpscabf4fc9.jpg

291120135338_zps3cbdaf9a.jpg

291120135340_zpse221524a.jpg

291120135341_zpsc17c0261.jpg

291120135343_zps58cdd536.jpg

291120135344_zps45e06ae8.jpg

291120135345_zps4a04208a.jpg

291120135346_zps03795950.jpg

291120135349_zps3ba7f2fa.jpg

291120135350_zps7cf18146.jpg
 

deQuincey

Quousque tandem...?
Site Donor
Messages
8,417
Reaction score
2,430
Location
BIO - 43°15'46.5"N 2°56'03.7"W
Holy crap Batman, deQuincey you are making think about leaving the windows down so I can climb in and out without wearing out my doors parts! Another good lesson on what to do,Thanks.

I insist in placing a lot of pictures cos i find myself pictures very useful to check, compare, and to avoid mistakes

I have found this job really painfull, with a feeling of starting something that it was not very clear that i would have the ability to xomplete

I will not start with the left door by now... !-)
 

alanmcg

Well-Known Member
Messages
375
Reaction score
3
Location
Seattle
a question

great as always dq - my question is, was it worth it? does the door close better now and require less 'shutting force' (aka slamming)? handle and lock movement much improved? window movement/speed? etc.
 

deQuincey

Quousque tandem...?
Site Donor
Messages
8,417
Reaction score
2,430
Location
BIO - 43°15'46.5"N 2°56'03.7"W
great as always dq - my question is, was it worth it? does the door close better now and require less 'shutting force' (aka slamming)? handle and lock movement much improved? window movement/speed? etc.

hi, a big yes !

it was worth every drop of sweat, every dirt in my nails, and every little cut in my fingers,...absolutely

- my door stop was broken, now it works
- the door closed badly, you had to try twice or thrice until you apply the right force, now you have the bmw-plonck correct sound
- the window was badly adjusted to the door frame and to the rear window, sound was comming inside through those gaps
- the door lock mechanism was blocked, i was unable to close the door with the lock, i had to lock it from inside, now the lock rotates smoothly and does its work with precission
- the window needed too much effort to go up and down, as it moved not aligned to the frames, now is smooth as skiing in perfect snow
- the weatherstrips were cracked, the felt was in bad condition,...
- the door trim looked awful, bended and curved because the base meterial was deteriorated due to the action of humidity
- some superficial rust was found in the door panels, rust had been treated and blocked
- some bolts were loose, and their threads damaged or even destroyed, now all new bolts, washers and nuts
- glass support rubbers were cracked, now new rubbers are flexible and soft providing a good performance

and last but not least the fit is perfect

the question was not if it was worth, the question was why the heck i have waited so much time to do it...;-)
 
Last edited:

bwalvoord

Well-Known Member
Site Donor $
Messages
630
Reaction score
39
Location
Greenville, SC
Door Card Cleaning

DQ,

Following your guidance my mechanic and I are splitting the duties you've outlined, albeit not exactly 50/50. I am responsible for cleaning the door cards (and possibly replacing the cardboard stock if need be) and he is handling the rest. I believe I have seen another thread for the right cardboard stock to buy but what is the best way to clean the actual vinyl? I was assuming a toothbrush and some mildly soapy water but that might get everything too wet if I don't decide to replace the board. Any tips to avoid (or absolutely do) to the vinyl?
 

deQuincey

Quousque tandem...?
Site Donor
Messages
8,417
Reaction score
2,430
Location
BIO - 43°15'46.5"N 2°56'03.7"W
bwalvoord; said:
? I was assuming a toothbrush and some mildly soapy water but that might get everything too wet if I don't decide to replace the board. Any tips to avoid (or absolutely do) to the vinyl?

well you are right, water in your card will be a problem, avoid using it unless you take extreme precautions to avoid water entering the board side, the problem is that you have a lot of holes so this seems not really doable
if you are not going to remove the board i would use a Vynil care product, like AUTO GLYM. this will suppose the use of much less liquid and thus a easier recovery to dry the board
 

bwalvoord

Well-Known Member
Site Donor $
Messages
630
Reaction score
39
Location
Greenville, SC
I know there are several threads on door panel restoration but I have not found a consensus on board material. Is there a specific weight (thinking cardboard) or density and/or thickness? I would like to tackle this over the weekend. Please feel free to talk me out of this if there are easy options for just buying and shipping them to the east coast.
 

deQuincey

Quousque tandem...?
Site Donor
Messages
8,417
Reaction score
2,430
Location
BIO - 43°15'46.5"N 2°56'03.7"W
I know there are several threads on door panel restoration but I have not found a consensus on board material. Is there a specific weight (thinking cardboard) or density and/or thickness? I would like to tackle this over the weekend. Please feel free to talk me out of this if there are easy options for just buying and shipping them to the east coast.

the only single advise i will give you is this one: buy the same thickness ! the pocket nuts will be impossible to fix if it is thicker than the original, and you will find very difficult to intorduce it under the wood line

i do not think that it would be very important to use one type or other, pressed cardboard, i do not think that you will find many different types

imho weight, no problem, at least it has to be easy to put staples on it, i would recommend to paint it with latex or similar to avoid water and moisture going inside

it does not need to be very strong, dense or stiff

i propose that you use an intermediate layer of textile or a very thin foam for a better touch feeling
 

Tom P

Well-Known Member
Messages
149
Reaction score
9
Location
Vacaville, CA
Loose springs - Window repair?

deQuincey,

First, thank you for your detailed explanations of E9 sub-system repair and restoration. Great work.

I've been working to restore my door windows and wing windows - after cleaning I came across 2 small springs in my parts washer.

Any suggestion - window track maybe? Wing windows maybe?

Thanks,
Tom P
 

Attachments

  • photo.jpg
    photo.jpg
    91.6 KB · Views: 319

deQuincey

Quousque tandem...?
Site Donor
Messages
8,417
Reaction score
2,430
Location
BIO - 43°15'46.5"N 2°56'03.7"W
deQuincey,

First, thank you for your detailed explanations of E9 sub-system repair and restoration. Great work.

I've been working to restore my door windows and wing windows - after cleaning I came across 2 small springs in my parts washer.

Any suggestion - window track maybe? Wing windows maybe?

Thanks,
Tom P

as far as i can tell i have never seen those springs during my works in the car
sorry
 

Stevehose

Well-Known Member
Site Donor $$
Messages
12,997
Reaction score
5,672
Location
Sarasota, FL
Do they fit behind the round pieces that hold the regulator arms into the window frames? I recall those being spring loaded.
 

Robertsocal

Active Member
Messages
46
Reaction score
0
Location
Temecula ca
deQuincy,

Thanks for that very informative presentation. I just saw this today, after pulling apart my rear window assembly on a whim last night.

I had not planned on fabricating parts today, was just going to pick some new stuff up (Yep E9 Newbie),
What was I thinking? I have the experience and certainly the tools to do it, but was a bit disturbed to see what you had to do.

I really wanted the felts but they seem to be non-existant at this time. in Temecula, CA at least.

My neighbor is kind of an ass, and I bet I could adapt the pasrts of his new Acura to fit :).

Thanks again, big help for the mental prep at least!

Robert
 

deQuincey

Quousque tandem...?
Site Donor
Messages
8,417
Reaction score
2,430
Location
BIO - 43°15'46.5"N 2°56'03.7"W
deQuincy,

Thanks for that very informative presentation. I just saw this today, after pulling apart my rear window assembly on a whim last night.
!

Robert

rob,

there is another thread on the rear windows, you must look at it !

directions:

click on my name
go to see public profile
click on statistics
click on find all threads
enter in DIY paradise:razz:

it is in page number 3, " rear windows,...."
 
Last edited:

inovermyhead

Well-Known Member
Messages
516
Reaction score
166
Location
Sydney
Guys,
I'm in the process of stripping down my door so that there is access to the outer edge of the top of the door, under the chrome strip. I lifted the trim up to replace the rubber seal and found some rust along that top edge that needs some attention. I have followed deQ's excellent step by steps but am stumped by the internal mechanisms removal. Do I need to remove the window glass and it's runners ect before the quarter light window frame or the other way around?

Anyone out there who has stripped their door right back?
Thanks.
John
 

deQuincey

Quousque tandem...?
Site Donor
Messages
8,417
Reaction score
2,430
Location
BIO - 43°15'46.5"N 2°56'03.7"W
. Do I need to remove the window glass and it's runners ect before the quarter light window frame or the other way around?

you need to make room for removing the triangle, so at least you have to loosen the window glass first, and this implies loosening the rear window slider

basically yes, otherwise the tensión of the window will not allow you to remove it

if you read this thread carefully there is a text that explains the sequence, it is only my opinión, but at least i can confirm that it Works this way

regards
 

Tom P

Well-Known Member
Messages
149
Reaction score
9
Location
Vacaville, CA
Quick question - outer chrome door trim

Thanks DeQuincey - well done and invaluable documentation.

2 questions...

(1) I believe I have the clips inserted correctly. They just slide over the metal at provided gaps in the felt backing strip? Then I suppose they create a friction fit against door top?

(2) The NLA rubber that's shown in my photo just below the chrome trim affixes to front edge of trim - guessing with some spray adhesive. But, what about the second one down? It's heavier/ stiffer rubber and I have replacement new rubber for it. Anyone know where that piece goes?

Thanks!
 

Attachments

  • image.jpg
    image.jpg
    88.5 KB · Views: 328
Top