rickysbmw320i
Active Member
- Messages
- 56
- Reaction score
- 0
I have kept most of the info on other sites but It's time for you to meet her.
Posted from another site:
Long time listener, first time caller....
First off, some damn nice cars in here, keep up the good work guys!
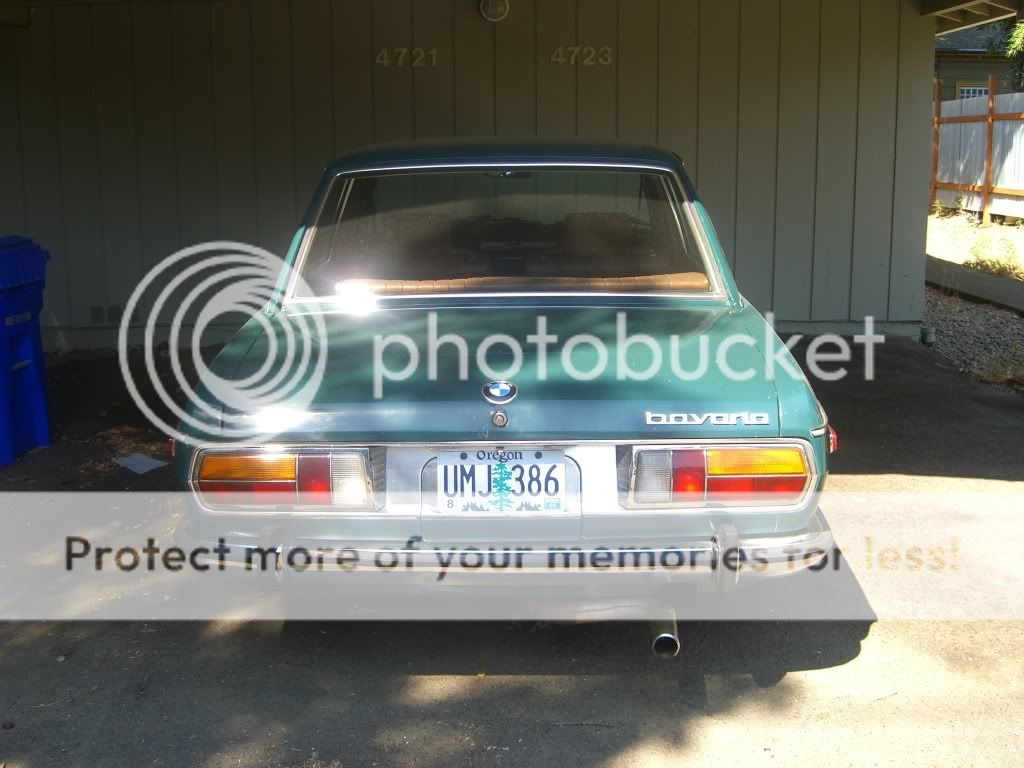
And now to introduce my project.
History.... (you do not have to read, but it is entertaining)
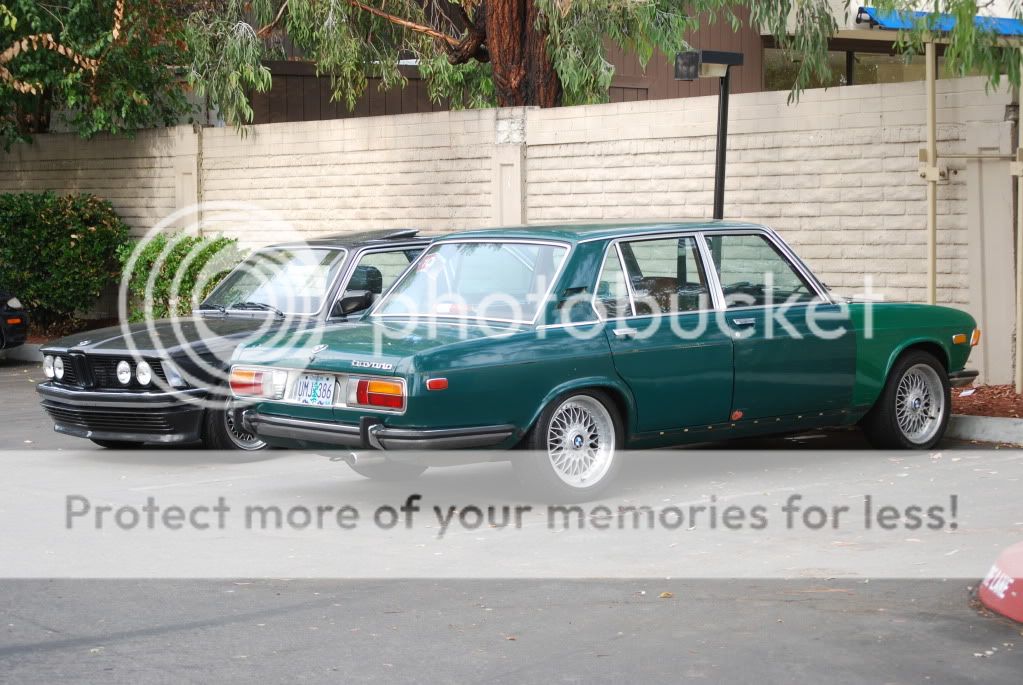
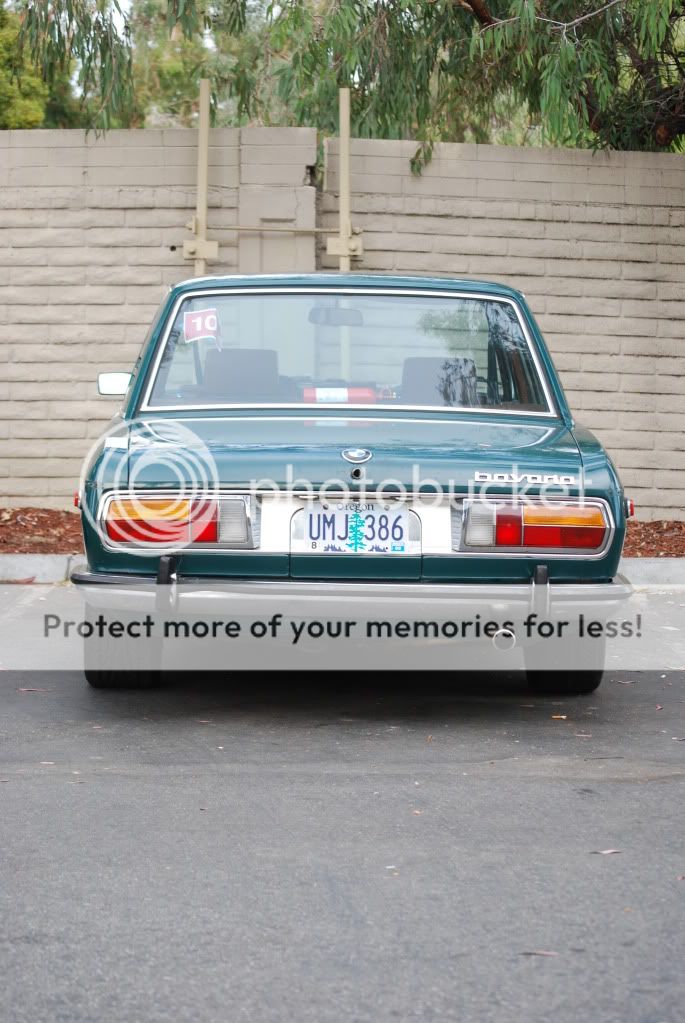
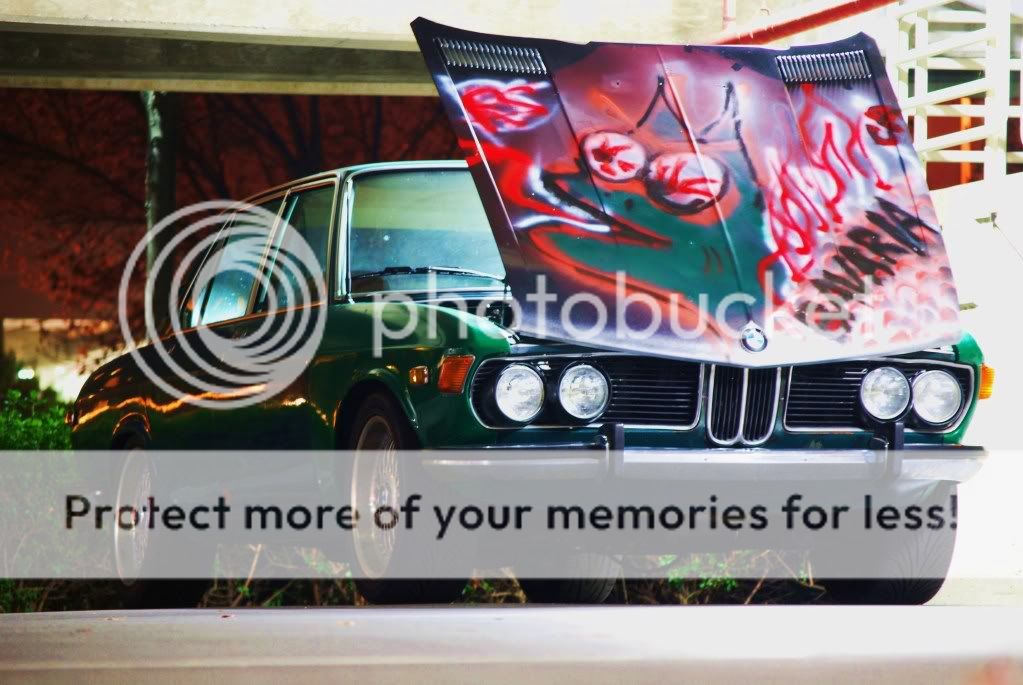
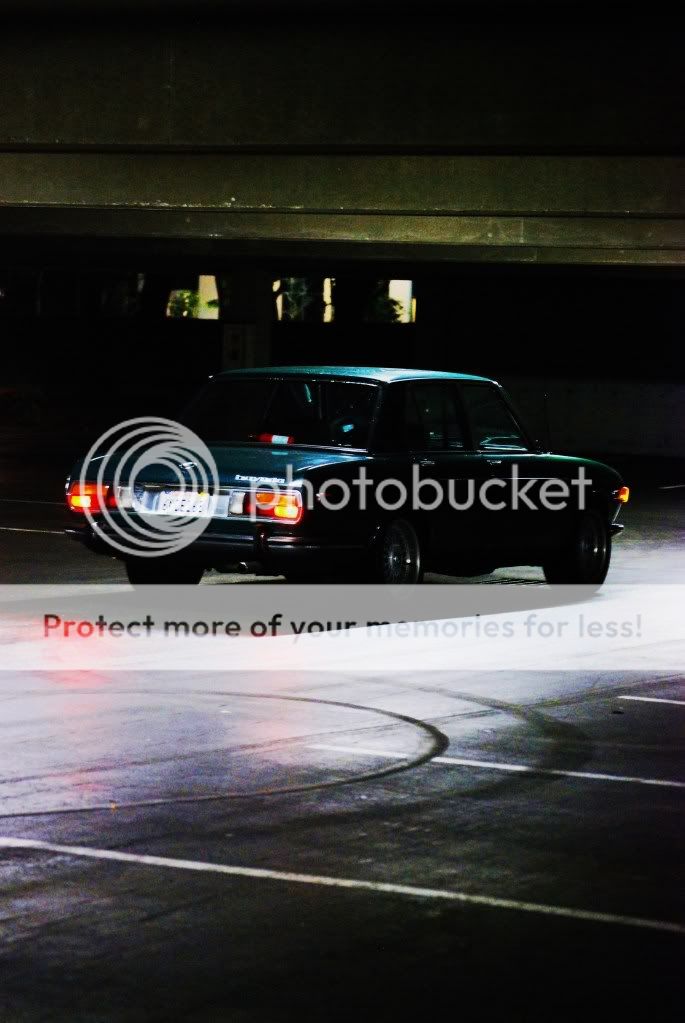
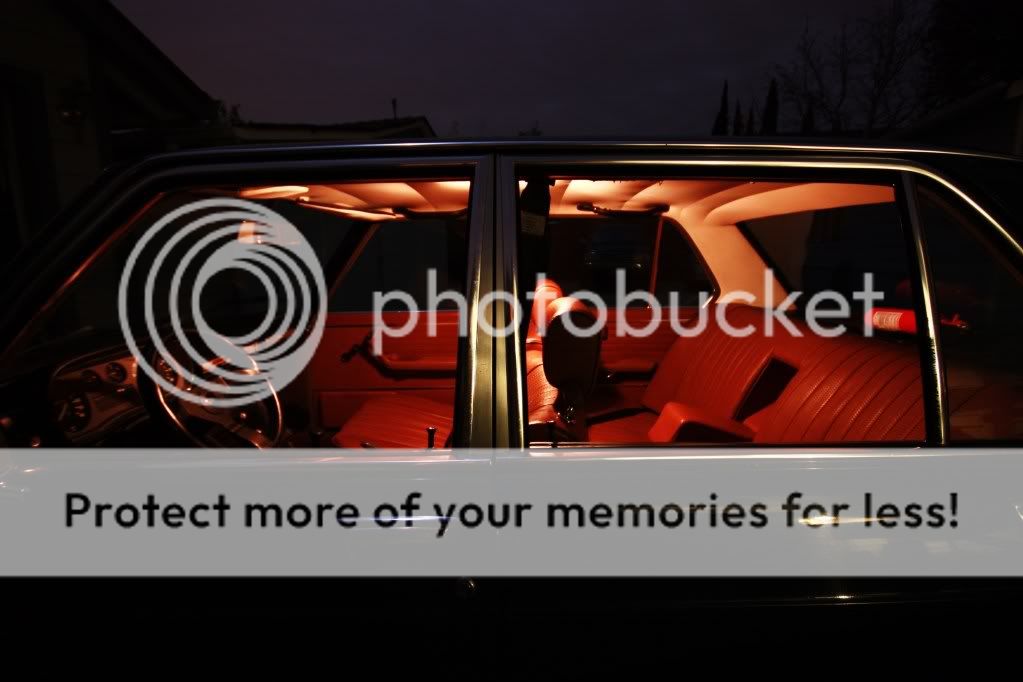
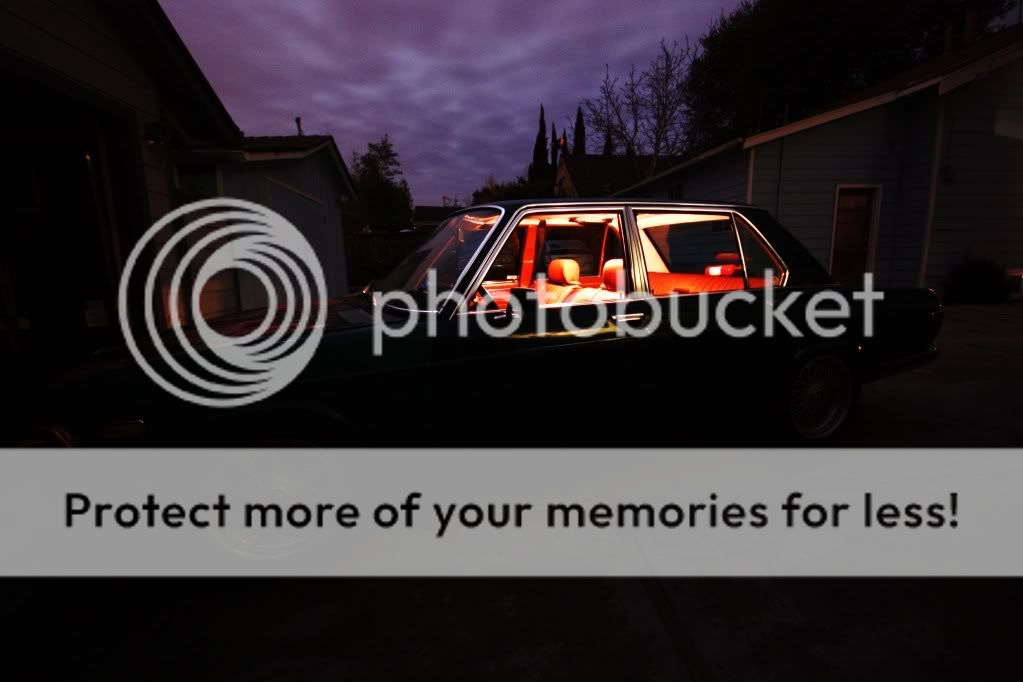
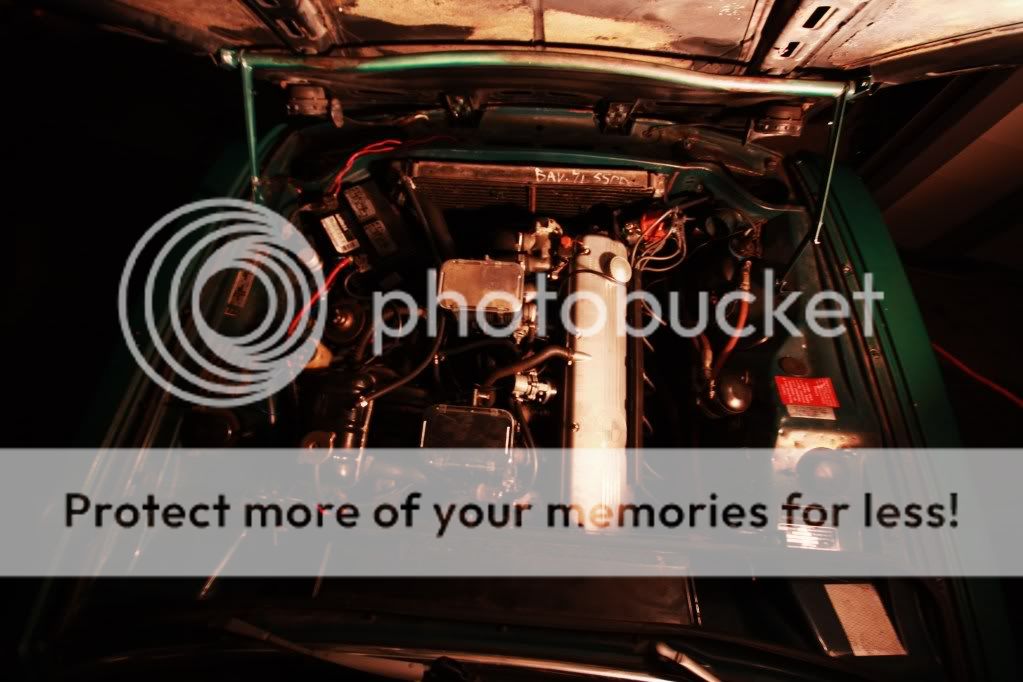
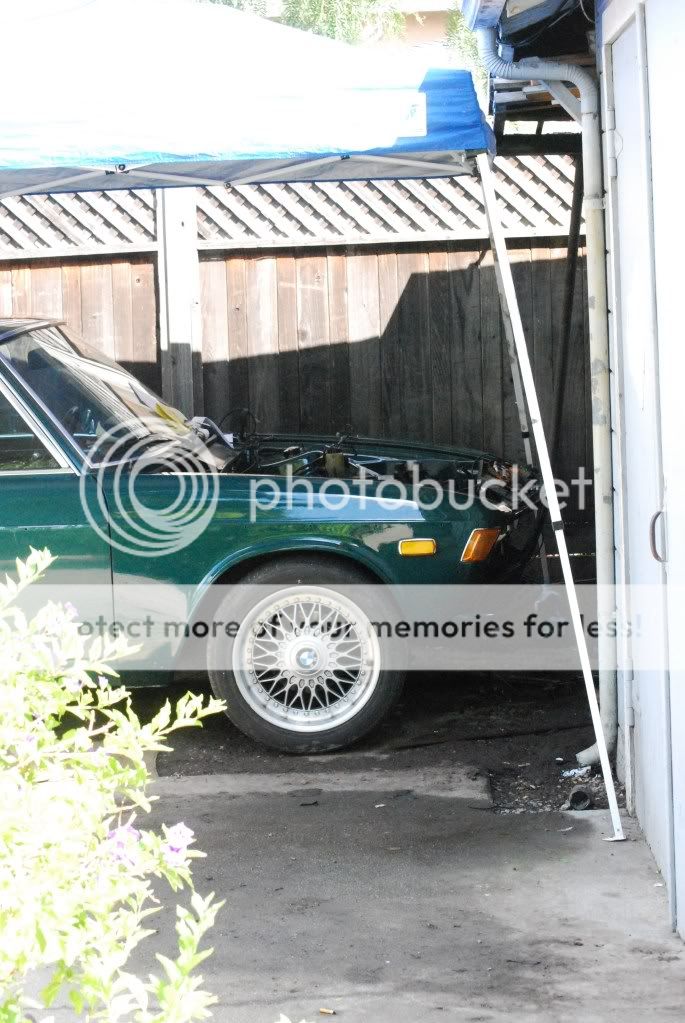
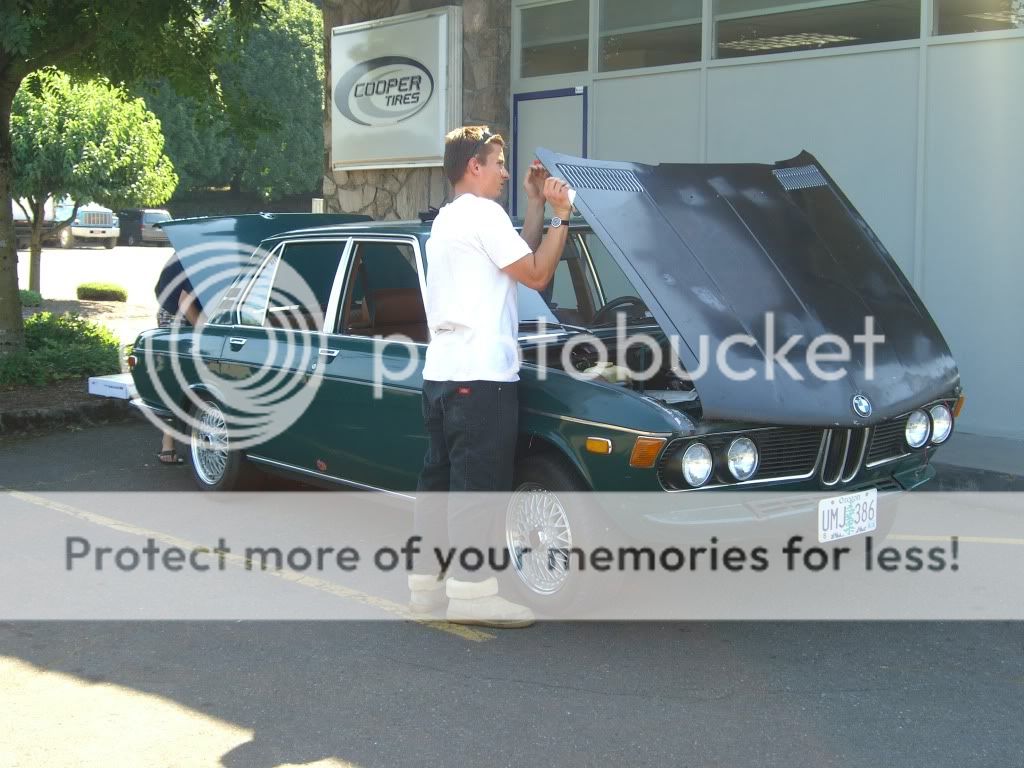
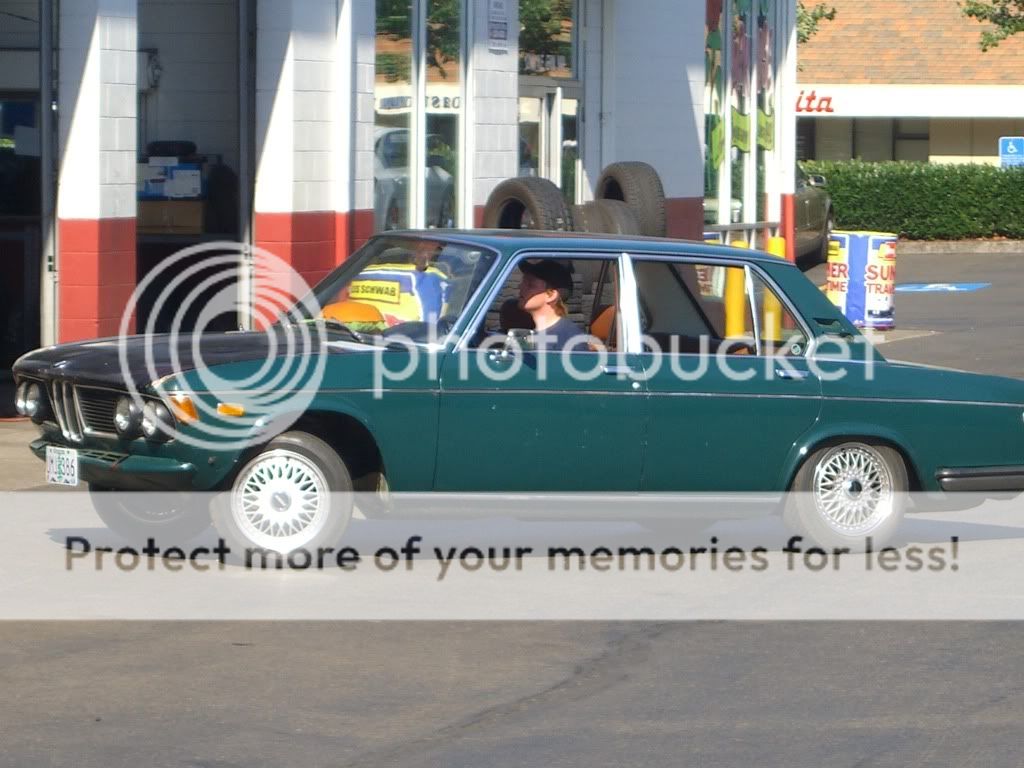
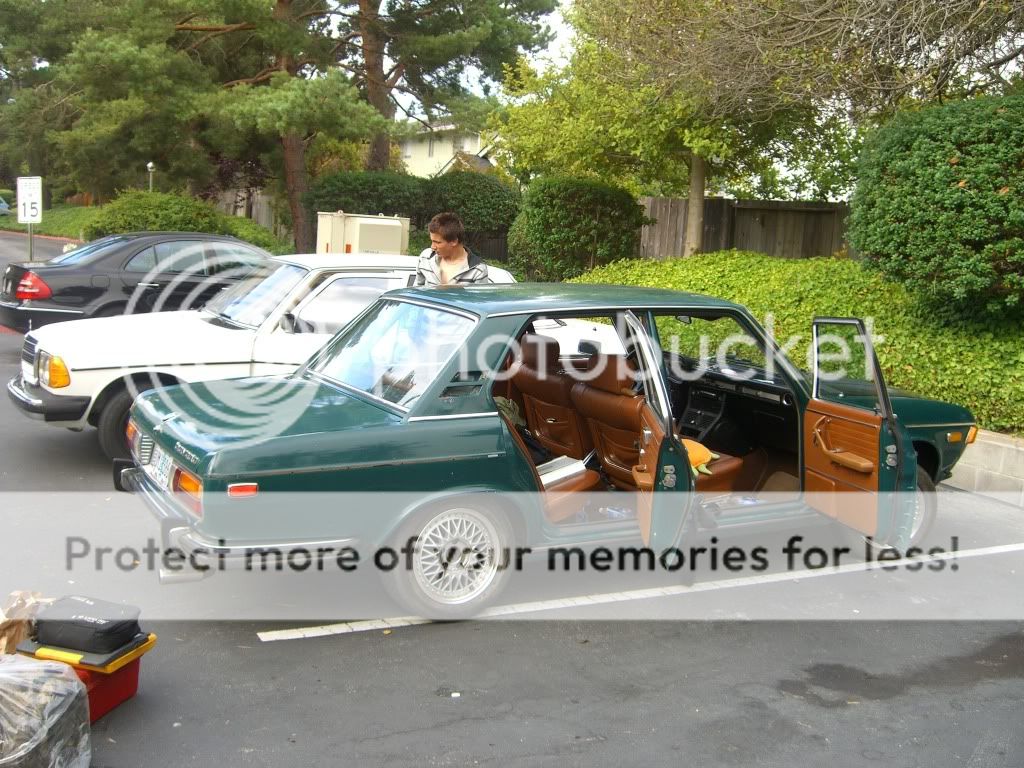
Basically I picked up a Bavaria up in Oregon a couple months ago.I traded a 1994 Cherokee for the car.

All I knew was that the car was in Portland, OR and I was in SF.
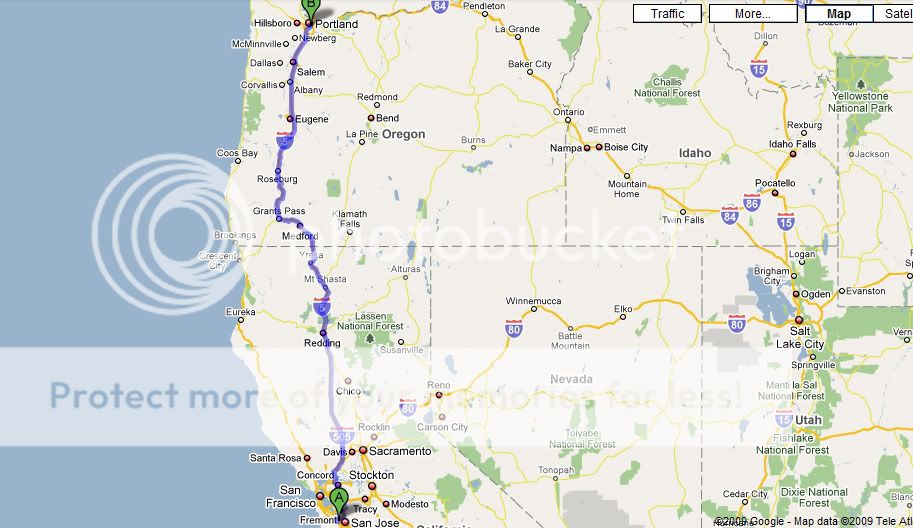
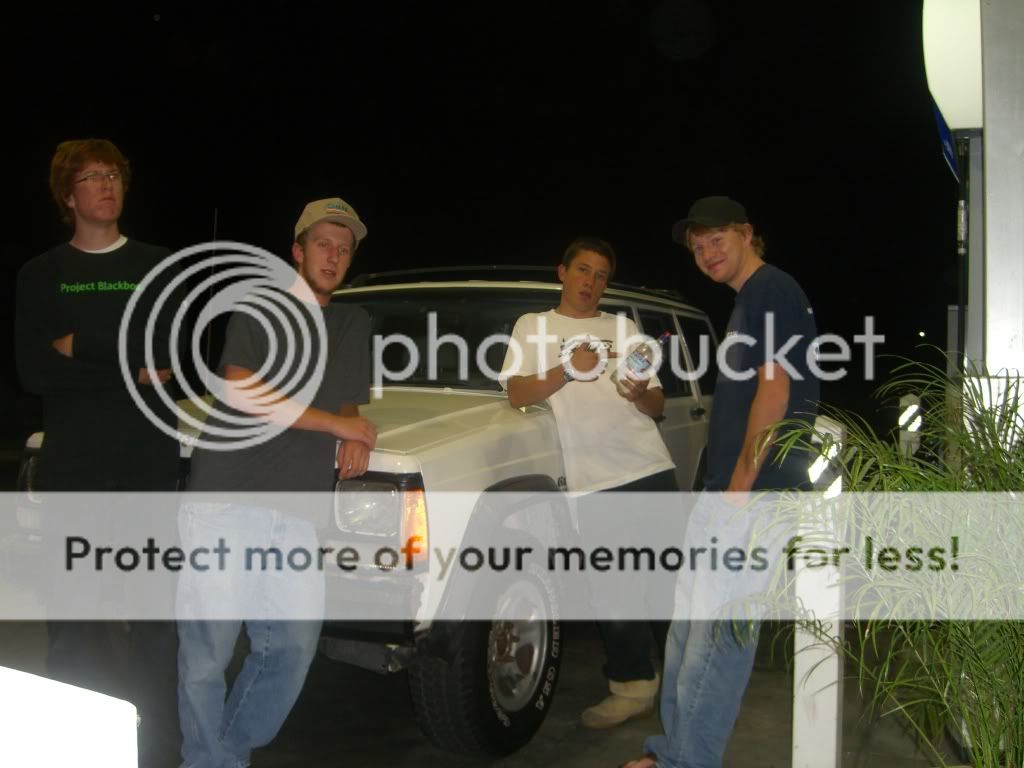
The car had been sitting for years and it ran fine when it was parked. Me and 3 buddies drove up and planned to drive it home.
When we got there, we found a broken fan clutch and leaky fuel lines so the engine could not pump fuel. We fixed that after 3 hours in 112 degree weather. We are on the road!
The trip: Took 3 days.
Gas was first.

The very first thing that went wrong less then a mile away from your house was the throttle cable. There is a spline that was stripped so we fixed that at some gas station. It was so hot (i think 110) and a guy gave us some free waters and then another mechanic came by and asked if we needed anything. We did need a spring to hold the carbs shut. So we got that and the stripped spine fixed within 2 hours.
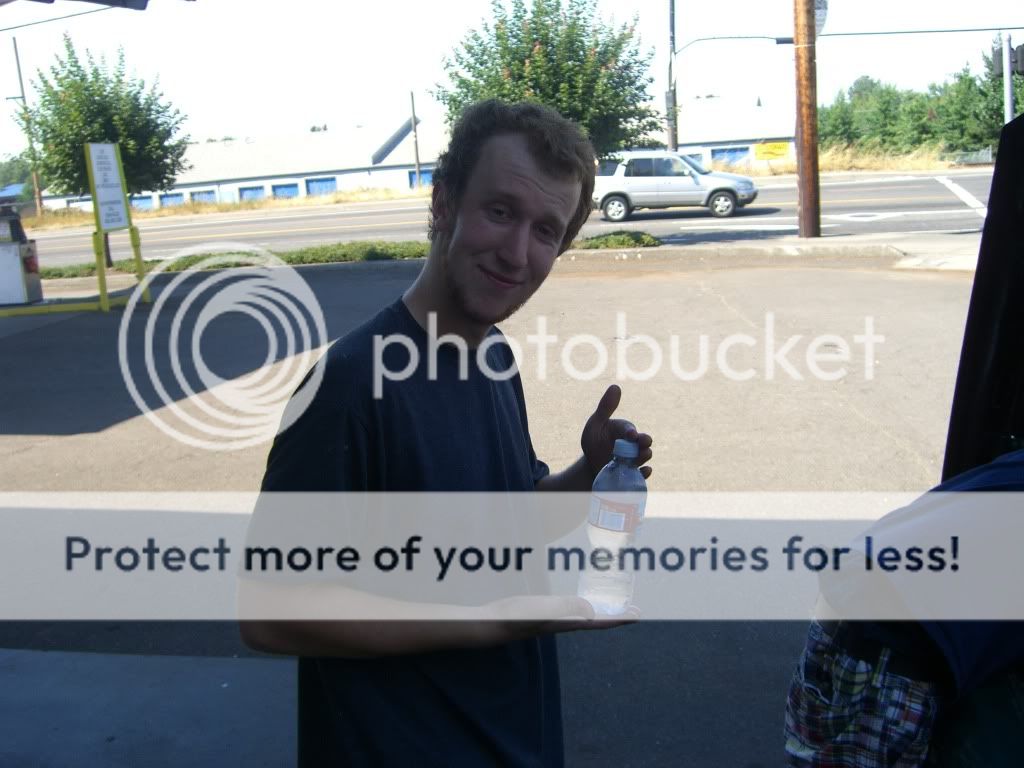
Code showing his appreciation of H2O
We started to head down the road to "horsepower freaks" to go and visit. We got there and hung out for a bit....
but when we were walking back to the car, we noticed it was dripping from the transmission pretty bad. So we pulled into a shop real quick and tightened the tranny bolt. People were so nice there.
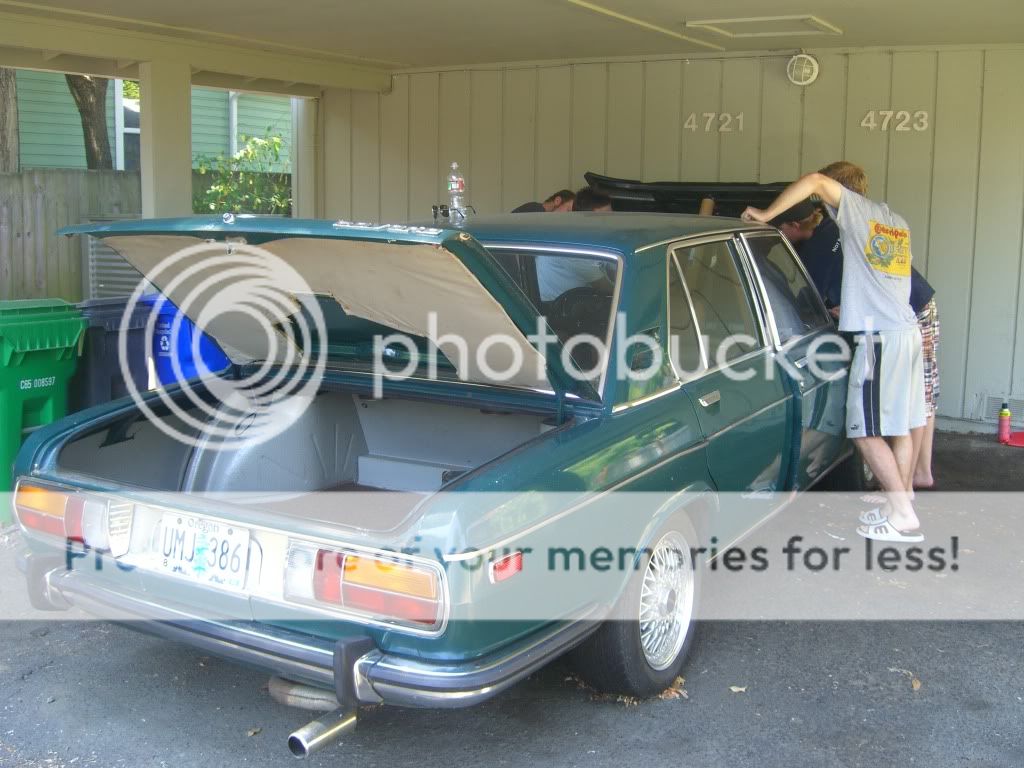
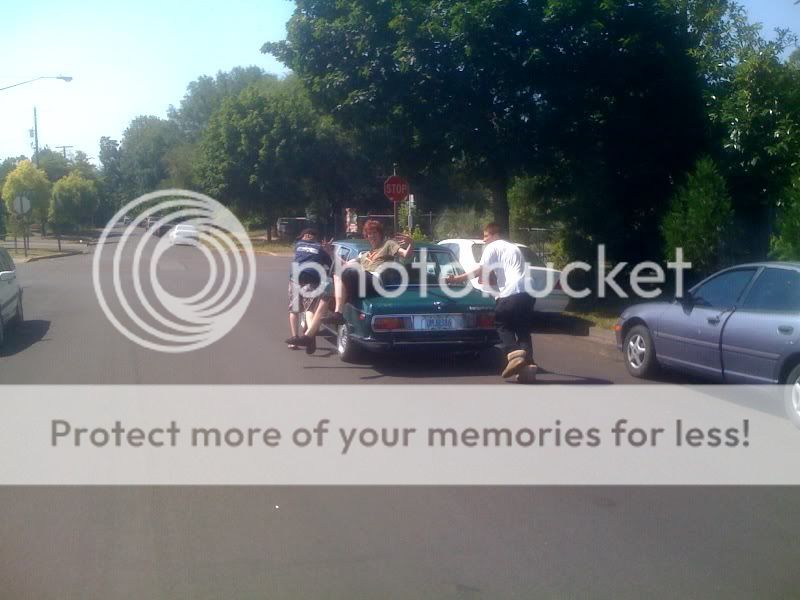
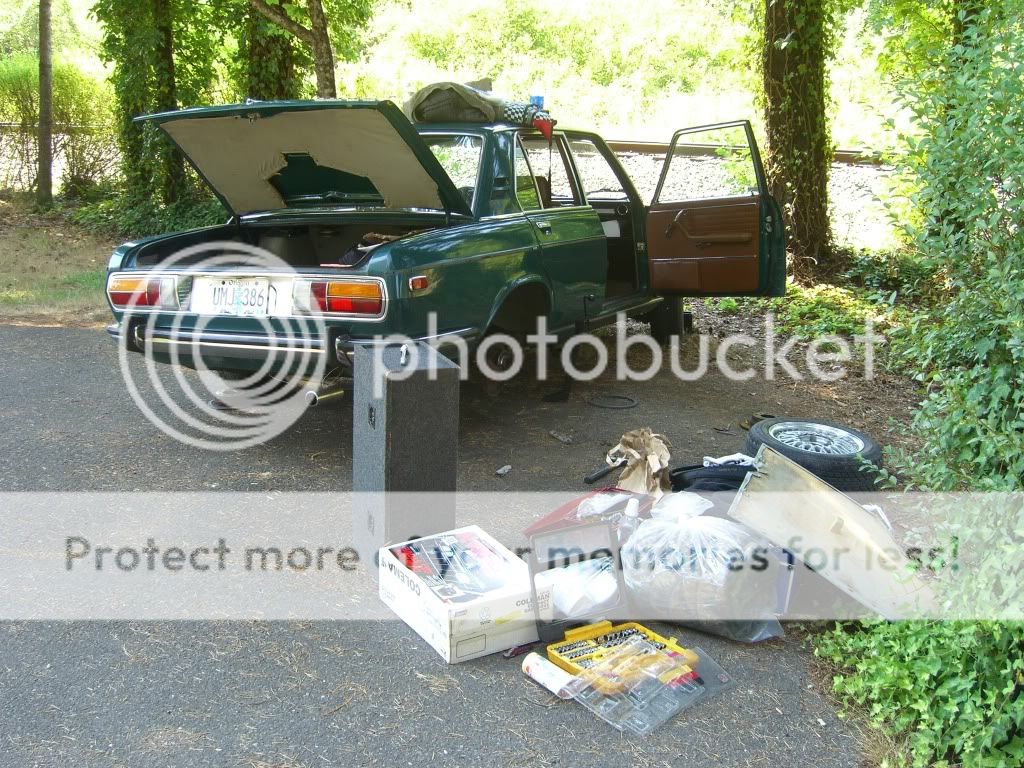
As we started to head home, we pulled out of the driveway and the car shut down. So after a couple hours of trying to figure out what it was, we realized the fuel pump was clogged, so we had a spare in the trunk plugged that in and primed the system.Note everytime we had to fix something, we had to pull out about 100lbs of **** out of the trunk.
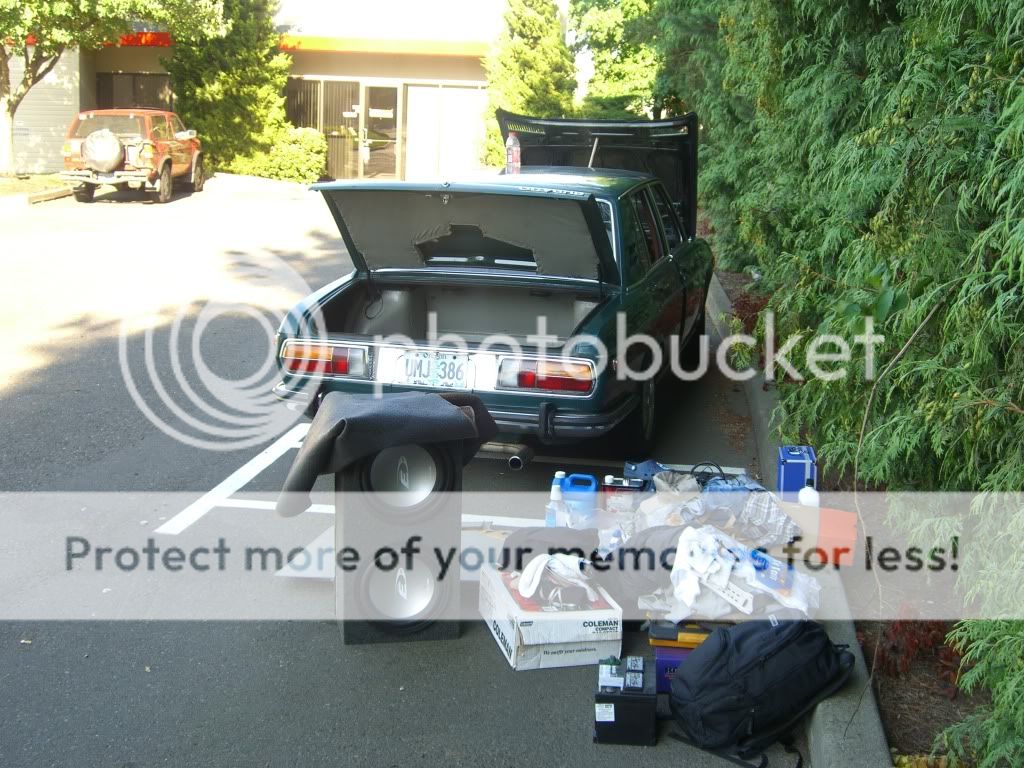
It started up and again and we were off. Solid Driving that night! No problems, we were so happy.Minus the heat...

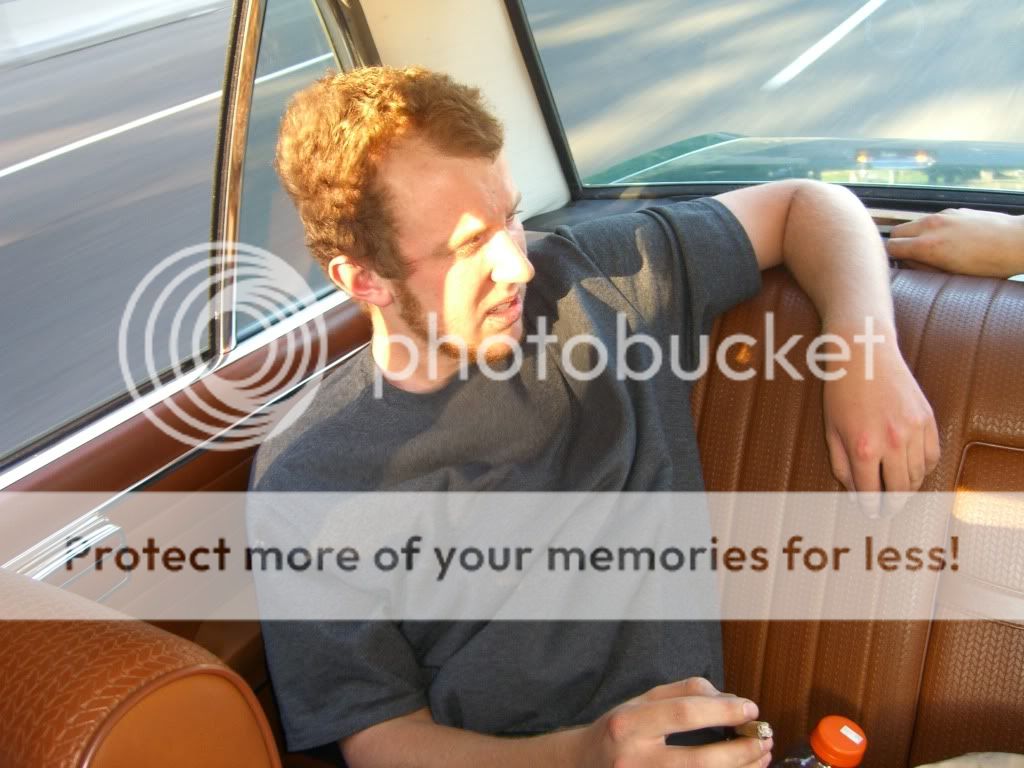
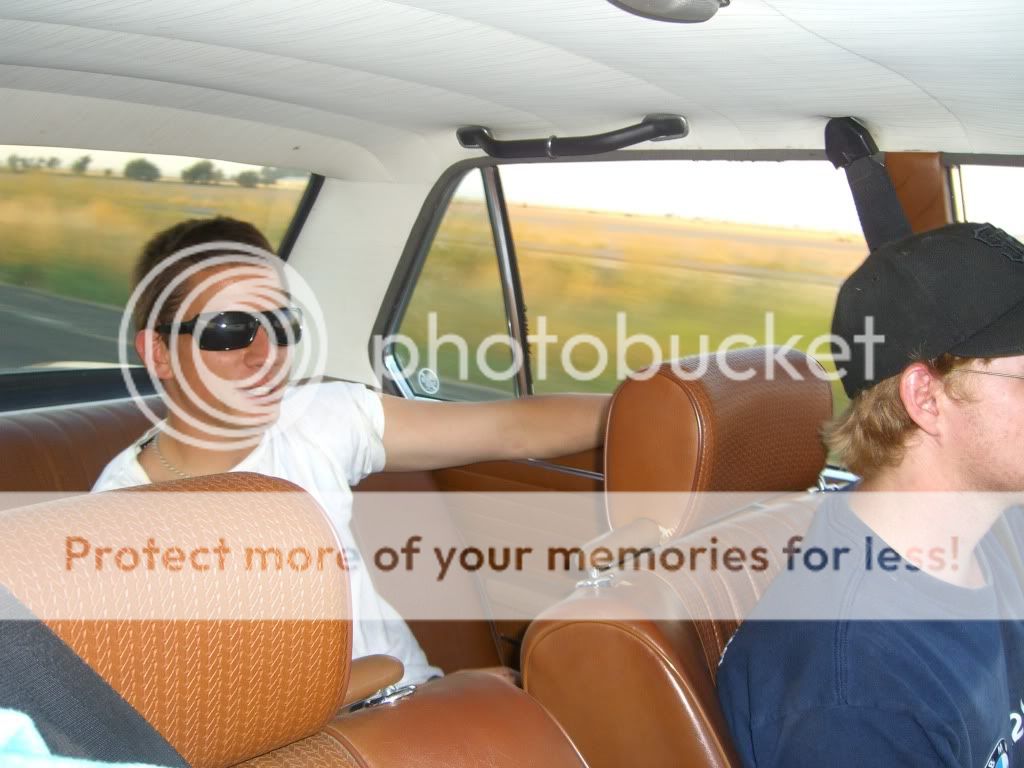
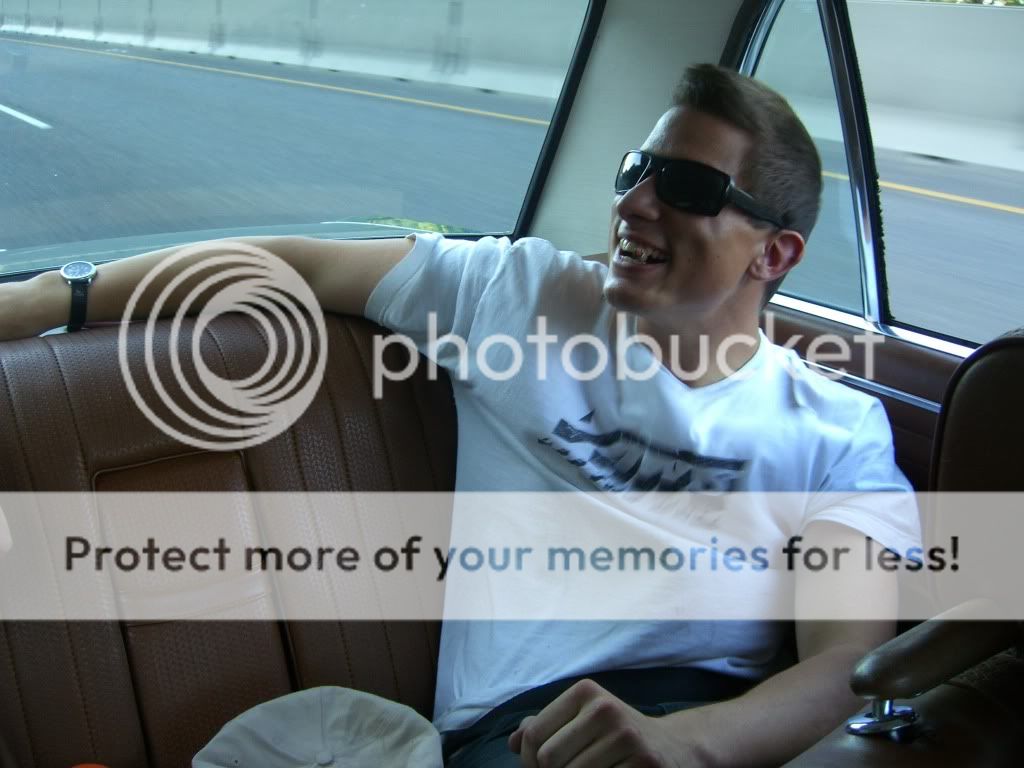
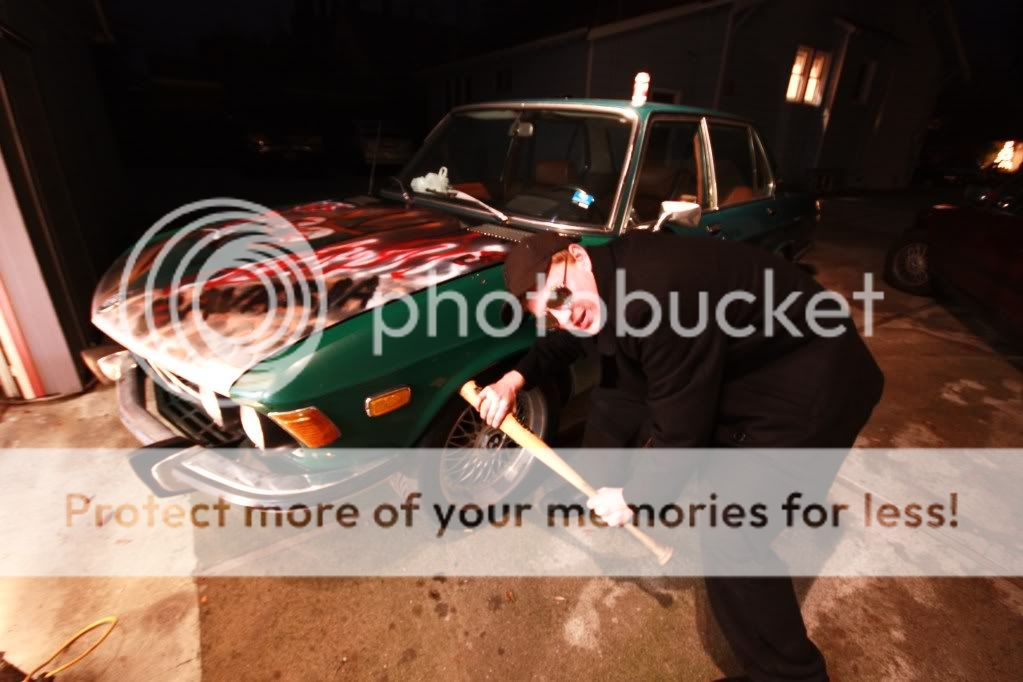
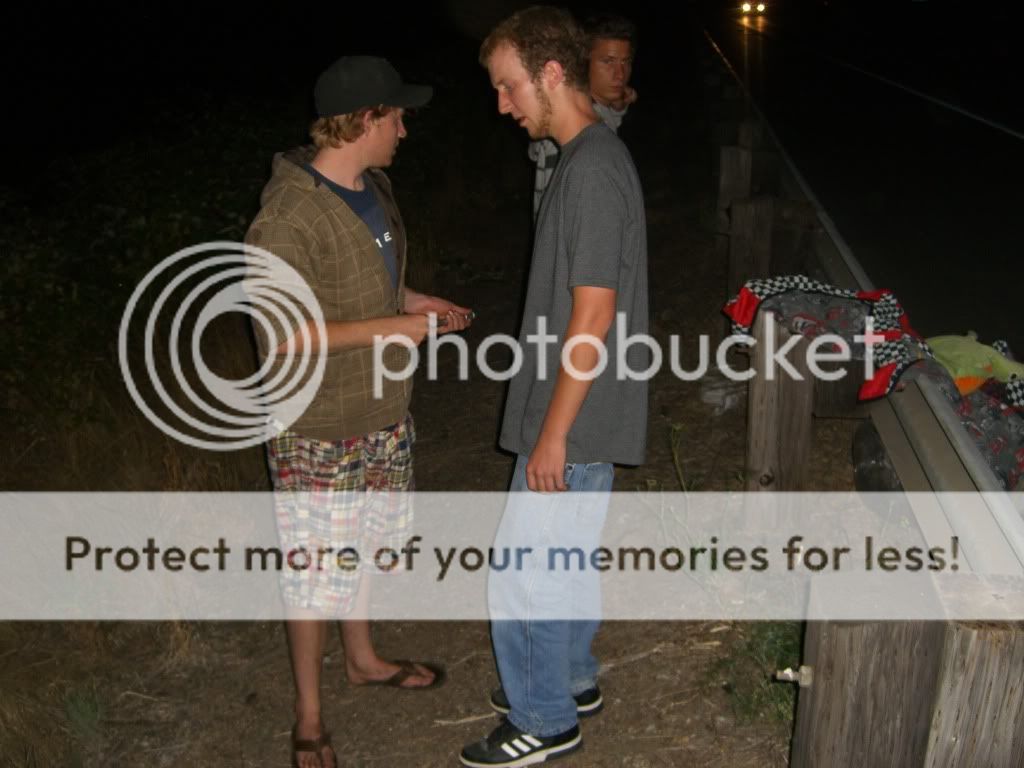
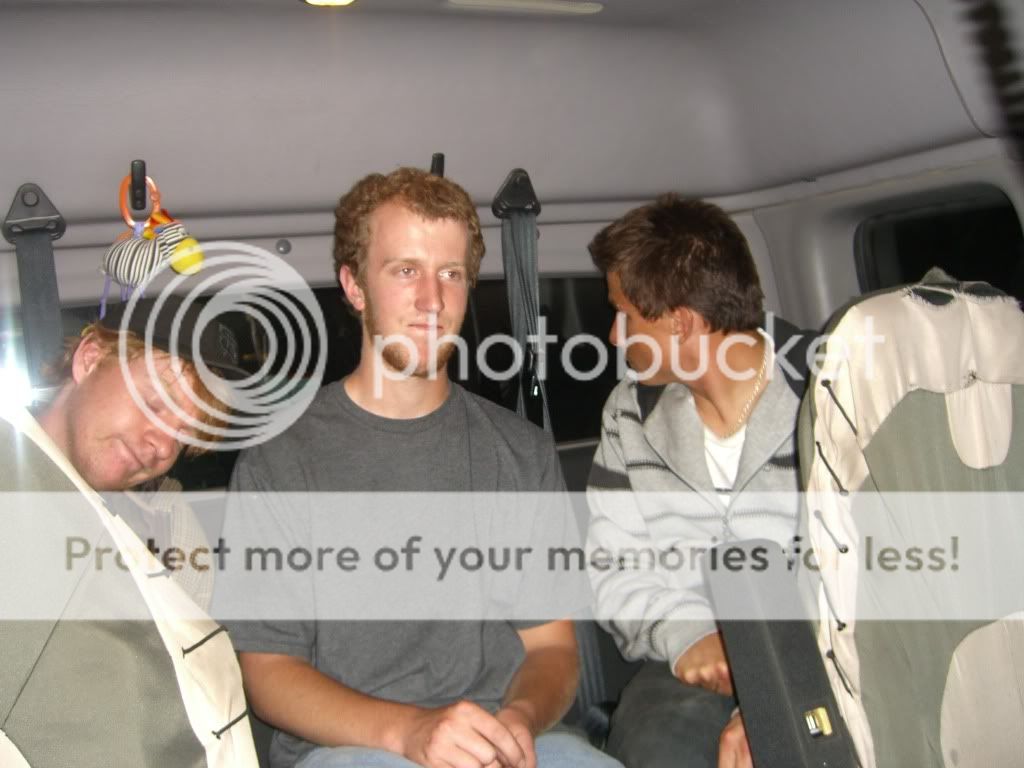
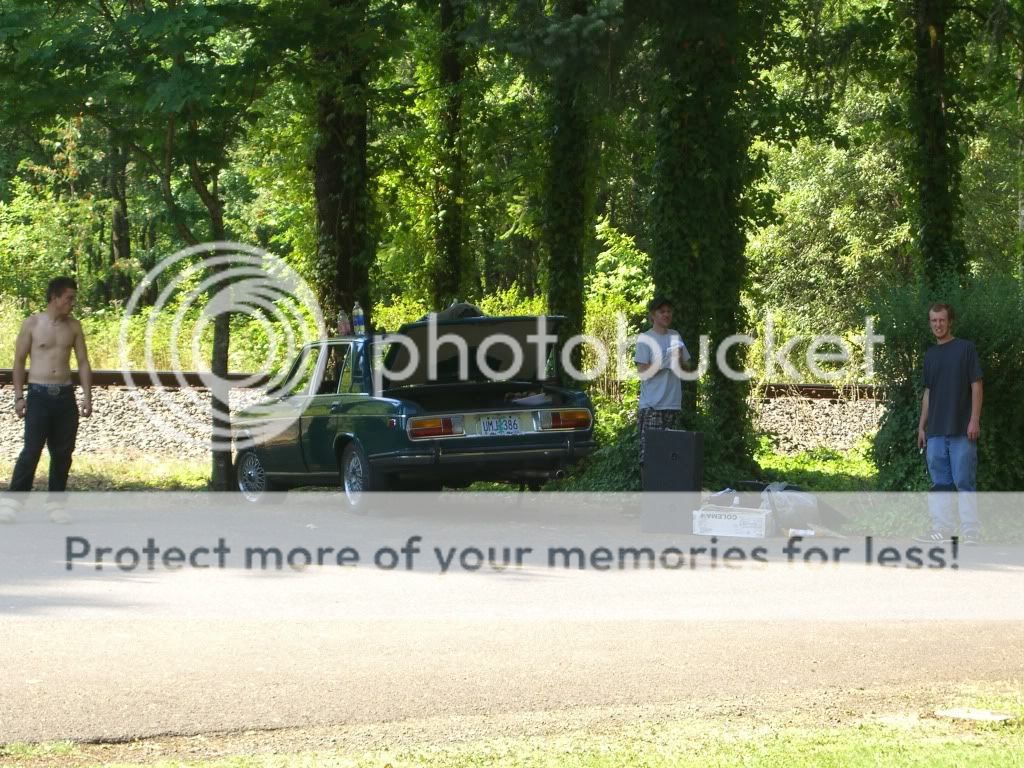
Ryan
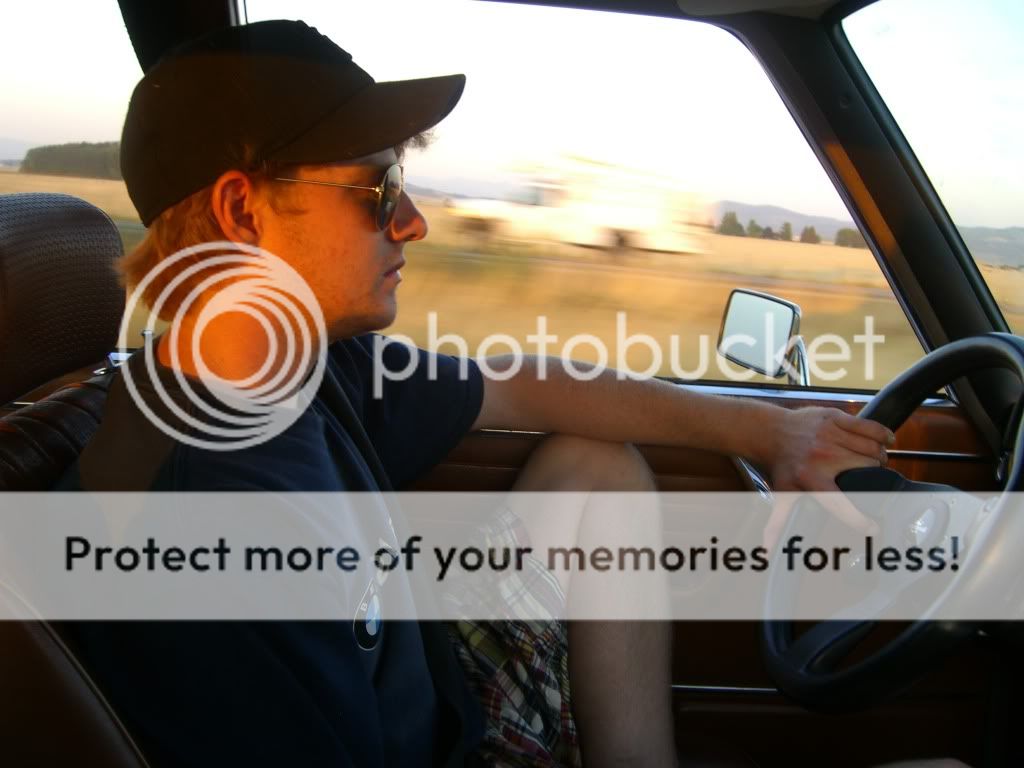
Me

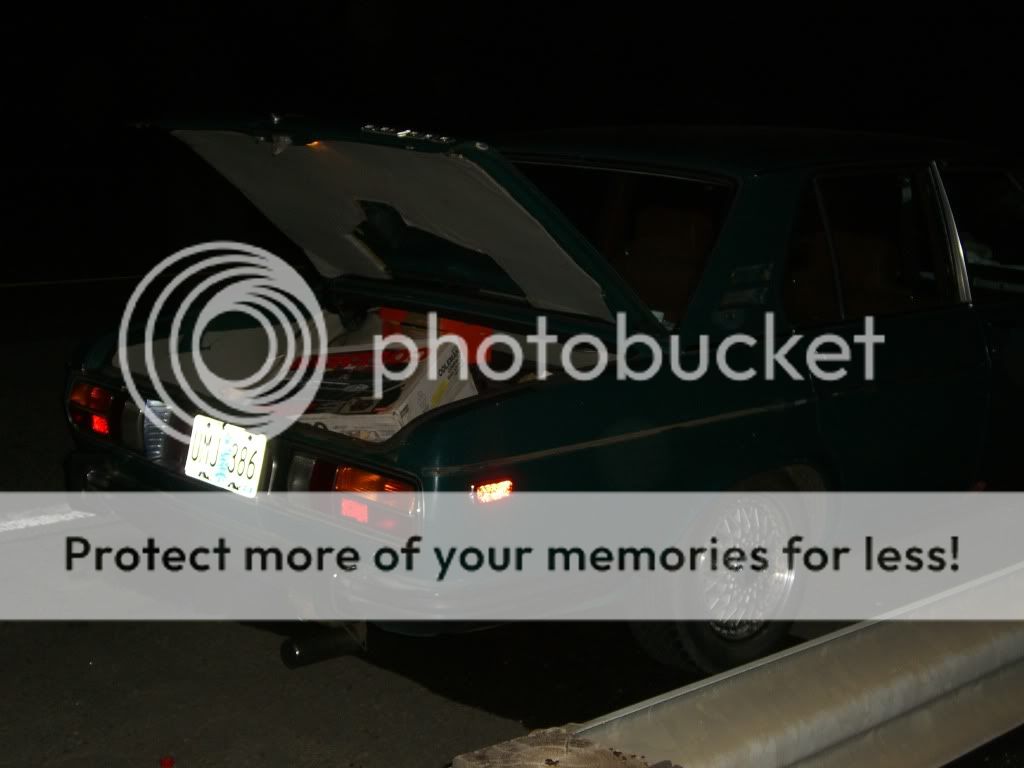
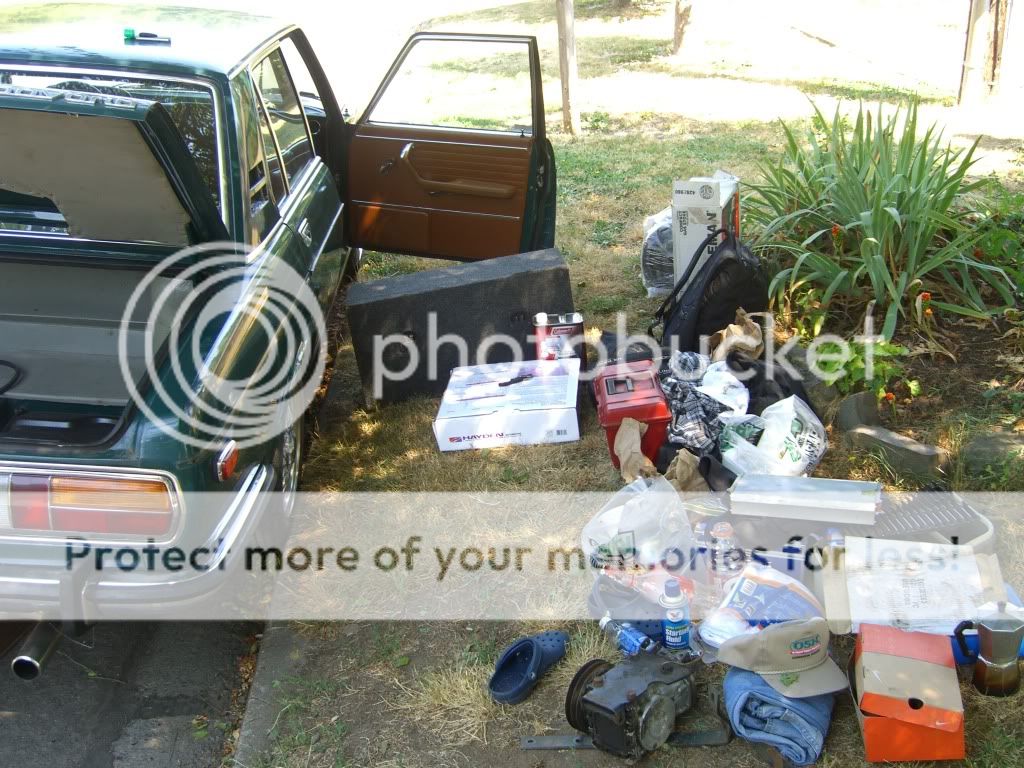
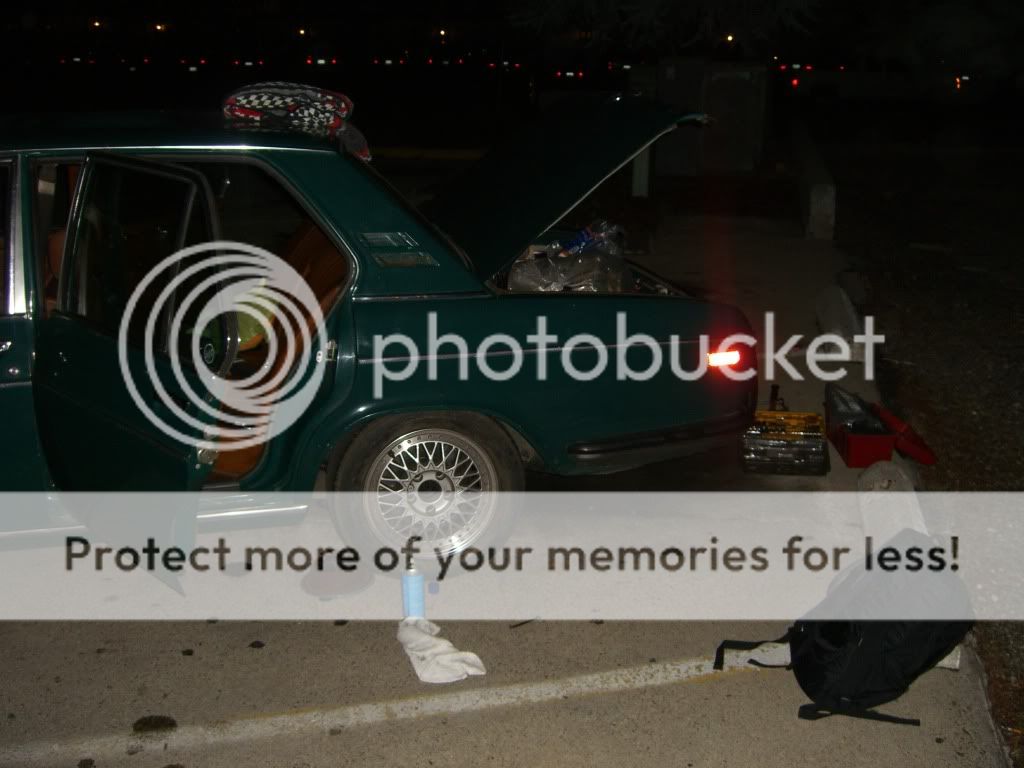
11:00pm that night I was sitting in the back seat and noticed the center divide was very bright. What could that be? Police? ****! Nope! We were on fire.... We pull over, through everything out of the car as quick as we could and threw it onto the shoulder. Pablo Saved the bavaria and put out the fire. We were 20 miles south of Eugene, OR on I-5. We didn't know that and we tried to call for police but only my phone had battery out of the 4 we had. So after 1.5 hours, a tow truck found us and hauled us to Eugine and dropped us off in a neighborhood. We walked to a motel, and finally got some sleep since we were up from 8 the previous night when we left SF.

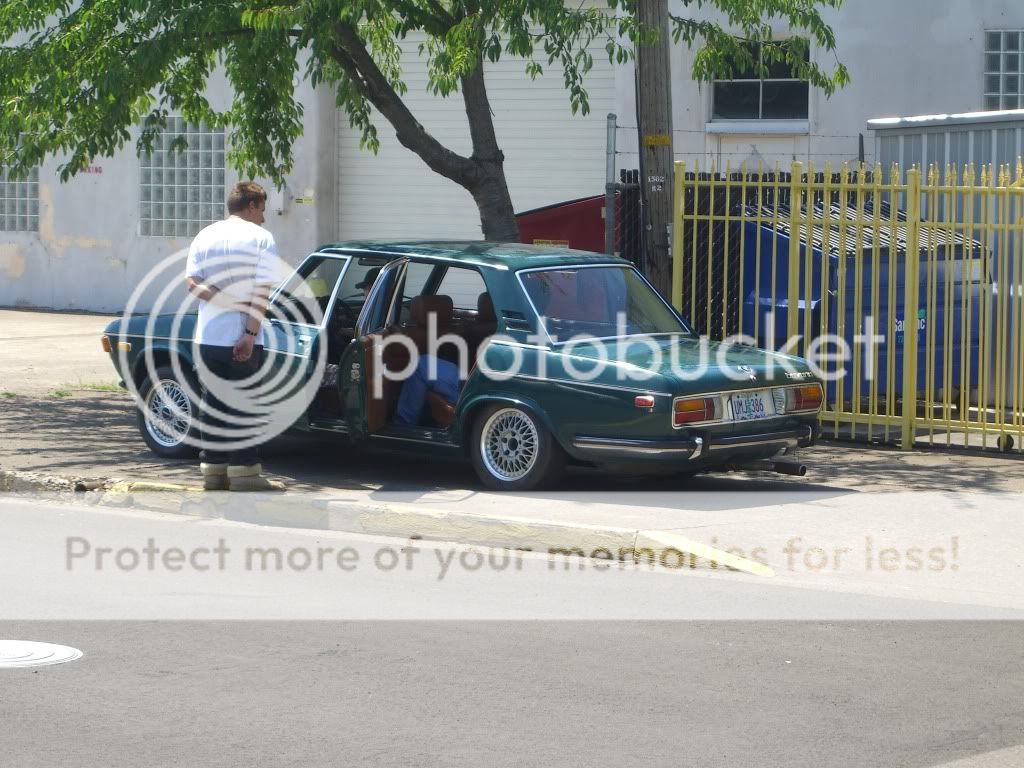
The next morning we looked at the damage. Note we have no money or phones. We found a little german shop we pushed the car to.
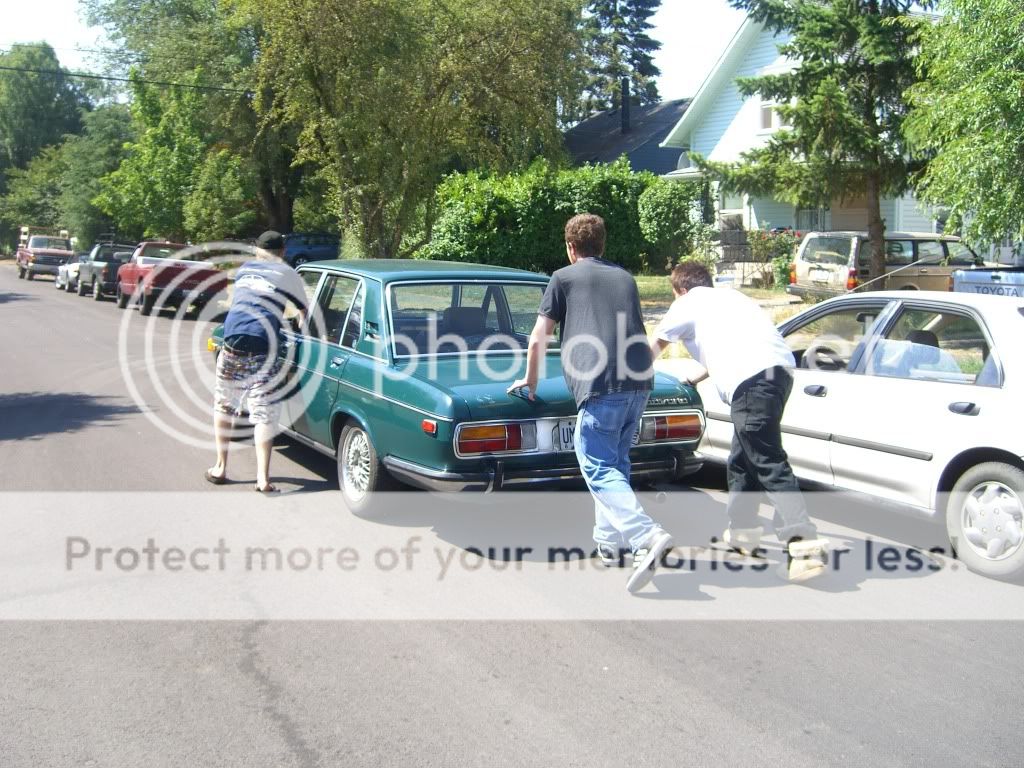
Yes, Pablo had a chance to ghost ride ride it
We checked out the damage real quick. They needed the lift and helped us so much by just letting us check it for a couple of minutes We must have drank their whole 5 gallons of cold crisp water. We were so dehydrated.
To our surprise...
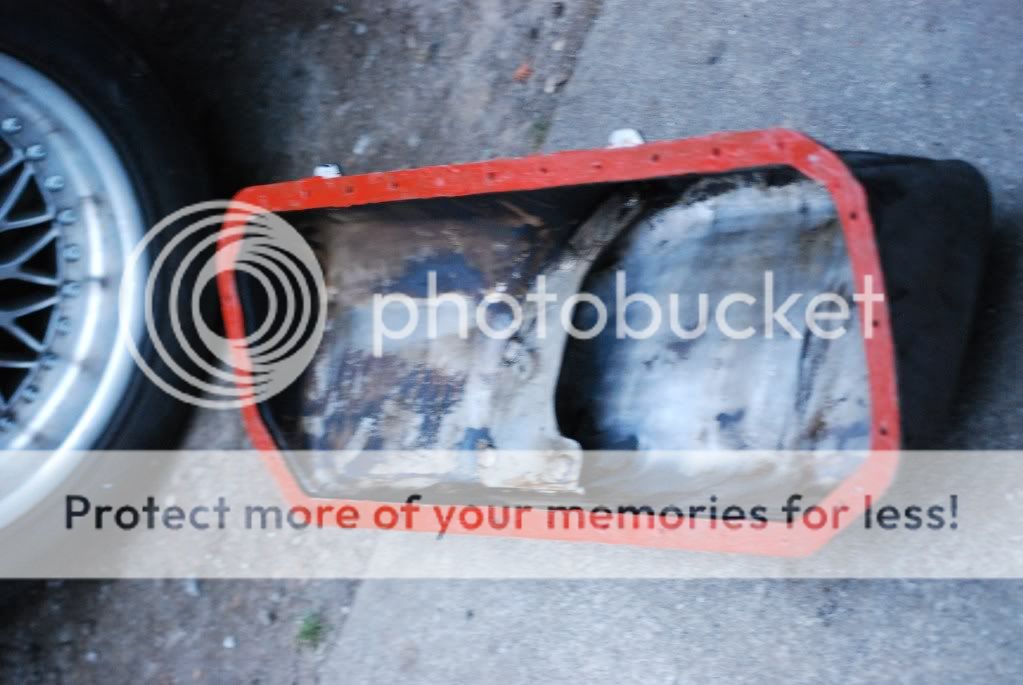
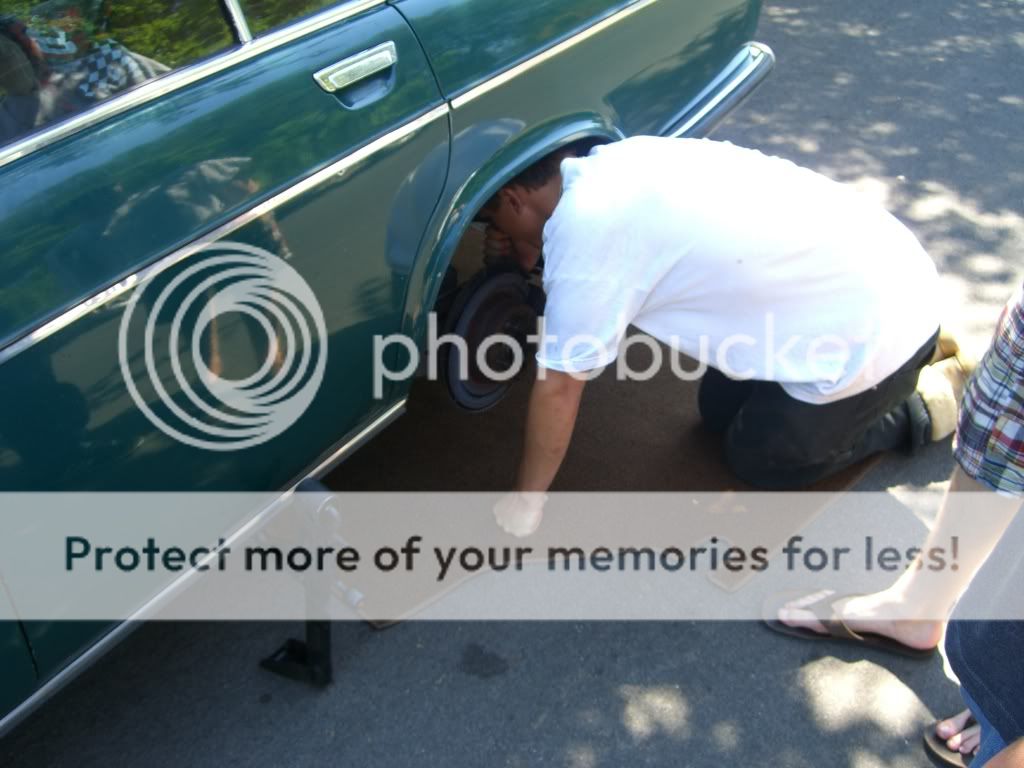
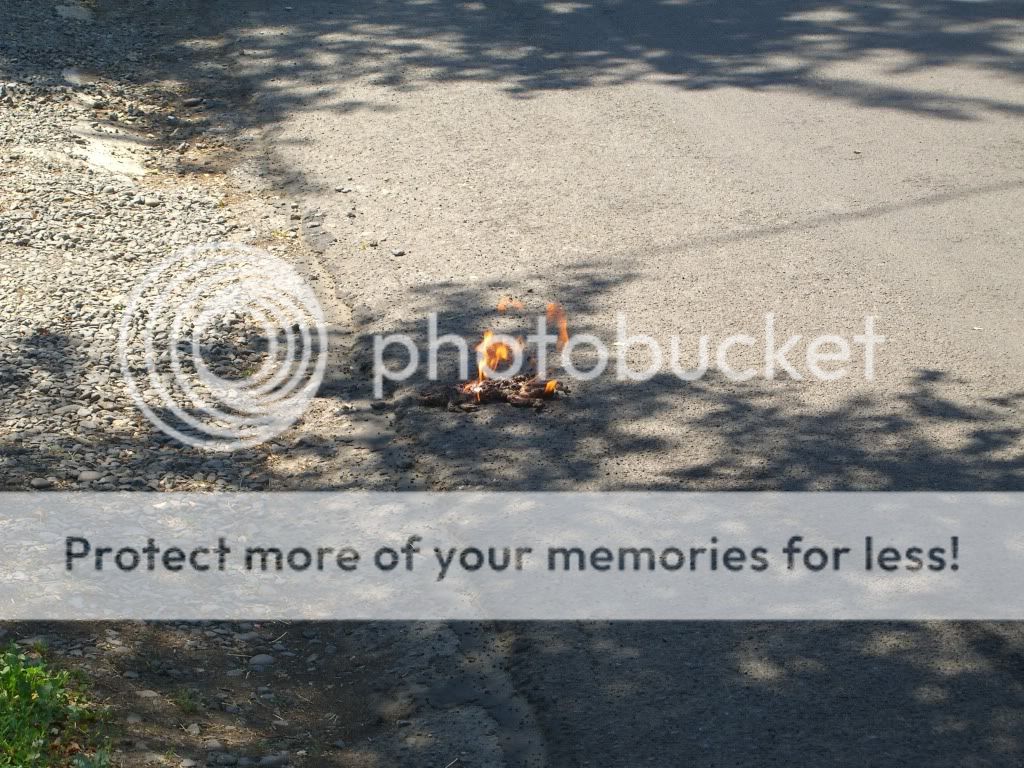
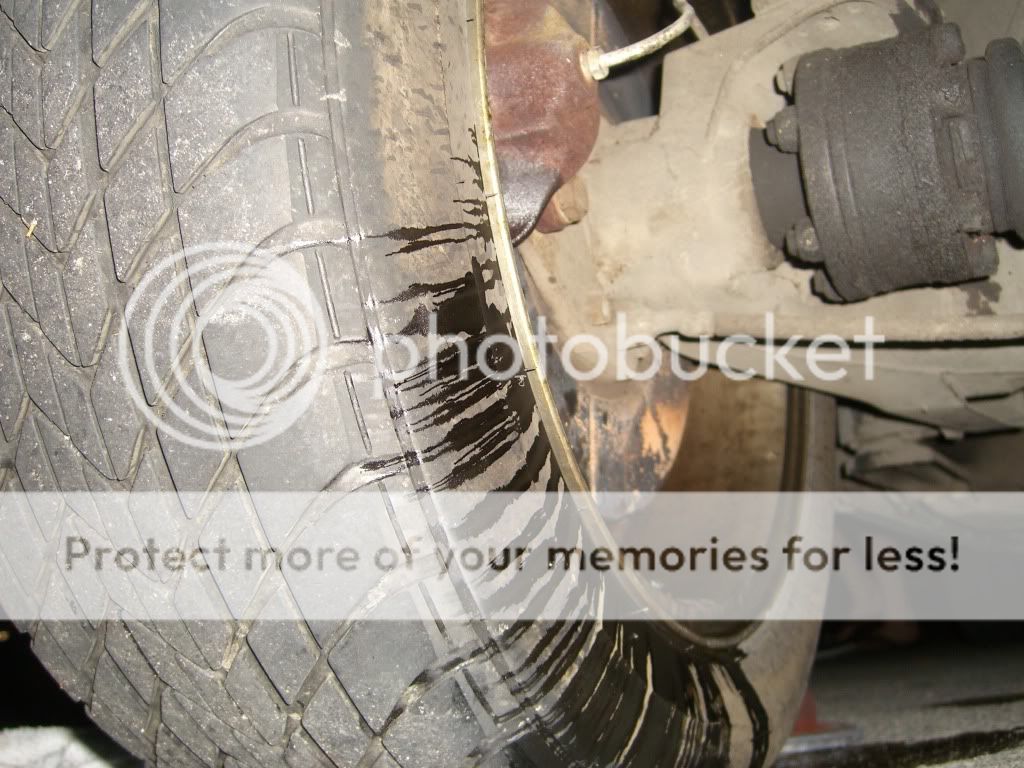
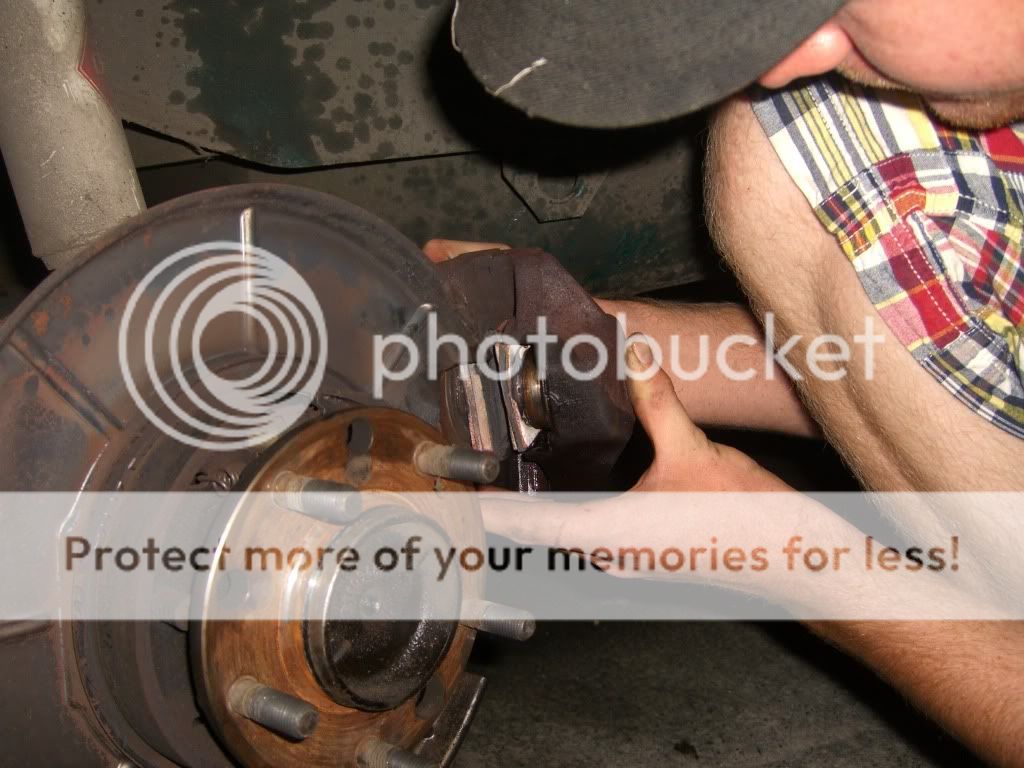
The drivers side rear brake must have been rubbing and caused so much heat it caught fire. It split the brake disc in half. So we pushed it again down the street and jacked up the car using the oem bmw tools, and removed the brake rotor. bolted the wheel back on. Thankfully the fire cause the whole caliper to seized so we didn't have to bleed the system. We also managed to get distracted by lighting a squished squirrel on fire.
We headed off and no problems occurred until we got to the State park by the CA border. We noticed the passenger side rear wheel was very hot. So we jacked it up, and pulled the brake disc on that side too. SO we had no rear brakes.
And back onto the road...Until....Problems!
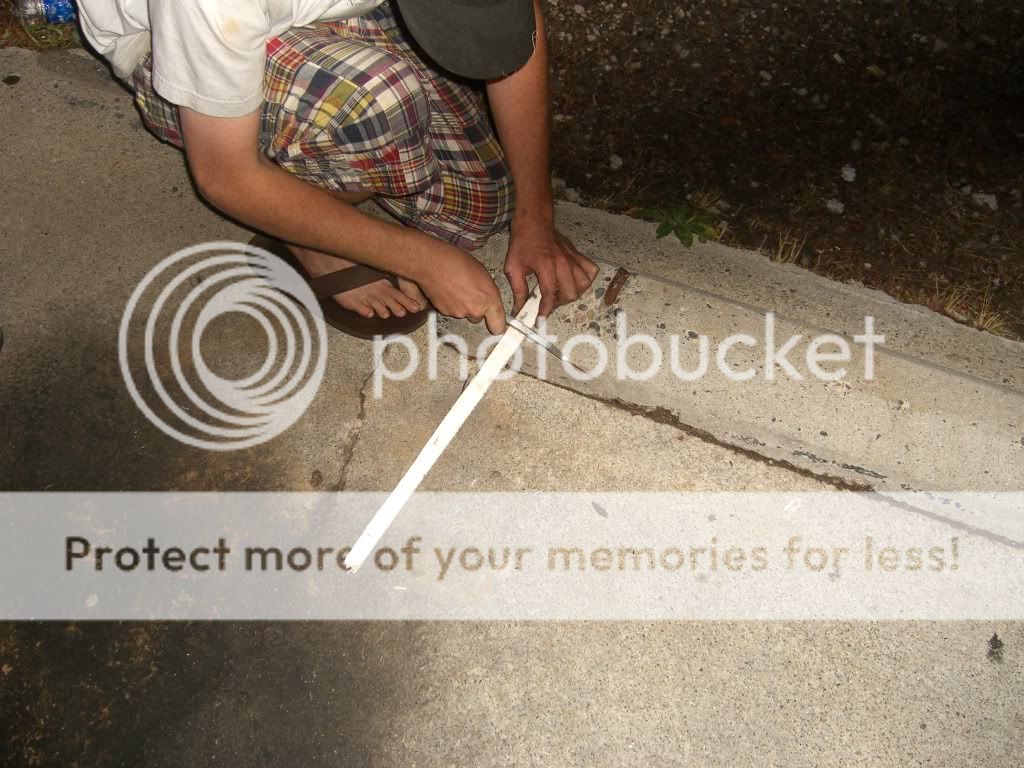
We started to get to Eureka,CA. Around 11:00pm. Then realized we had NO BRAKES! We downshifted to a roll at an exit and found ourselves in an abandoned denny's. We had no idea what was going on. After 2 hours we found out that the rear caliper finally un siezed and was leaking causing no pressure in the system. So we found a fence and snapped the tip off to fit it in between the calipers where the rotor would be.
That seemed to work. The next 6 hours we headed home with 1.5 brakes. The right front work way to good and the left front barely worked.
We did get home finally and I left it alone for about 2 weeks.
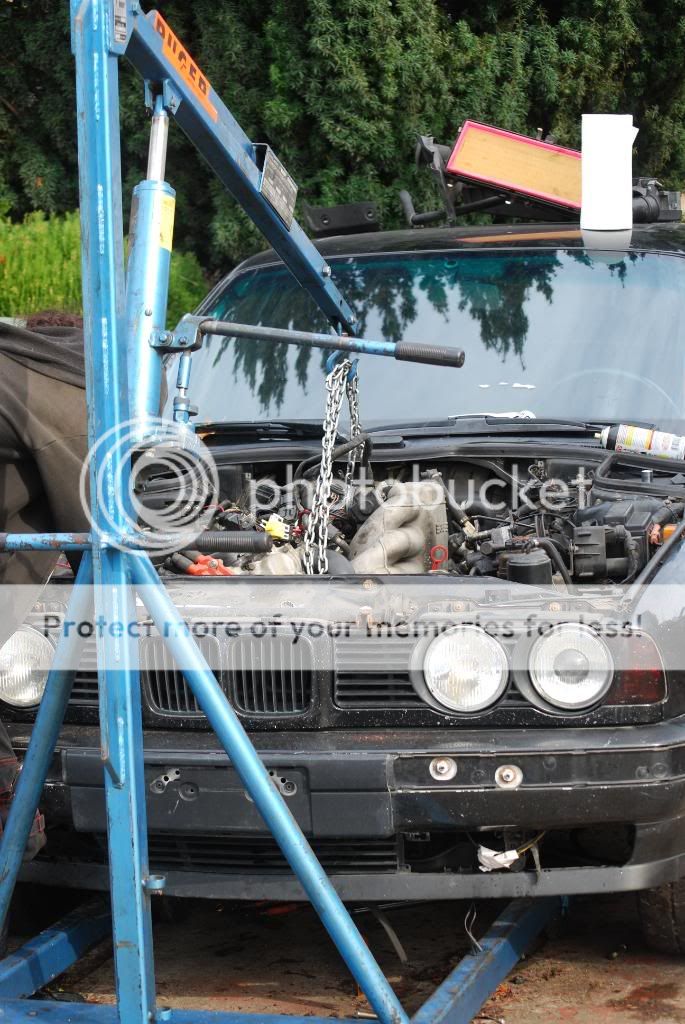
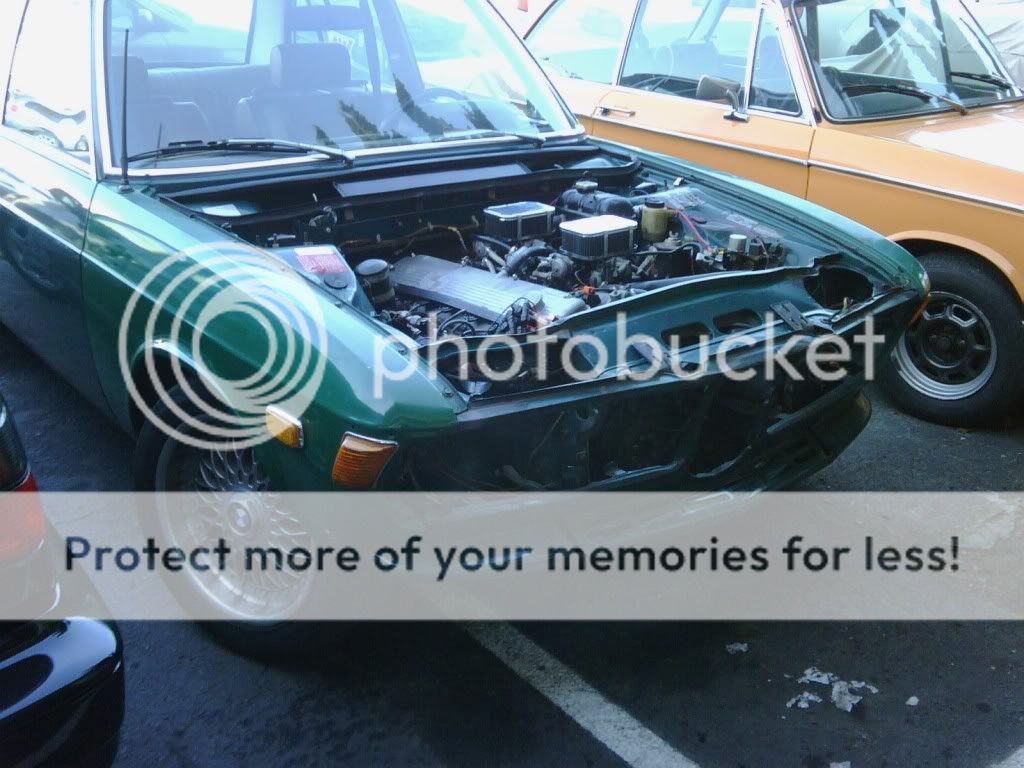
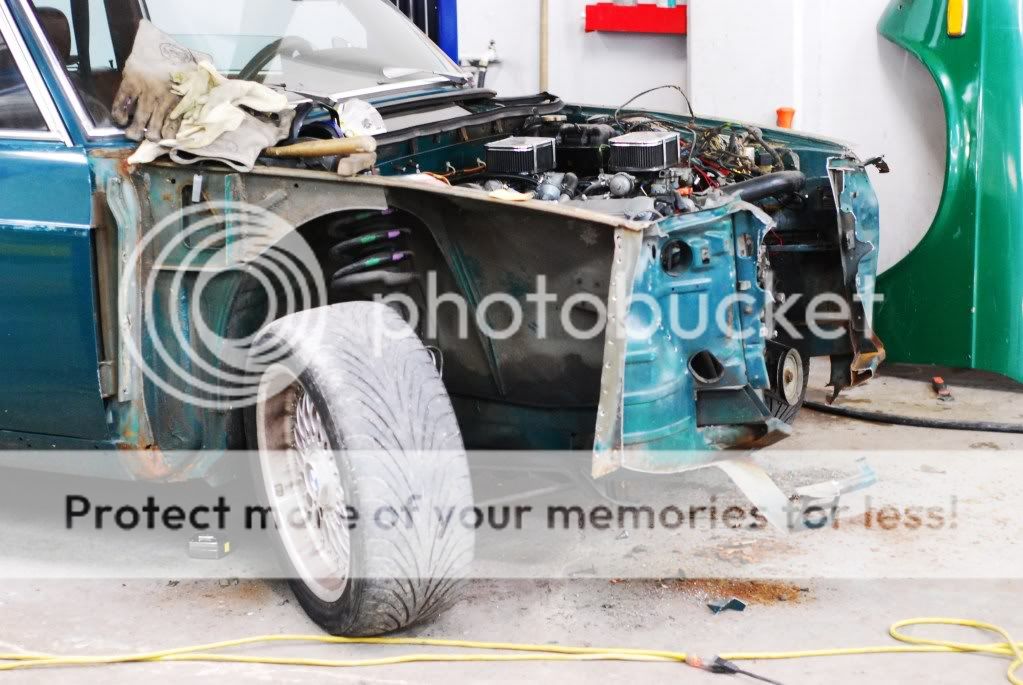
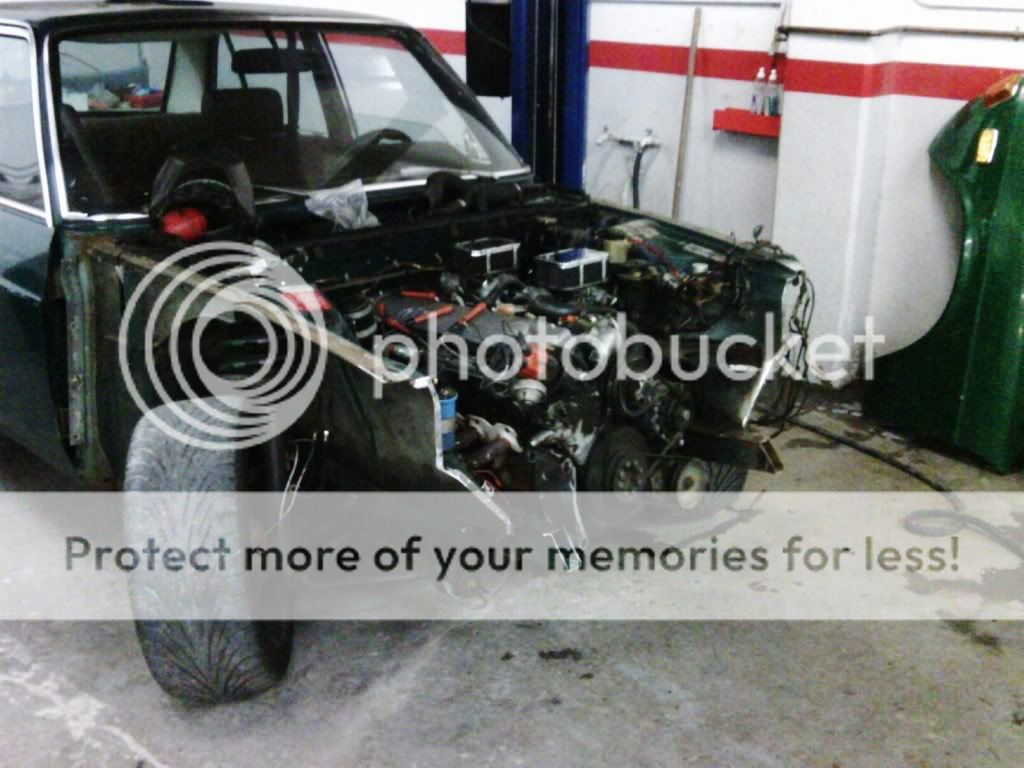
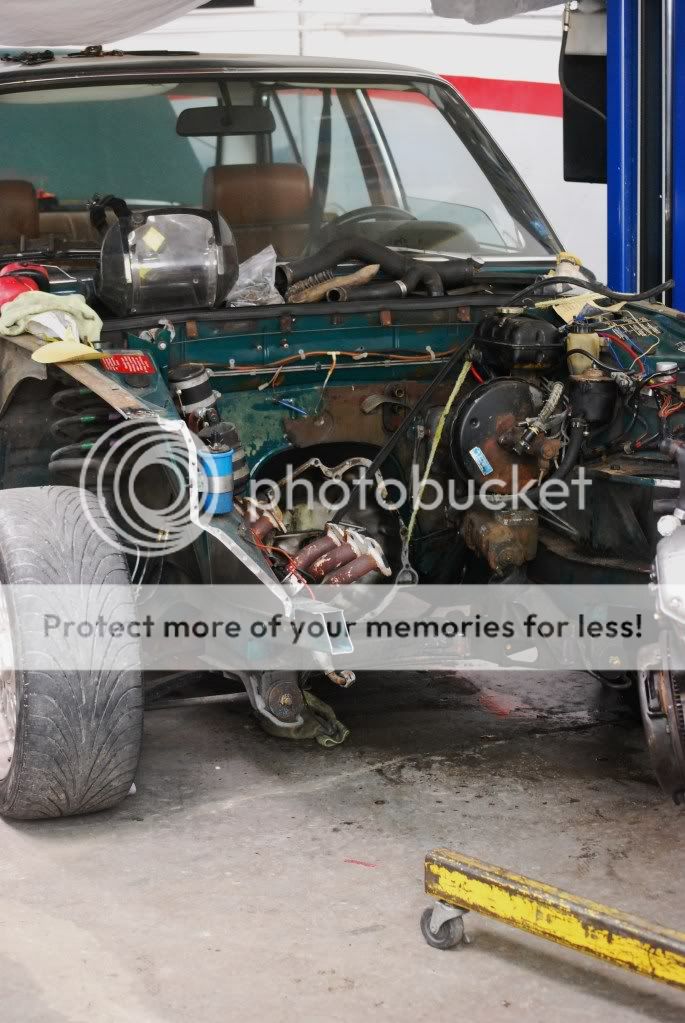
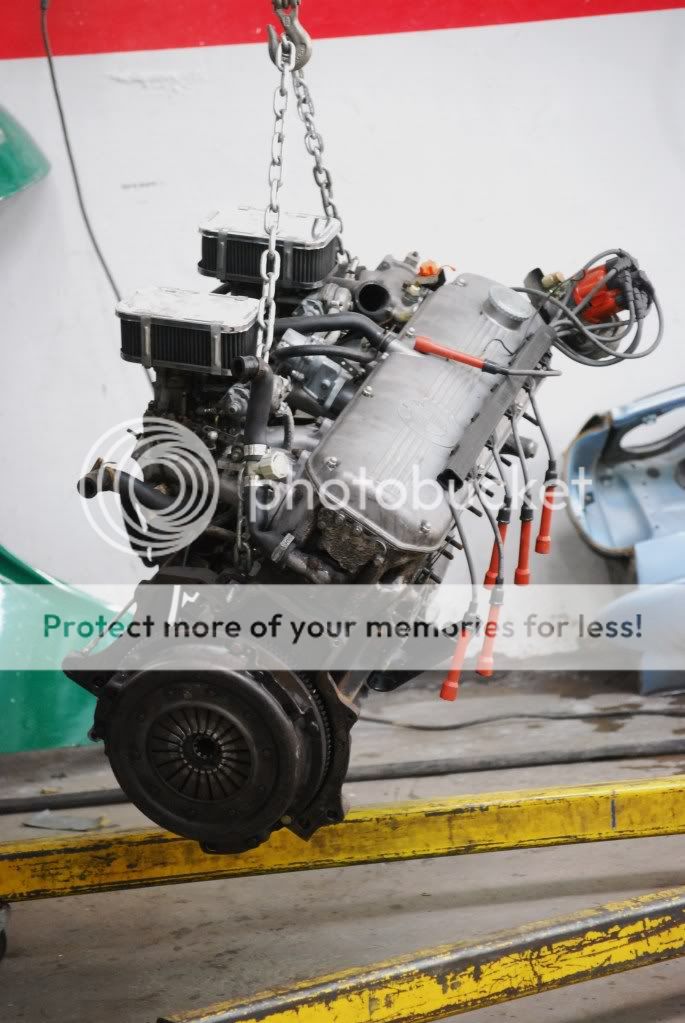
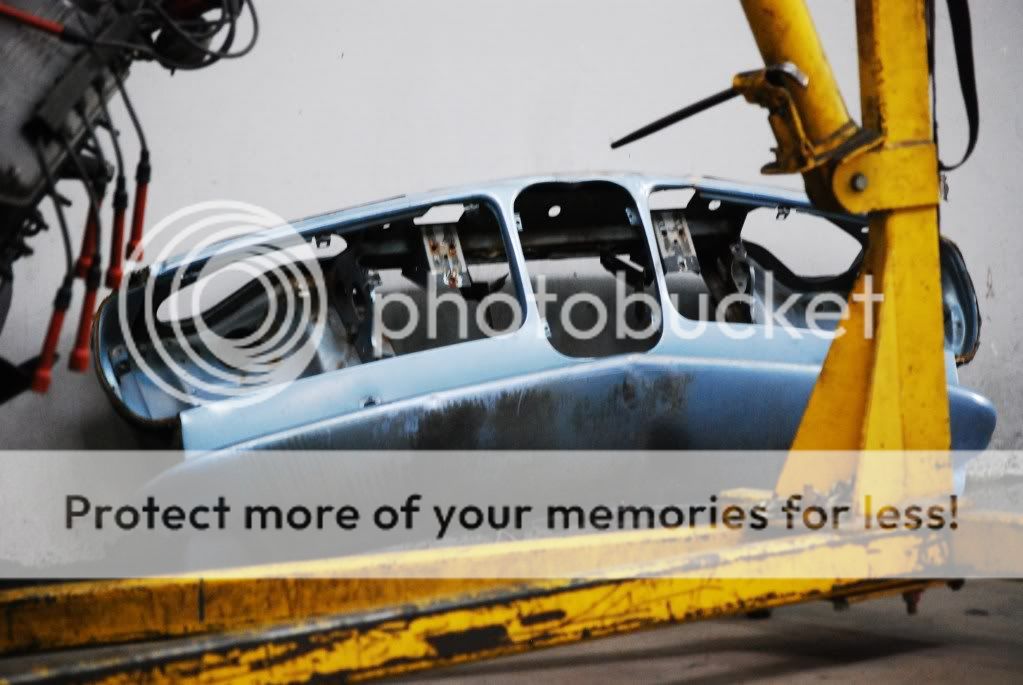
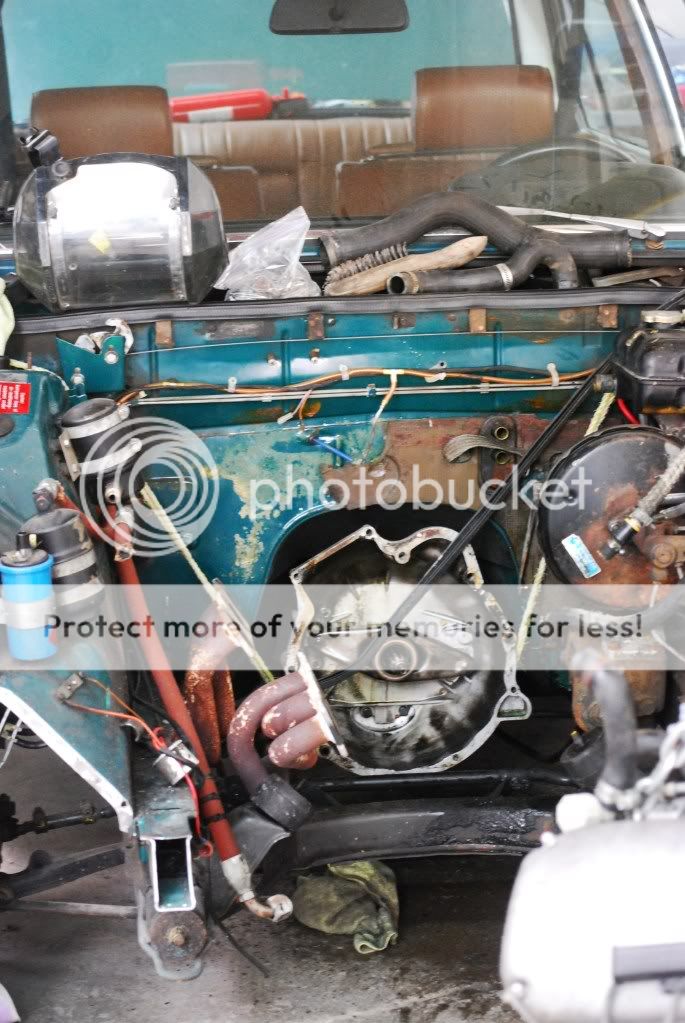
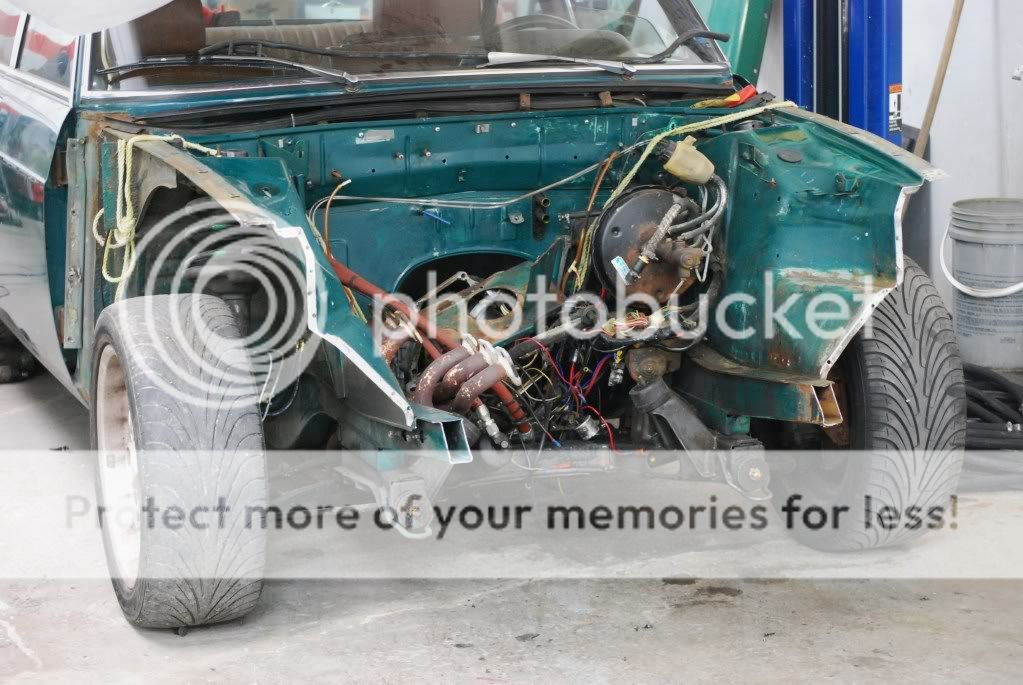
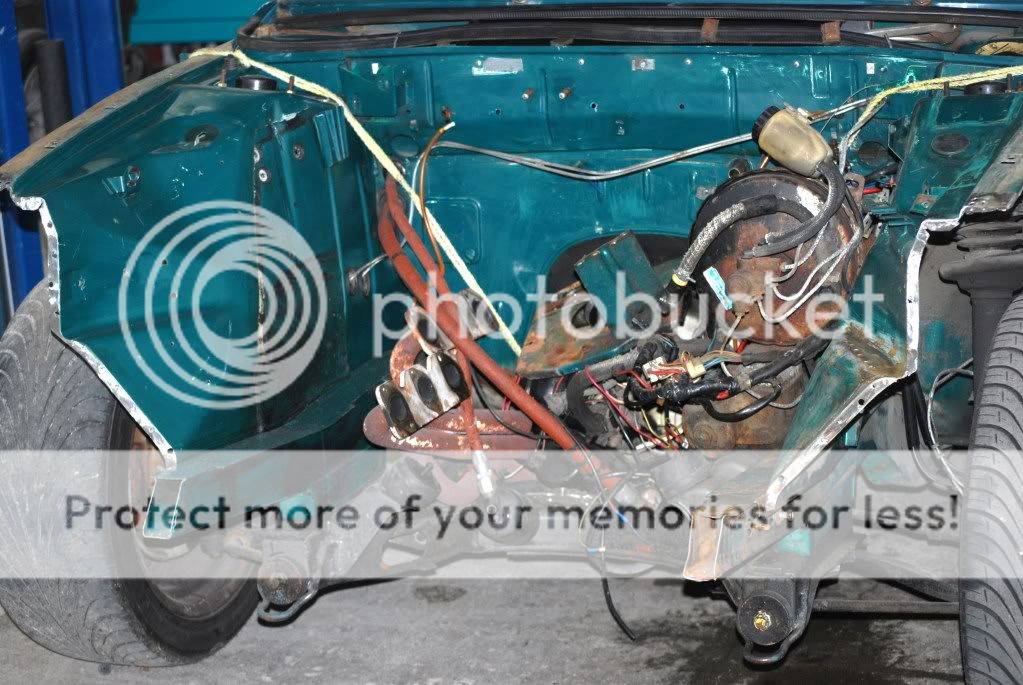
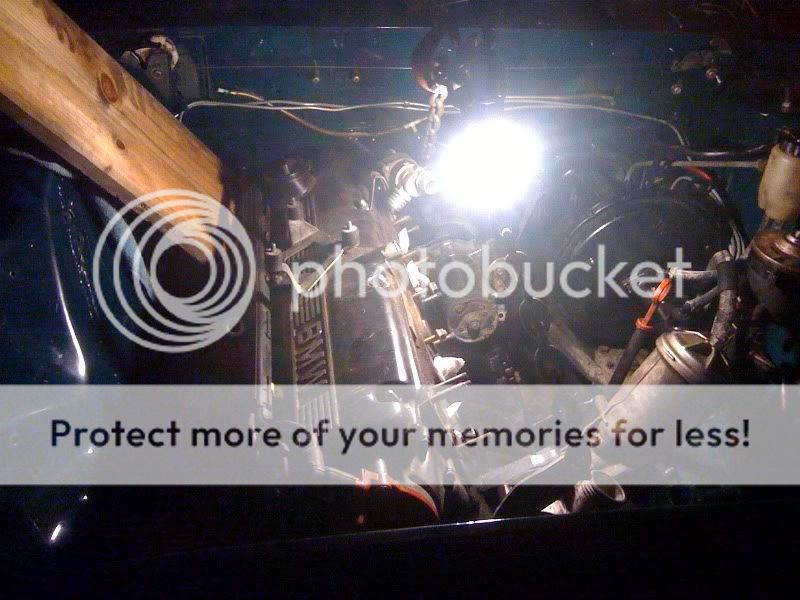
I Then drove it to my friends shop where I was going to overhaul everything mechanically.
Things I've done:
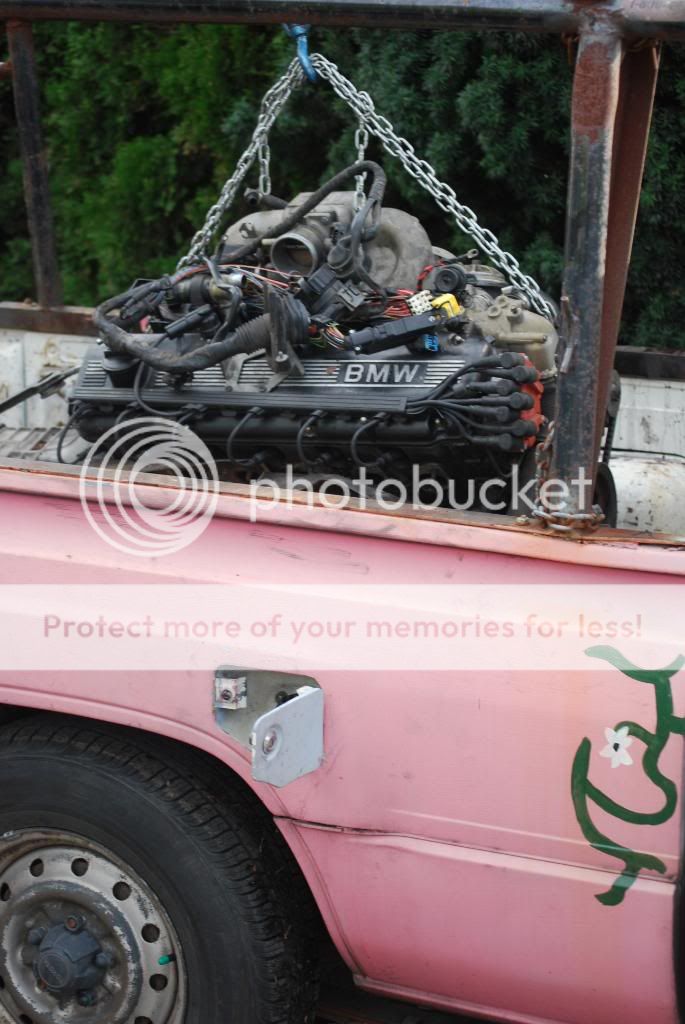
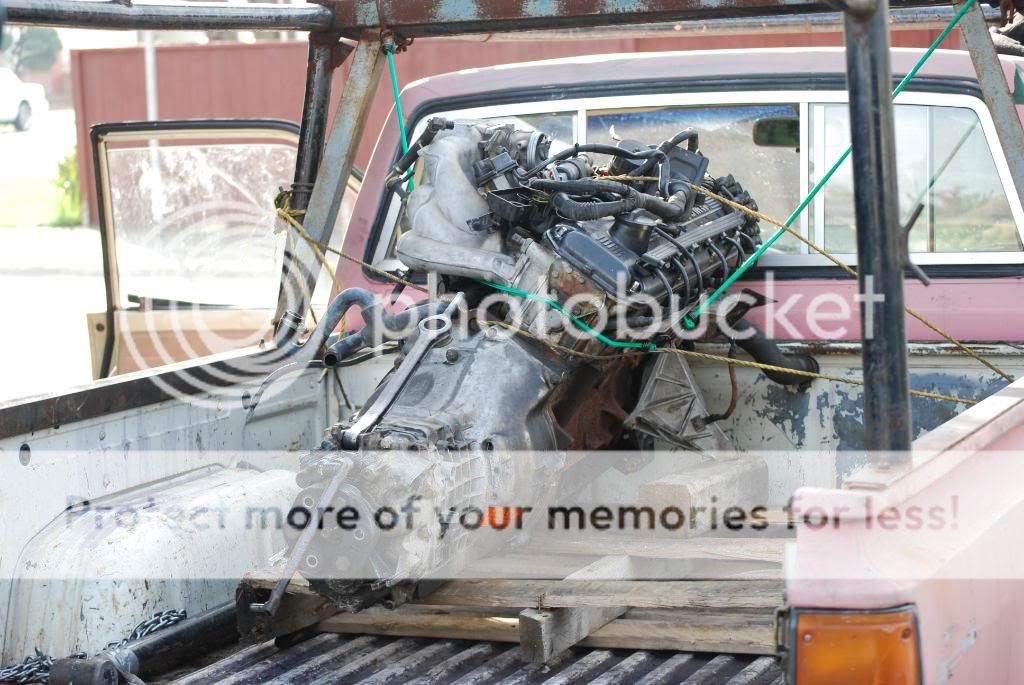
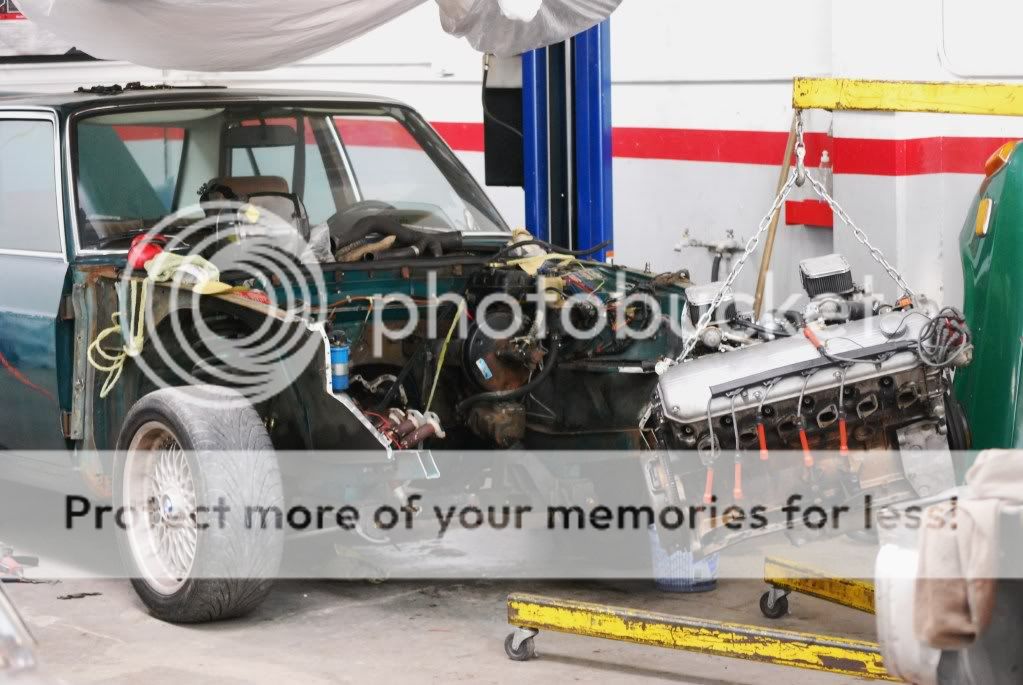
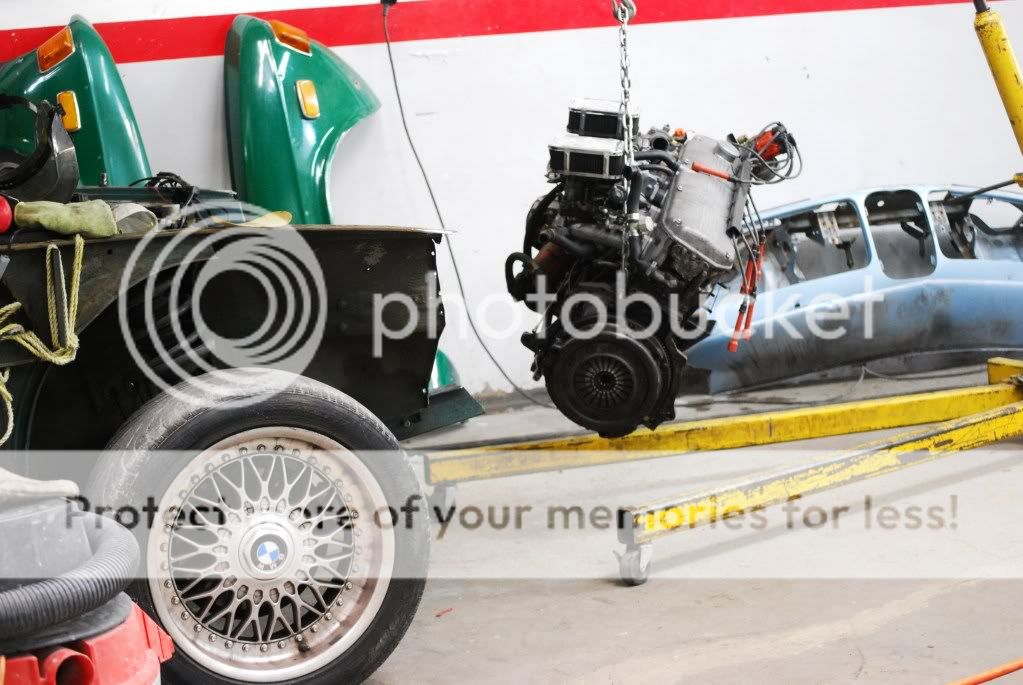
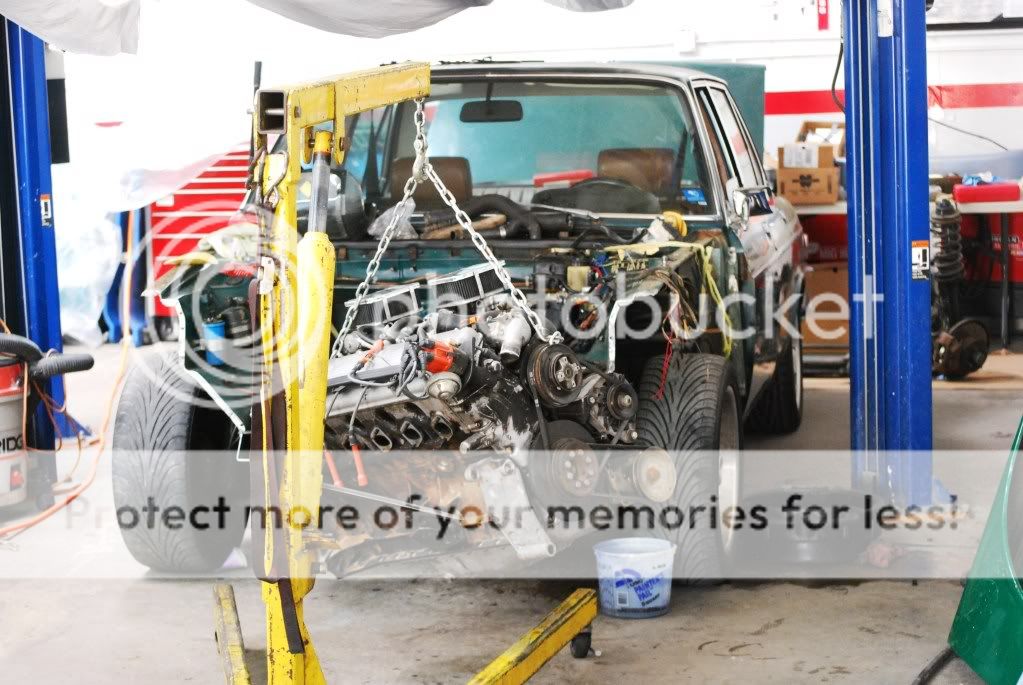
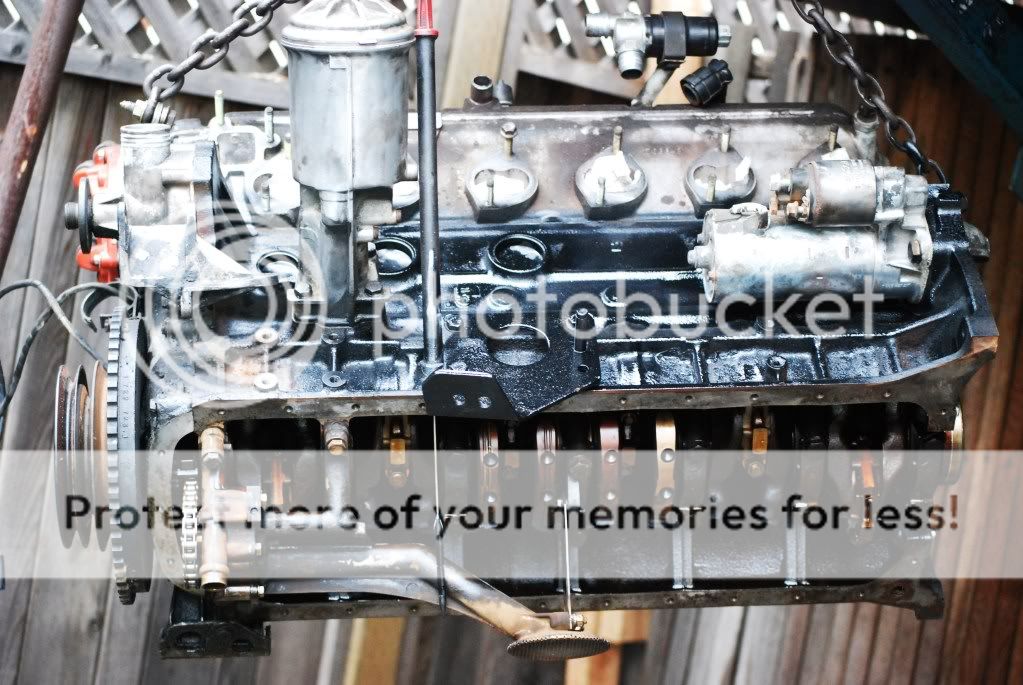
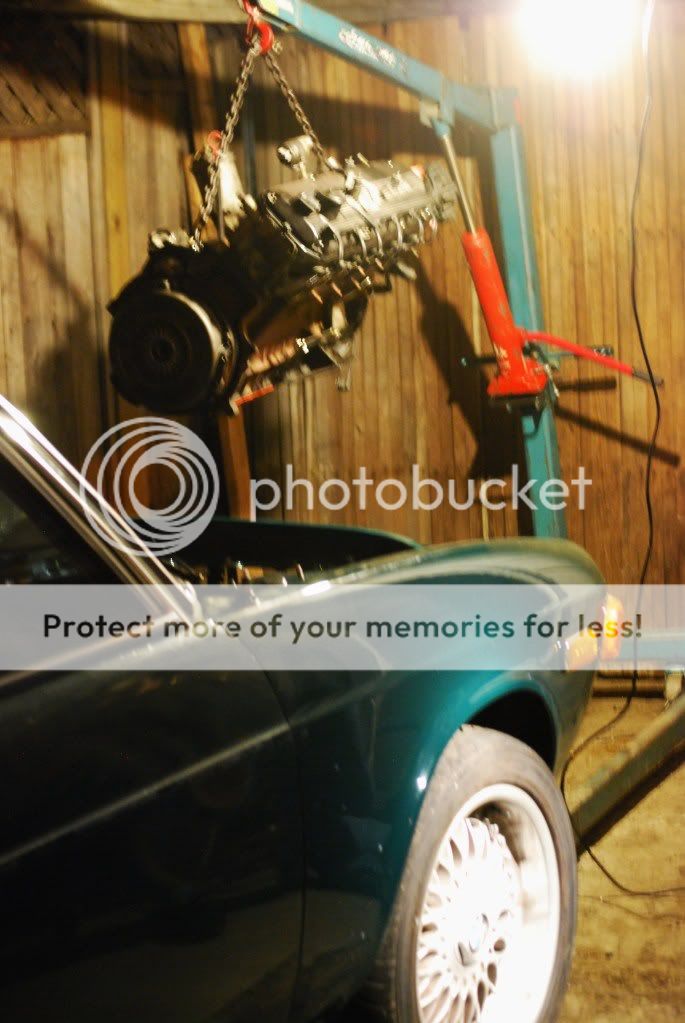
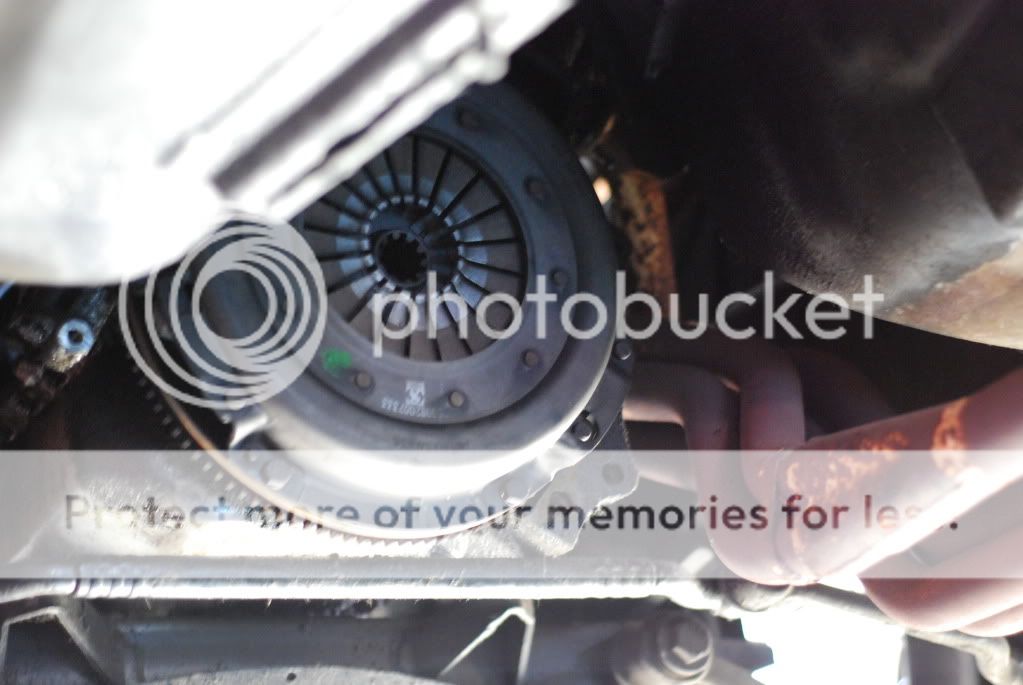
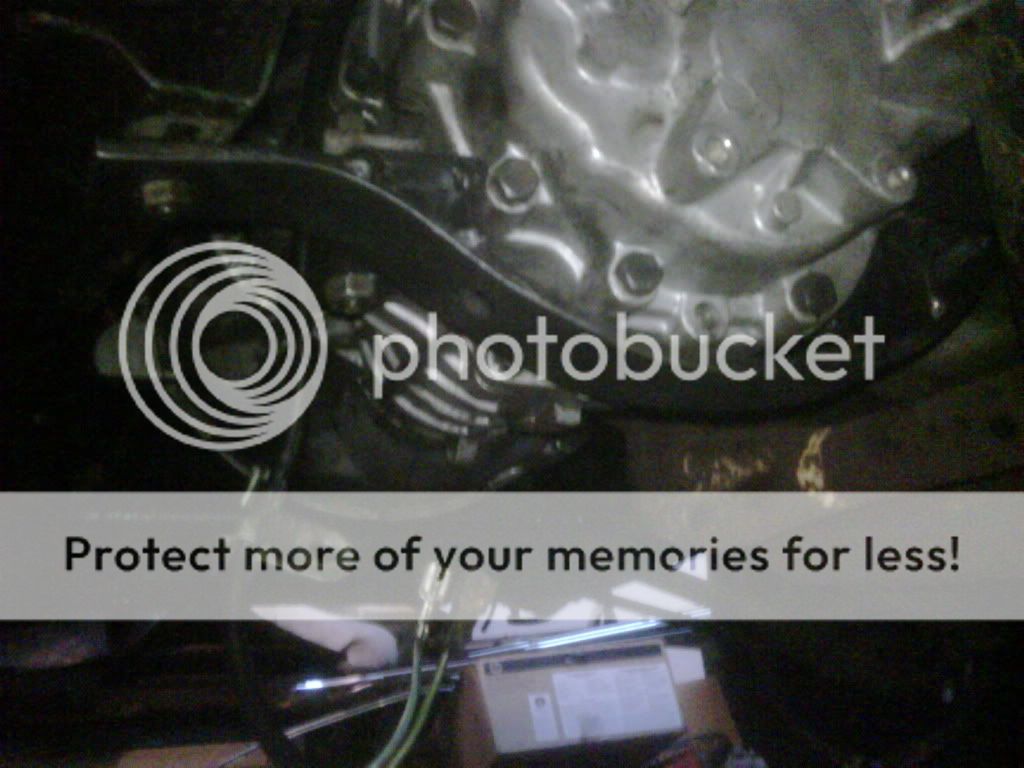
The old tranny was leaking to much for my liking so I decided I will somehow put a newer BMW 5-speed tranny in it.
-Put 5-speed Getrag 265/6
-New Shift linkage plate (e28)
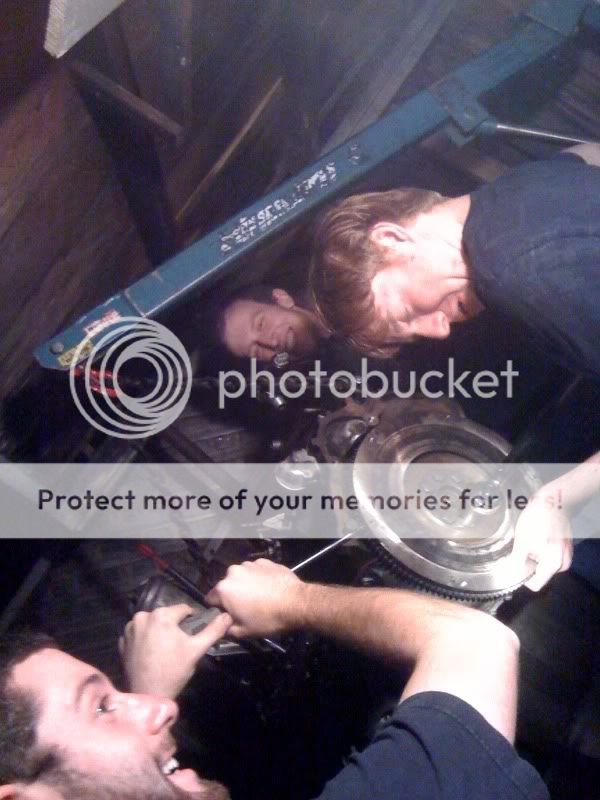
-New clutch
-Machined Pressure plate
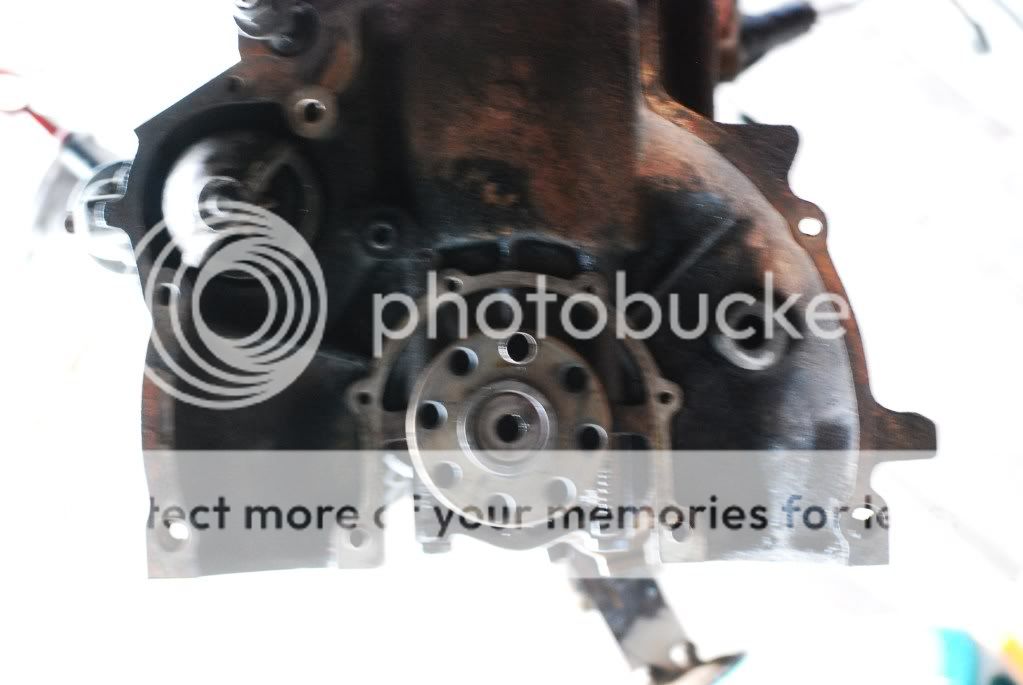
-New rear main seal
-New pilot bearing
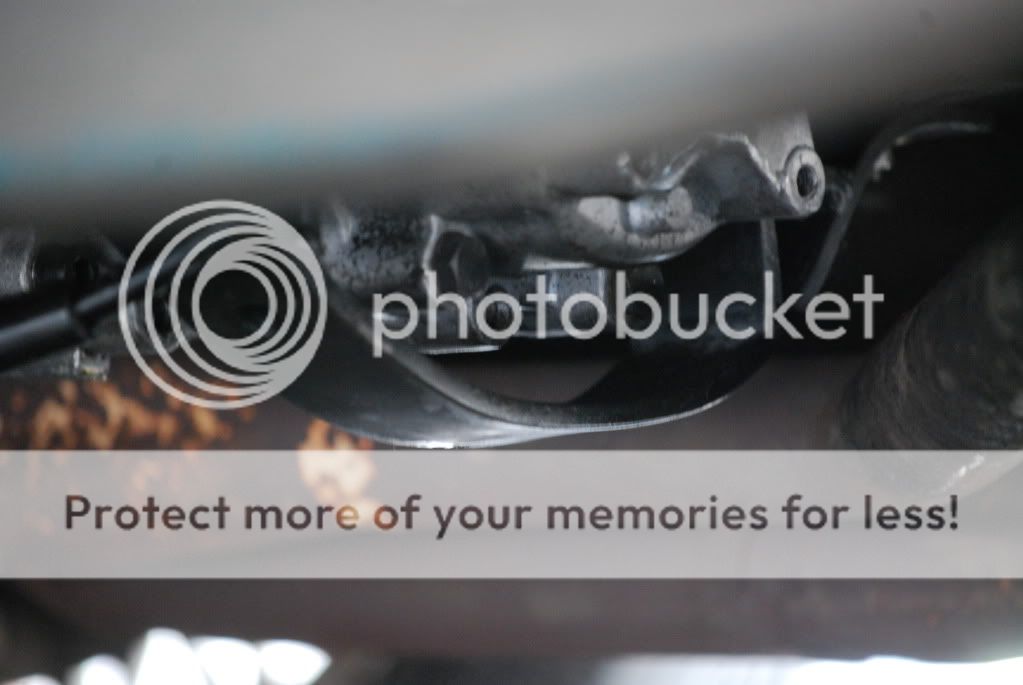
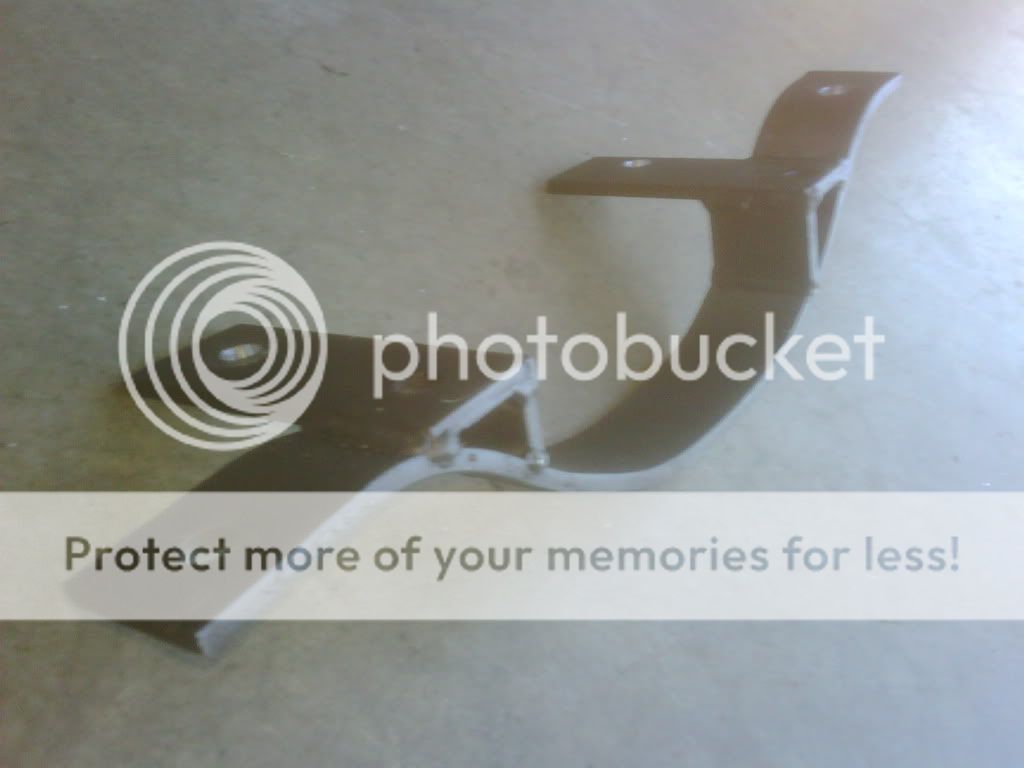
-Had to fab up a cross member for the tranny
-Shortened and balanced the driveshaft
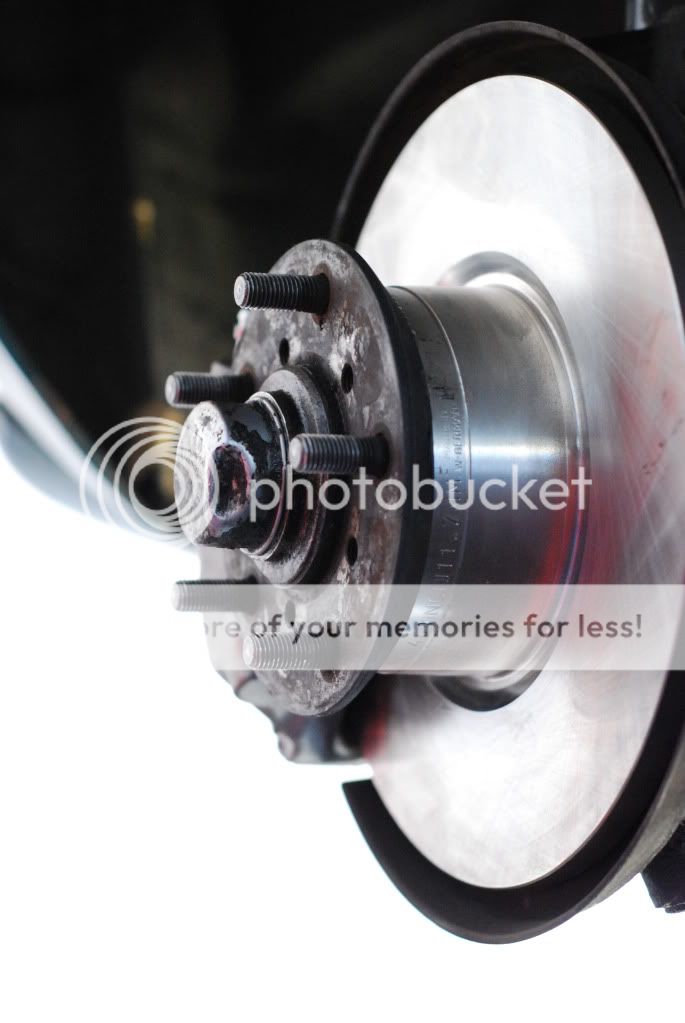
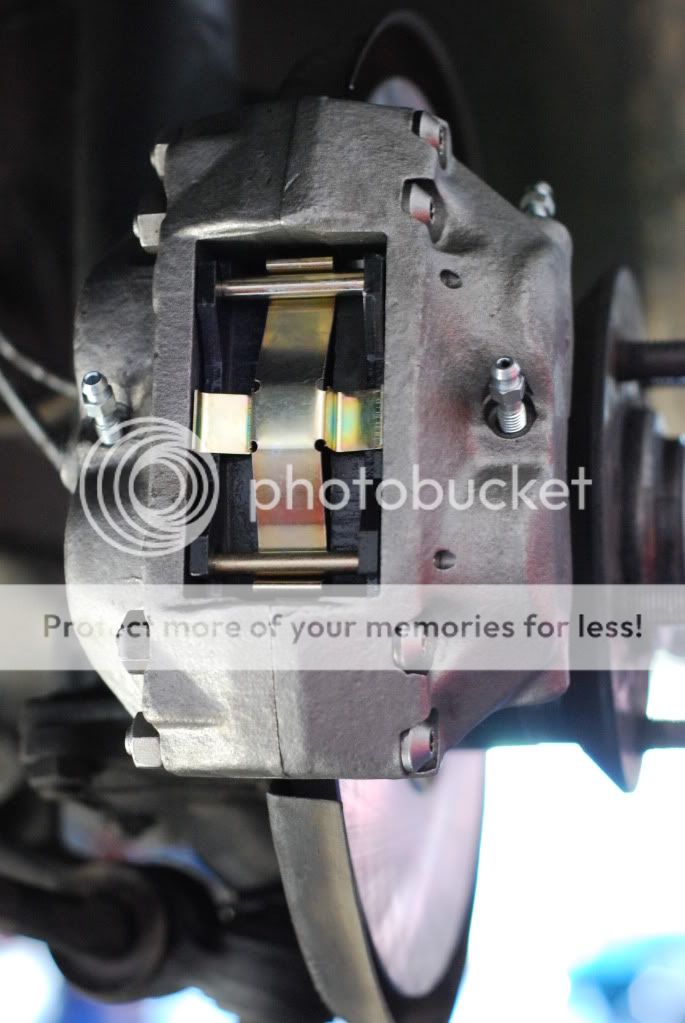
Brakes:
-New rotors
-New Calipers (2002 tii front calipers)
-New Pads
-New lines
Other things:
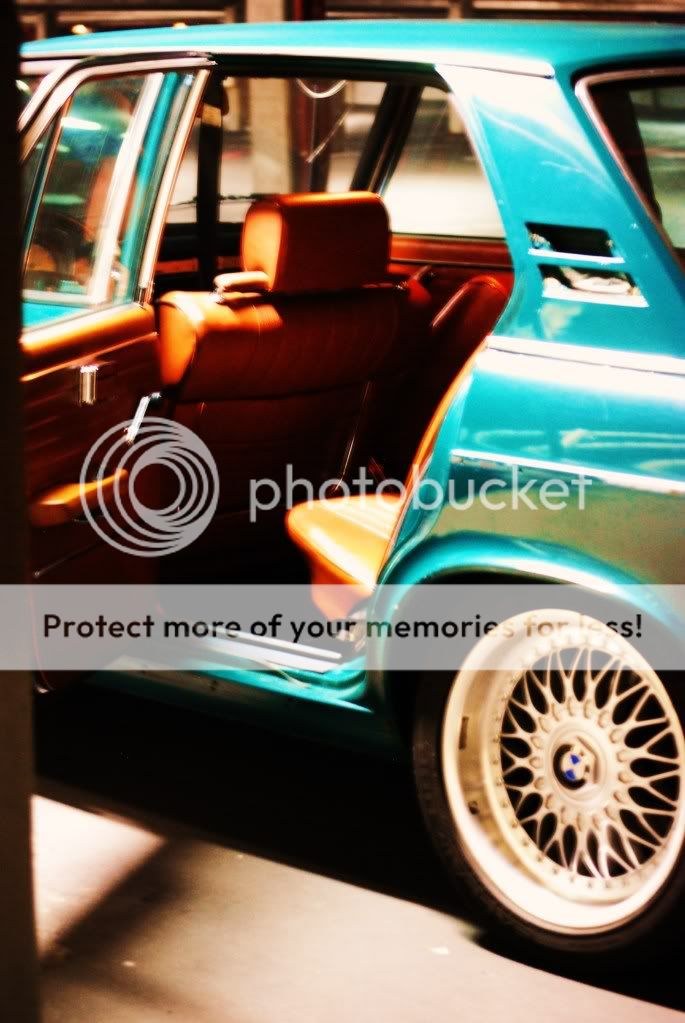
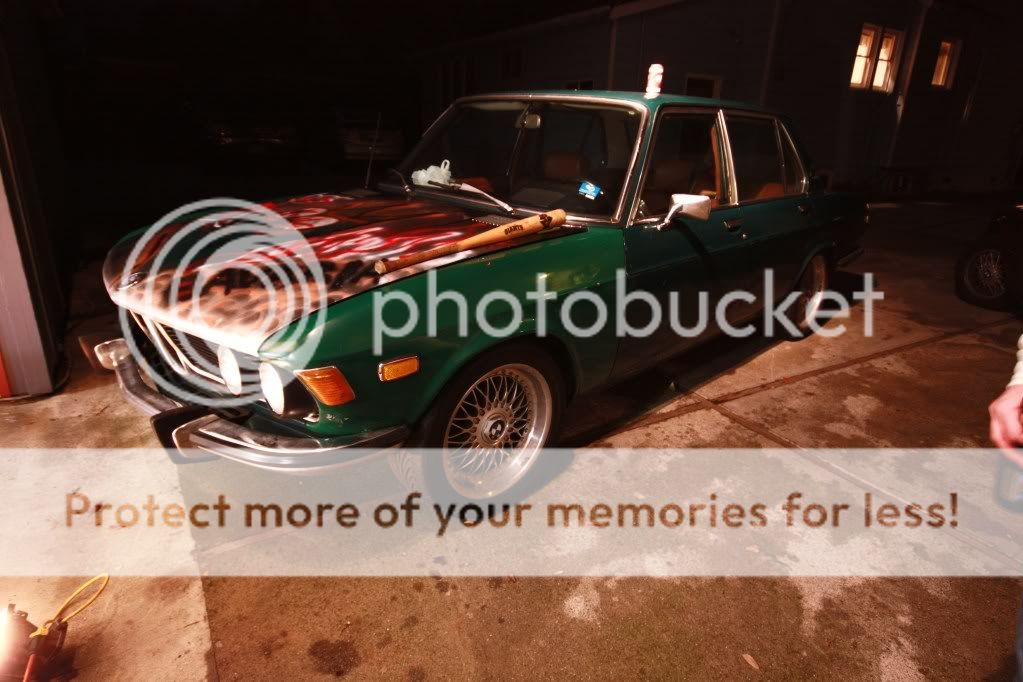
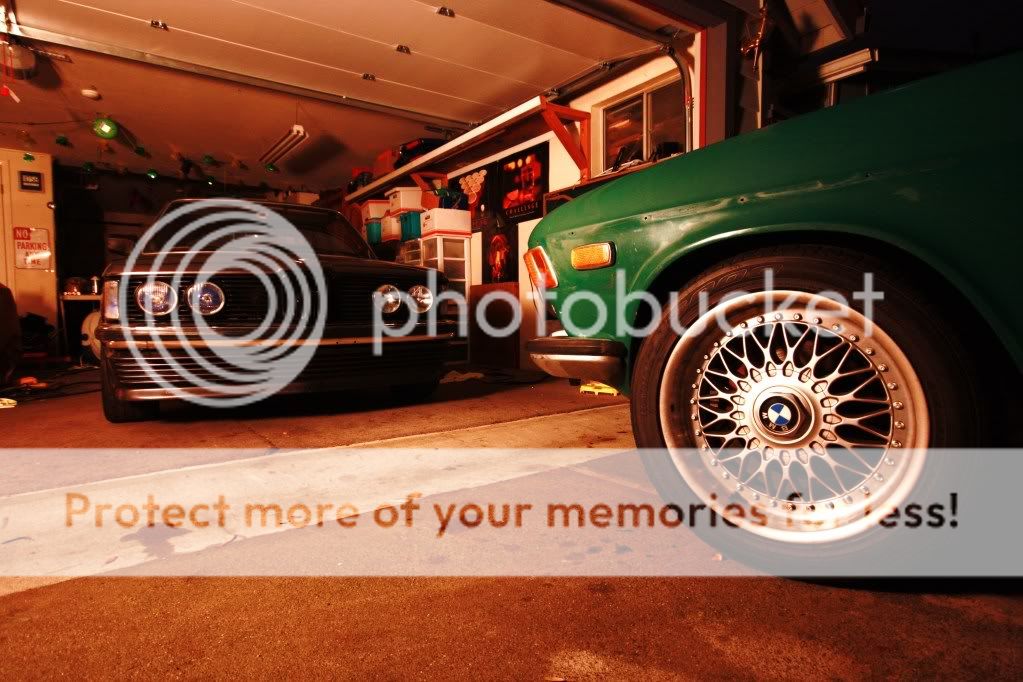
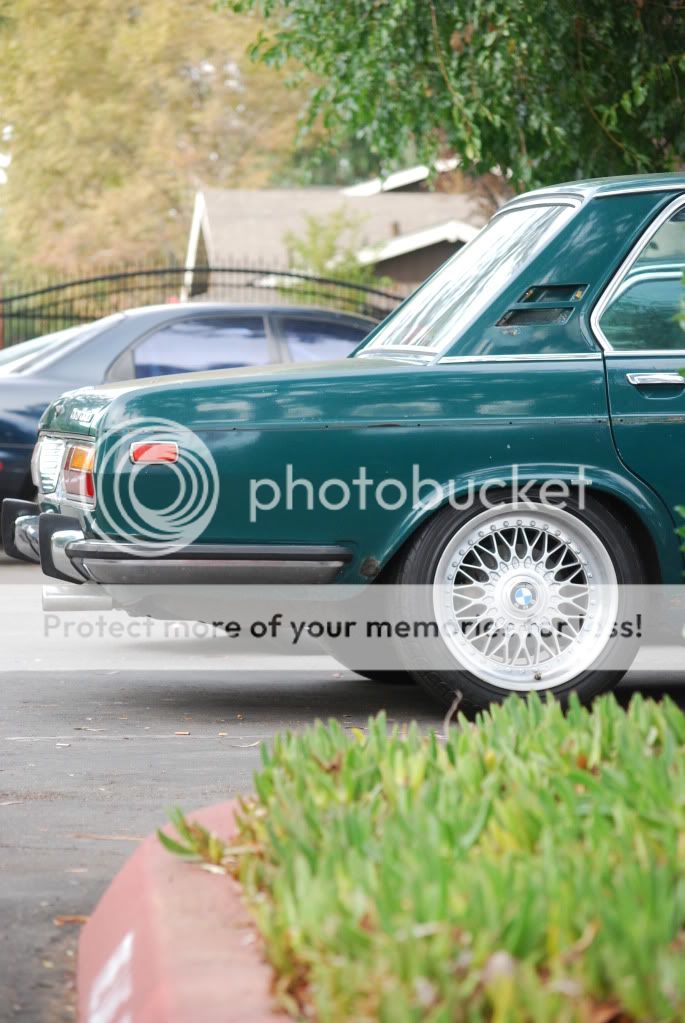
-17'' BBS style 5 wheels
-Tires
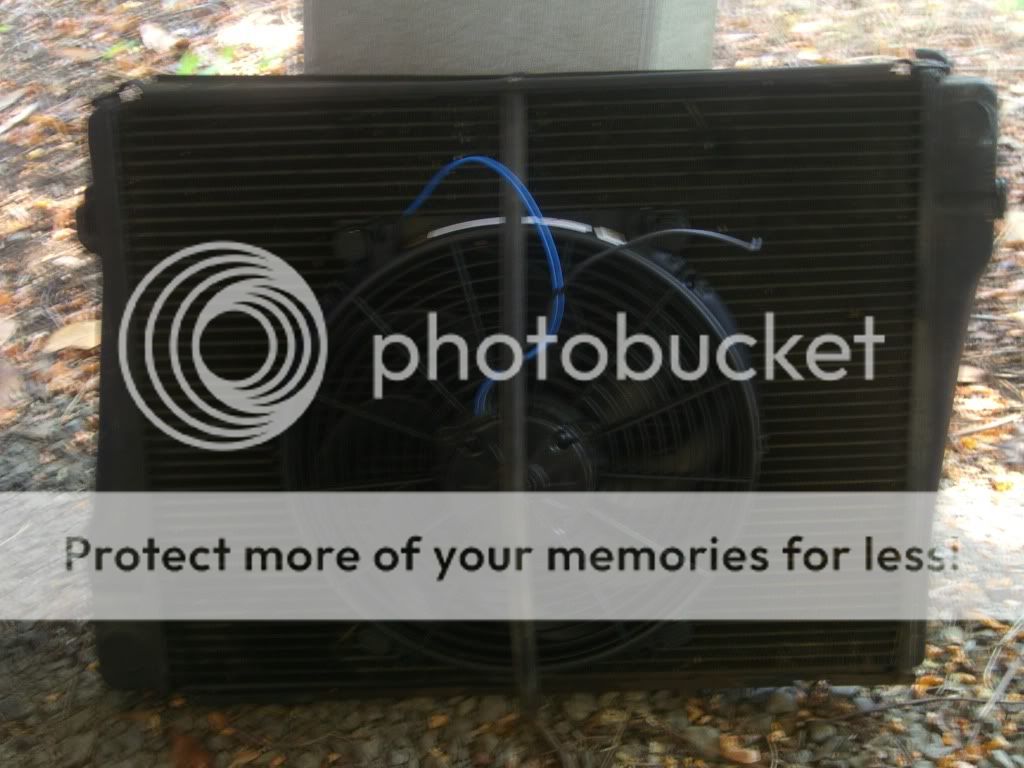
-New radiator
-Alternator from e28
-Sound system
-Fixed most the lights
-Another fuel of filter
-Wheel bearings
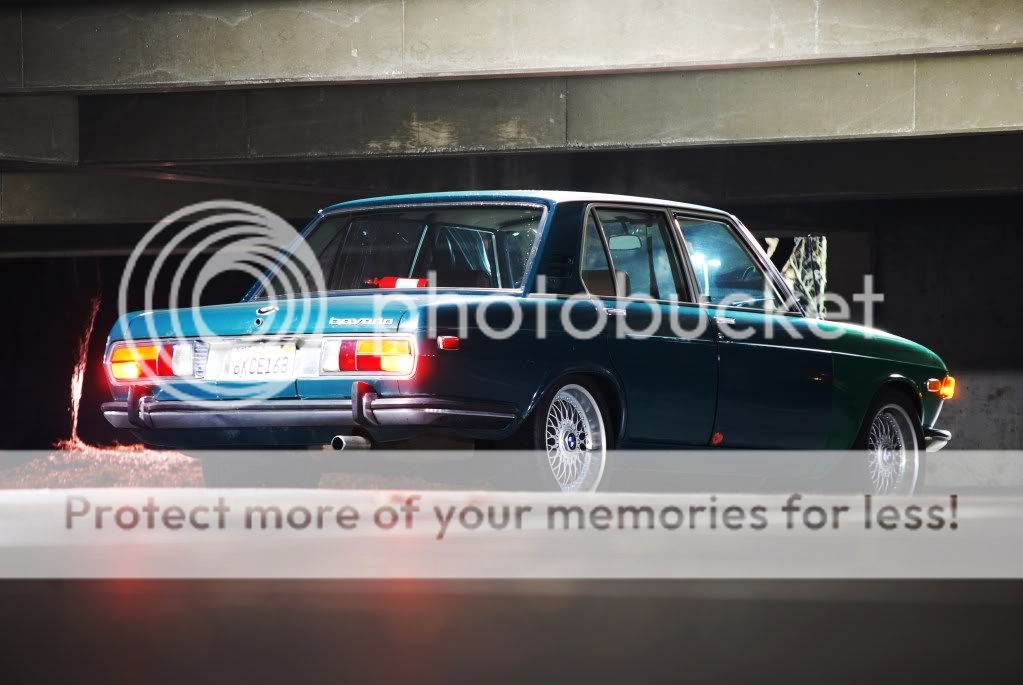
-Exhaust hangers
-Removed old cruise control unit
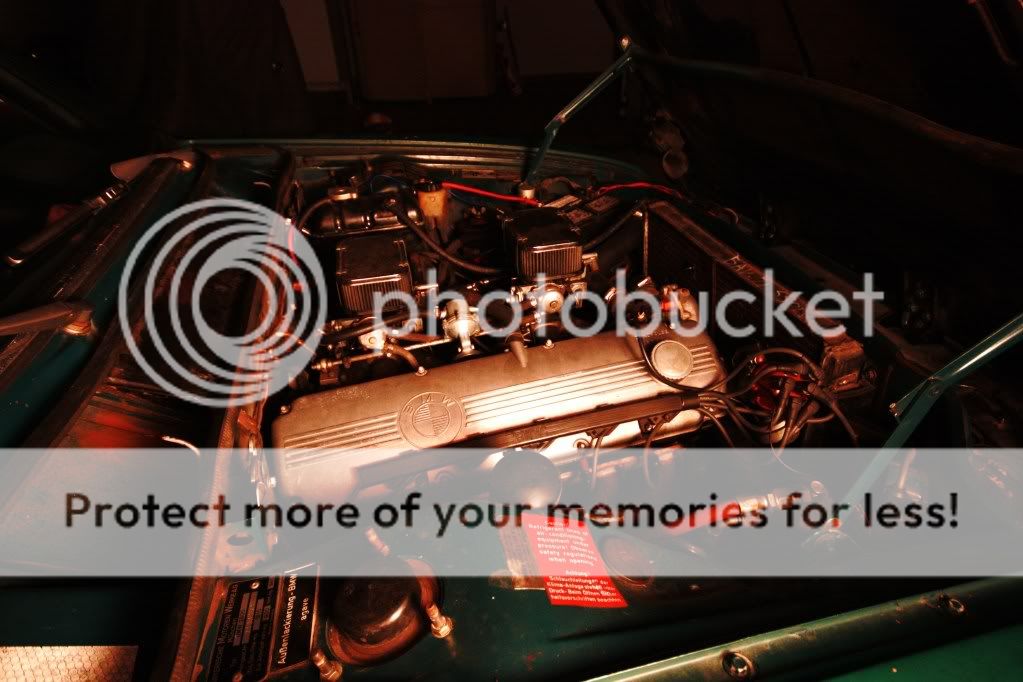
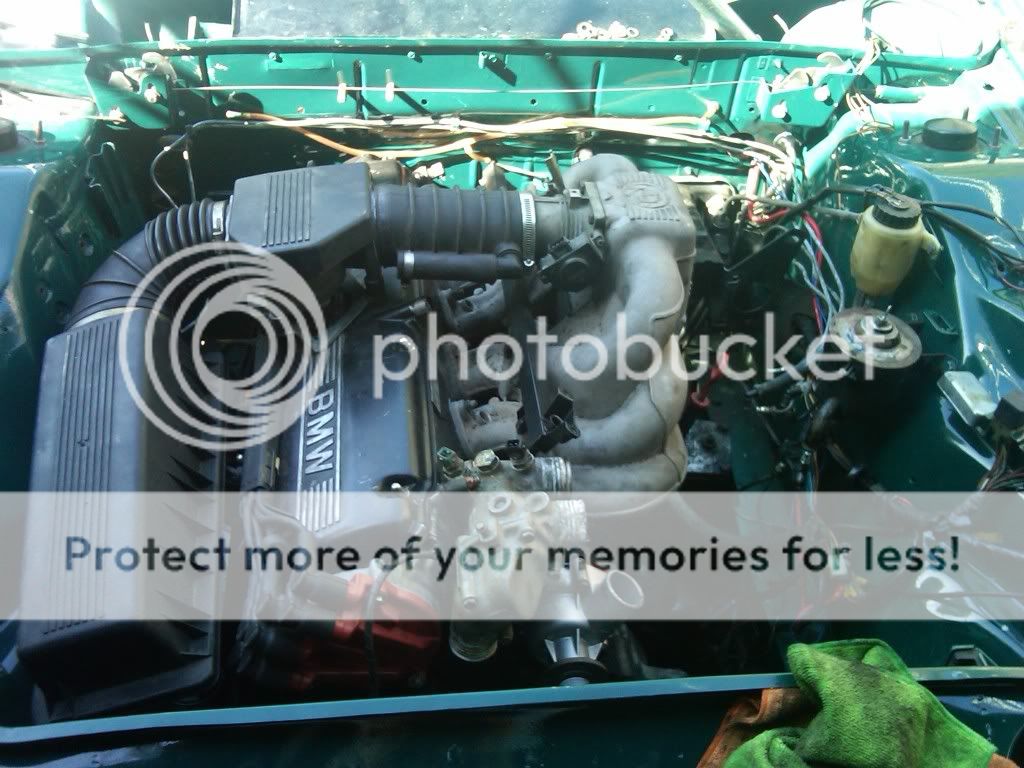
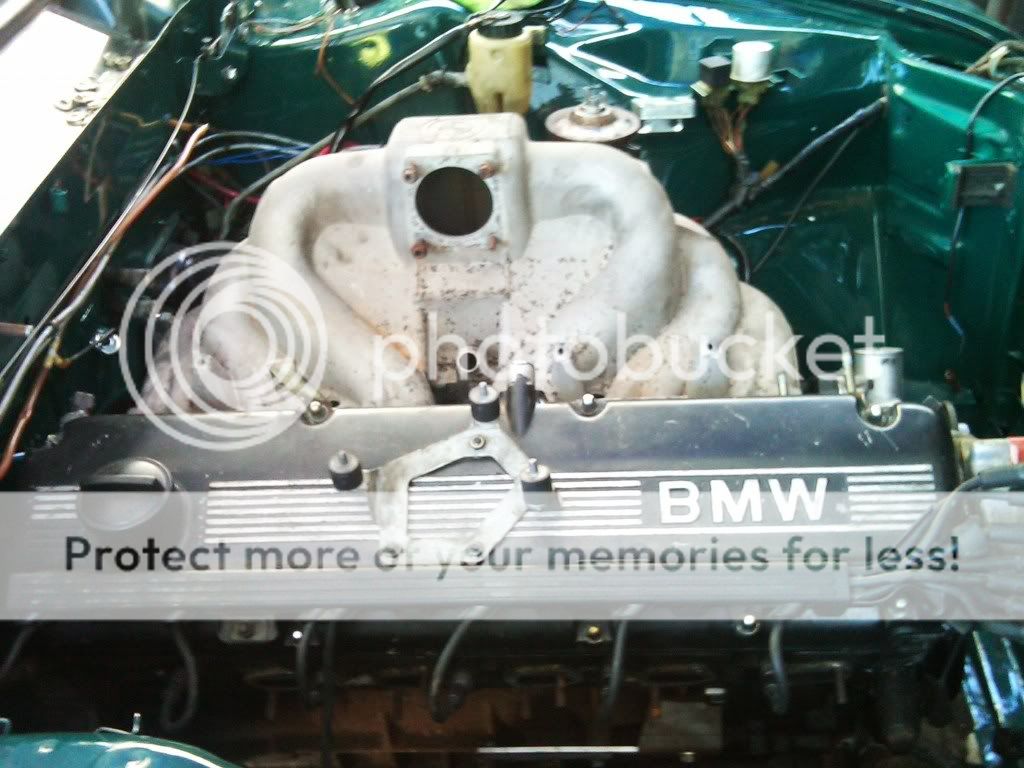
-Adjusted Carbs
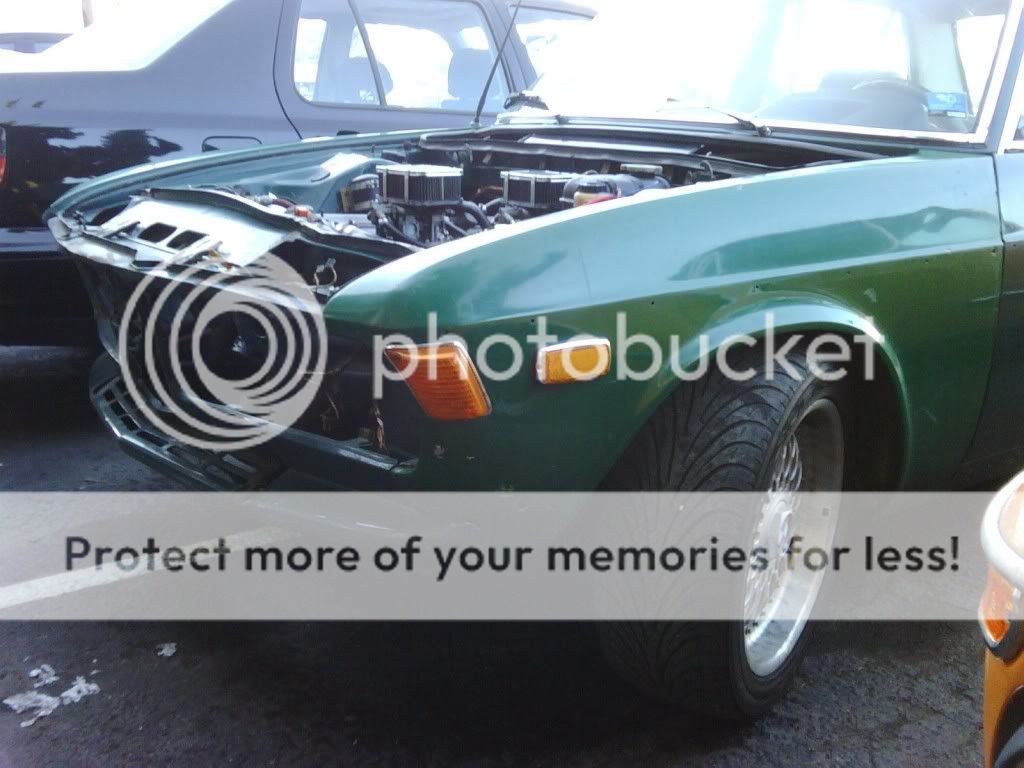
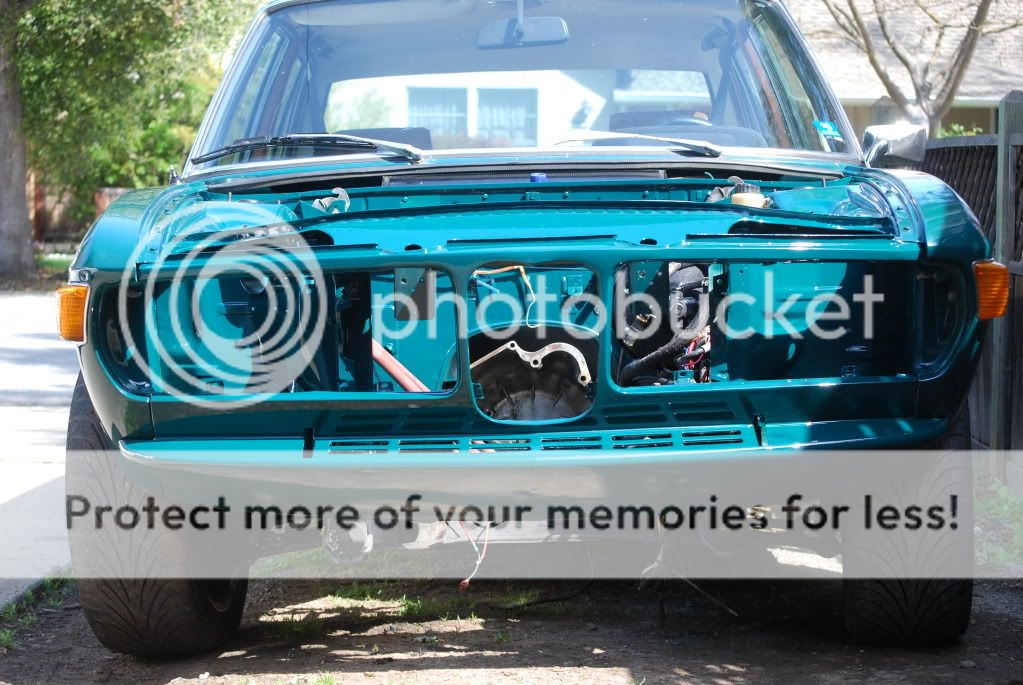
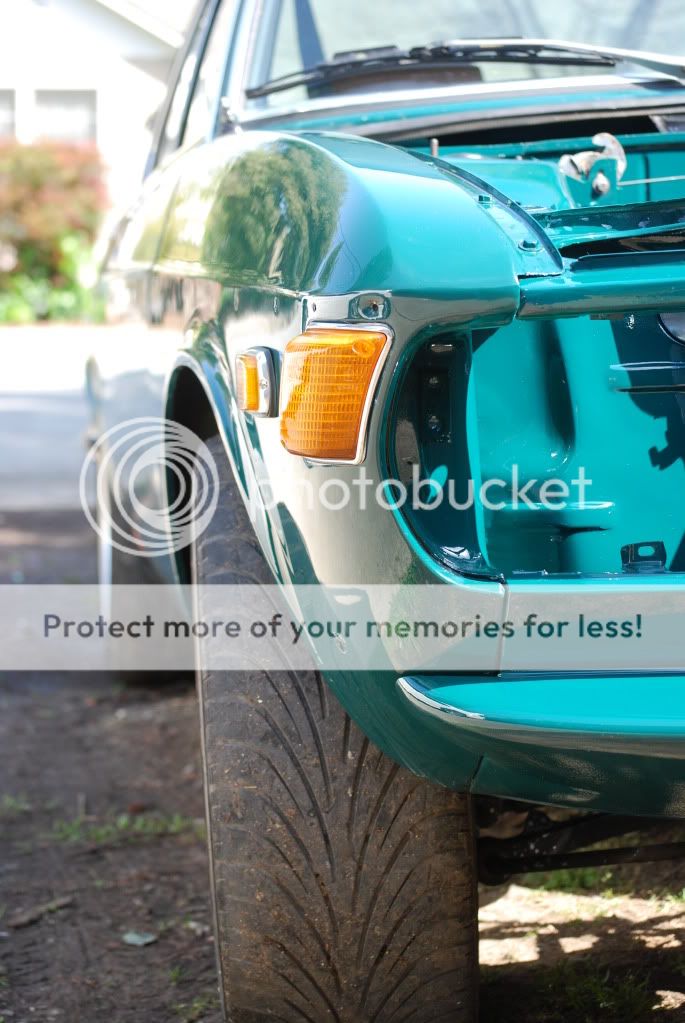
-New fenders
-New bumper
-New bumper brackets
-valve cover gasket
-Fixed power steering leak
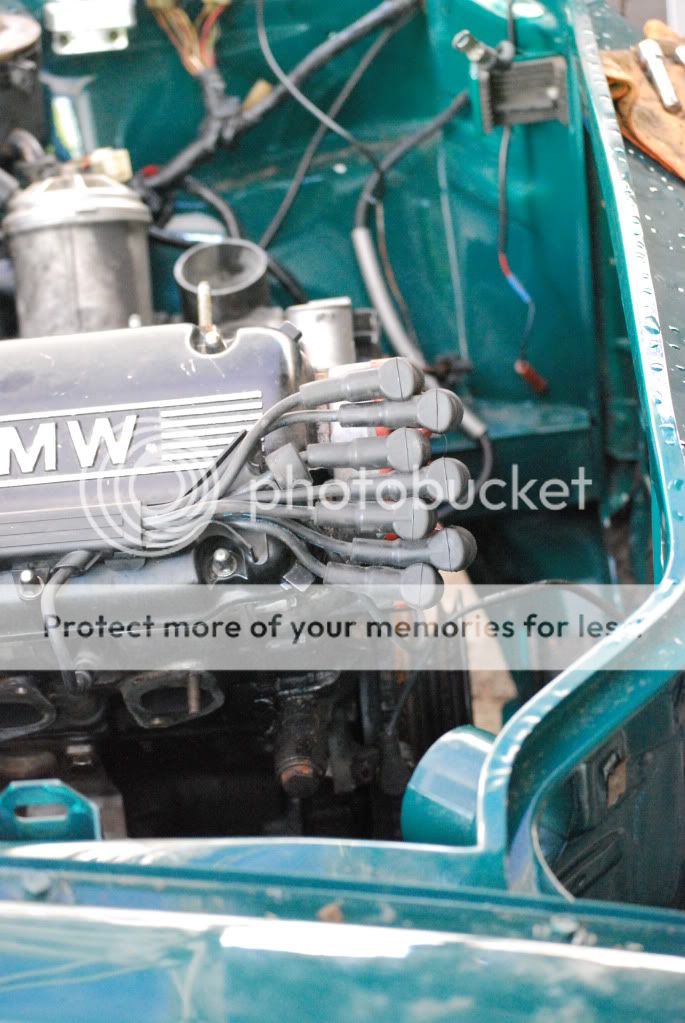
-Cap, Rotor, Plugs, etc

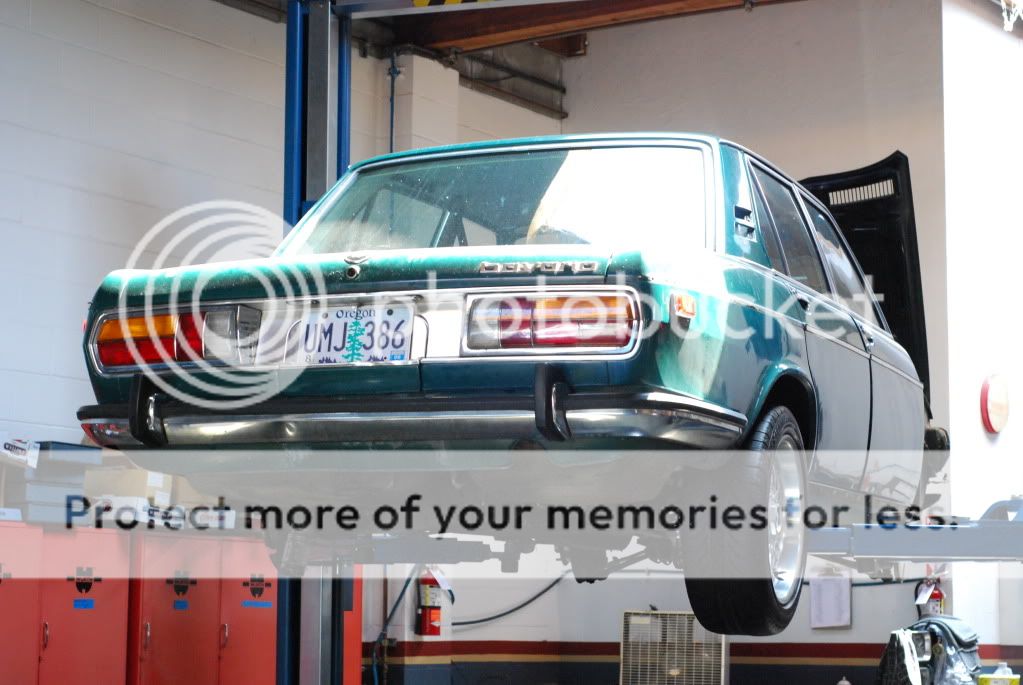

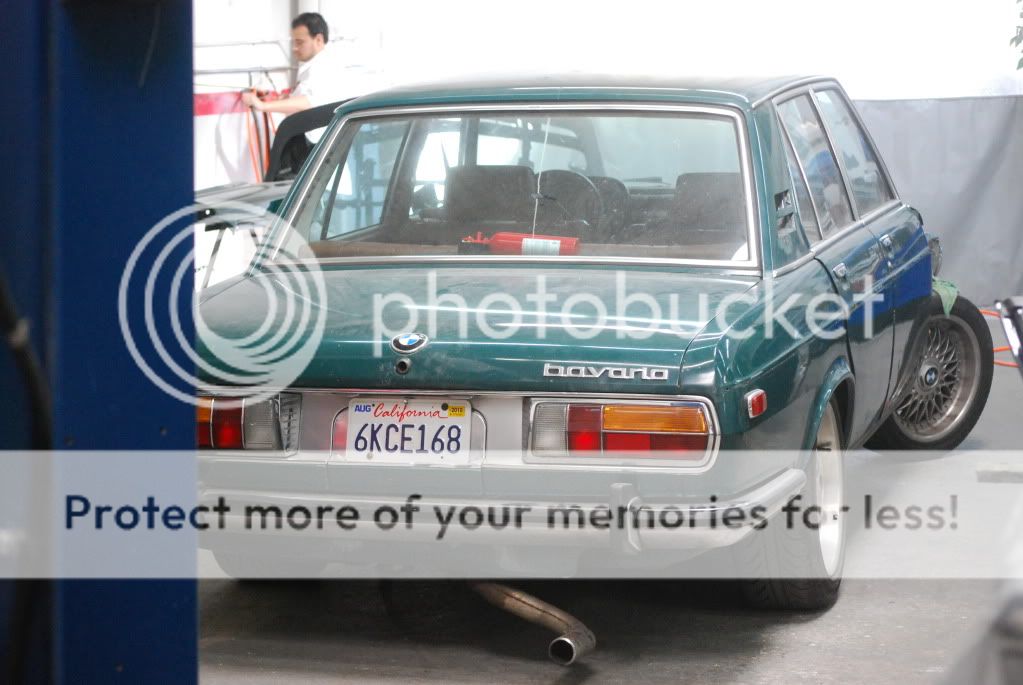
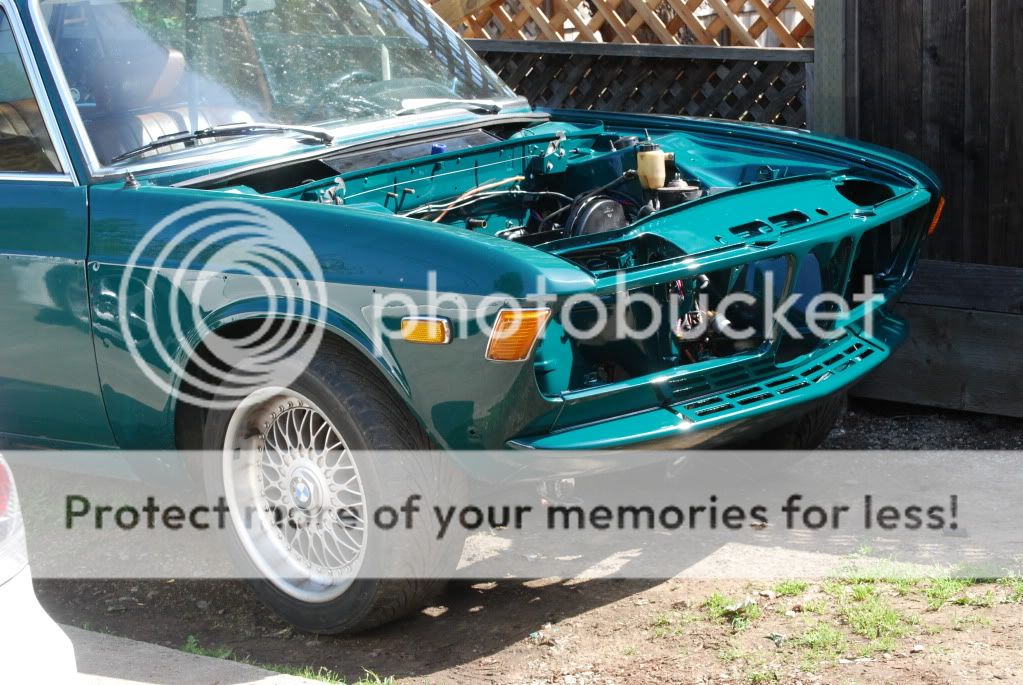
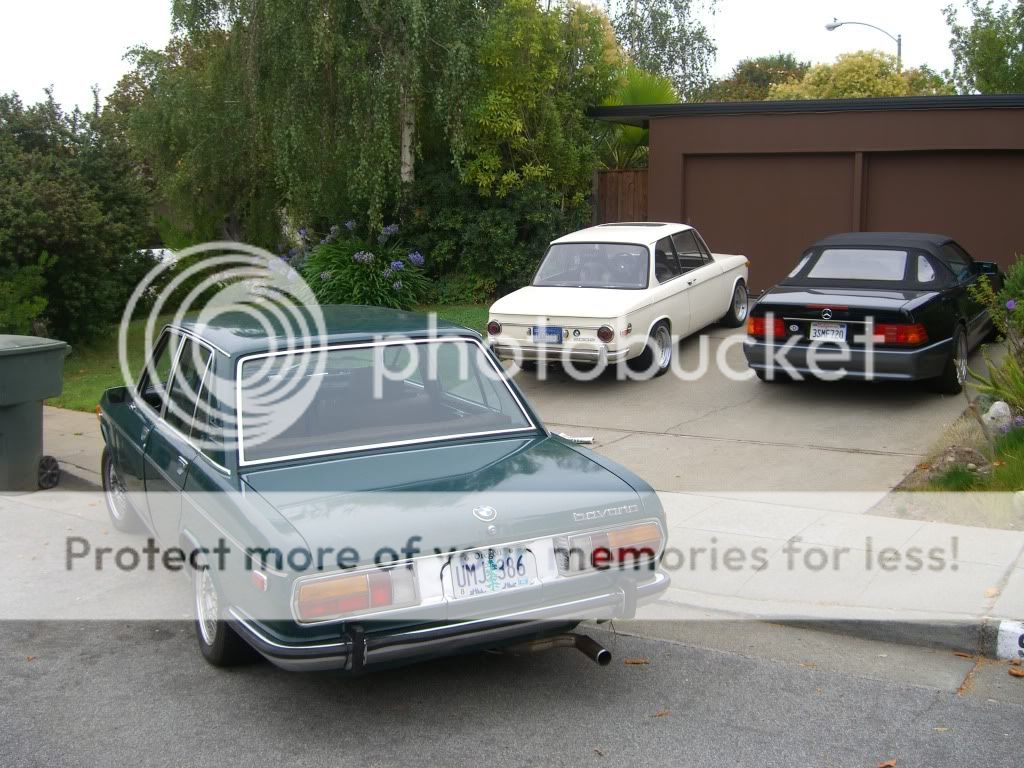
So, I have been driving it every day (at least 60 miles a day) for the last several weeks and I couldn't be happier. I love the thing and have so more work to do.
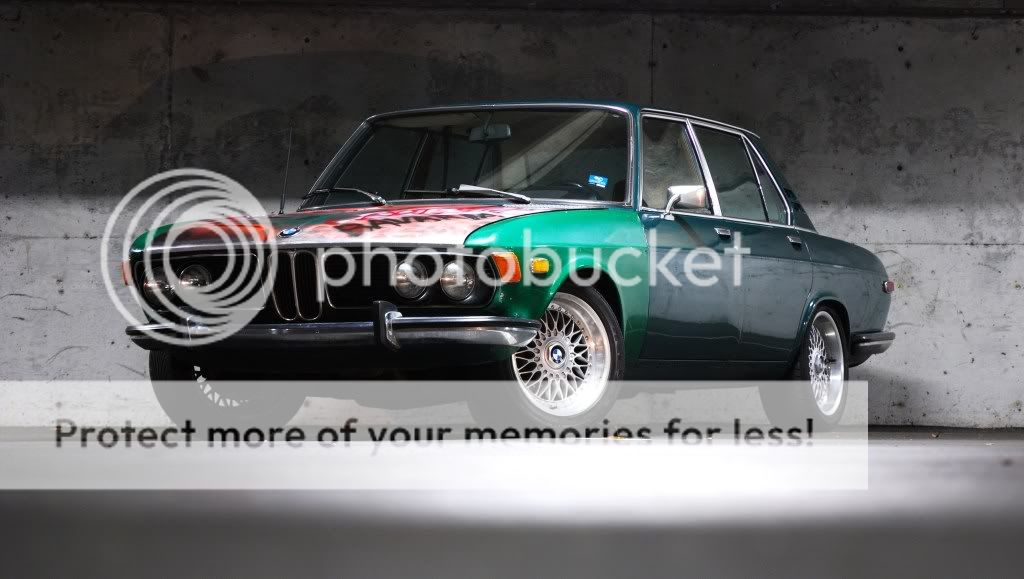
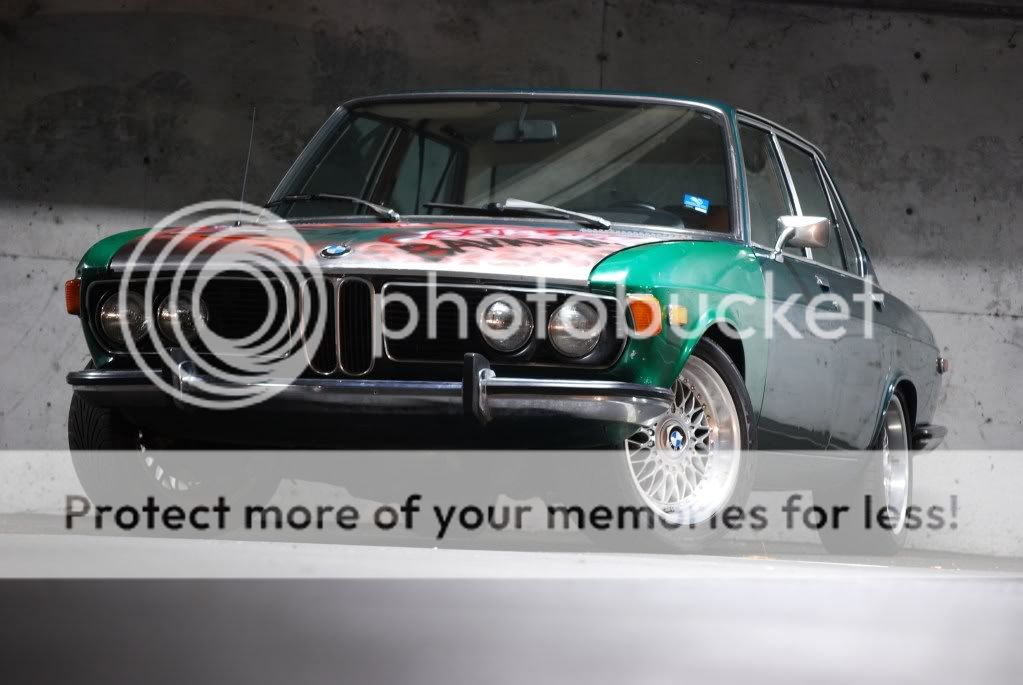
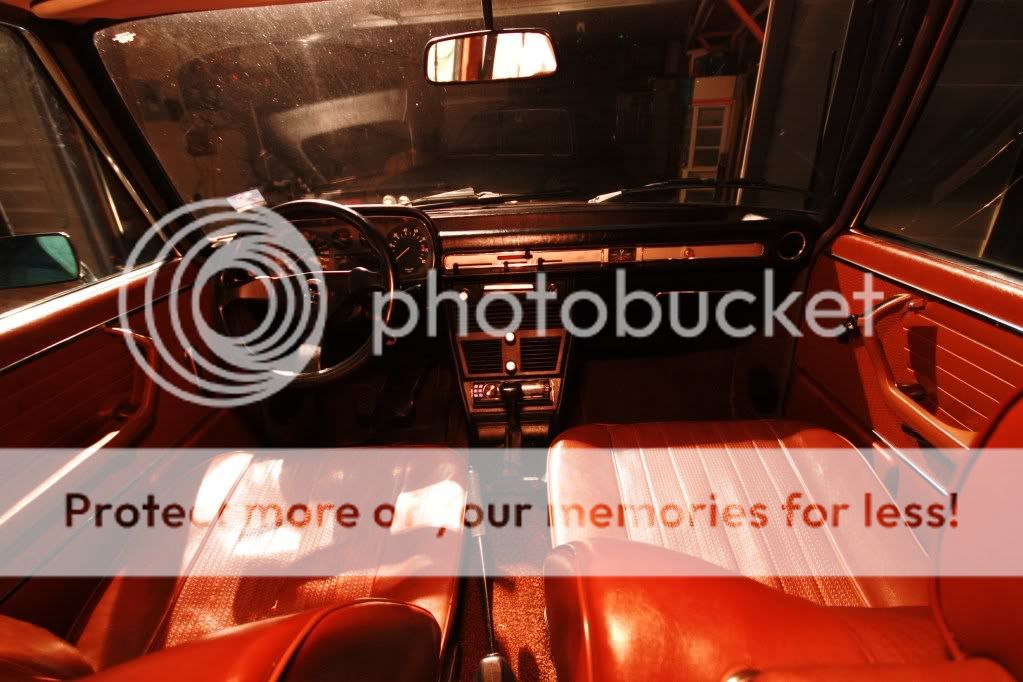
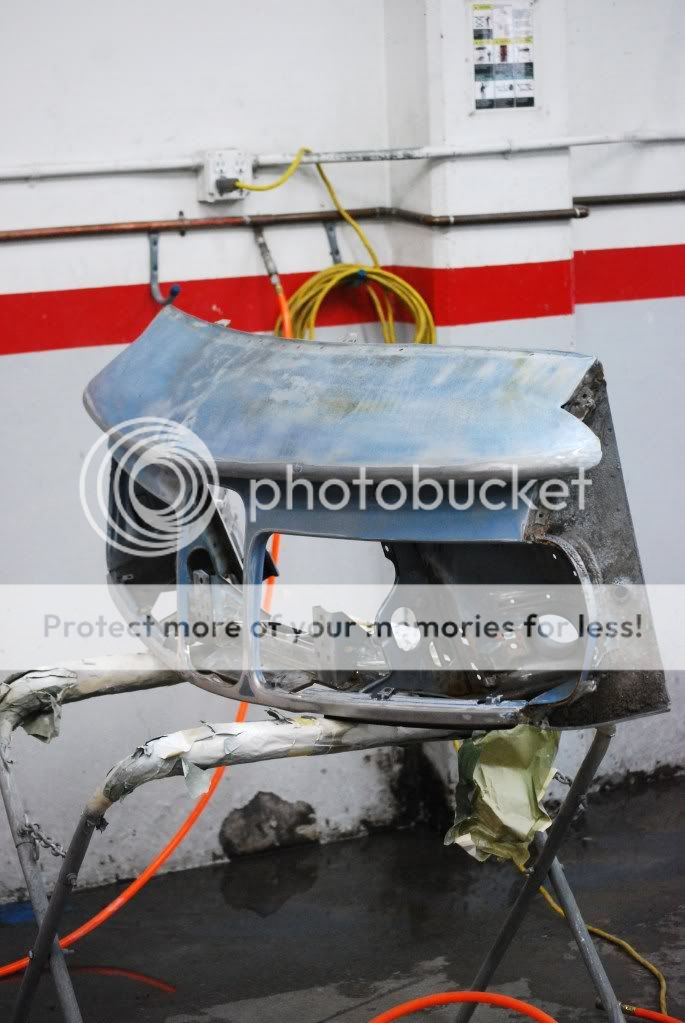
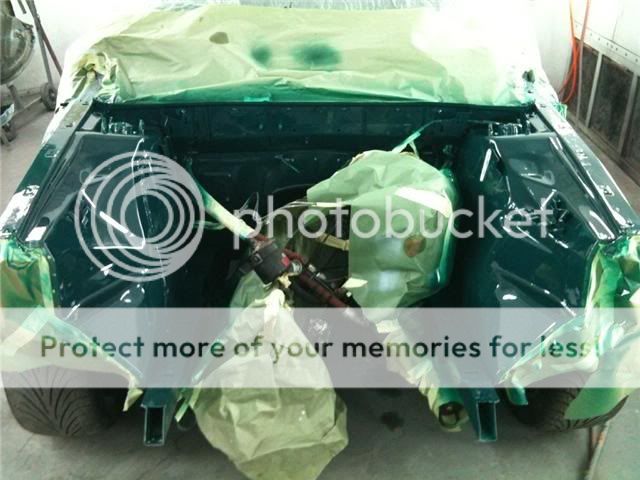
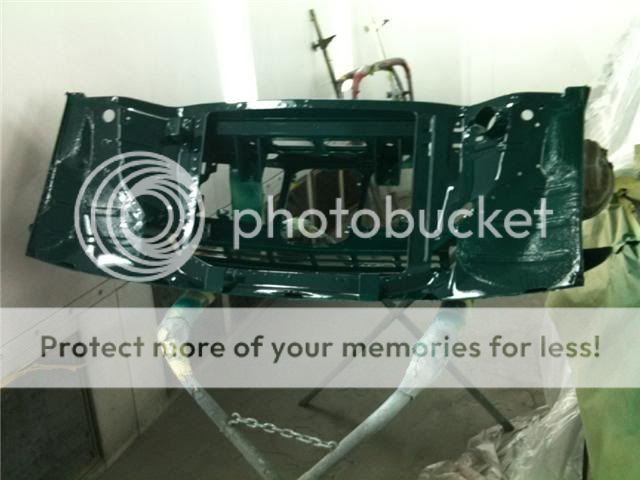
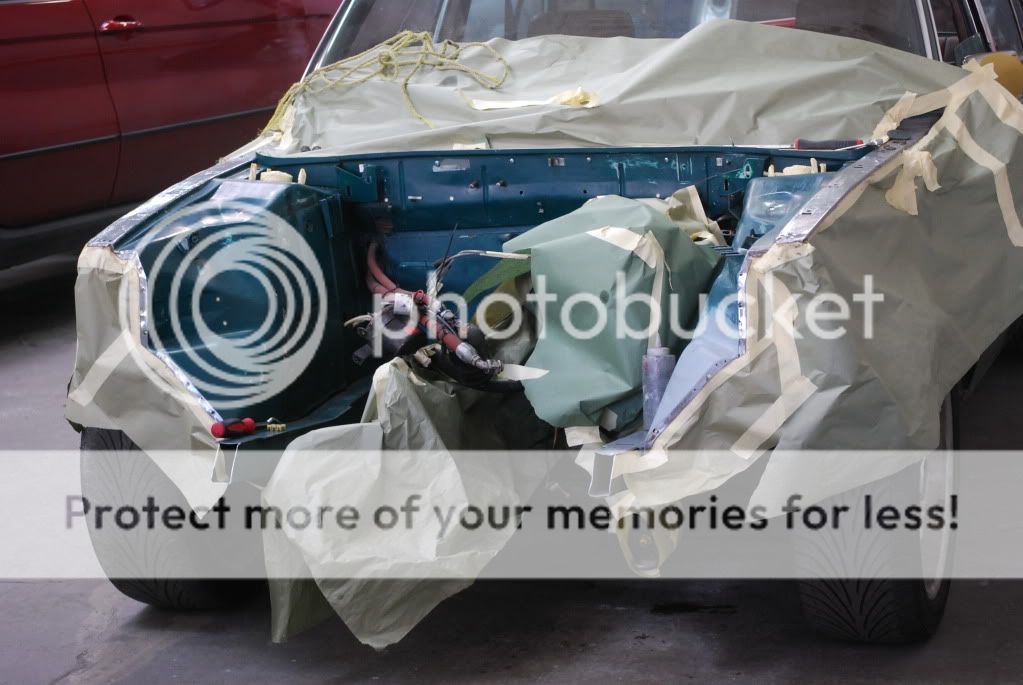
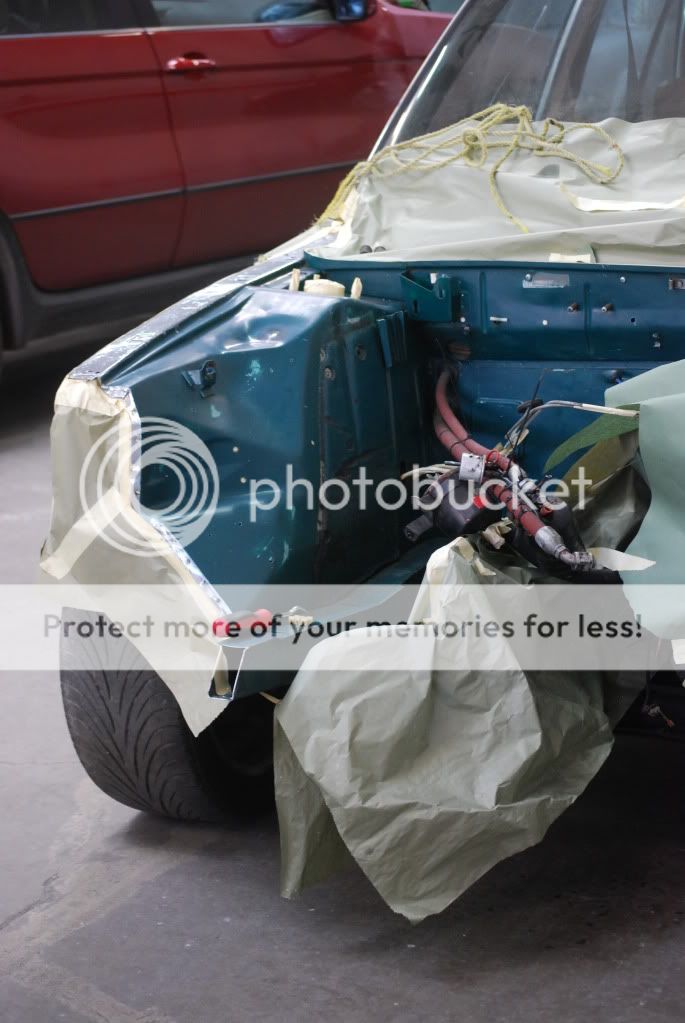
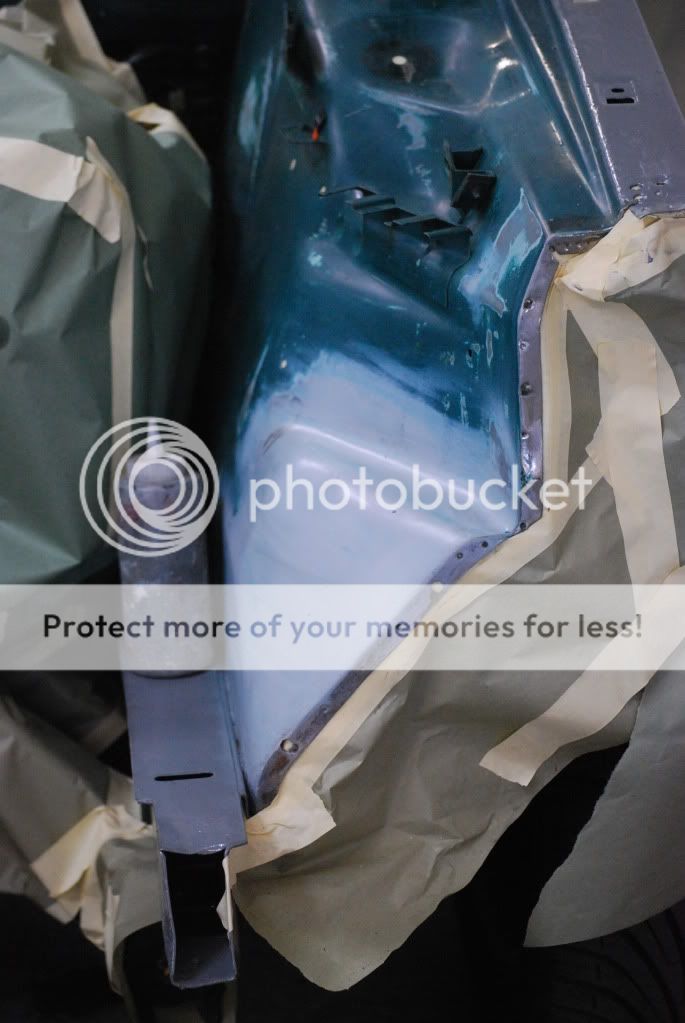
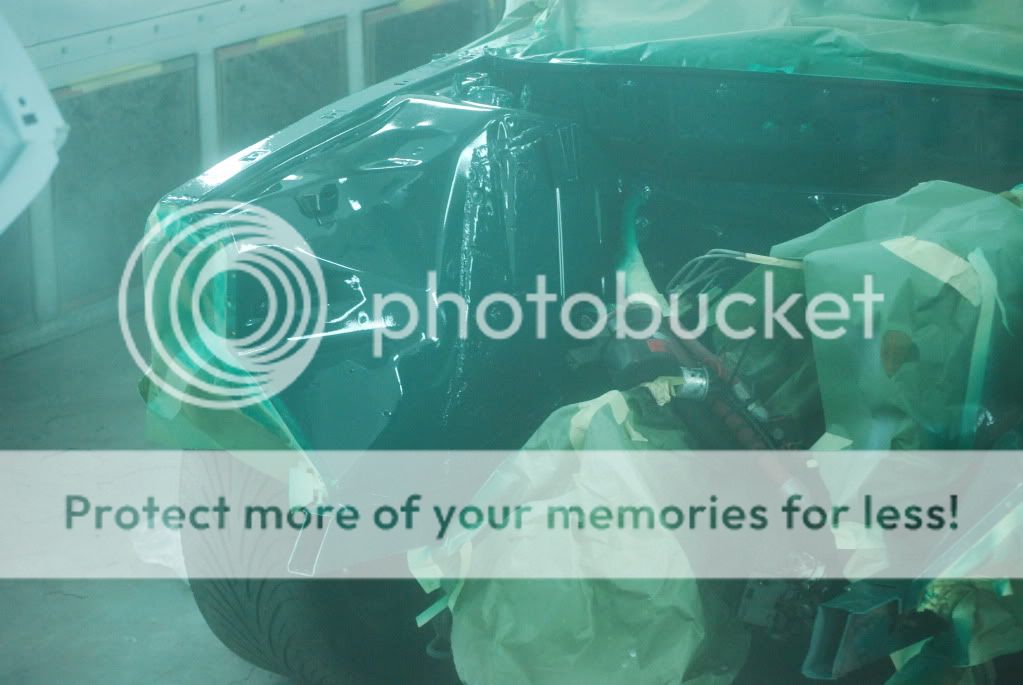
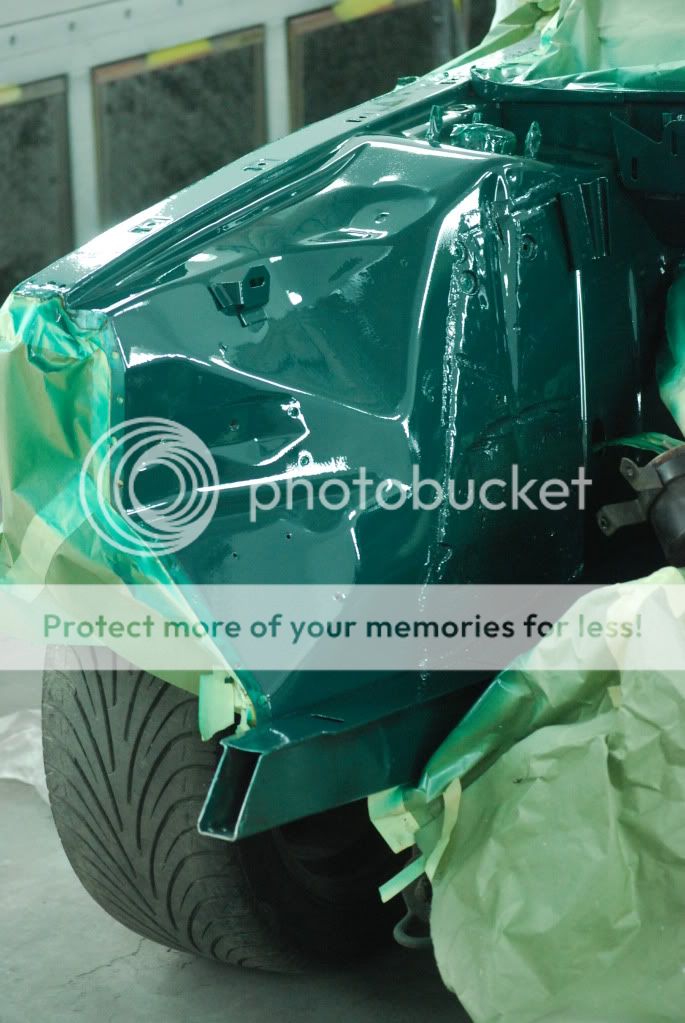
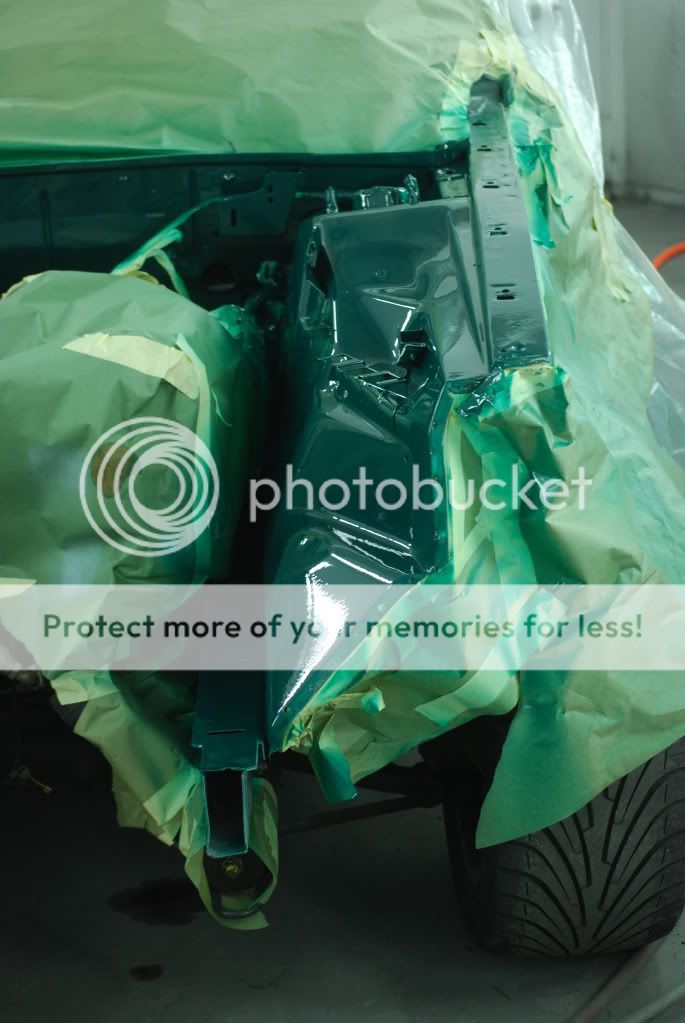
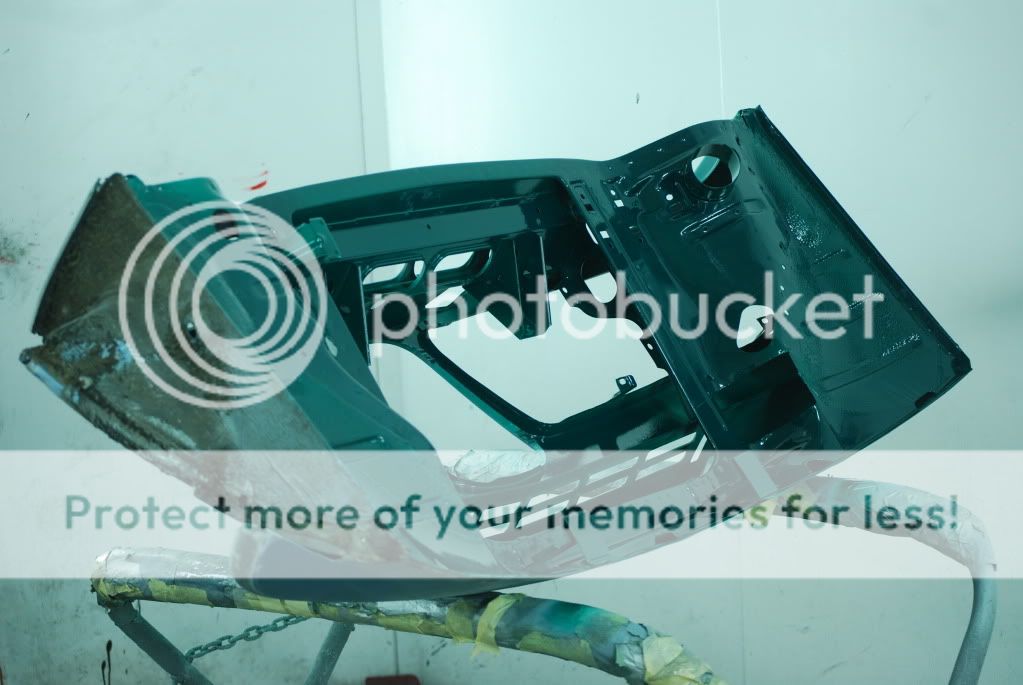
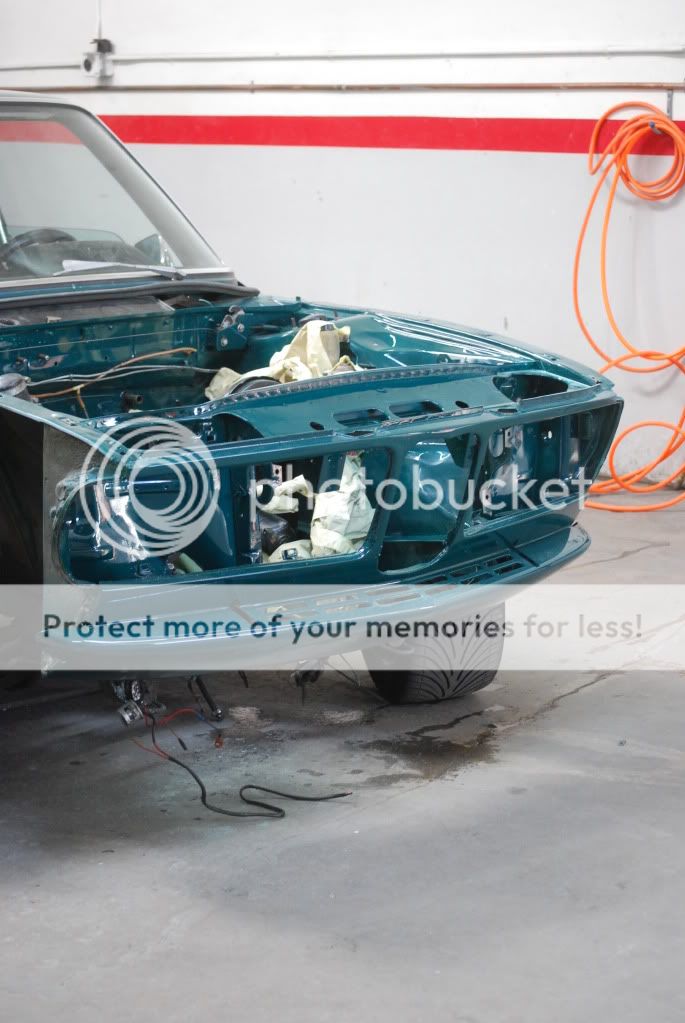
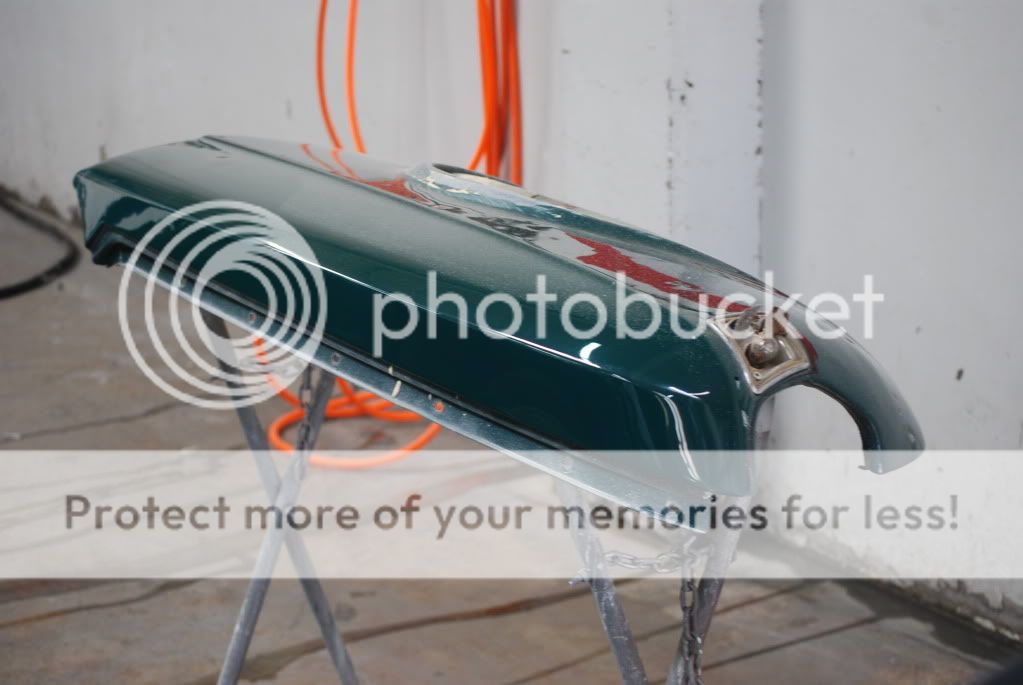
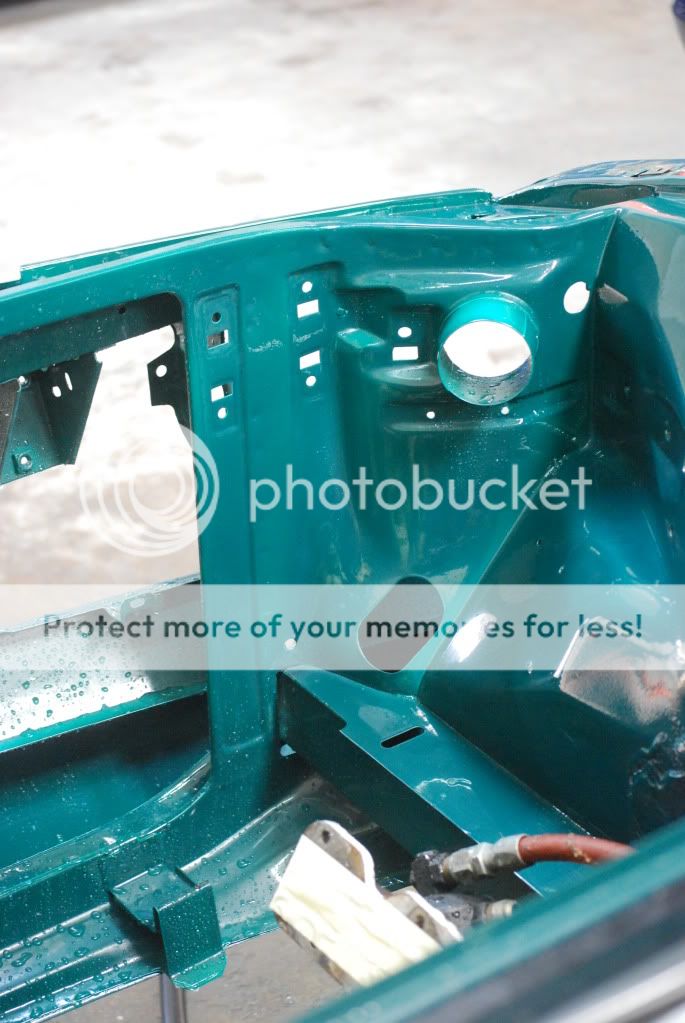
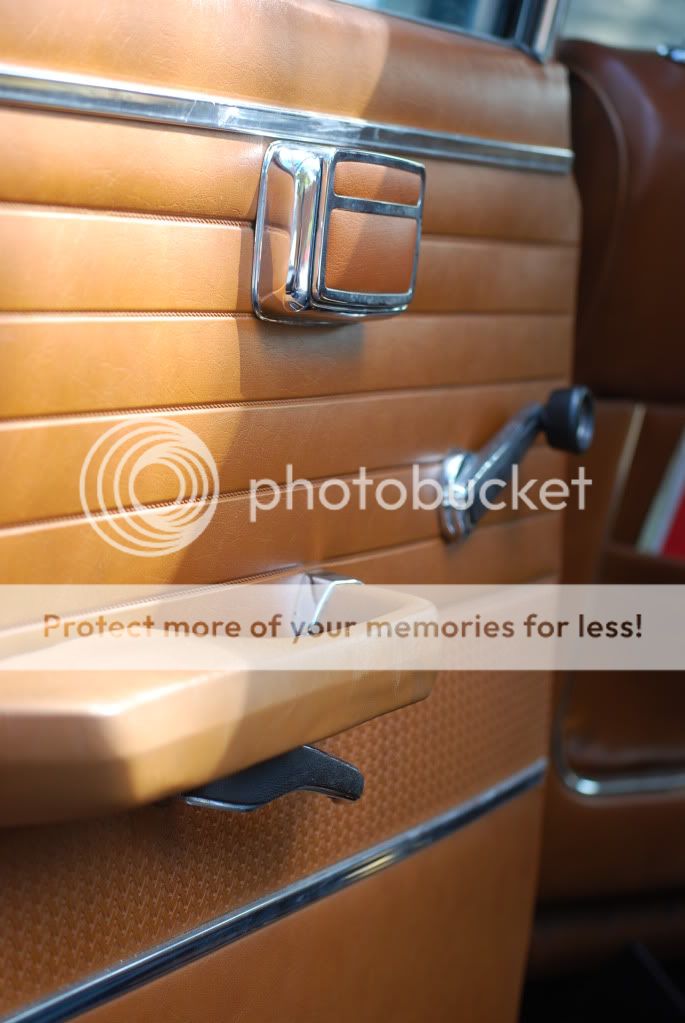
Next is paint, some interior stuff, and coilovers.
I'll keep this thread updated as I go.
Posted from another site:
Long time listener, first time caller....
First off, some damn nice cars in here, keep up the good work guys!
And now to introduce my project.
History.... (you do not have to read, but it is entertaining)
Basically I picked up a Bavaria up in Oregon a couple months ago.I traded a 1994 Cherokee for the car.
All I knew was that the car was in Portland, OR and I was in SF.
The car had been sitting for years and it ran fine when it was parked. Me and 3 buddies drove up and planned to drive it home.
When we got there, we found a broken fan clutch and leaky fuel lines so the engine could not pump fuel. We fixed that after 3 hours in 112 degree weather. We are on the road!
The trip: Took 3 days.
Gas was first.
The very first thing that went wrong less then a mile away from your house was the throttle cable. There is a spline that was stripped so we fixed that at some gas station. It was so hot (i think 110) and a guy gave us some free waters and then another mechanic came by and asked if we needed anything. We did need a spring to hold the carbs shut. So we got that and the stripped spine fixed within 2 hours.
Code showing his appreciation of H2O
We started to head down the road to "horsepower freaks" to go and visit. We got there and hung out for a bit....
but when we were walking back to the car, we noticed it was dripping from the transmission pretty bad. So we pulled into a shop real quick and tightened the tranny bolt. People were so nice there.
As we started to head home, we pulled out of the driveway and the car shut down. So after a couple hours of trying to figure out what it was, we realized the fuel pump was clogged, so we had a spare in the trunk plugged that in and primed the system.Note everytime we had to fix something, we had to pull out about 100lbs of **** out of the trunk.
It started up and again and we were off. Solid Driving that night! No problems, we were so happy.Minus the heat...
Ryan
Me
11:00pm that night I was sitting in the back seat and noticed the center divide was very bright. What could that be? Police? ****! Nope! We were on fire.... We pull over, through everything out of the car as quick as we could and threw it onto the shoulder. Pablo Saved the bavaria and put out the fire. We were 20 miles south of Eugene, OR on I-5. We didn't know that and we tried to call for police but only my phone had battery out of the 4 we had. So after 1.5 hours, a tow truck found us and hauled us to Eugine and dropped us off in a neighborhood. We walked to a motel, and finally got some sleep since we were up from 8 the previous night when we left SF.
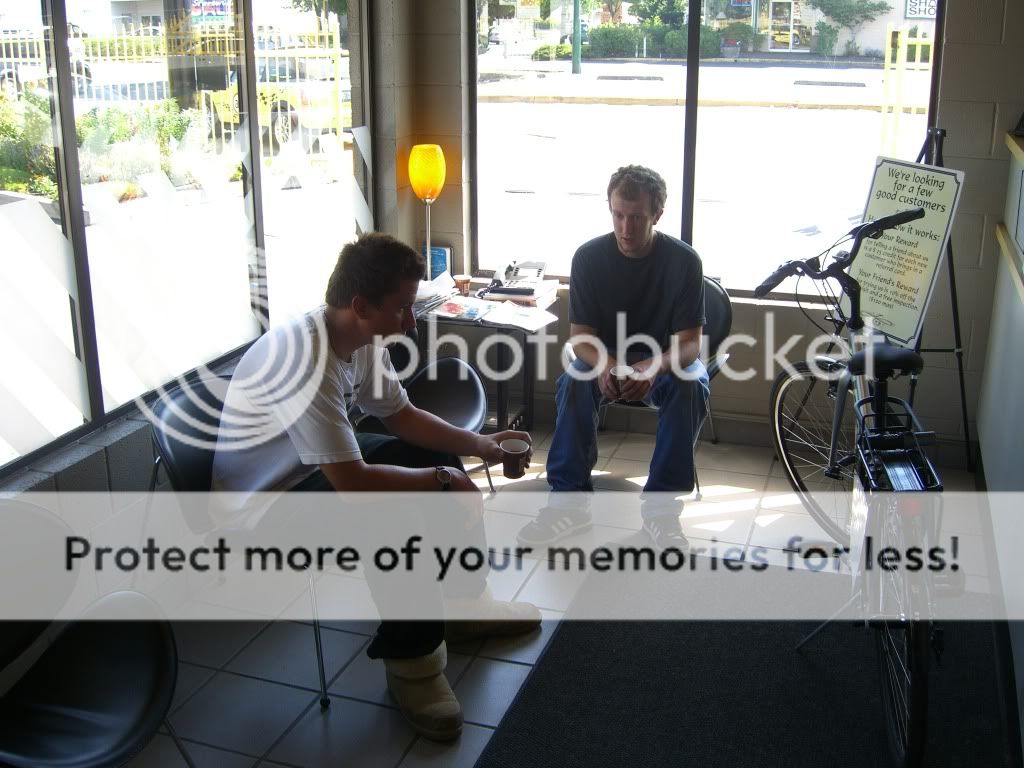
The next morning we looked at the damage. Note we have no money or phones. We found a little german shop we pushed the car to.
Yes, Pablo had a chance to ghost ride ride it
We checked out the damage real quick. They needed the lift and helped us so much by just letting us check it for a couple of minutes We must have drank their whole 5 gallons of cold crisp water. We were so dehydrated.
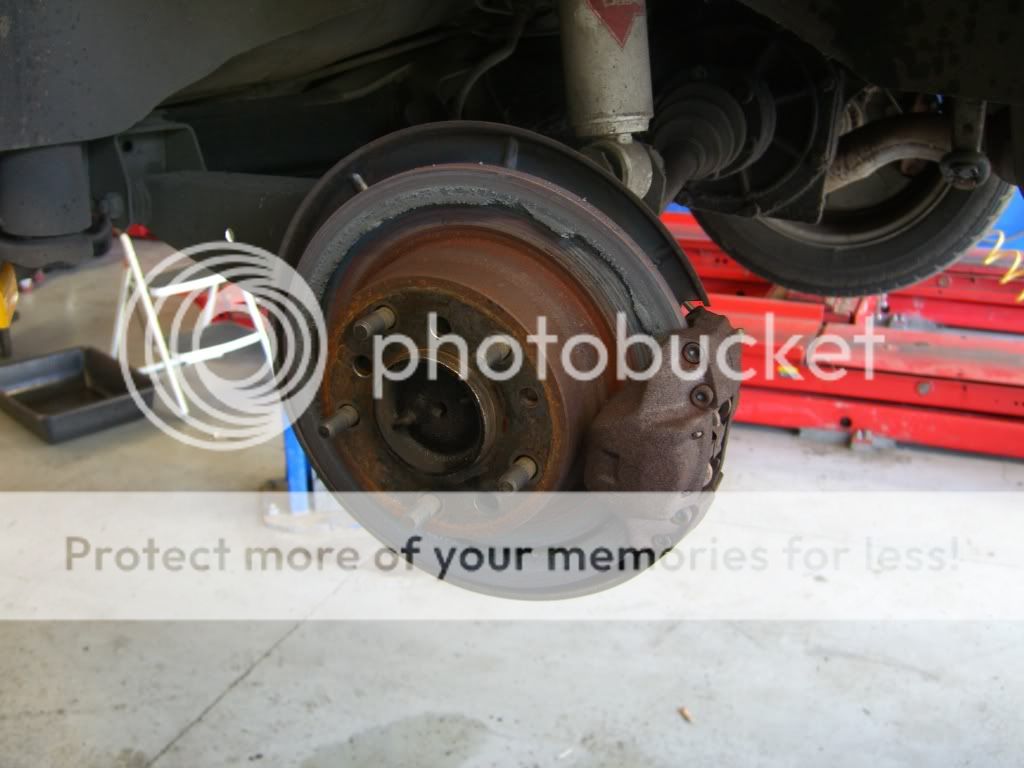
To our surprise...
The drivers side rear brake must have been rubbing and caused so much heat it caught fire. It split the brake disc in half. So we pushed it again down the street and jacked up the car using the oem bmw tools, and removed the brake rotor. bolted the wheel back on. Thankfully the fire cause the whole caliper to seized so we didn't have to bleed the system. We also managed to get distracted by lighting a squished squirrel on fire.
We headed off and no problems occurred until we got to the State park by the CA border. We noticed the passenger side rear wheel was very hot. So we jacked it up, and pulled the brake disc on that side too. SO we had no rear brakes.
And back onto the road...Until....Problems!
We started to get to Eureka,CA. Around 11:00pm. Then realized we had NO BRAKES! We downshifted to a roll at an exit and found ourselves in an abandoned denny's. We had no idea what was going on. After 2 hours we found out that the rear caliper finally un siezed and was leaking causing no pressure in the system. So we found a fence and snapped the tip off to fit it in between the calipers where the rotor would be.
That seemed to work. The next 6 hours we headed home with 1.5 brakes. The right front work way to good and the left front barely worked.
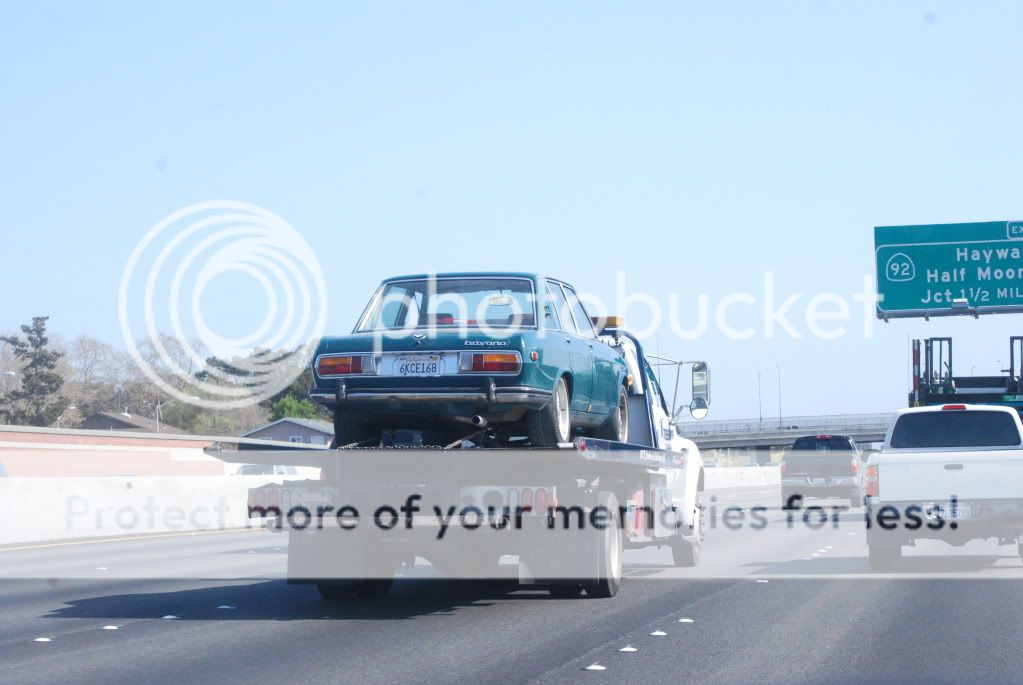
We did get home finally and I left it alone for about 2 weeks.
I Then drove it to my friends shop where I was going to overhaul everything mechanically.
Things I've done:
The old tranny was leaking to much for my liking so I decided I will somehow put a newer BMW 5-speed tranny in it.
-Put 5-speed Getrag 265/6
-New Shift linkage plate (e28)
-New clutch
-Machined Pressure plate
-New rear main seal
-New pilot bearing
-Had to fab up a cross member for the tranny
-Shortened and balanced the driveshaft
Brakes:
-New rotors
-New Calipers (2002 tii front calipers)
-New Pads
-New lines
Other things:
-17'' BBS style 5 wheels
-Tires
-New radiator
-Alternator from e28
-Sound system
-Fixed most the lights
-Another fuel of filter
-Wheel bearings
-Exhaust hangers
-Removed old cruise control unit
-Adjusted Carbs
-New fenders
-New bumper
-New bumper brackets
-valve cover gasket
-Fixed power steering leak
-Cap, Rotor, Plugs, etc
So, I have been driving it every day (at least 60 miles a day) for the last several weeks and I couldn't be happier. I love the thing and have so more work to do.
Next is paint, some interior stuff, and coilovers.
I'll keep this thread updated as I go.