Looks good. Any chance you have some step by step shots of your process? Would be a great addition for the knowledge base for the forum if you do....
Was the front compression the limit of possible inward movement? Or could you actually have brought it in further?
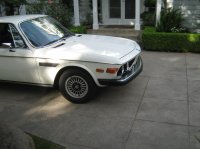
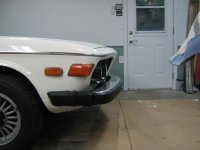
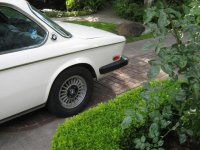
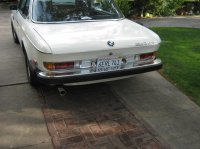
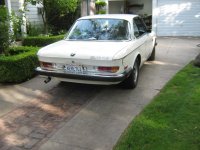
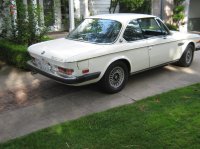
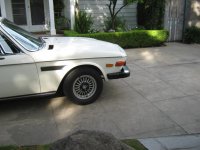
Erik, sorry but I didn't take step by step pictures of this entire process but it wasn’t too overly involved and I feel the results were dramatic for the looks of my 1974 DOT bumpered E9. I have had a few people now look at my car with compliments about the car and not one has asked about or commented on the bumpers where before those bumpers became one of my irritating topics of conversation. I relate this to when I needed braces as a kid and how I now look back at those pictures and think WOW what an improvement.
I did this project all by trial and error until I achieved the best look possible without having to do any extensive body or paint work for a conversion to the older chromies while trying to keep it totally bolt on and reversible back the original stock position. My initial intent with this project was to custom fab brackets and to replace the shocks in order to retract both bumpers as far in as possible. My total cost of doing this bumper retraction project was well under $100 which doesn’t include the cost of acquiring a better set of bumpers.
Once I had the shocks off and did some quick measurements I thought I would experiment with just collapsing the shock by drilling a weep hole into the inner pipe to drain the highly pressurized fluid. I had thought that these shocks would be gas filled and not liquid filled. In doing the drilling I placed an inverted Dixie cup over the selected spot for the weep hole. I drilled through the bottom of the Dixie cup and into the tube and once the drilling penetrated the tube the Dixie cup shielded the release of the pressurized fluid from going into your face and clothes.
The collapsing inward movement of the shocks only allows 2 1/2 inches of inward travel on both the front and rear bumper shocks. I initially was thinking that because the front shocks are longer that they would compress further than the 2 ½ inches achieved on the rear shocks but that was not the case.
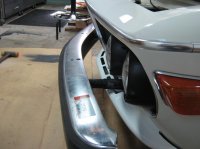
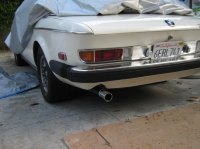
In doing the rear bumper placement my goal was to place the bumper against the body with a pinchweld rubber seal between them. During the placement I noticed that the top inner edge of the rear bumper wouldn’t allow it to be placed directly against the body without moving the license plate holder upward. I experimented with altering that license plate holder upward but I didn’t like it pushed up to the bottom of the trunk release button. So I settled for leaving the license plate holder in its stock position and with the bumper moved inward up against it. As you can see in one of the photos the final bumper placement is moved to within a ½ inch of the body the original distance was 3 inches with the space filler.
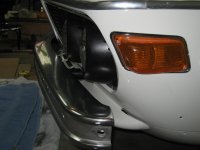
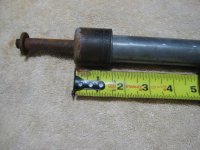
With my project now moving on to the front bumper I tested the look of the front bumper by using the 2 ½ inch compressed shock but decided that it needed to move in at least another inch. In order to accomplish this, cuts to both of the inner and outer shock tubes were required. The first step doing this is to separate the inner and outer the tubes was to drill out the welded holding nut at the end of the shock tube. Using a pipe cutter I removed 1 ½ inches from the inner tube (see photo 4) which then allows you to pull out the inner workings of the shock. Doing another 1 ½ inch cut to the outer tube allows the inner and outer tubes to compress 4 inches which was beyond what I needed.
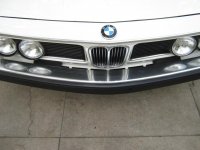
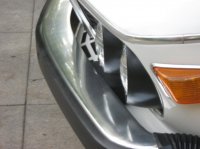
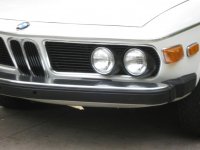
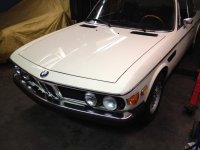
The issue of placing the bumper further inward comes from the bottom of the bumper hitting the nose of the valance (see photo 3) and top of the bumper blocking or covering the lower part of kidney grill (see photo 5). On the lower side of my front bumper it has approximately ¼ inch of clearance from the valance.


