AC Box Removal

grnder95

Well-Known Member
Site Donor
Messages
176
Reaction score
47
Location
Houston, Tx
Hello everyone,
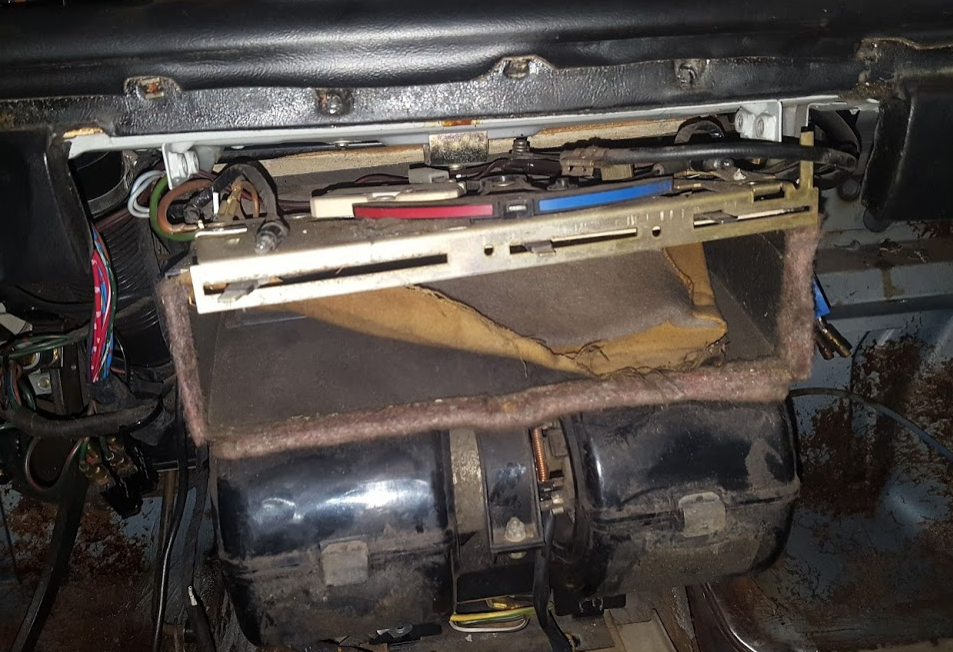
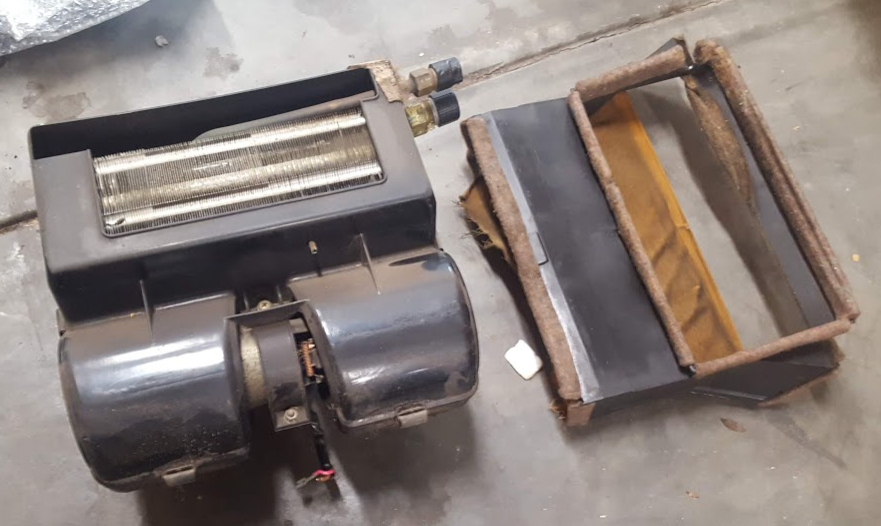
This is a little embarrassing, I'm trying to remove the AC box in my car but it won't budge. Four Phillips screws have been removed, two in the back and two in the front. Also, two 8 mm bolts from the front and the AC lines have been disconnected. Is there anything that I'm missing? I read Markos' deconstruction thread as a guide but the part still won't come out.
Any help would be appreciated,
Victor

I'm moving this thread from my old one as Stevehose suggested, thanks for that!
 
Hello Markos;
I did remove two 8mm bolts at the base in front of the box, is that what you are referring to? Also I like to mention about the rectangular duct that seats on top of the box, how can I remove that.
Thanks for all the help.
Victor
 
Hello Markos;
I did remove two 8mm bolts at the base in front of the box, is that what you are referring to? Also I like to mention about the rectangular duct that seats on top of the box, how can I remove that.
Thanks for all the help.
Victor

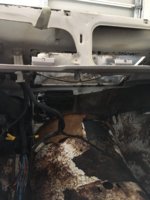
No there are two more at the the trans tunnel where it meets the firewall.

F9D7352E-9EC3-4B71-AD3C-3ED9BF6A6CF6.jpeg
 
also they do tend to stick to the floor and you
should take off the bottom dash trim as it will hit it

Yes that is where my decon thread deviated from “reality”. I took apart the whole car so the ofer of operations tended to benefit removal of certain parts. I removed stuff that you wouldn’t think to remove if you are just doing an evaporators extraction.
 
Yes, I got those off plus the 8mm in front, the AC box is loose but some how the top duct seems to be on it's way, any way I'll keep trying thanks for the information.
 
Did you pull the mounting plate out too, it gives a little more room. I think you need to lift up the air box above the A/C unit to wiggle it out. I pulled mine towards the passenger side. Also, remove the four bolts (2 on each side) of heater vent panel, pull it forward enough the remove the two large screws on top holding the lever assembly to the faceplate which can now be removed, it makes the lever assembly much easier to deal with.
 
I have not removed the mounting plate yet, but now that you mentioned I will do it next, I'm being extra careful trying not to brake any thing.
Thanks Chris for the input.
 
Yes, I got those off plus the 8mm in front, the AC box is loose but some how the top duct seems to be on it's way, any way I'll keep trying thanks for the information.

I’m pretty sure that I removed the top duct first. Sadly I can’t remember. The duct is very fragile. There is a screw above the top duct that holds the dash in place and I’m pretty sure that to access it, you remove the duct. You don’t have to remove
the AC box to remove the dash, but it is easier.
 
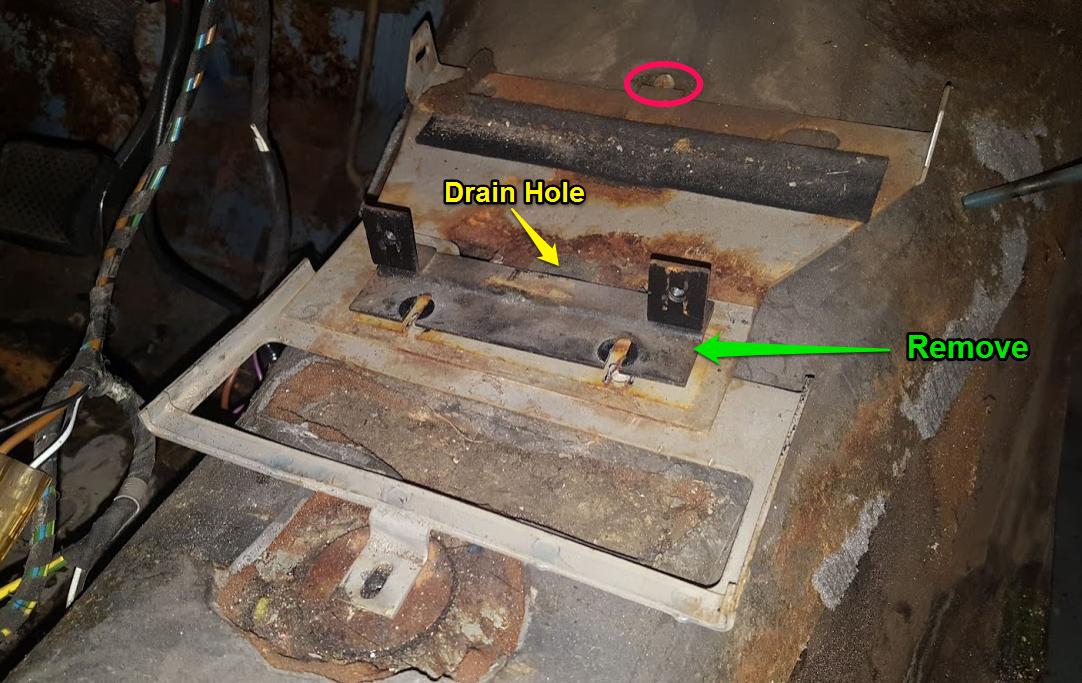
You basically lever it out by swivelling the bottom of the evap' towards you. What may be a hindrance is the drain hose to the trans' tunnel at the bottom centre of the evap'. This a rubber grommet which may be stuck to the evap'. Get something down there and try to separate the evap from the grommet first. You'll see it in the parts diagram 64/16 as part 16 and / or 17. Unfortunately the diagram does not show the position of the grommet accurately. As a guide use Markos's picture where you can see the round hole for it.
 
Last edited:
Hello everyone!
I want to thank you all for helping me remove not only the AC box but the heater as well. My next task will be removing the engine and I might need help figuring out where to attach the lifting hoist to balance the engine, and what parts need to come out before removing it.
Thanks again for all your help
 

Attachments

  • IMG_0333.jpg
    IMG_0333.jpg
    252.9 KB · Views: 324
I removed mine yesterday with some helpful advice from hbChris (as always). Assuming you've already removed the front plate, wiring, and lines from the side....

There are four bolts holding the unit to the floor plate, two in front and two in the sides in the back. Also remove the two holding the front bracket to the floor plate. Then remove that bracket (not the floor plate -- you can't get to the screws holding it to the floor - pink circle, plus two under the other bracket).

evap.png


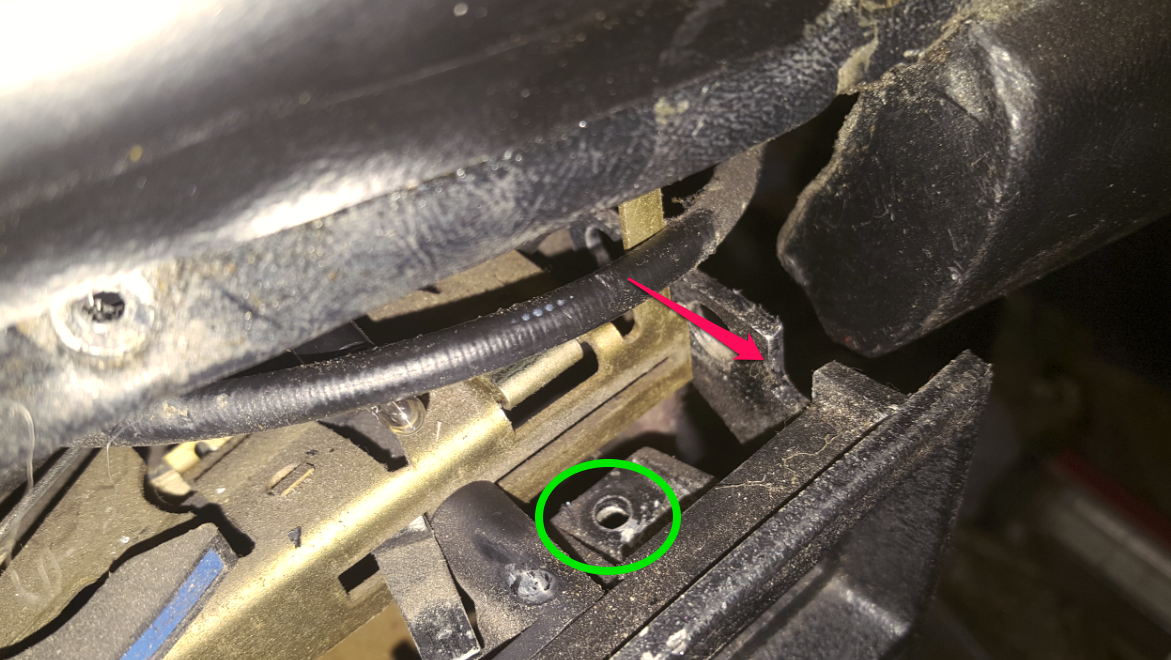
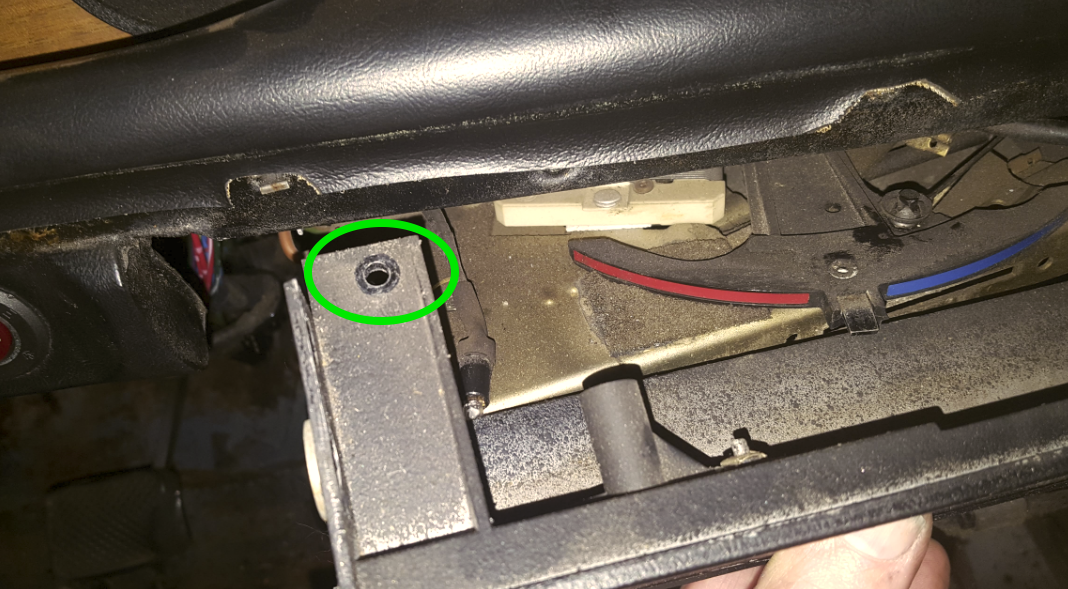
Getting the heater controls out of the way makes room for removal. But the bowden cable on the right side is in a notch (pink arrow) on the faceplate, making it difficult to pull out. Push the cable up out of the slot and you'll be able to pull the heater control assy out far enough to remove the two straight-slot screws (green circles) holding the faceplate to the rest of the cable lever assy.

heaterfaceplate.png


heaterfaceplate2.png


evap2.png


Now you have enough room to wiggle it out. Push down to and tilt out from bottom. The delicate top vent box comes out with it. Mine had some sort of insulation (no longer) held in place by a a piece of cloth taped to the top of the vent.

evapout.png
 
A quick shout of thanks, just got the condensor assembly out. Wow, what a PITA...cant wait to put it back in. This string (others too) were very helpful. Getting the bottom bracket out of the way was the key.
 
Last edited:
Deleted post. I thought I had a problem but it turns out it was because somebody had gotten in there previously and did not reattach things properly. This threw me for a loop since it didn’t match the pictures above.

I’m good... until the next obstacle.
 
Last edited:
What may be a hindrance is the drain hose to the trans' tunnel at the bottom centre of the evap'. This a rubber grommet which may be stuck to the evap'. Get something down there and try to separate the evap from the grommet first.
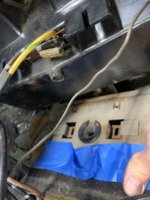
I reread this thread and a few other several times trying to figure out why the stupid thing wasn’t coming out even though I had removed all of the necessary bolts and lines. On my umpteenth re-read, I finally paid more attention to what @Gazz was saying here and that was exactly what the problem was. You have to slide a flat head screwdriver under the evaporator from the side to lift that little drainage ”tube” out of the matching hole in the trans tunnel bracket. See pic below.
Thank you guys!
 

Attachments

  • 030647CF-1934-40F5-BCDE-ADBA24E17281.jpeg
    030647CF-1934-40F5-BCDE-ADBA24E17281.jpeg
    262.3 KB · Views: 167
Back
Top