gazzol
Well-Known Member
Hi guys, the top of my dashboard is cracked and I would like to recover it in leather. Does anyone know of someone who does a ready made set for the top and the instrument binnacle? Thanks in advance
We used Just Dashes also. Expensive, long leadtimes, and late to schedule. However, i would use them again. Very high quaity. We were going to have them do the 2002 except for the leadtime. Probably will schedule it for next year.I have had Just Dashes do one of mine. 14 week lead time & may be more expensive than in 2018. They repair & re-vacuum form with vinyl grain close to original it looks very "factory" original.
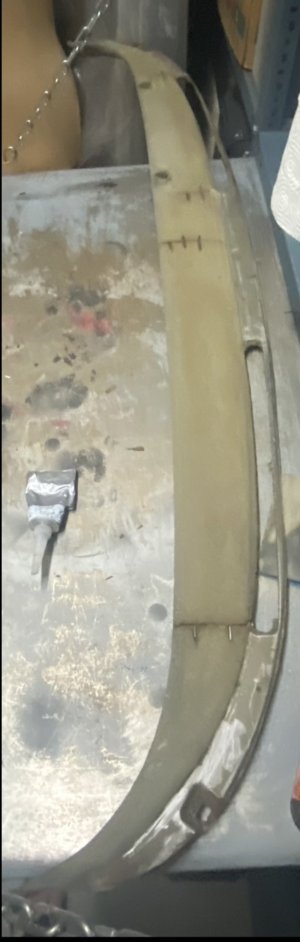


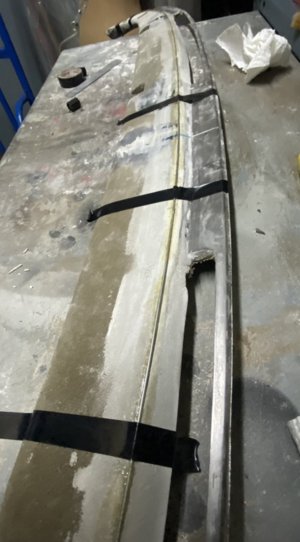
BTW,I tackled dash recovering a few months back, since we don’t have an outfit like Just Dashes. It turned out okay, but next time It’ll be much better.
I removed the existing vinyl. I sanded the foam to allow for the 2mm condensed foam and the new vinyl, so the final thickness would be as close to original.
I then deepened the cracks, joined them with nails (??), and covered them with rubber silicone, and a bit of bondo.
I also used screws for the attachment (ones for moldings). The ones on the center were easy to tie down through speaker hole and instrument cluster removed. On the edges were a bit of work, but doable.
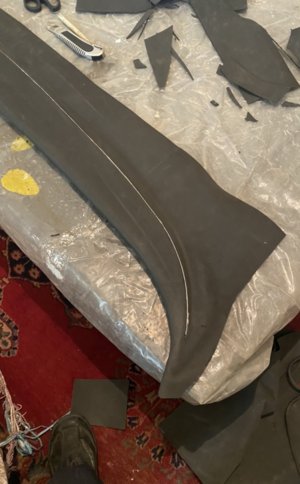
I glued the new foam with the help of a heat-gun on the curves.
I also ran a tie wire on the top to give it a sharp line (since just the foam would have created a curve).
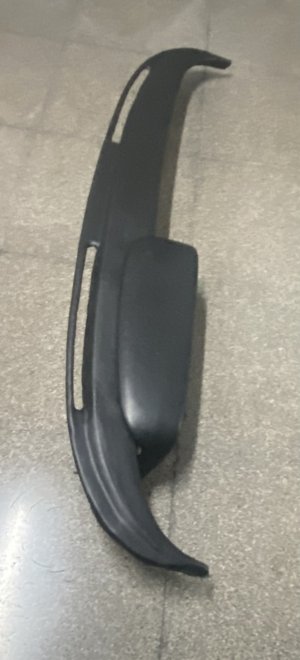
Glued the vinyl.
All of this took a long hard work.
Beautiful work!I tackled dash recovering a few months back...

ThanksBeautiful work!
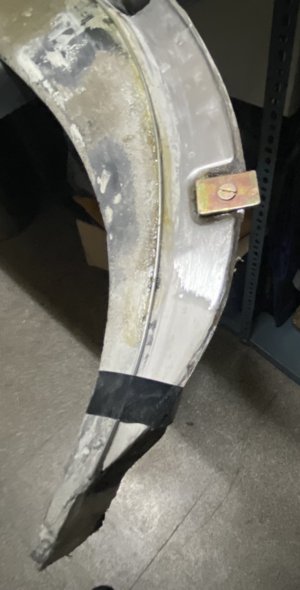
Can you please tell with what technique you separated vinyl from foam, so was no major damages on the foam & it's shape?I removed the existing vinyl.
Very basic and primitively. I cut the vinyl at the sharp edge on the top with a razor blade, and ran the long blade between the vinyl and the foam to separate them. Did the same at the bottom. sometimes the front curve came off easily, other times, I had to separate it with the blade, and braking the vinyl off. In one area a bit of a foam came off, and I bonded the area and sanded it to shape. I wasn't worried about the bondo cracking since I was using a foam on top of it.Can you please tell with what technique you separated vinyl from foam, so was no major damages on the foam & it's shape?
What tool did you used? Was dash pre-heated?
Thanks
@merdad out of curiosity, why did you feel you had to remove the original "vinyl"? I'm about to embark in the same process so I took a sample out of mine today (it comes off really easy with a heat gun, btw) and it appears to be some type of very thin plastic that almost seems to have been melted on top of the foam. It is very hard (likely in part due to aging) and very thin, I measured it at .68 mm. So I'm really not sure there is any advantage in removing it, especially since the foam underneath has become brittle with age and this vinyl/plastic is now holding it all nicely together. Especially at both outside ends which are very fragile.I tackled dash recovering a few months back, since we don’t have an outfit like Just Dashes. It turned out okay, but next time It’ll be much better.
I removed the existing vinyl. I sanded the foam to allow for the 2mm condensed foam and the new vinyl, so the final thickness would be as close to original.
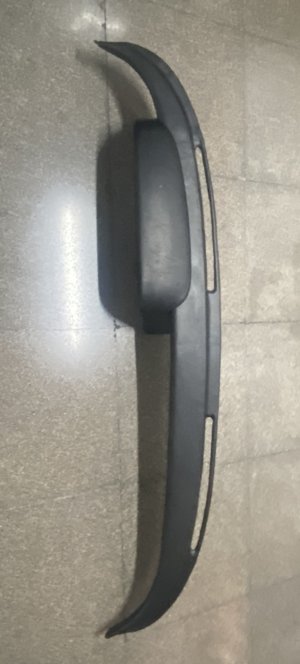
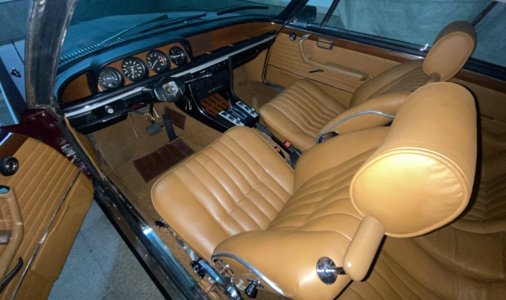
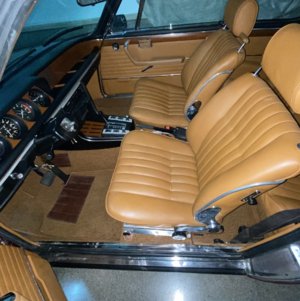
Due to cracks. Before I did this, I had an upholsterer repair the cracks without removing the original vinyl and the recover with new thin vinyl. It looked great for a while, but eventually the cracks underneath appeared under the new vinyl. Maybe it wasn’t installed correctly and caused the crack. Thought the instrument shroud and the bottom section stayed perfect. This a picture of when it was first done@merdad out of curiosity, why did you feel you had to remove the original "vinyl"? I'm about to embark in the same process so I took a sample out of mine today (it comes off really easy with a heat gun, btw) and it appears to be some type of very thin plastic that almost seems to have been melted on top of the foam. It is very hard (likely in part due to aging) and very thin, I measured it at .68 mm. So I'm really not sure there is any advantage in removing it, especially since the foam underneath has become brittle with age and this vinyl/plastic is now holding it all nicely together. Especially at both outside ends which are very fragile.
This plastic covering is so thin I don't think the difference in thickness will make any difference. On this particular dash, it doesn't seem to be many areas where the thickness is absolutely critical down to the millimeter. The new (real) vinyl measures about 1.4mm and I don't see where this could be critical.
Haha, thanks Chris. But I am almost done building my Paul Cain oil pressure/voltmeter gauge to replace the clock. (Yes, I know, he had oil pressure/temperature)Bo, Someone modifies those to house a digital oil pressure readout, right up your alley!

