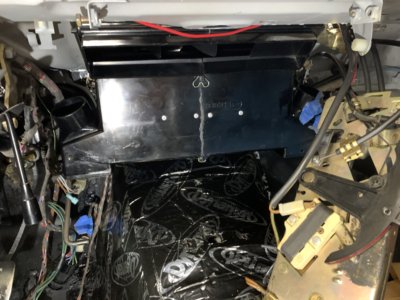
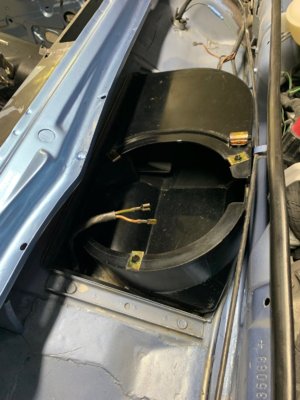
There are a few threads on removing the heater but not many on reinstalling it. Here is the way I did it. Please add / correct as needed:
As discussed elsewhere, re building this box is quite an undertaking and many agree that it is best to leave it to the pros. That is what I did. New heater core and rebuild by sfdon's shop. (one of my metal air directing flaps is missing)
EDIT: I was just reminded that if you want to do this yourself, @eriknetherlands wrote an excellent how to here:
 e9coupe.com
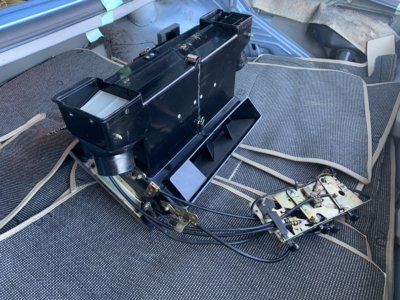
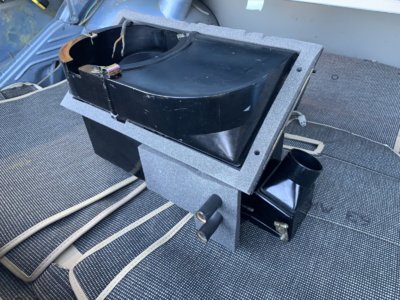
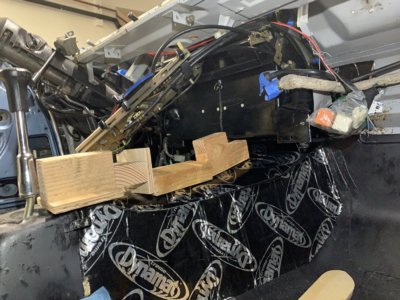
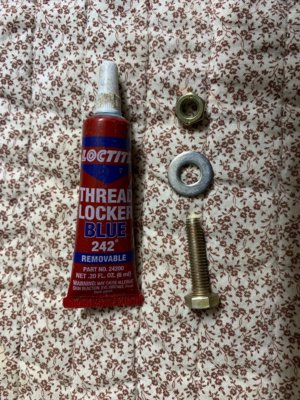
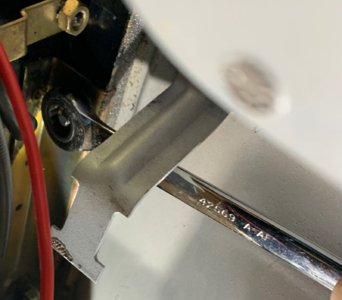
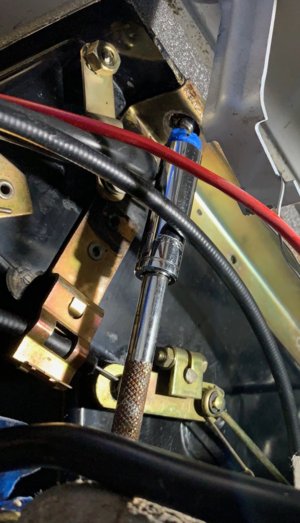
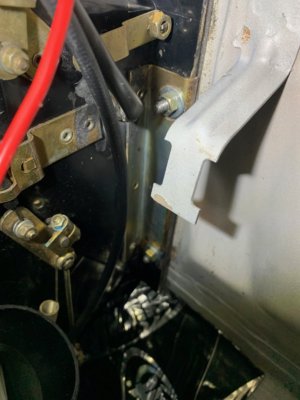
The unit is attached to the angled section of the firewall by four M6 nuts. First thing to do it to test the threads on the captive studs coming down from the firewall. Because this unit is pretty hard and cumbersome to remove, it is very easy for the threads on these studs to get damaged during deconstruction. So just try and screw a nut on each of them to make sure they go on smoothly. The last thing you want is to maneuver that big unit in position only to realize you can't screw the nuts on because the threads are toast.
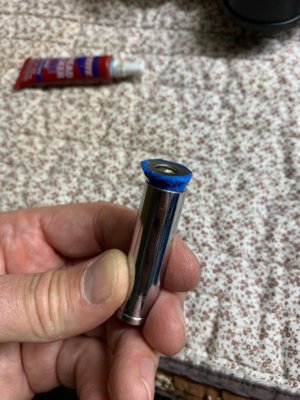
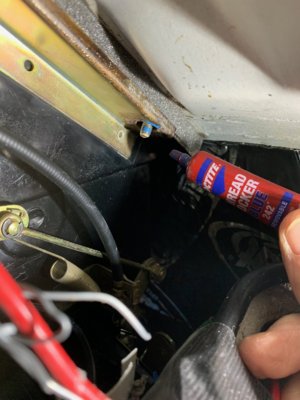
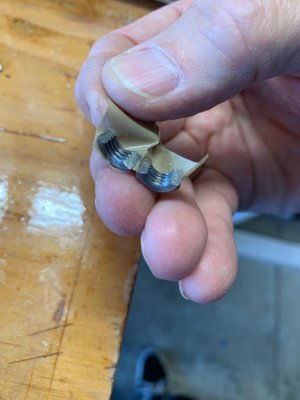
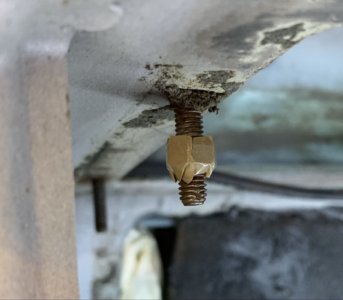
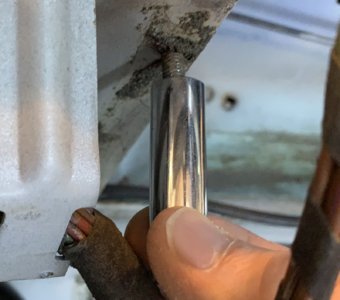
In my case, sure enough, everyone of them was damaged. They are very hard to repair because they are fixed in a difficult position. You can't use a die bc it's the first threads that need repairing. What I ended up doing is getting my friend @tygaboy to split an M6 nut in half with a very thin cutting wheel. Then I wrapped both halves on the stud above the damaged threads and unscrewed them down in order to repair the threads. After they were reasonably clean, I ran a die on them to finish the cleaning.
As discussed elsewhere, re building this box is quite an undertaking and many agree that it is best to leave it to the pros. That is what I did. New heater core and rebuild by sfdon's shop. (one of my metal air directing flaps is missing)
EDIT: I was just reminded that if you want to do this yourself, @eriknetherlands wrote an excellent how to here:
DIY - Heater unit rebuild
My pay back to the forum; here's my approach to rebuilding the heater box from my E9. Not sure how this compares to e3, but let me know and I can possibly merge. I'll likely chop it in roughly three pieces; removal, disassembly, repair and rebuild. I haven't installed it yet myself, so i can't...
 e9coupe.com


The unit is attached to the angled section of the firewall by four M6 nuts. First thing to do it to test the threads on the captive studs coming down from the firewall. Because this unit is pretty hard and cumbersome to remove, it is very easy for the threads on these studs to get damaged during deconstruction. So just try and screw a nut on each of them to make sure they go on smoothly. The last thing you want is to maneuver that big unit in position only to realize you can't screw the nuts on because the threads are toast.
In my case, sure enough, everyone of them was damaged. They are very hard to repair because they are fixed in a difficult position. You can't use a die bc it's the first threads that need repairing. What I ended up doing is getting my friend @tygaboy to split an M6 nut in half with a very thin cutting wheel. Then I wrapped both halves on the stud above the damaged threads and unscrewed them down in order to repair the threads. After they were reasonably clean, I ran a die on them to finish the cleaning.


Last edited:


