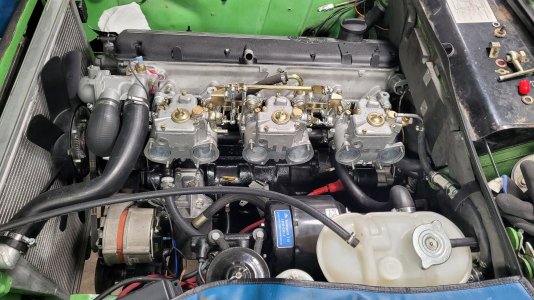
I'm starting a thread documenting my engine rebuild after sucking a piece of metal down carb throat #2 and the mayhem inside the cylinder that ensued. I'll start with the pics of the head and piston damage as posted in the prior thread which documents finding what happened to cause the disconcerting loud knock:
 e9coupe.com
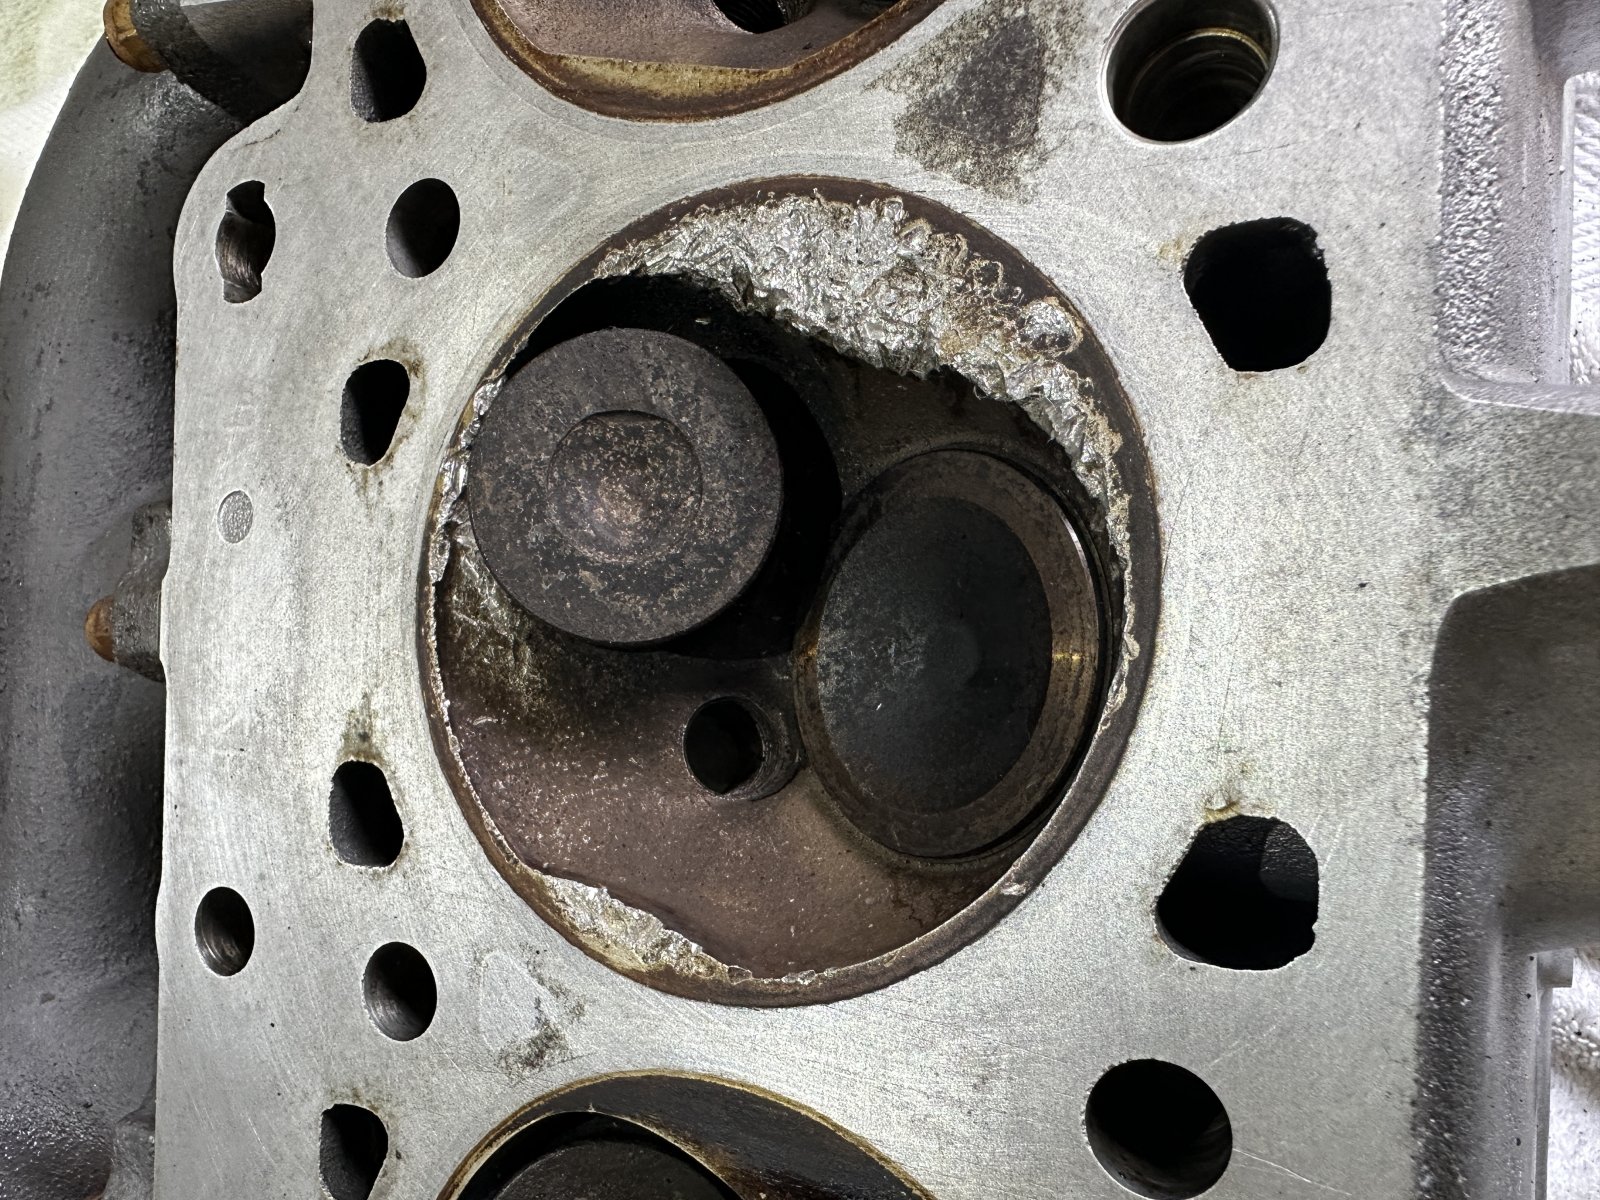
Head damage:
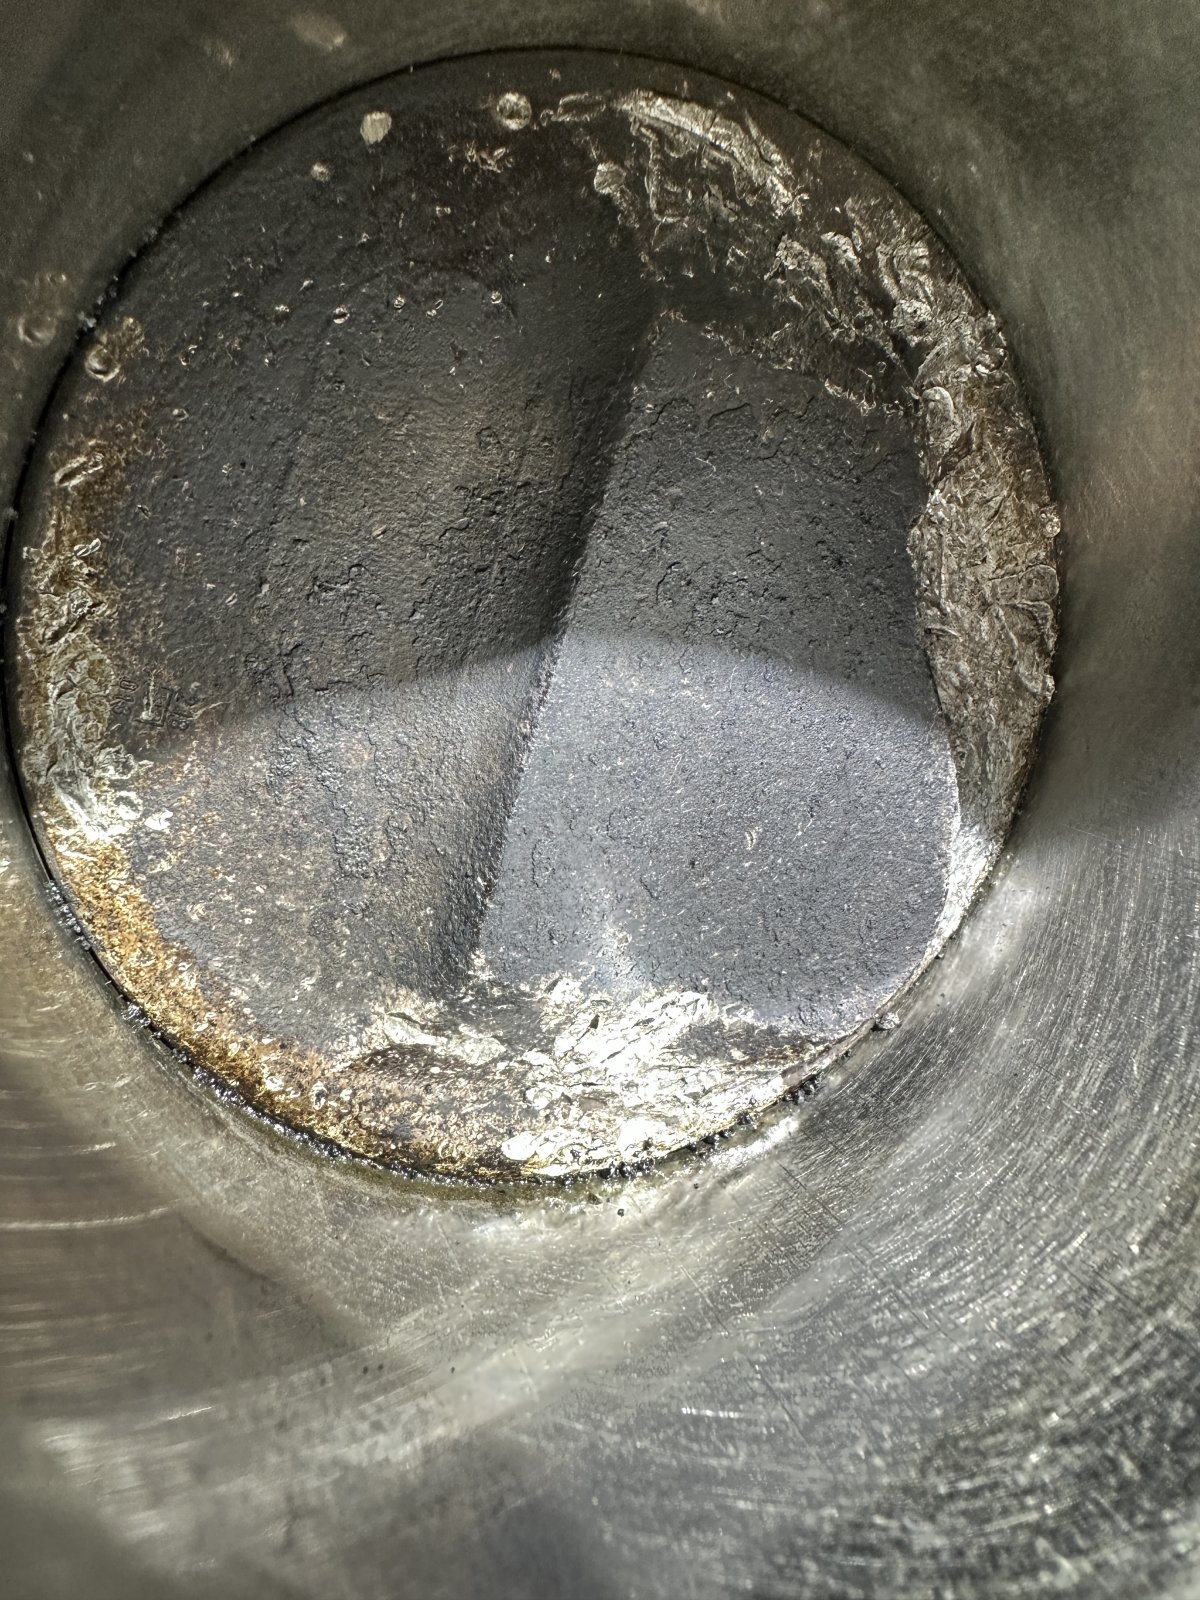
Piston damage:
The head is off and shipping out to Don's tomorrow so he can salvage what is still usable (Schrick cam etc) and begin the process of building a new head. Meanwhile, today I removed most of the ancillary parts attached to the block - alternator, PS pump, a/c compressor, linkage, drained the block, removed the clutch slave, removed the exhaust, and loosened 3 of the 4 tranny nuts, the 4th up high isn't budging so I will hit it with a torch first. Drive shaft is disconnected, I bought a 20v Craftsman impact gun and that blasted the flange nuts off with one pop, this will come in handy moving forward. So the block is close to ready for lift off after I remove the hood, accessed from behind the grill, leaving the hinges attached to the hood per @HB Chris suggestion. With the head off, the block doesn't look that difficult and unwieldy to clear the bay.
My first question: when the engine is out and hanging on the hoist, how do I rest it in the back of a pickup truck - on its side or how? Should I mount it immediately onto a stand then put it in the truck? It will then go to the machine shop for tear down.
Solved - bad engine noise!!
Took the car out for a carb tuning run this am, on the way back close to the house all of a sudden my engine starts to make noise - the kind of noise that makes the hair on your neck stand up. First I thought it was something hitting the fan because I had taken all the carb induction stuff off...
Head damage:
Piston damage:
The head is off and shipping out to Don's tomorrow so he can salvage what is still usable (Schrick cam etc) and begin the process of building a new head. Meanwhile, today I removed most of the ancillary parts attached to the block - alternator, PS pump, a/c compressor, linkage, drained the block, removed the clutch slave, removed the exhaust, and loosened 3 of the 4 tranny nuts, the 4th up high isn't budging so I will hit it with a torch first. Drive shaft is disconnected, I bought a 20v Craftsman impact gun and that blasted the flange nuts off with one pop, this will come in handy moving forward. So the block is close to ready for lift off after I remove the hood, accessed from behind the grill, leaving the hinges attached to the hood per @HB Chris suggestion. With the head off, the block doesn't look that difficult and unwieldy to clear the bay.
My first question: when the engine is out and hanging on the hoist, how do I rest it in the back of a pickup truck - on its side or how? Should I mount it immediately onto a stand then put it in the truck? It will then go to the machine shop for tear down.
")