How to: Replace front brake discs

Bmachine

Well-Known Member
Site Donor $
Site Donor $$
Messages
3,726
Reaction score
2,037
Location
Northern California coast
Basic maintenance time. Front discs!
(Writing this down bc it had been a long time since I had done it and I had forgotten several steps)

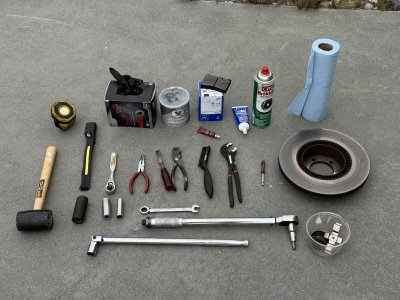
Items needed:

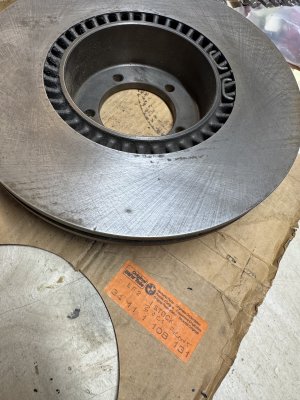
- New discs BMW # 34 11 1 108 131
- New pads ATE # 609030
- Brake cleaning fluid
- Wheel bearing grease
- Blue Loctite
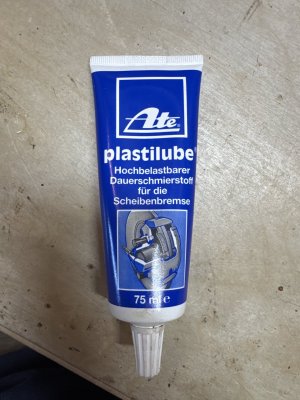
- Copper grease or equivalent brake pad lubrication
- Possibly new brake fluid if you do a top up or bleed

Tools needed:

- Sturdy jackstands
- Breaker bar with short 19 mm socket for caliper bolts
- Ratchet and deep 13 mm socket for the break line bracket
- 24 mm socket for the castellated nut
- 8 mm hex key to attach the disc onto the hub
- Needle nose pliers for the cotter pin
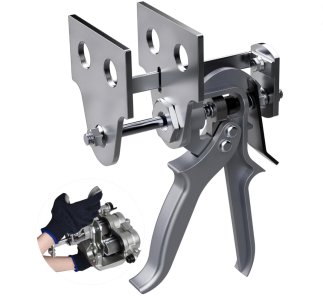
- A brake pad spreader will make inserting the new pads much easier. ($40 on Amazon) If not you can use a C clamp but it is pretty hard because you have to hold that caliper in one hand while trying to tighten that dangling C clamp with another
- Torque wrench
- Chisel and mallet for prying the wheel bearing dust cup out
- Disposable gloves
- Coat hanger or similar to hold the caliper while it is out
- Lights. I use 2 kinds: One magnet I can stick inside the wheel well pointed at the work. And one flexible headband type that lights where I am looking
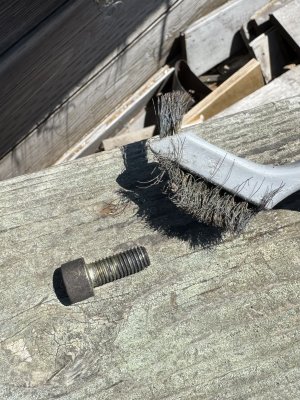
- Nylon bristle brush to clean up the parts
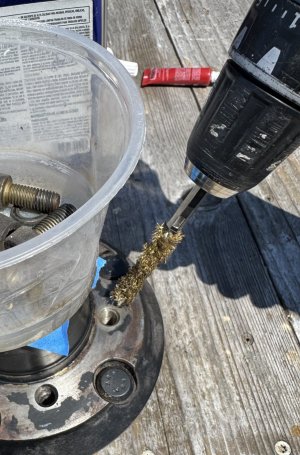
- Brass bristle "pipe cleaner" type of tool to clean bolt holes
- A couple of different small containers to hold the parts that are being taken out gloves because things are going to get dirty
- Lots of shop towels
IMG_7829.jpeg Image 7-14-25 at 10.58 AM.jpg
 
Last edited:
Put the car up on jacks

Remove the wheel

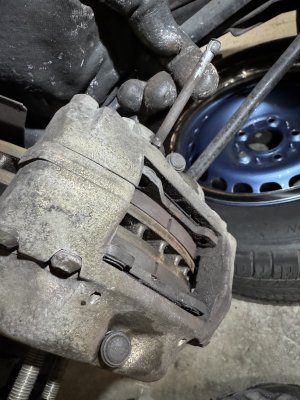
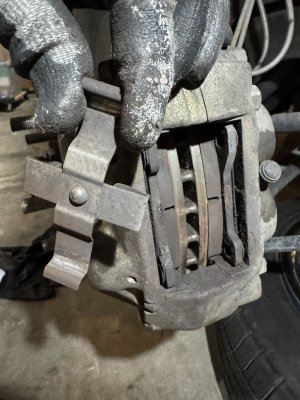
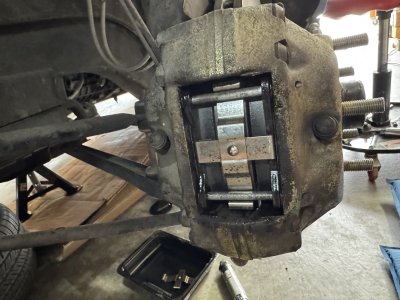
Hammer out the two brake pad retaining pins from the caliper. Then remove the pads retaining clip.

NOTE: The order described in this post is correct. The pictures were shot in a different sequence but it's much easier to do all the caliper work while it is still attached.

IMG_7813.jpeg IMG_7814.jpeg

Pull out the old brake pads

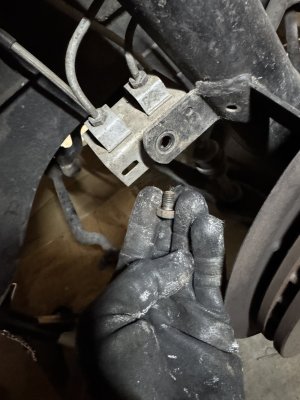
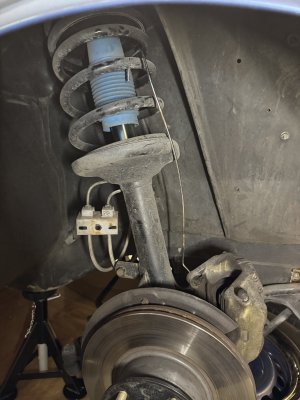
Remove the 13 mm that holds the brake lines

IMG_7759.jpeg

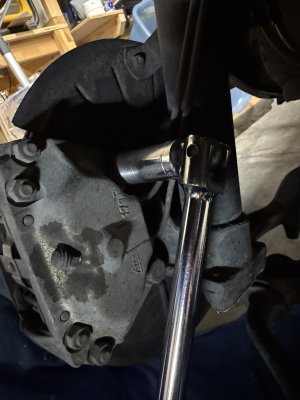
Remove the two 19 mm bolts in the back of the caliper. They may be in there pretty tight so you may need a breaker bar. Short 19mm socket works best (unlike what the picture shows)

IMG_7760.jpeg

Pull out the caliper and hang it out of the way with a coat hanger or something similar

IMG_7761.jpeg

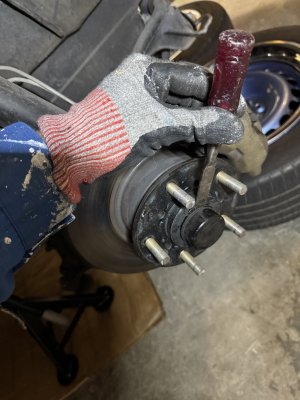
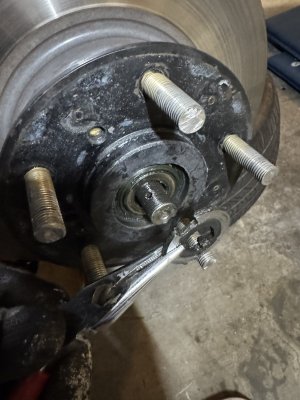
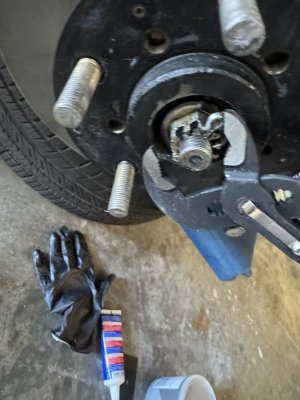
Remove the bearings protective cup

IMG_7757.jpeg

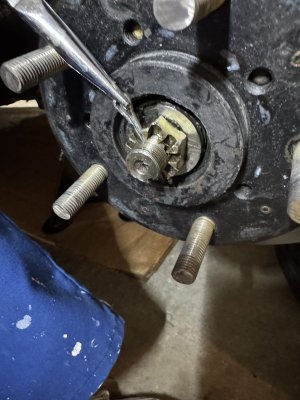
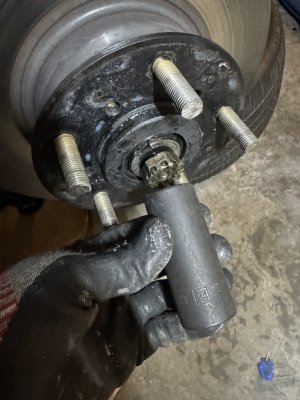
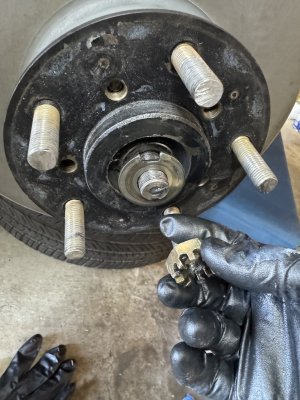
Remove the cotter pin, the 24mm castellated nut and the notched washer

IMG_7758.jpeg IMG_7762.jpeg IMG_7763.jpeg

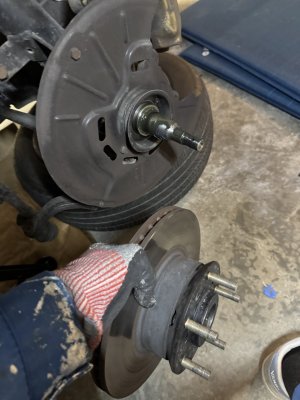
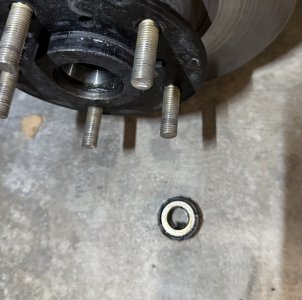
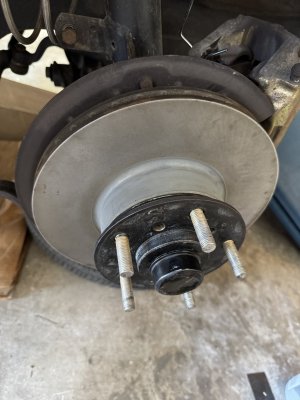
Pull out the hub and disc. Warning: The outer bearing race will likely fall off so be ready for that

IMG_7764.jpeg IMG_7765.jpeg
 
Last edited:
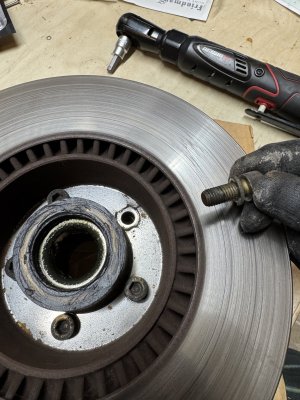
Flip the assembly over and remove the 5 bolts with a 8 mm hex key. Separate the hub from the disc

IMG_7780.jpeg

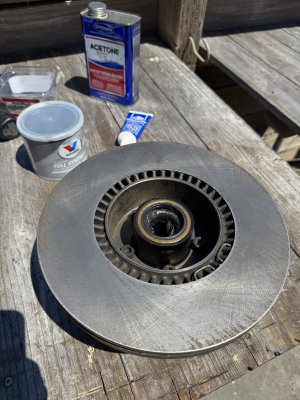
Prepare new discs.

IMG_7781.jpeg
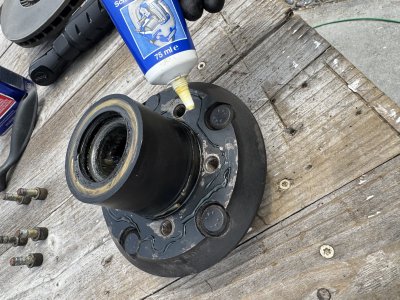
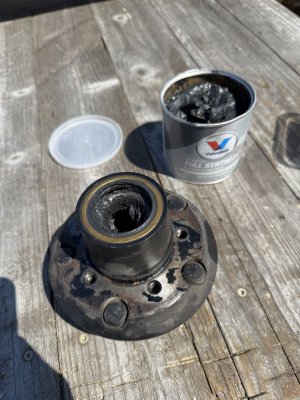
Clean the hub faces, add some anti-seize, clean the threaded holes and the bolts.

IMG_7822.jpeg IMG_7799.jpeg IMG_7800.jpeg

If you are reusing the bearings add more of the same grease that was used originally

IMG_7797.jpeg

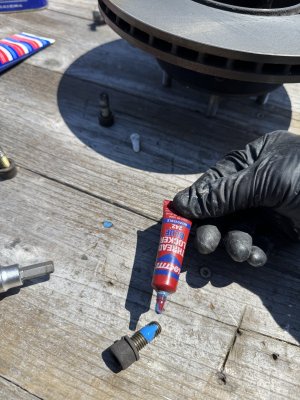
Position the disc on the back of the hub and re-insert the bolts, adding a bit of blue Loctite. Torque at 33 ft/lbs or 45Nm

IMG_7801.jpeg IMG_7802.jpeg

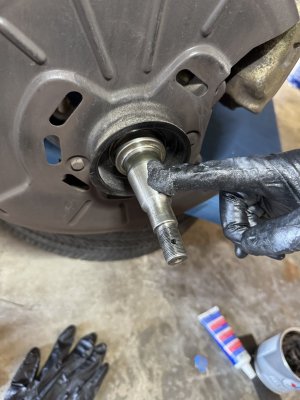
Add some grease on the spindle and replace the hub and disk assembly. Add the notched washer and castellated nut

IMG_7803.jpeg IMG_7804.jpeg

Follow your favorite method for torquing that castellated nut. Here is one from the net:
  • Using a socket:
    • Tighten the nut to ~20–25 Nm (15–18 lb-ft) while rotating the hub — this seats the bearings.
  • Back the nut off about 45–60° (⅛ turn).
  • Tighten gently by hand only until you just feel resistance — then back off slightly.
  • Confirm:
    • The hub should spin freely with no drag, but without any looseness (end play should be ~0.02–0.05 mm).
    • You should be able to wiggle the rotor slightly, but it should not feel "loose."
  • Align the castellated nut with the hole in the spindle and insert the new cotter pin.
Replace the cotter pin and fold its split ends. Replace the dust cup

IMG_7805.jpeg IMG_7806.jpeg
 
Last edited:
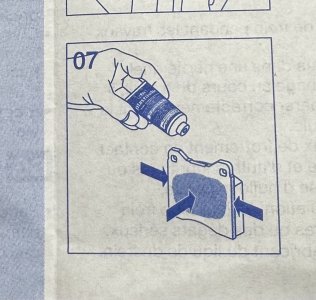
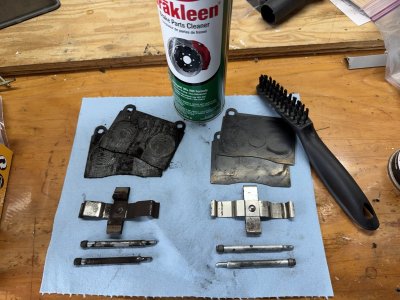
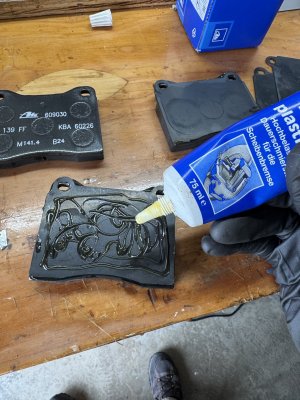
Clean the brake pads backing plates, retaining clip and retaining pins. Put some copper grease or brake anti seize on the back of the pad and put the backing plate on it

IMG_7819.jpeg IMG_7830.jpeg

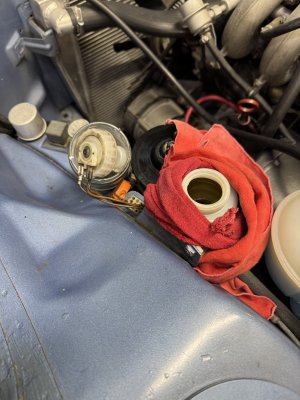
Open the brake fluid reservoir and put a rag around it in case some of the fluid spills

IMG_7833.jpeg

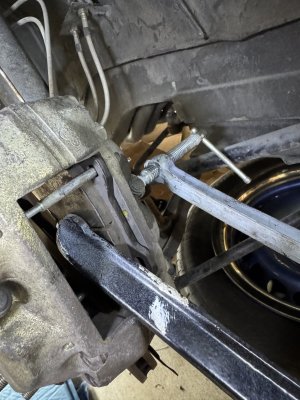
Press the brake pistons in using one of the old pads as buffer. I highly recommend using a real brake pad spreader. If not you can use a C clamp but it is definitely harder

IMG_7834.jpeg

Clean the interior of the brake caliper. Once the pistons are pushed back in, re attach the calipers to the strut. Torque the two 19mm bolts at 63 ft/lbs or 85Nm

Apply some brake pad grease wherever the pads are going to make contact with the caliper. NOT with the disc, obviously.

IMG_53DA652A-4FBD-4CE9-91AA-3E185C5D9BB1.jpeg IMG_7860.jpeg

Insert the new pads making sure they go in the right way. Once they are in, reinstall the spring clip which is secured by the 2 caliper pins. Hammer those guys in

IMG_7832.jpeg

Reattach the 13 mm bolt that holds the cable lines to the strut. Re attach the wheel and do the other side.

Drop the car back down and torque the wheels.
 
Last edited:
Time to go and bed the discs and pads. Here is one method for the ATE pads courtesy chatGPT

  1. Perform 5–6 gentle stops from about 30 mph (50 km/h) to 5 mph, allowing light-to-moderate braking force.
    • Don’t come to a full stop; just slow down and repeat.
    • Purpose: transfer an even layer of pad material to the rotor face.
    • Again, avoid coming to a full stop and allow at least 30 seconds of driving between each stop to let brakes cool slightly.

Important:

  • Do NOT hold the brake pedal down after a hard stop. This can create hot spots and uneven pad deposits.
  • After bedding, allow the brakes to cool down for at least 10 minutes by driving without braking.

Notes:

  • Full performance may take 150–300 miles of regular driving to develop as pads and rotors wear into full contact.
  • If you suspect uneven bedding (due to contamination or imbalance), you can repeat this process.
 
Last edited:
Back
Top