Here is one way to do it.
First I was told to only use a brand new one. Trying to re-use an old one often results in it coming off sooner rather than later.
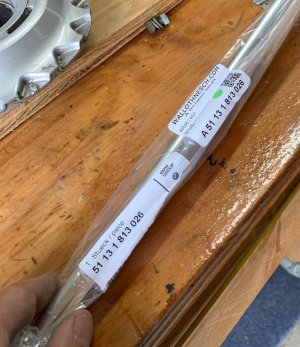
Like many other parts, the one you get from WN is an actual BMW piece:
Study the profile of the trim and that of the body work onto which it will go carefully so you understand what needs to happen. Forrest Koogle explains it a bit on this 2002 video:
The first thing to do is to clean and prep the body work around that drip rail. If the car has been repainted, there could be extra thickness of paint, especially at the bottom front and rear. There will also likely be leftover dirt or maybe glue in several areas. You want that entire rail to be real nice and smooth. Those flexible sanding pads from 3M work great for that.
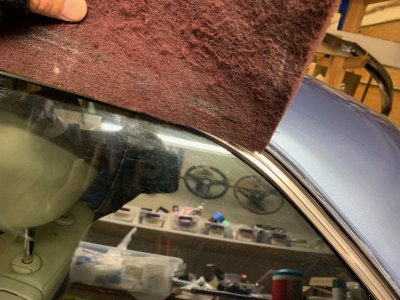
Pay special attention to the very front and rear ends of the rail. Usually there is extra thickness of paint or filler there. Clean it, sand it, straighten it, do whatever it takes to make sure it is smooth so that the trim can slide onto it easily.
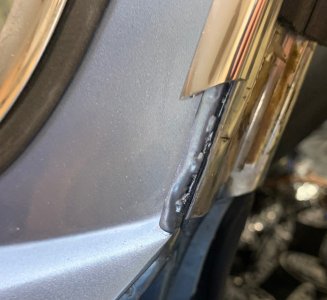
Make sure that the aluminum flat piece that lines the inside opening of the door and rear window is installed first since the drip rail trim needs to go over that. Shot from below looking up towards the top of the front quarter window: The trim is "folded" over the aluminum door inner "lining".
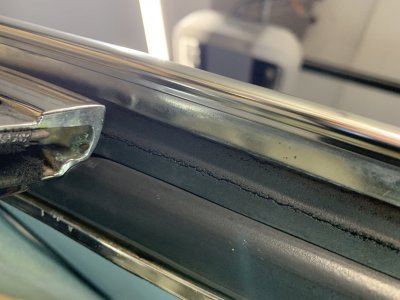
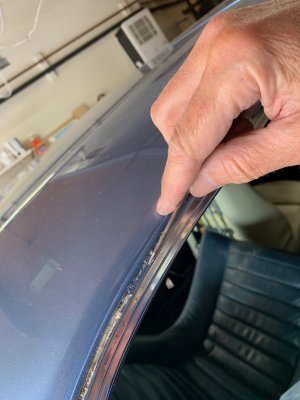
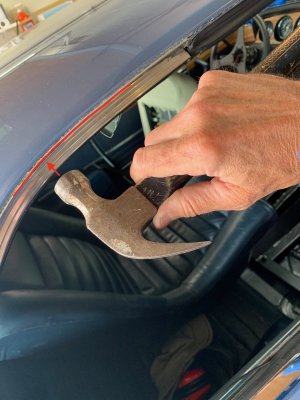
There are 2 "lips" of sheet metal that come together under the vertical rail. On my car, these were sometimes nicely tucked together and sometimes pulled apart a bit. No idea why. But someone had added some seam sealer there which ensured to keep them apart. You want to make sure that this filler is first removed and that those two "lips" are tight together. I had to use a hammer to bring the bottom one right up to match the top one. Obviously, you want to do that before you start installing the trim
Start with the front. Start about 3/4 of the way up and then push down gently until the curvature of the trim reaches the level of the curvature of the roof.
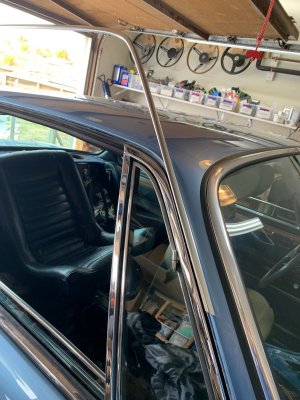
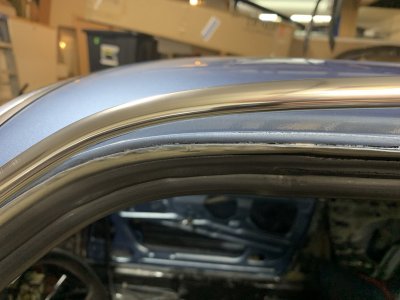
Keep twisting the trim so you can push to top part onto the rail first and then push it down and towards the interior to lock it in. Again, refer to that video for the technique. Slowly work your way towards the back
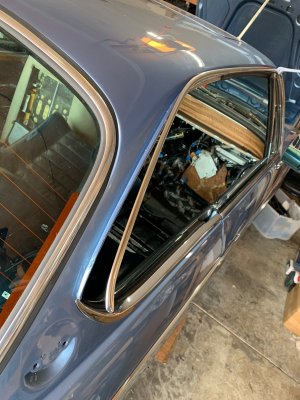
The most difficult part is definitely the rear end. For some reason, both the trim and the body rail change shape a bit there and it takes a lot of force to coerce the damn thing into place.
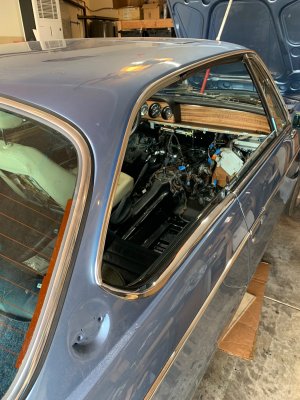
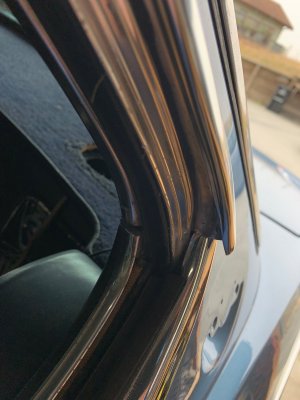
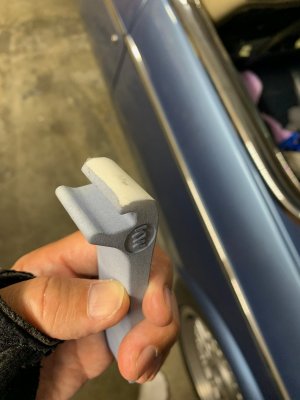
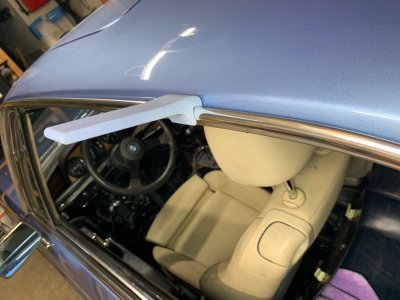
I had bought the little tool that KoogleWerks sells for this but I had to sand the top part of it quite a bit to thin it and make it work on the coupe (white section in the pic below). It is designed for the 2002 which has much more room on the roof side but it did not work on the coupe at first. I understand it is a copy of the BMW tool. I found it to be useful as a finishing tool but not indispensable.
Good luck
First I was told to only use a brand new one. Trying to re-use an old one often results in it coming off sooner rather than later.
Like many other parts, the one you get from WN is an actual BMW piece:

Study the profile of the trim and that of the body work onto which it will go carefully so you understand what needs to happen. Forrest Koogle explains it a bit on this 2002 video:
The first thing to do is to clean and prep the body work around that drip rail. If the car has been repainted, there could be extra thickness of paint, especially at the bottom front and rear. There will also likely be leftover dirt or maybe glue in several areas. You want that entire rail to be real nice and smooth. Those flexible sanding pads from 3M work great for that.

Pay special attention to the very front and rear ends of the rail. Usually there is extra thickness of paint or filler there. Clean it, sand it, straighten it, do whatever it takes to make sure it is smooth so that the trim can slide onto it easily.

Make sure that the aluminum flat piece that lines the inside opening of the door and rear window is installed first since the drip rail trim needs to go over that. Shot from below looking up towards the top of the front quarter window: The trim is "folded" over the aluminum door inner "lining".

There are 2 "lips" of sheet metal that come together under the vertical rail. On my car, these were sometimes nicely tucked together and sometimes pulled apart a bit. No idea why. But someone had added some seam sealer there which ensured to keep them apart. You want to make sure that this filler is first removed and that those two "lips" are tight together. I had to use a hammer to bring the bottom one right up to match the top one. Obviously, you want to do that before you start installing the trim


Start with the front. Start about 3/4 of the way up and then push down gently until the curvature of the trim reaches the level of the curvature of the roof.


Keep twisting the trim so you can push to top part onto the rail first and then push it down and towards the interior to lock it in. Again, refer to that video for the technique. Slowly work your way towards the back

The most difficult part is definitely the rear end. For some reason, both the trim and the body rail change shape a bit there and it takes a lot of force to coerce the damn thing into place.


I had bought the little tool that KoogleWerks sells for this but I had to sand the top part of it quite a bit to thin it and make it work on the coupe (white section in the pic below). It is designed for the 2002 which has much more room on the roof side but it did not work on the coupe at first. I understand it is a copy of the BMW tool. I found it to be useful as a finishing tool but not indispensable.


Good luck
