- Messages
- 410
- Reaction score
- 254
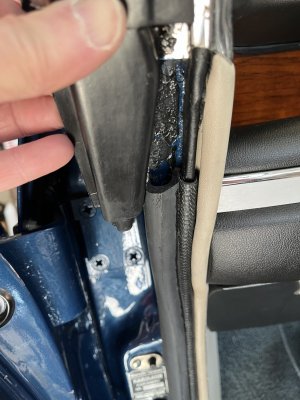
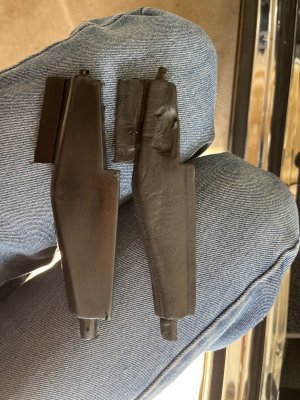
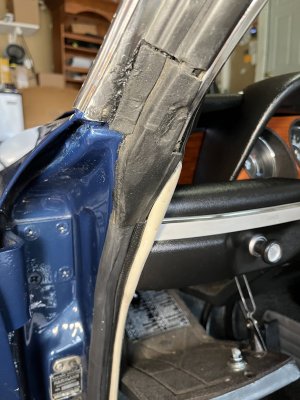
Hey folks, I finally got around to removing the lower rubber door trim on my driver side that was not allowing the door to close smoothly -- plus it looked terrible and had some holes in it. The new trim from BMW Oldtimerteile.de fits really well and I've gently pushed/rubber hammered it down to a secure position and grip. The problem is where it ends near the lower A-pillar. (first photo). Since I had a new piece to install that connects the door lower trim to the upper door rubber trim (third picture, rubber trim on left) I decided to remove the old one since it looked a little ratty. Well, it was glued on and didn't come off that easy and I was thinking this would be a simple snap fit into place deal like the rest of the lower rubber trim. (I should have left well enough alone!) What's more, this new piece is similar to my original but not exact, as you'll see in the third photo here. The bigger issue is that both of those pieces look to be an inch too long to fit snugly against the lower door rubber trim without some buckling. (I've checked the other end of my rubber trim and it starts exactly where my old trim did and it's flush against the metal door holder rail throughout so I don't think it's sticking up too high near the A pillar). Has someone done this recently or remember the best way to finish this off? I assume I need to glue (what's best adhesive for this?) the upper rubber trim in place and then simply tuck the lower rubber door trim against it so the tab keeps it flush? But I'm worried about the extra length. Thanks for any wisdom here...