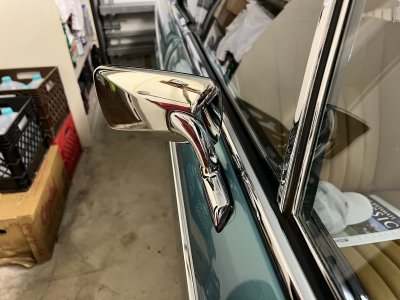
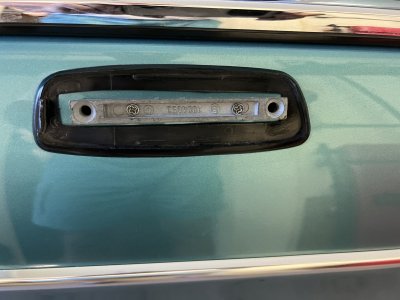
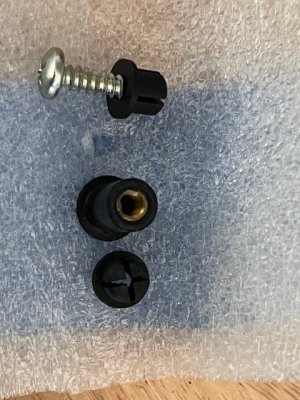
W&N had a sale on OEM flag & trap mirrors a few weeks ago. I bought the flags for both sides since the patina on the stainless mirror section of both of my mirrors was not as polished as the chrome bases. The new mirrors came with the gasket and the 4-inch piece that is attached to the doors with machine screws into the cage nuts that are in the special mounting holes in the doors.
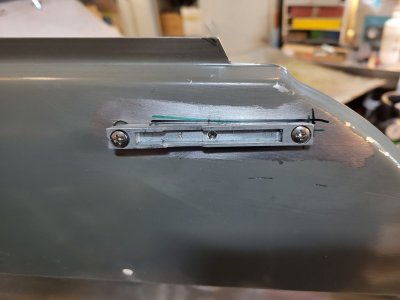
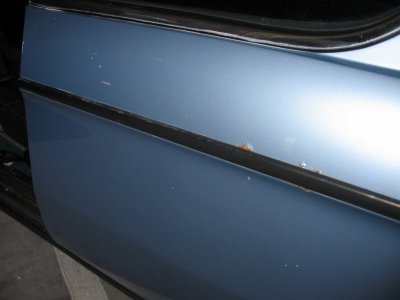
The Pebble Beach award-winning restoration shop had removed all of the trim on the car before it was painted. They then used some sort of rubber-coated cage nut on the driver-side with sheet metal screws holding the 4-inch piece to secure it to the door. I mounted the new mirror on this jerry-rigged affair just like it has been for the past 4 years.
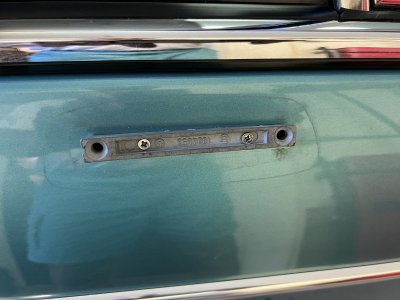
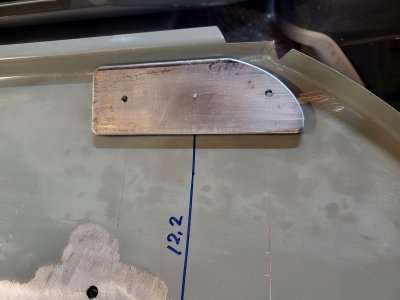
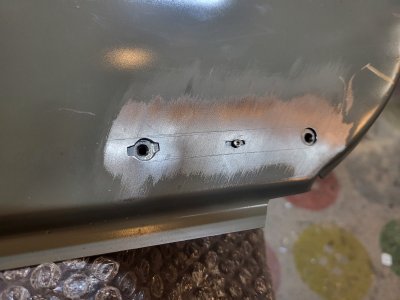
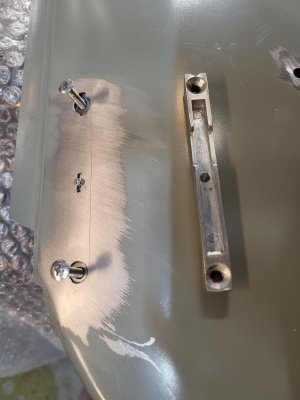
The passenger side's 4-inch piece was screwed into the door w/o cage nuts. This must have been how a previous owner mounted the mirror since drilling the special holes could be a problem.
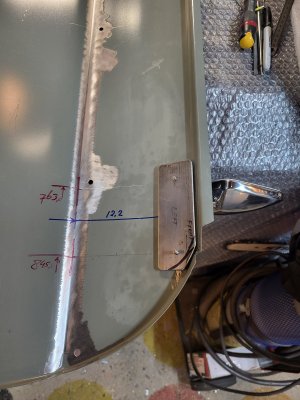
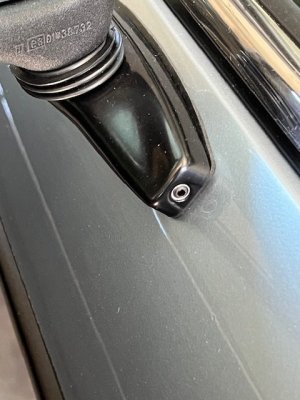
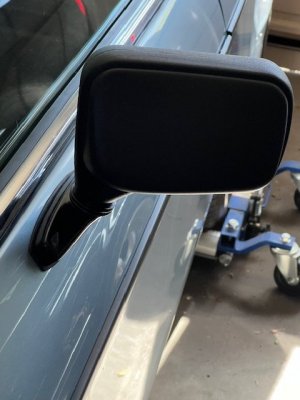
I again mounted the new mirror on the door as before. Below are pics of the passenger side, and the new mirrors.
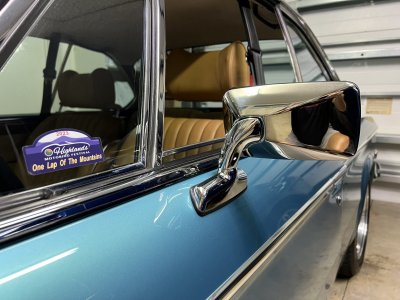
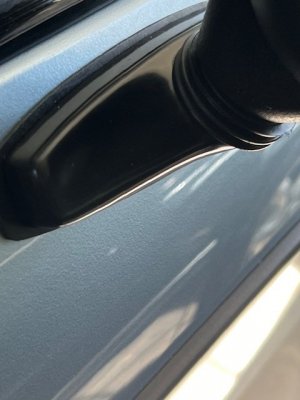
The mirrors look as nice as the rest of the trim on the car. And when adjusted correctly, you have no blind spots from approaching traffic.
I hope to get the cage nuts for the driver's mirror and mount it correctly.
The Pebble Beach award-winning restoration shop had removed all of the trim on the car before it was painted. They then used some sort of rubber-coated cage nut on the driver-side with sheet metal screws holding the 4-inch piece to secure it to the door. I mounted the new mirror on this jerry-rigged affair just like it has been for the past 4 years.
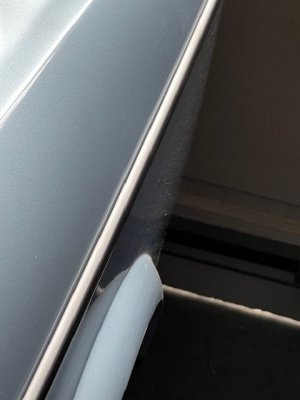
The passenger side's 4-inch piece was screwed into the door w/o cage nuts. This must have been how a previous owner mounted the mirror since drilling the special holes could be a problem.
I again mounted the new mirror on the door as before. Below are pics of the passenger side, and the new mirrors.
The mirrors look as nice as the rest of the trim on the car. And when adjusted correctly, you have no blind spots from approaching traffic.
I hope to get the cage nuts for the driver's mirror and mount it correctly.