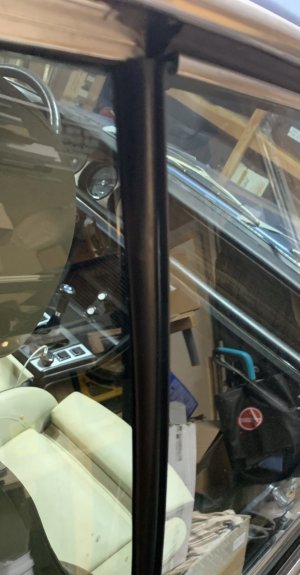
There is a really good thread that details all of the coupe’s weatherstripping part numbers here:
 e9coupe.com
Based on that I made this little diagram showing all the part numbers specific to the doors on top of the realoem diagram illustrations:

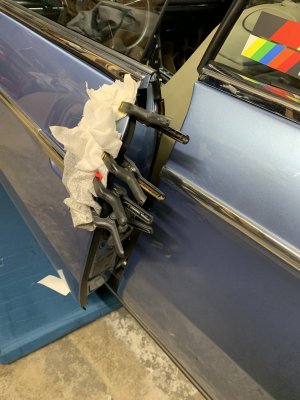
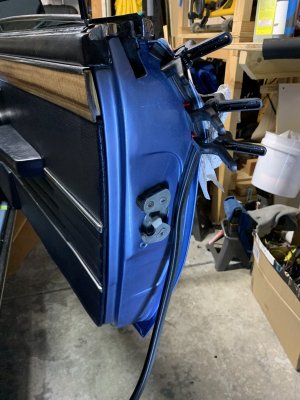
I got most of the parts from WN, a few from BMW, a few from Stefan at bmw-oldtimerteile.de and one from Steele rubber. I used Wurth weatherstripping rubber cement when needed.
Before you install any of this, it is very important to make sure that the door is aligned properly in its frame. Because the new rubber will invariably try and resist the door closing, making any misalignment even worse. This needs to be the subject of a separate thread, because it is a bit of a pain and not an easy thing to do.
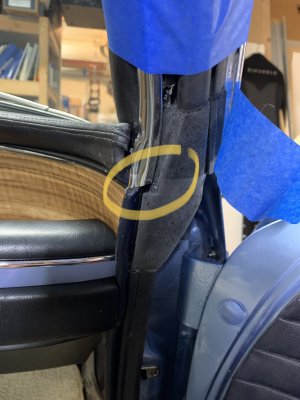
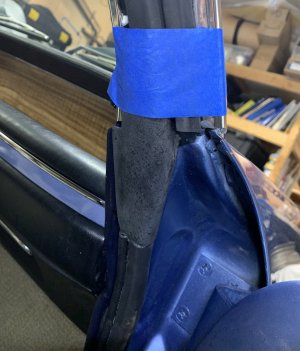
There is a specific order that is useful to follow because some of those parts overlap. As a general rule, you want to start from the very bottom and move your way up so that any overlap will direct the water over the strip below it.
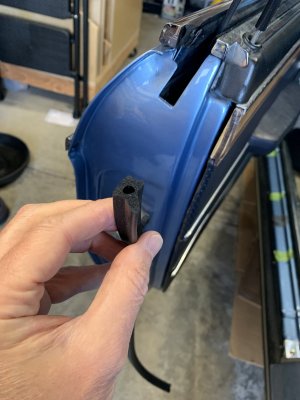
So let’s start with the long straight piece under the bottom of the door. There is a ”gutter” that runs under the full length of the door and you press this into it. You want to aim the curve of the rubber towards the outside of the car. No glue needed here.
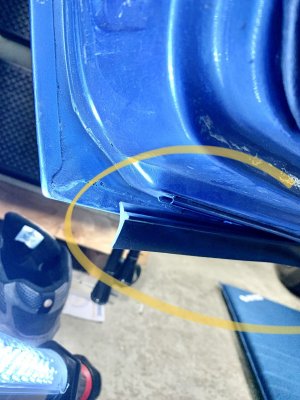
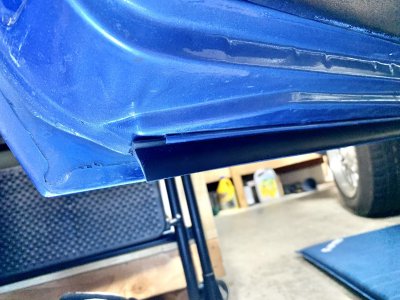
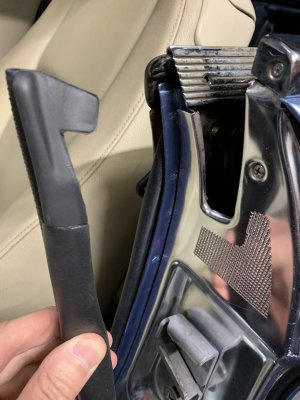
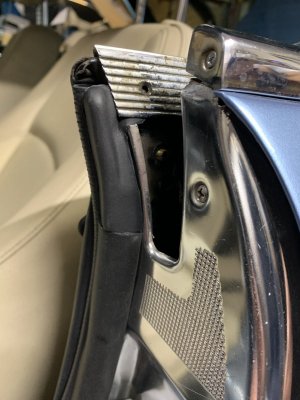
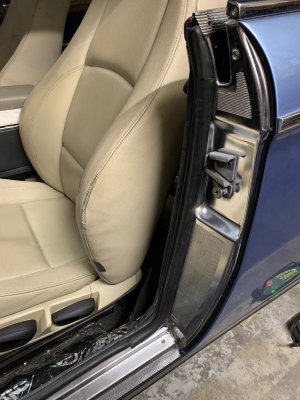
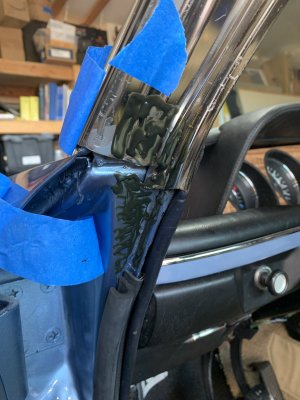
Next is the flat aluminum part at the B post. You have to spread that rubber open in order to be able to apply the glue deep inside of it. Then you press it around the outer edge.
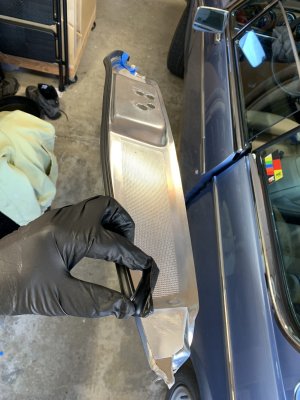
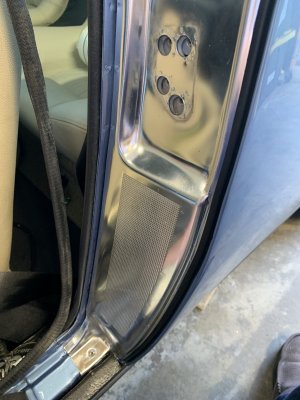
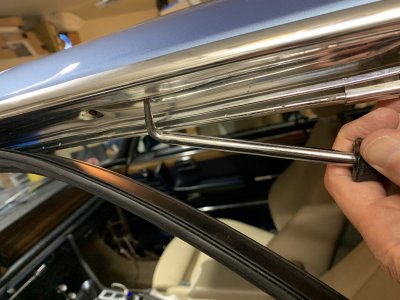
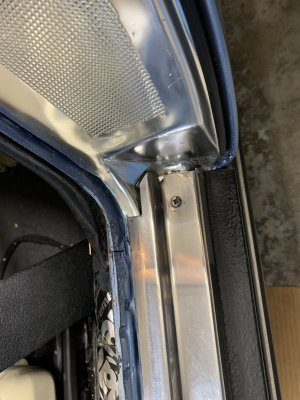
After that aluminum piece is secured in place, install the long stainless trim piece on top of the rocker panel covers. The reason is that the door rubber piece needs to go over that one
Rubber FAQ
Body: Description Image Qty Part # Left/Right Book Status Windshield front CSL 1 51 31 1 819 631 51/28 Windshield front Europe 1 51 31 7 740 114 51/28 Windshield front US 1 51 31 1 812 587 51/28 Windshield rear 1 51 31 7 740 154 51/28 Rear quarter sill...
 e9coupe.com
Based on that I made this little diagram showing all the part numbers specific to the doors on top of the realoem diagram illustrations:
I got most of the parts from WN, a few from BMW, a few from Stefan at bmw-oldtimerteile.de and one from Steele rubber. I used Wurth weatherstripping rubber cement when needed.
Before you install any of this, it is very important to make sure that the door is aligned properly in its frame. Because the new rubber will invariably try and resist the door closing, making any misalignment even worse. This needs to be the subject of a separate thread, because it is a bit of a pain and not an easy thing to do.
There is a specific order that is useful to follow because some of those parts overlap. As a general rule, you want to start from the very bottom and move your way up so that any overlap will direct the water over the strip below it.
So let’s start with the long straight piece under the bottom of the door. There is a ”gutter” that runs under the full length of the door and you press this into it. You want to aim the curve of the rubber towards the outside of the car. No glue needed here.


Next is the flat aluminum part at the B post. You have to spread that rubber open in order to be able to apply the glue deep inside of it. Then you press it around the outer edge.


After that aluminum piece is secured in place, install the long stainless trim piece on top of the rocker panel covers. The reason is that the door rubber piece needs to go over that one

Last edited:


