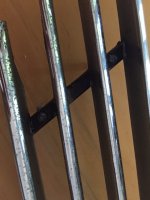
Preparing to replace the black vinyl decal behind the side vents.
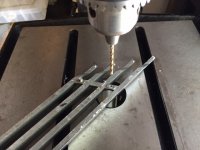
50% of the vent posts were already missing and lost a couple of more in the removal process
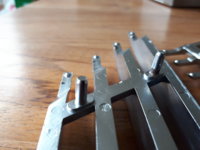
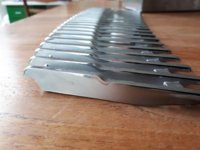
Looked at adhering acrylic tube or similar to extent the posts. Didn't like the option and chance for a long term solution. Tried another direction.
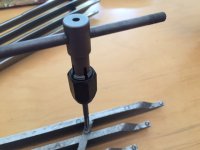
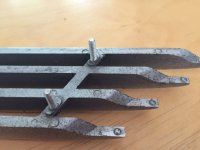
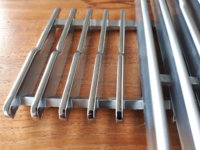
Replaced the posts with SST Metric bolts M4X20 fine thread, nuts, washers with locks.
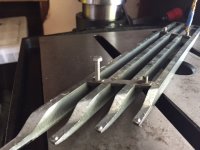
50% of the vent posts were already missing and lost a couple of more in the removal process
Looked at adhering acrylic tube or similar to extent the posts. Didn't like the option and chance for a long term solution. Tried another direction.
Replaced the posts with SST Metric bolts M4X20 fine thread, nuts, washers with locks.