last week a thread with a similar issue comments the fact that the hood mechanism suffers from age
you might have different causes for this break, here is mine:
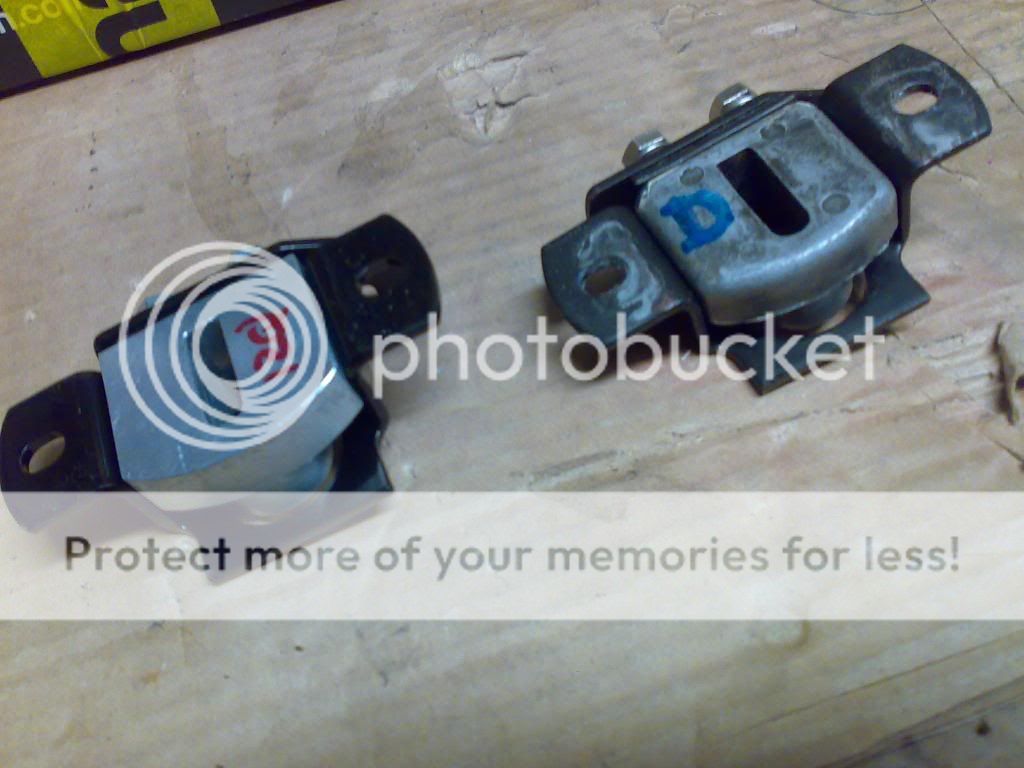
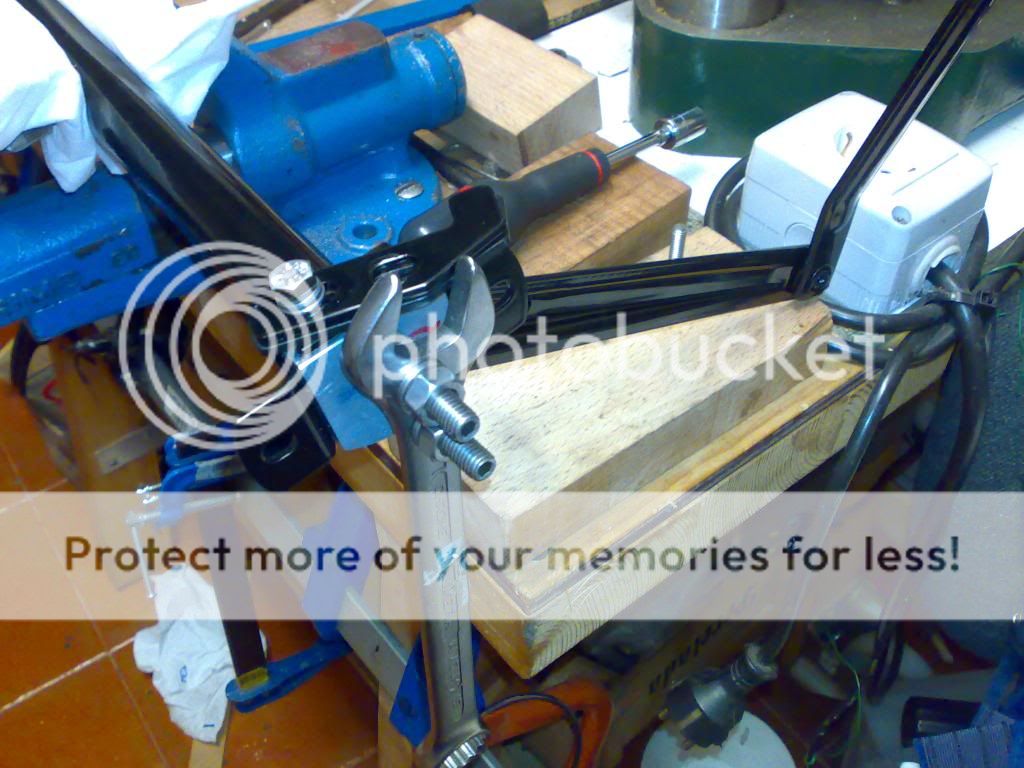
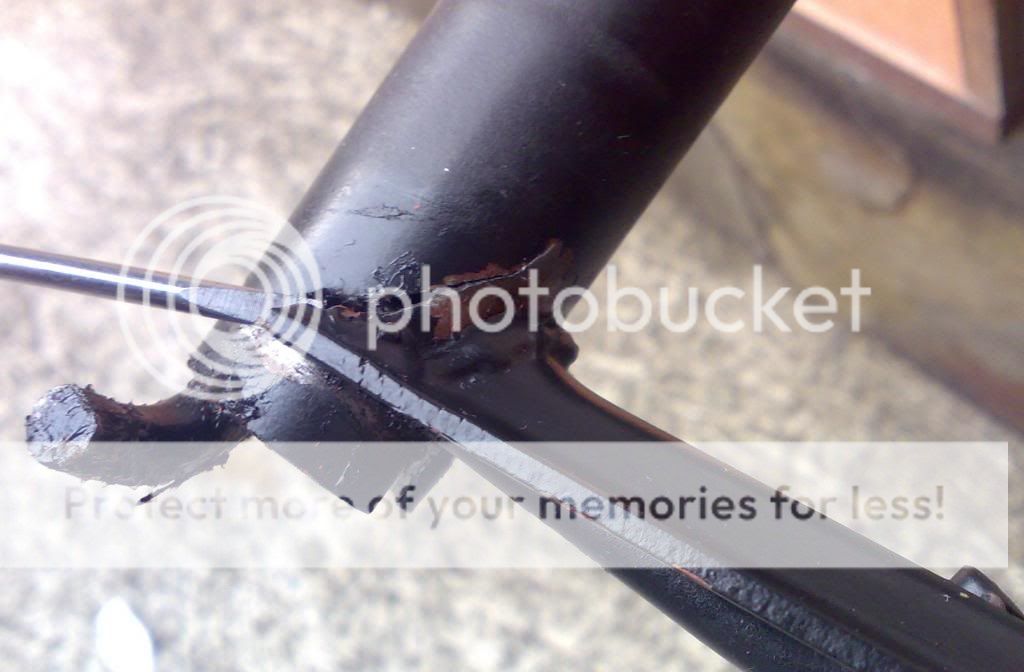
some days ago i found that the left compass arm of my hood mechanism was bent inwards
i checked it and i found this: paint was off the place and a slight sign of a crack was there
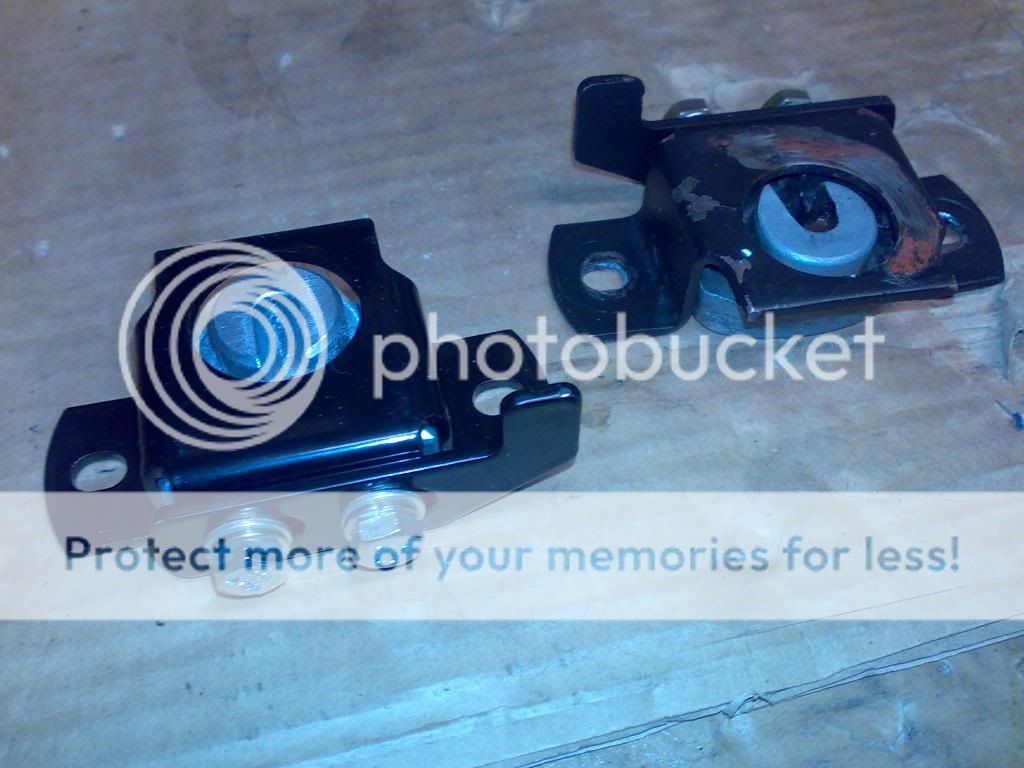
i was surprised because two years ago i renewed the system, using the old parts i cleaned them and repainted, using rust inhibitor, adn so on
then the mentioned thread came and i started looking for solutions
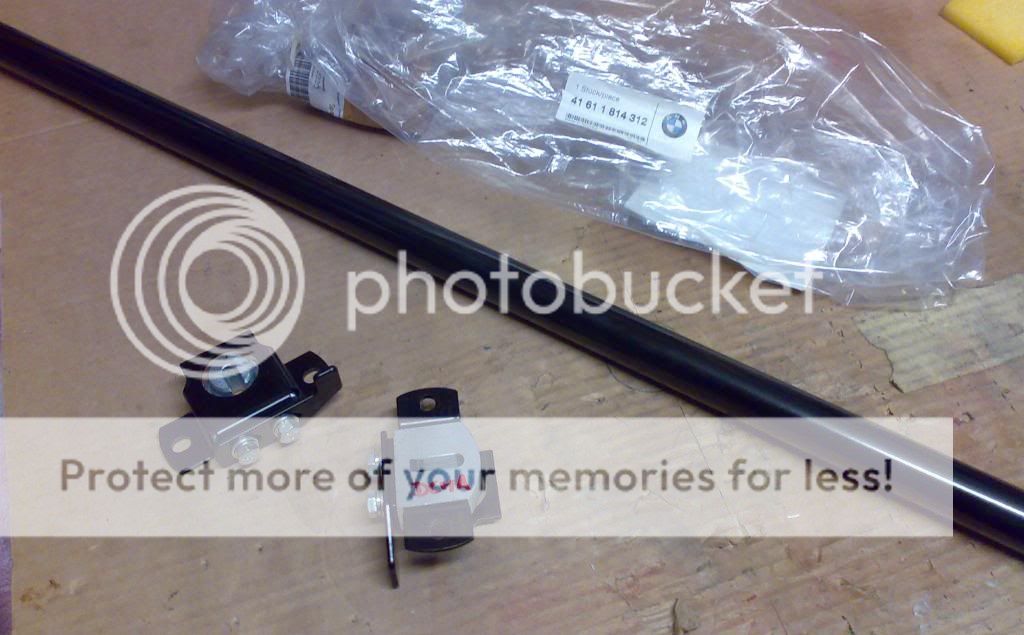
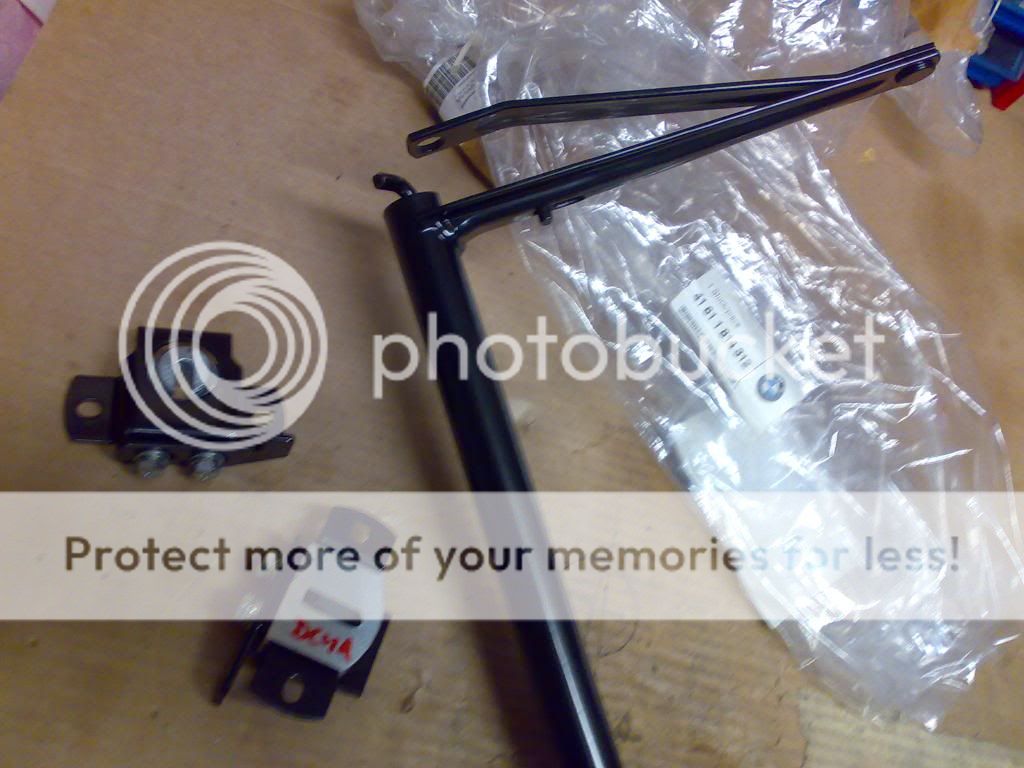
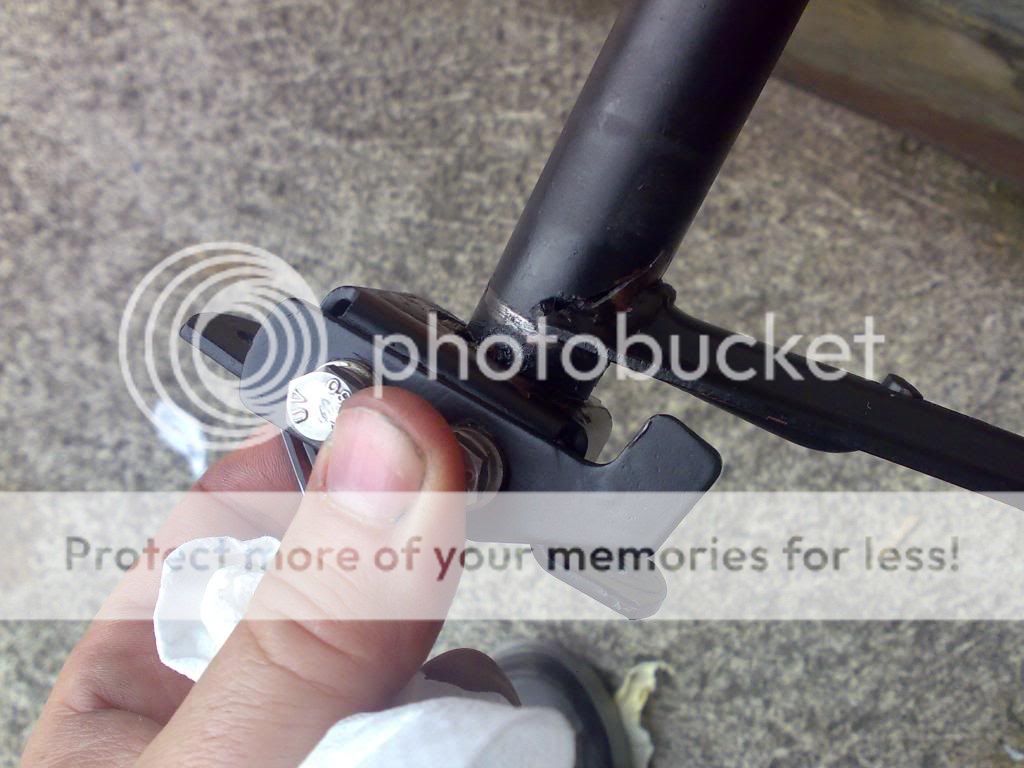
so i found and ordered the part
while waiting, and in order to use the car i thought of a solution:
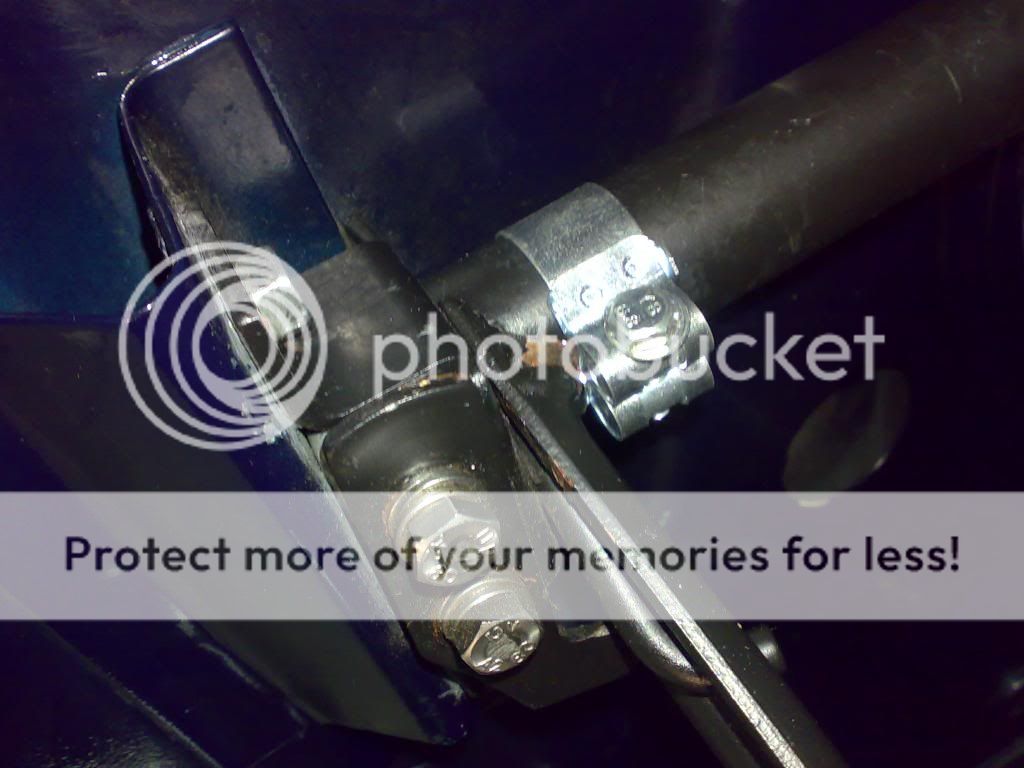
but then i w:as worried about it banging something and i decided to dissasemble
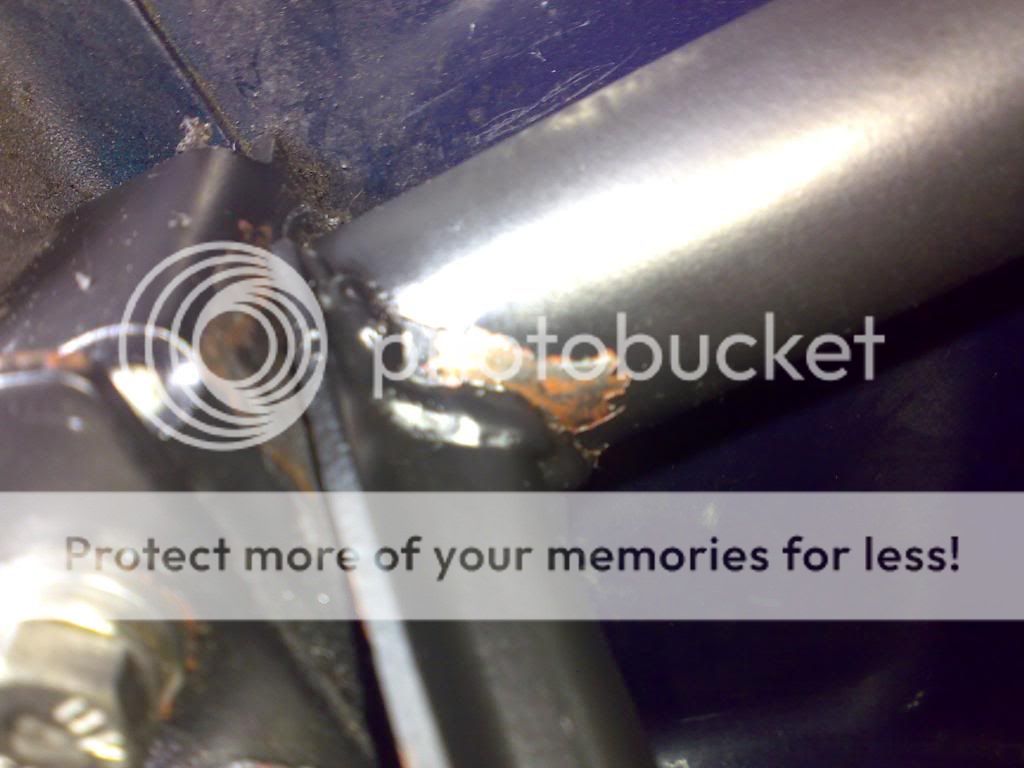
see the crack:
you might have different causes for this break, here is mine:
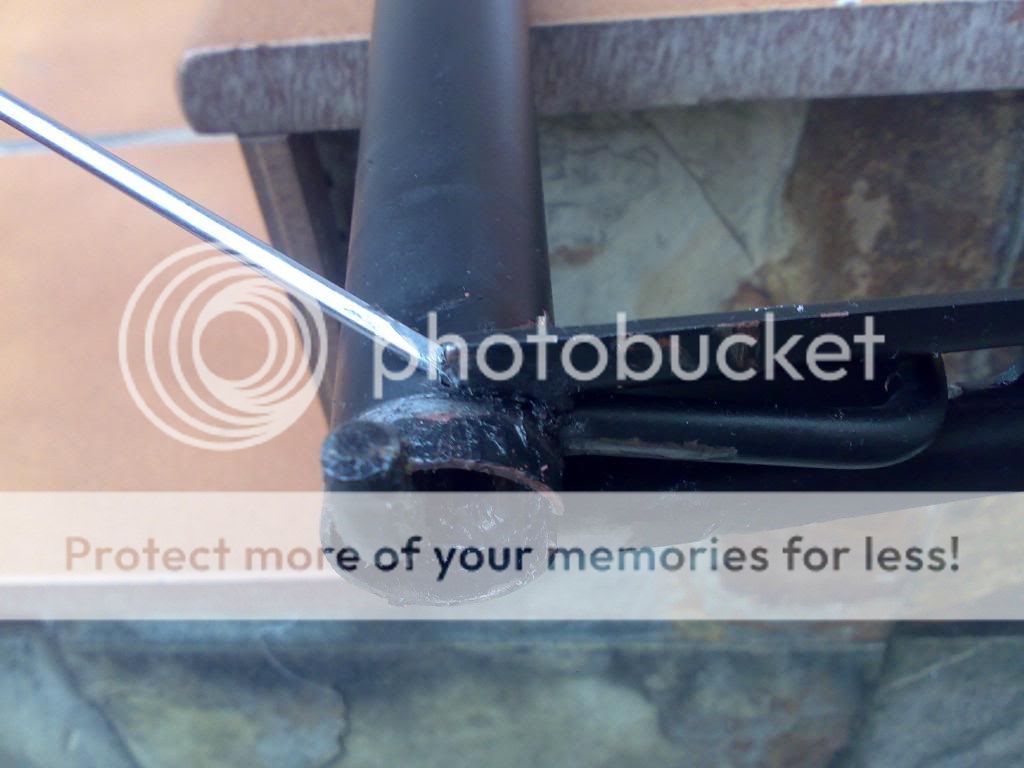
some days ago i found that the left compass arm of my hood mechanism was bent inwards
i checked it and i found this: paint was off the place and a slight sign of a crack was there
i was surprised because two years ago i renewed the system, using the old parts i cleaned them and repainted, using rust inhibitor, adn so on
then the mentioned thread came and i started looking for solutions
so i found and ordered the part
while waiting, and in order to use the car i thought of a solution:
but then i w:as worried about it banging something and i decided to dissasemble
see the crack: