mrobertbrown
Member
It's been awhile since I posted, but since I'm getting close to being back on the road I thought it was time to recognize the progress that has been made.
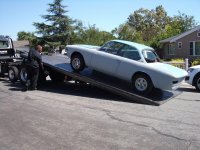
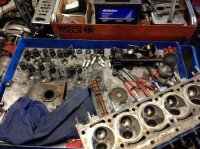
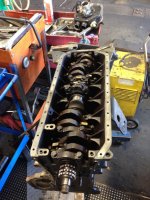
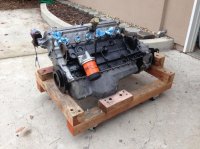
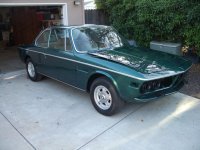
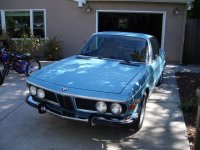
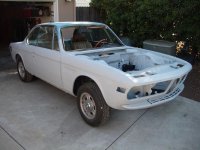
A brief bit of background info: I purchased SN 2270084 in August 2010. The car had sat for 20 years. After about 6 months of mild work, I got it back on the road and used it as an occasional driver. In May 2012 I bit the bullet and embarked on a campaign to put the car in better shape: address the rust in the front fenders, freshen the engine, repaint in stock color, clean up and restore what I could without completely depleting my kid's inheritance. It has been three years, but I can honestly say that I'm very near to driving status once again. I'll make another post when I'm on the road....
A brief bit of background info: I purchased SN 2270084 in August 2010. The car had sat for 20 years. After about 6 months of mild work, I got it back on the road and used it as an occasional driver. In May 2012 I bit the bullet and embarked on a campaign to put the car in better shape: address the rust in the front fenders, freshen the engine, repaint in stock color, clean up and restore what I could without completely depleting my kid's inheritance. It has been three years, but I can honestly say that I'm very near to driving status once again. I'll make another post when I'm on the road....
Attachments
-
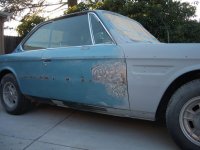
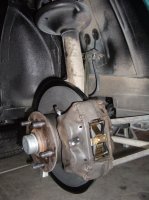
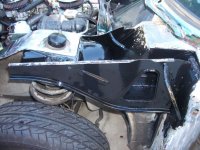
 why fenders were removed.jpg96.3 KB · Views: 151
 -
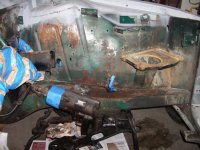
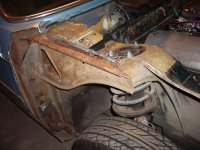 fender removed.jpg92.4 KB · Views: 151
 -
 metal treated with POR-15.jpg96.3 KB · Views: 139
 -
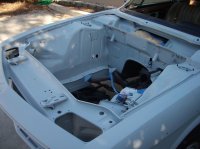
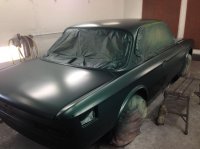
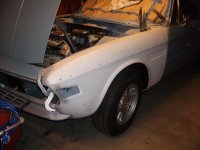
 prior to body work.jpg92.1 KB · Views: 148
 -
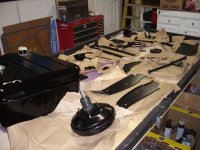
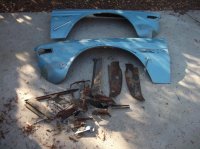 parts removed.jpg94.8 KB · Views: 139
 -
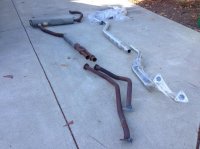
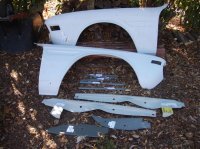 replacement parts.jpg97.8 KB · Views: 152
 -
 fitting a fender.jpg83.6 KB · Views: 149
 -
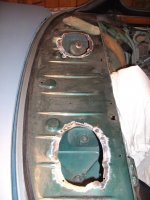
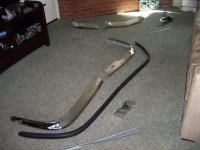
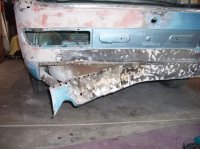 rear valence coming off.jpg91 KB · Views: 145
 -
 new fenders installed.jpg90.9 KB · Views: 136
 -
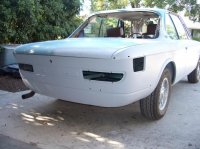 new rear valence installed.jpg91.9 KB · Views: 140