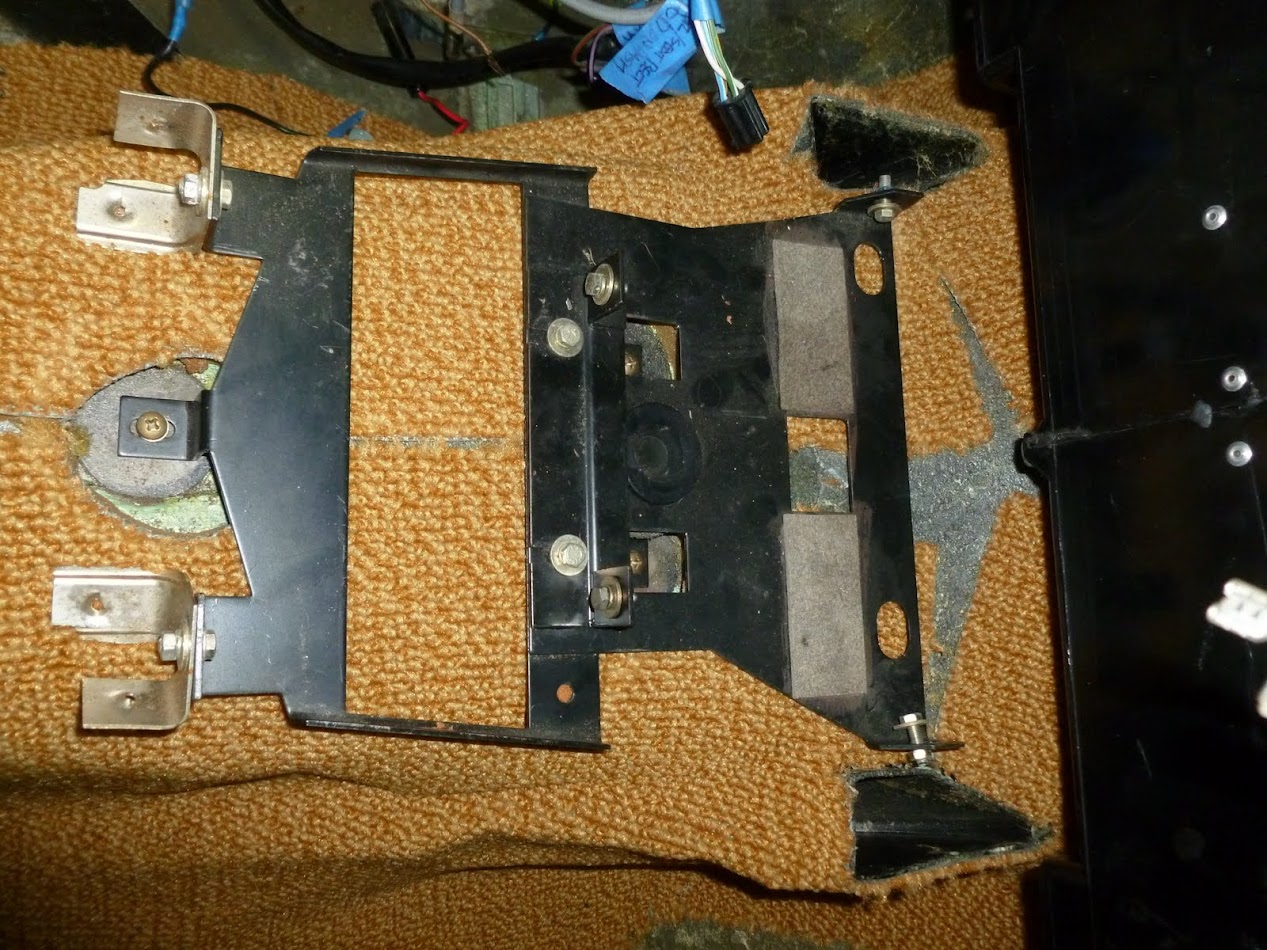
Hi All -- I seem to recall that members have attacked this problem in a handful of ways. My main seal is leaking, so this winter I plan to drop the tranny and attach that problem. That will give me access from the bottom to the a/c drain. Can this be fixed from the bottom, or do I have to tear apart the center of the dash?
You are using an out of date browser. It may not display this or other websites correctly.
You should upgrade or use an alternative browser.
You should upgrade or use an alternative browser.
a/c drain not draining
- Thread starter Ohmess
- Start date
The evaporator drain tube is pretty short. The drain hole in the evaporator housing is just under 1/2" in diameter so it's not easily blocked. You should be able to rod out the drain fairly easily, but I'd be careful of the heat exchanger which is just inside the housing a few mm above the drain hole. If you angle a thin wire a bit backwards towards the rear of the car a few degrees, it would pass the evaporator fins and travel between the fins and the enclosure. Otherwise, you'll bump right in the the bottom of the fins. You could bend an L shaped wire and give it a twirl to see if there's any accumulation of stuff on the bottom of the evaporator box. You could take a syringe and put some alcohol back up into the box to kill off any mold that may have grown when the AC was in operation.
I've got an evaporator sitting in my garage waiting to be added to my coupe during restoration, so I pulled it out and had a look. There was in fact a blob of black foam like stuff in the drain hole, not that it was enough to seal it, but it would have been a start. I've attached a photo of me pulling it out with a hemostat. The enclosure is sitting upside down on my bench. You'd be doing this under the car. Since I haven't seen one of these installed, I don't know just what sort of drain tube is in the body itself, it seems likely there's something that my short little drain drips into.
I've also attached a photo of the stuff I pulled out of an E24 evaporator that was lent to me so I could see just how much bigger the later units are. Guess you got to be careful when parting out a car. It can get quite messy.
Ian
I epoxyed a short rubber tube the diameter of the drain hole. Only inserted enough to be flush with the bottom of the evap floor/box so as not to dam up. Sticks out about an inch from the tunnel and prevents any condensate from staying inside.
Steve -- I like your idea a lot. I suspect I may have some foam as Ian shows in his picture given that I read somewhere that the foam inside the box deteriorates and leaves pieces laying around inside. (I hope I don't have rivets and washers and screws and paper clips in there!)
How did you determine the length of the hose.
How did you determine the length of the hose.
You'll see how long you want it because too long and it will hit the tranny, but long enough to clear the tunnel. I may have a pic somewhere will check.
Less than 5/8" between tunnel and tranny.
This rubber funnel only shows up on the E3/12/24/21 and 28. It perfectly seals and funnels that area to gather the condensate. Notice the nice cut-out in the front to allow the plastic drain protrusion of the AC box to slide over it and into its center. Still available as of 3 years ago. Also a foam cylinder interfacing between it and the tunnel sheetmetal. Although photos are from E3, all work well on the E9.


That part, 64511356039, is available online (I checked www.bmwmonterey.com) for $1.20. I looked on realoem.com for the E9 and their diagram shows two different gaskets in that position, 64511352205 and 64511352205 (# 16 & 17 ) that seem to work together. They are both available for $5.64. The diagram is not clear on just what shape they are or how they interact.
The foam donut, 64511352344, #2 on the diagram, is listed as NLA, but it shouldn't be too hard to reproduce. I've cut up some of the pipe foam insulation from Home Depot for your outside AC lines that should work well.
Ian

The foam donut, 64511352344, #2 on the diagram, is listed as NLA, but it shouldn't be too hard to reproduce. I've cut up some of the pipe foam insulation from Home Depot for your outside AC lines that should work well.
Ian

