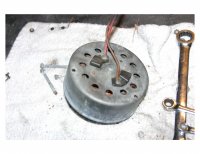
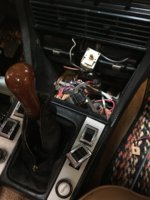
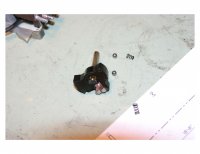
so my ac blower switch was really corroded from sitting around.
all green inside on the copper.
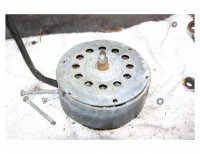
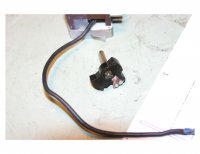
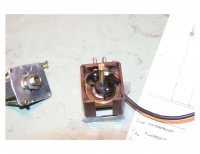
so you can take a small drill and ease the bottom edge that looks like a rivet,
actually its a small copper tube.
then tap out.
then clean up.
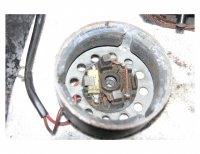
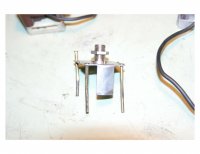
then set the bottom spring under the white plate and tape together to hold it in place.
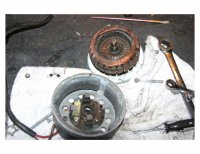
you can bend it apart as the soldered connections are real strong.
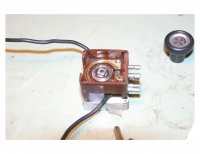
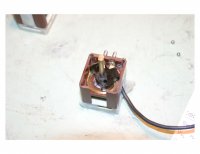
then set the top part,
there are two springs and tension ball bearings.
set the smaller spring in the back and the larger toward the front.
then put the top back on and replace the copper rods.
then just jbweld the bottom edge to keep it in place
use some tape to keep it together while setting
test it before done w/ ohmeter -two pins one and 4 should i think have continuity
all done
all green inside on the copper.
so you can take a small drill and ease the bottom edge that looks like a rivet,
actually its a small copper tube.
then tap out.
then clean up.
then set the bottom spring under the white plate and tape together to hold it in place.
you can bend it apart as the soldered connections are real strong.
then set the top part,
there are two springs and tension ball bearings.
set the smaller spring in the back and the larger toward the front.
then put the top back on and replace the copper rods.
then just jbweld the bottom edge to keep it in place
use some tape to keep it together while setting
test it before done w/ ohmeter -two pins one and 4 should i think have continuity
all done
Attachments
Last edited: