If you buy new rocker covers from Walloth & Nesch plan on spending several hours test fitting and trimming to fit on the car. I had to open up the area that contacts the A and B pillars, bend the ends that wrap into the wheels wells a bit and I also had to open up the openings for the jack point cups on the coupe itself. Start by test fitting the door opening, modify the cover at A and B pillar as needed, mark on tape where the small mounting screws are that are eventually covered by the interior stainless sill strip. Once door opening was correct, I hung the cover by two of the small mounting screws then looked under the car to see how well it fit over the jack points. I had to open these several times. I never was able to get the covers to snap over the body jack points but I get them close. I used cheese head Phillips screws underneath, be sure to check alignment here first before attempting to mount the cover. Since my doors were adjusted I didn’t want to remove the B pillar alu trim piece so I propped it out a bit with a stick.


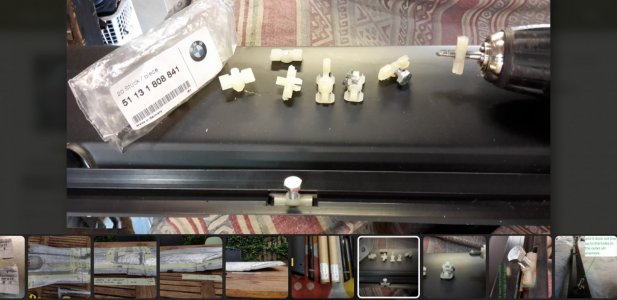
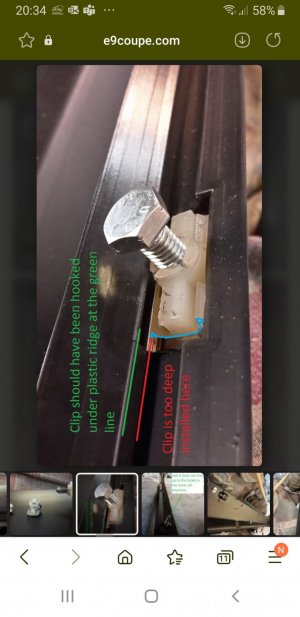
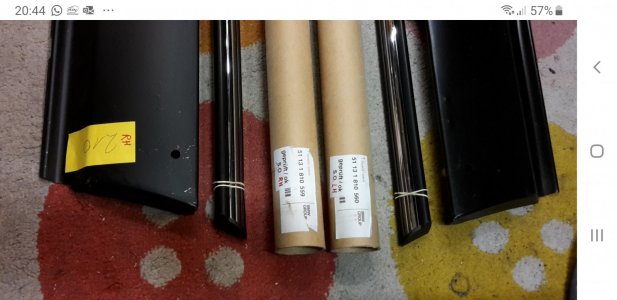
The rocker trim strips were originally mounted with a 4mm stud at each end that slides in the backside of the trim. Also used were 6 plastic clips which have four ‘fingers’ that snap onto the trim. The plastic clips sold today are very hard to snap the trim onto, if you are able to do so they need to be installed before the rocker is attached to the coupe anyway and I suggest using a large 1/2” drive socket on the backside so you do not bend the rocker. There is any easier approach however. One of these is the technique @eriknetherlands used with m6 bolts instead of the plastic pins that push into the clips after he broke off the tangs and threaded the clip. I went a different direction which I think has merit.
I used an m6 yellow zinc washer and flattened two opposite sides with a Dremel 1 1/2” cutting disc allowing it to slide into the slotted trim piece. I then used an m4x12 bolt, slipped the trimmed washer over it then locked it on with Locktite and an m4 nut. It can now be inserted into the slot. Once the trim is placed onto the rocker I used another m4 or m6 washer and another m4 nut to lock it onto the rocker also with another bit of Locktite.
Last edited: