Ok friends, here's another edition of kitchen table restorations, except tonight my wife has kicked me out of the kitchen so I will be cluttering up the back deck table while enjoying some vino. Anyway, these expensive switches can be rebuilt quite easily. This is my friend's switch, I noticed that when I turned the parking lights on it started to emit a little smoke so time to rebuild, I did mine a few years ago.
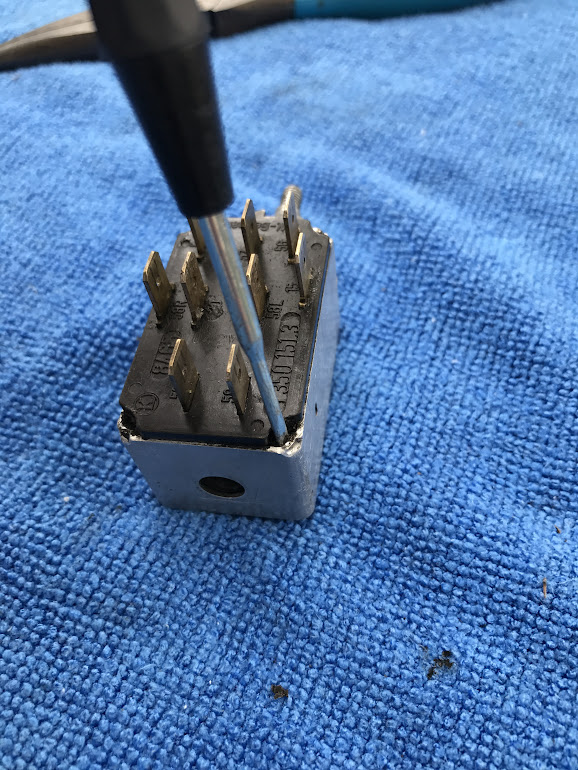
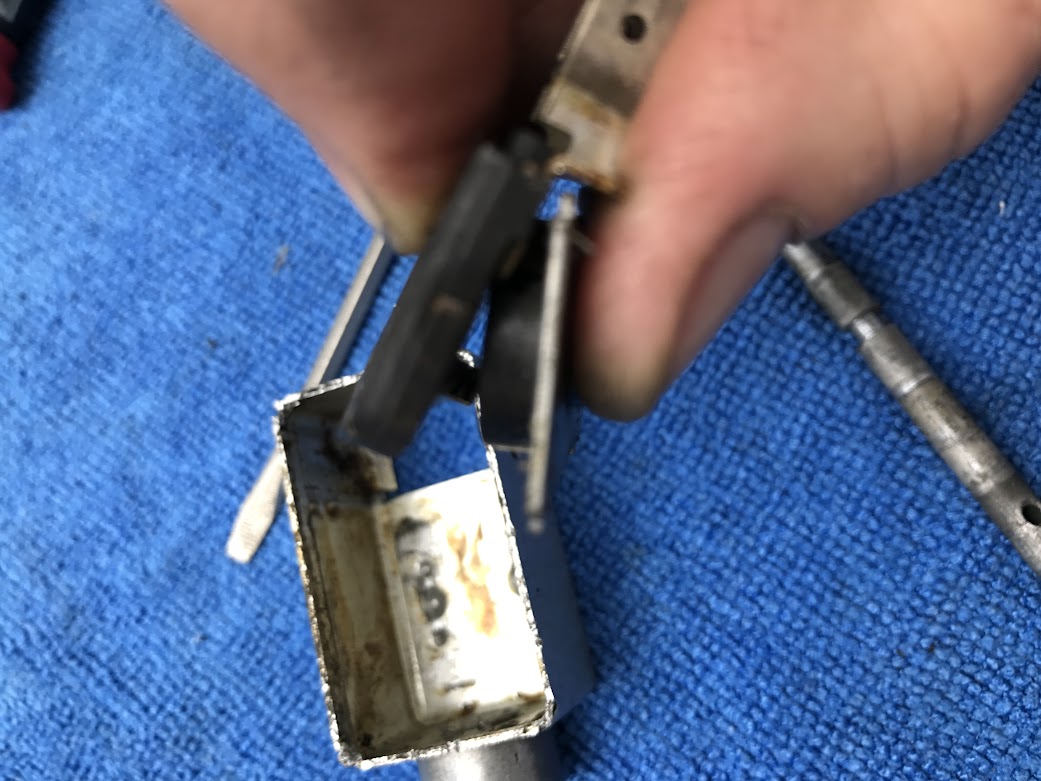
Pry away the corners where the aluminum case is crimped, first with a tiny screwdriver then a little bigger one to free up the plastic top, try not to destroy the metal too much as it will be re-crimped later:
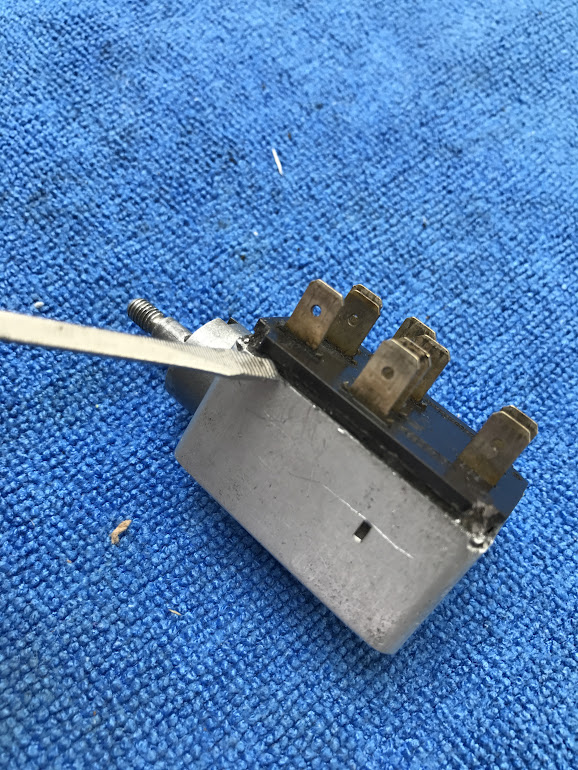
Then as it starts to release, ease the pieces apart, a corner or 2 may need some more prying:
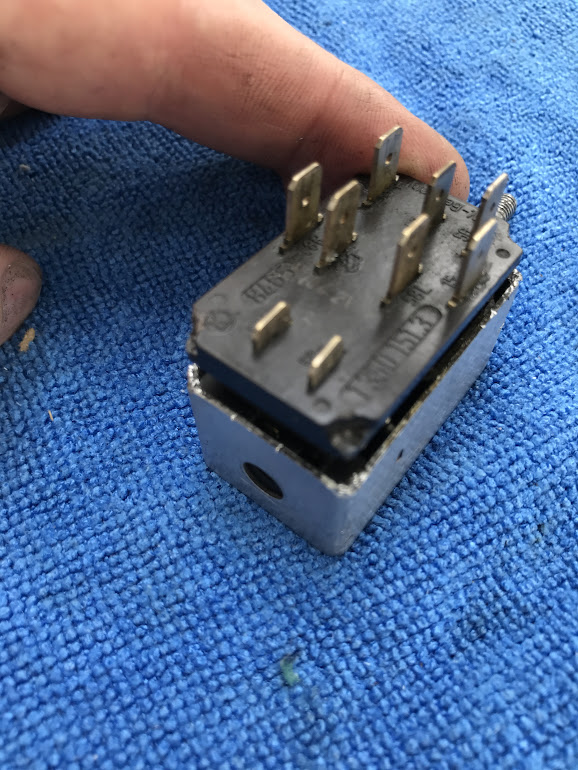
Off it comes, 2 of the prongs stay behind:
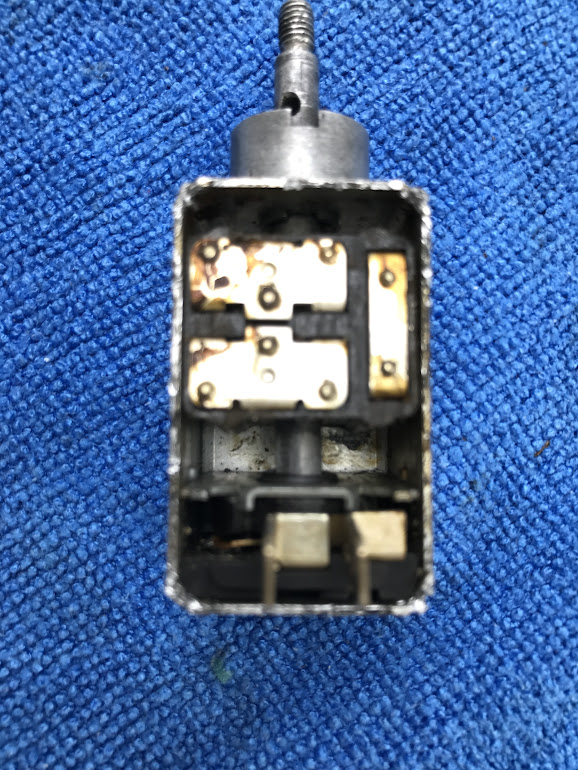
Top off and lots of crusty gunk:
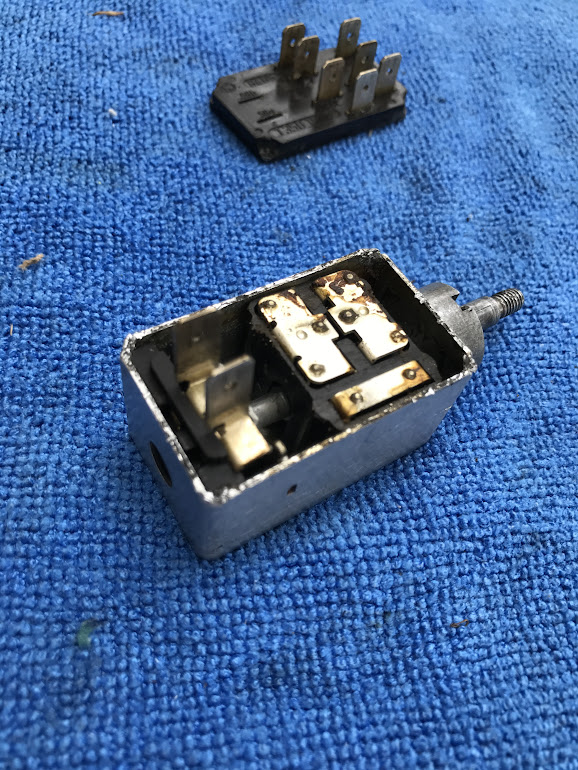
Important to note the contact layout for reassembly:
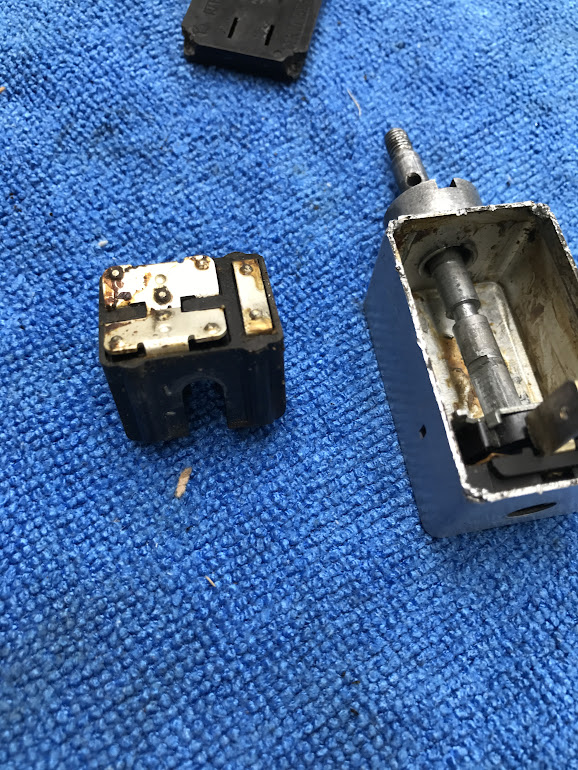
Pull out the slider piece:
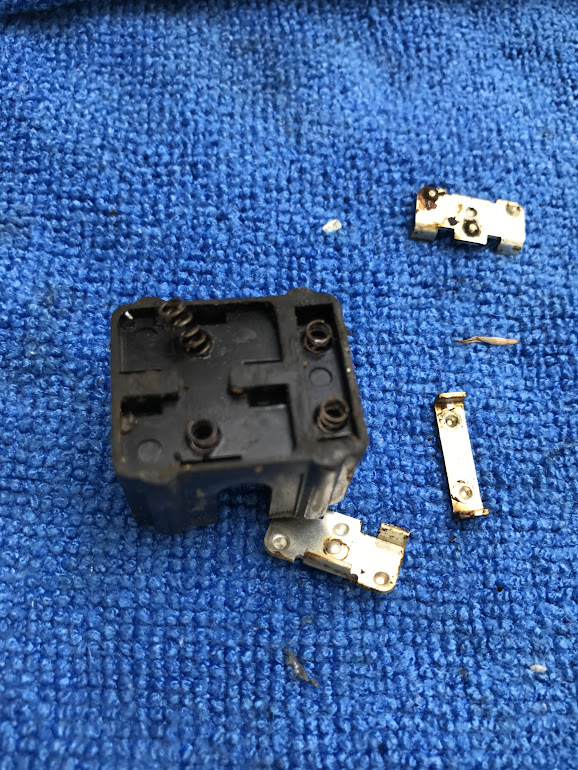
Caution: springs abound: total of 6 small and 2 large in the entire switch, 4 for the slider top:
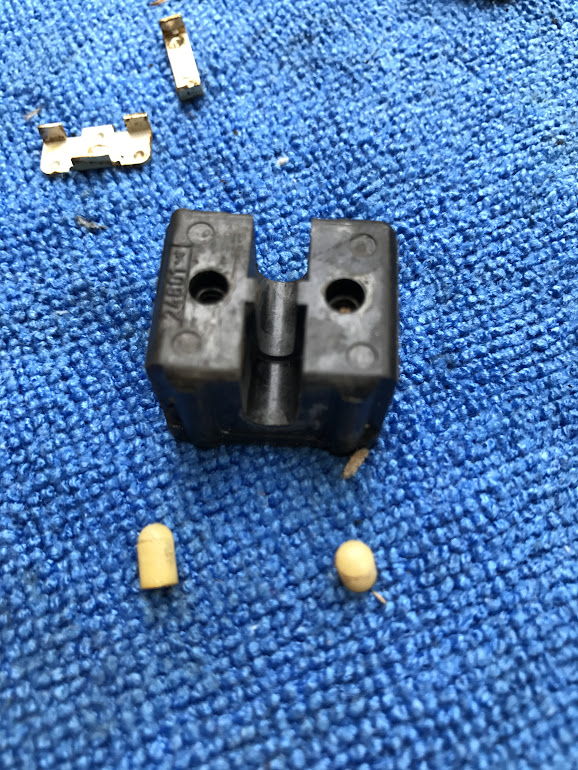
Bottom side has 2 plastic pieces that fit into the indentations in the case plus the 2 large springs:
Pull the reostat unit out in one piece, be careful as it is spring loaded and keep holding it together while removing because it will want to fly apart:
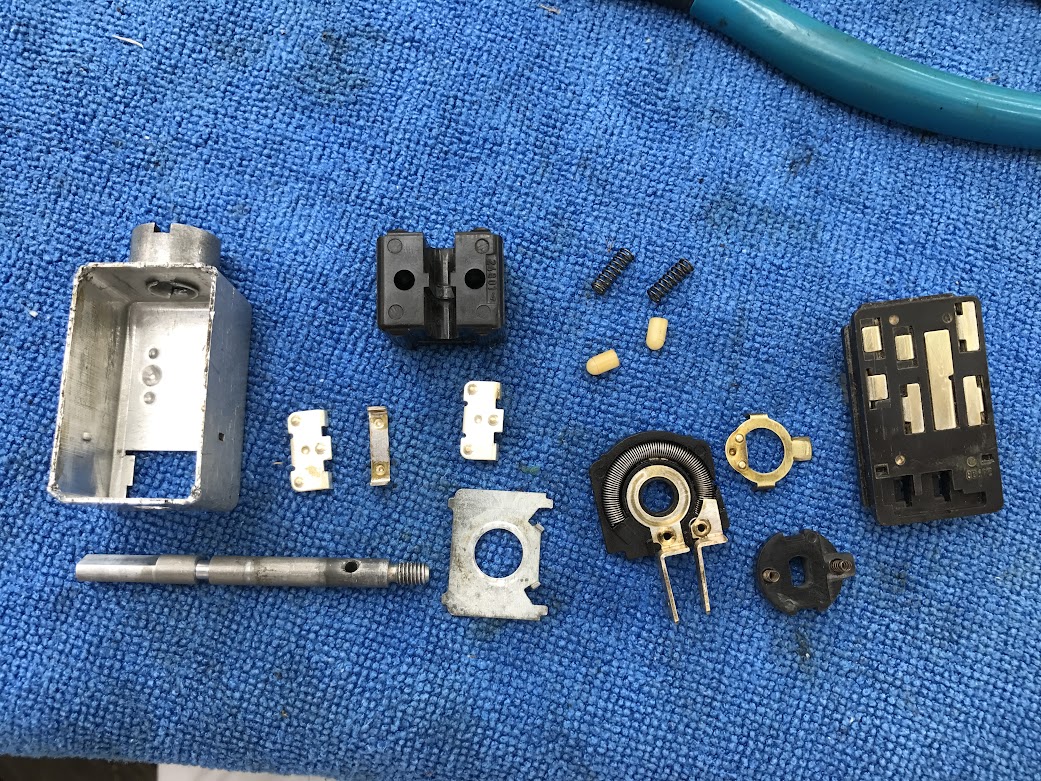
All clean with 45 year old grease removed and all electrical contacts sanded with uber fine grit, reostat coil cleaned and lubed with some spray electronic cleaner/lube:
Pry away the corners where the aluminum case is crimped, first with a tiny screwdriver then a little bigger one to free up the plastic top, try not to destroy the metal too much as it will be re-crimped later:
Then as it starts to release, ease the pieces apart, a corner or 2 may need some more prying:
Off it comes, 2 of the prongs stay behind:
Top off and lots of crusty gunk:
Important to note the contact layout for reassembly:
Pull out the slider piece:
Caution: springs abound: total of 6 small and 2 large in the entire switch, 4 for the slider top:
Bottom side has 2 plastic pieces that fit into the indentations in the case plus the 2 large springs:
Pull the reostat unit out in one piece, be careful as it is spring loaded and keep holding it together while removing because it will want to fly apart:
All clean with 45 year old grease removed and all electrical contacts sanded with uber fine grit, reostat coil cleaned and lubed with some spray electronic cleaner/lube:
Last edited:
