Thanks to this community & SFDON's Lending Library/guidance, the engine started.
For some reason unplugging the CSV, allowed the ECU to trigger the injectors.
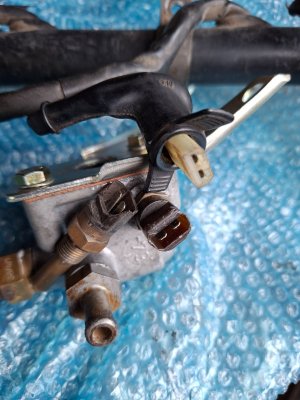
@TomHom
Thanks for the info/pics. Verified it is the 5 pronged CSV relay.
Verified connections @ Thermo switch and CSV by wire #.
#19 (30) to ECU verified grounded
#38 (87) to CSV verified grounded. Believe this is normal since its grounding through internals of the CSV?
#40 (85) coolant temp switch verified ground, not sure how this works, bimetallic?
#43 (86) coolant temp switch verified ground, not sure if this is the correct reading.
#44 (86c) to starter 50, verified 12v when starter activated.
Is it common for the diodes in the CSV to fail, could this possibly explain symptoms?
Thanks everyone!