I wouldn't worry about the aluminum color showing. Once the wheel is on, you really cannot see the inner fenders, unless you lean down and look inside the wheel well with the wheel turned. As you'll find in my thread (
https://www.e9coupe.com/forum/threads/sealed-the-dreaded-gravel-trap.31769/#post-259822), I coated them with Penetrol and left them as is, because I did the rubberized undercoat on my Tii and found it grabs grass and is harder to brush off. On the E9, it's super easy to get the grass and grit off.
View attachment 84026View attachment 84027
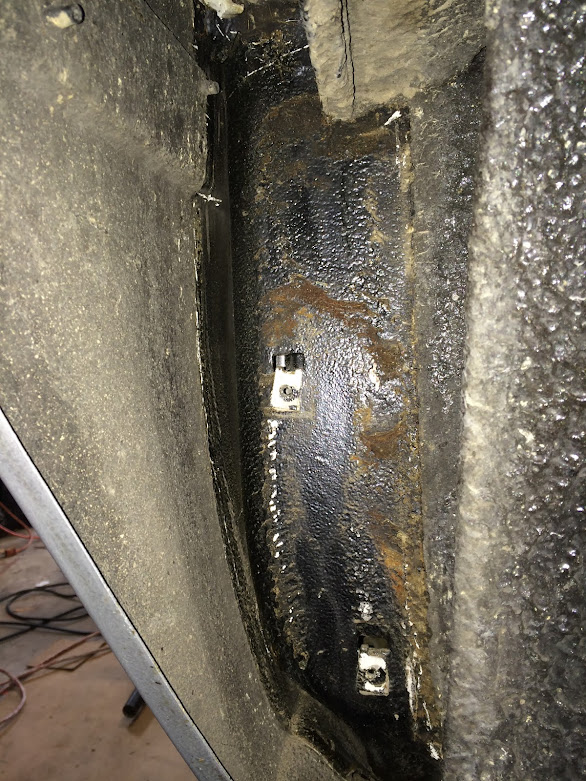
I coated them (twice) with Penetrol front and back and let it dry hard before I installed them. On the E9, it's super easy to get the grass and grit off. You can see footprints from when I levered them into place, but they wiped right off. You can't even see the Penetrol (Owaltröl here in CH). I had already done a deep dive with Bilton Hammer wax in all of the crevasses, the A-Pillar, and up inside all of the fenders folds from the A-Pillar to the head lights. Then I coated the entire wheel well surface with Penetrol before installing the Lokari inner fenders.
The issue with the staples is the galvanic reaction between steel staples and aluminum sheet. The coating will slow it down as they'll stay drier, but it won't stop it (when you're talking years).
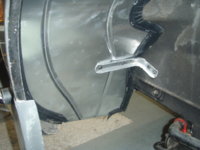
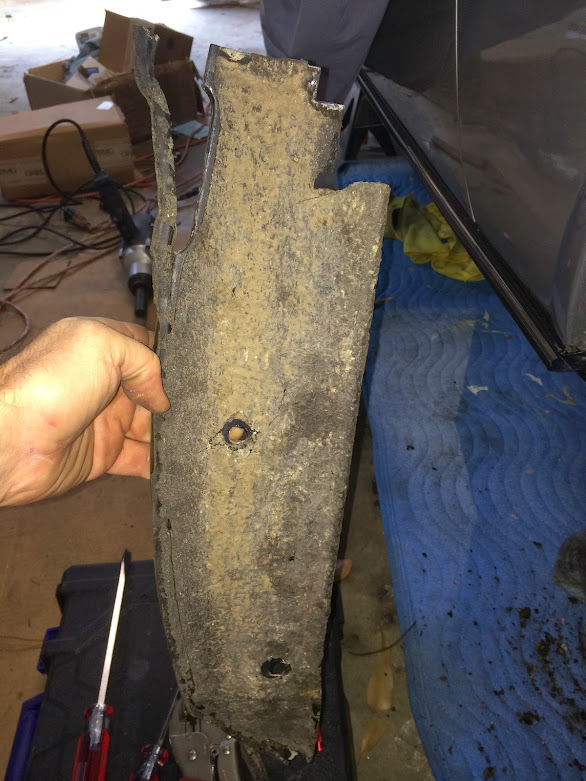
You can see here that I pulled all of the staples and drilled and riveted the Lokaris on the E9. This is no small task! They use something more like a two-headed brad rather than a simple staple that's sharp on both ends. These things are strong, hard to bend, and the heads don't just slip out like a staple would. You have to twist up both heads, cut them in the middle, and then wrestle both sides out. A strong flat bladed screw driver, a pair of dikes, a straight needle-nose and a curved needle-nose are needed to yank these things out! Not to mention a pair of thick protective gloves. If I remember correctly, there are about 50 staples in each fender. Each fender was about six hours of work; one per day was plenty!
View attachment 84028View attachment 84029View attachment 84030View attachment 84031View attachment 84032
I left them as is, because I did the rubberized undercoat on my Tii and found it grabs grass and is harder to brush off. Switzerland is like a big nature park/farm, so there are always farm vehicles moving around on the secondary roads, leaving mud, grass, and fertilizer on the roads, so it's a regular thing here. I did both front and back on my Tii:
View attachment 84033View attachment 84034View attachment 84035View attachment 84036
It's funny how the Lokaris are kind of considered a good idea, if not essential equipment on E9s, but boy, the reaction is very different in the '02 FAQ community... mostly reviled there! I think they're great on my Tii, and again, hardly noticeable unless you have your nose in the wheel well. I can
see all of the grass that would have been thrown high up into the front well around the light buckets and in the rear up deep around the spare well and gas tank.

")

 I'm eager to return the favor as often as possible.