inspired by DeQ - woodwork

readie

Well-Known Member
Messages
182
Reaction score
21
Location
kent, england

Attachments

  • wood 1.JPG
    wood 1.JPG
    32.6 KB · Views: 241
  • wood 2.JPG
    wood 2.JPG
    29.2 KB · Views: 232
  • wood 3.JPG
    wood 3.JPG
    34.9 KB · Views: 246
Are you making new "blanks" and then placing veneer or using the originals and placing veneer?

If I had the equipment, I would consider 3D printing of these, construct from fiberglass or MDF and then veneer. Pressure backed veneer is not too hard to work with and there is no gluing. But hey, I have not tried this yet except on furniture. I just got my paws on an E9 and will cross this bridge soon.
 
i would stay away from MDF as a backer ... when water gets to it, it is not nearly as stable as plywood. it can swell up badly
 
my intention is to use the current wood, but replace the veneer.

I have absolutely no experience in doing this before and am only vaguely handy, I can chop, burn, cut down and generally take things apart with the best of them, but putting things back together is not my strong point !!!

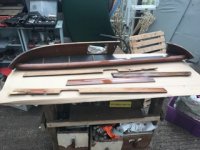
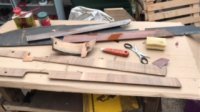
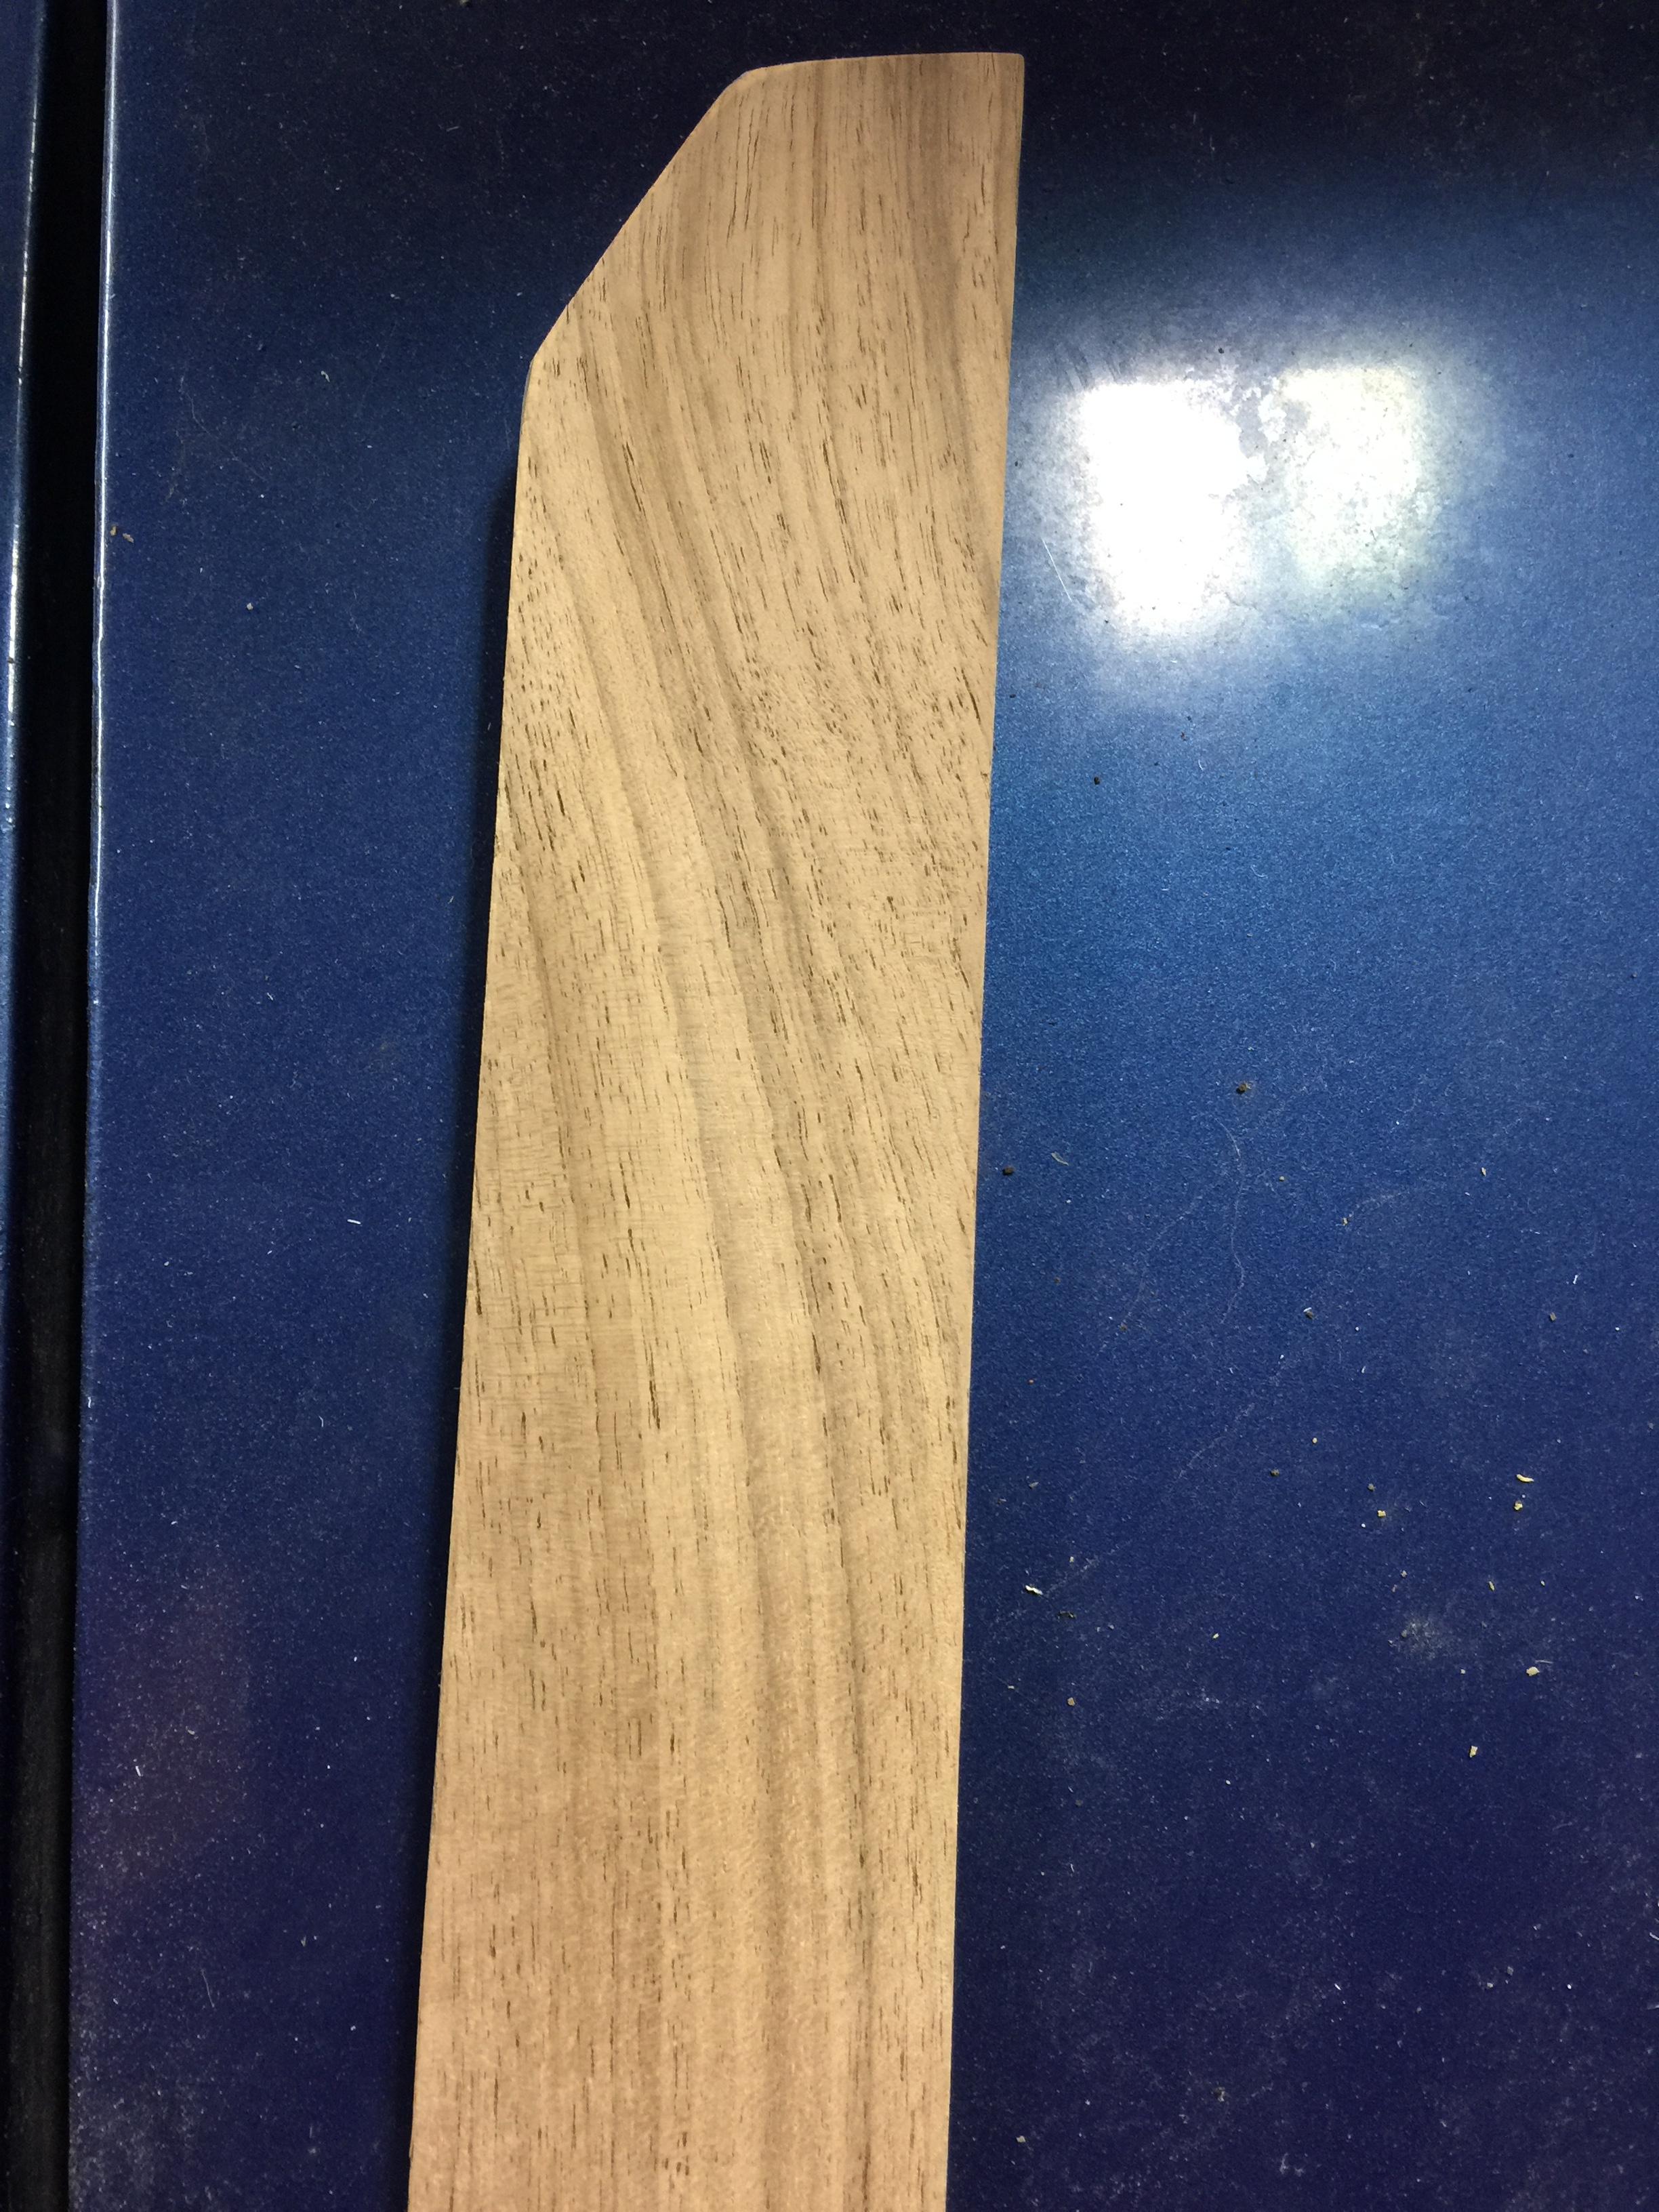
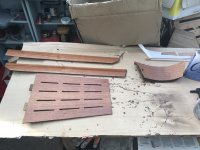
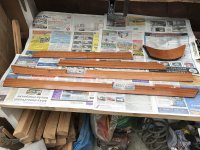
I have taken off the lacquer using a heat gun and also the first layer of veneer using a Stanley knife blade (it was blown in most places anyway).

Someone else had taken the dash out as I am having a full body resto. so I just had the dash and door tops to work with.

Initially I had simply sanded all the wood and revarnished, but then saw some professional wood and it looked so good and mine so bad I decided to give it a proper go myself.
theory is simple...
- the door caps - just take off first layer of veneer, one coat of varnish so that the glue and veneer sticks, then sand, seal, and lacquer. I am at the coat of varnish stage...
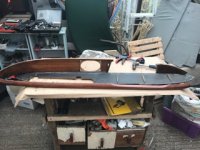
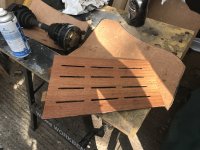
- the dash..different..first off needed to take apart, this is a pig because all the old screws are rusted/stuck fast/broken etc. I ended up cutting out some of the screws along the underside of the dash so will need new fixing points if I use the same base - this is still under consideration and if I do make a new one it will be out of marine ply - then the wooden grab rail is also held in place by two end screws, one had broken but I managed to get one out, then gently prise the thing apart.
The wooden inserts in the vinyl are glued in place, so gently prise them out.
it is now apart and I am gluing the substrate /varnishing stage.

Question....what do people think of the speaker delete ? it would be so much easier to reveneer without the speaker and in all honesty, I am not going to put in a sound system, I intend to use a wireless speaker hooked upto my phone if I really get desperate. Would covering it over detract from the car do you think ?

more pics to follow at the weekend.
 
I love the speaker, used or not, gives nice detail to the dash and is a symbol of the design/craftmanship of the era.
 
Many do the speaker delete, I had my reveneer done by a pro and kept the speaker as there's a working speaker there.

IMG_2931.JPG
 
Question....what do people think of the speaker delete ? it would be so much easier to reveneer without the speaker and in all honesty, I am not going to put in a sound system, I intend to use a wireless speaker hooked upto my phone if I really get desperate. Would covering it over detract from the car do you think ?

Totally personal decision. No right or wrong unless you are going for strict originality.

I plan on deleting it bc these days there are many ways to get much better sound in a much more discreet way. But to each his/her own.
 
I will be doing all mine, and have tried out re veneering one capping.

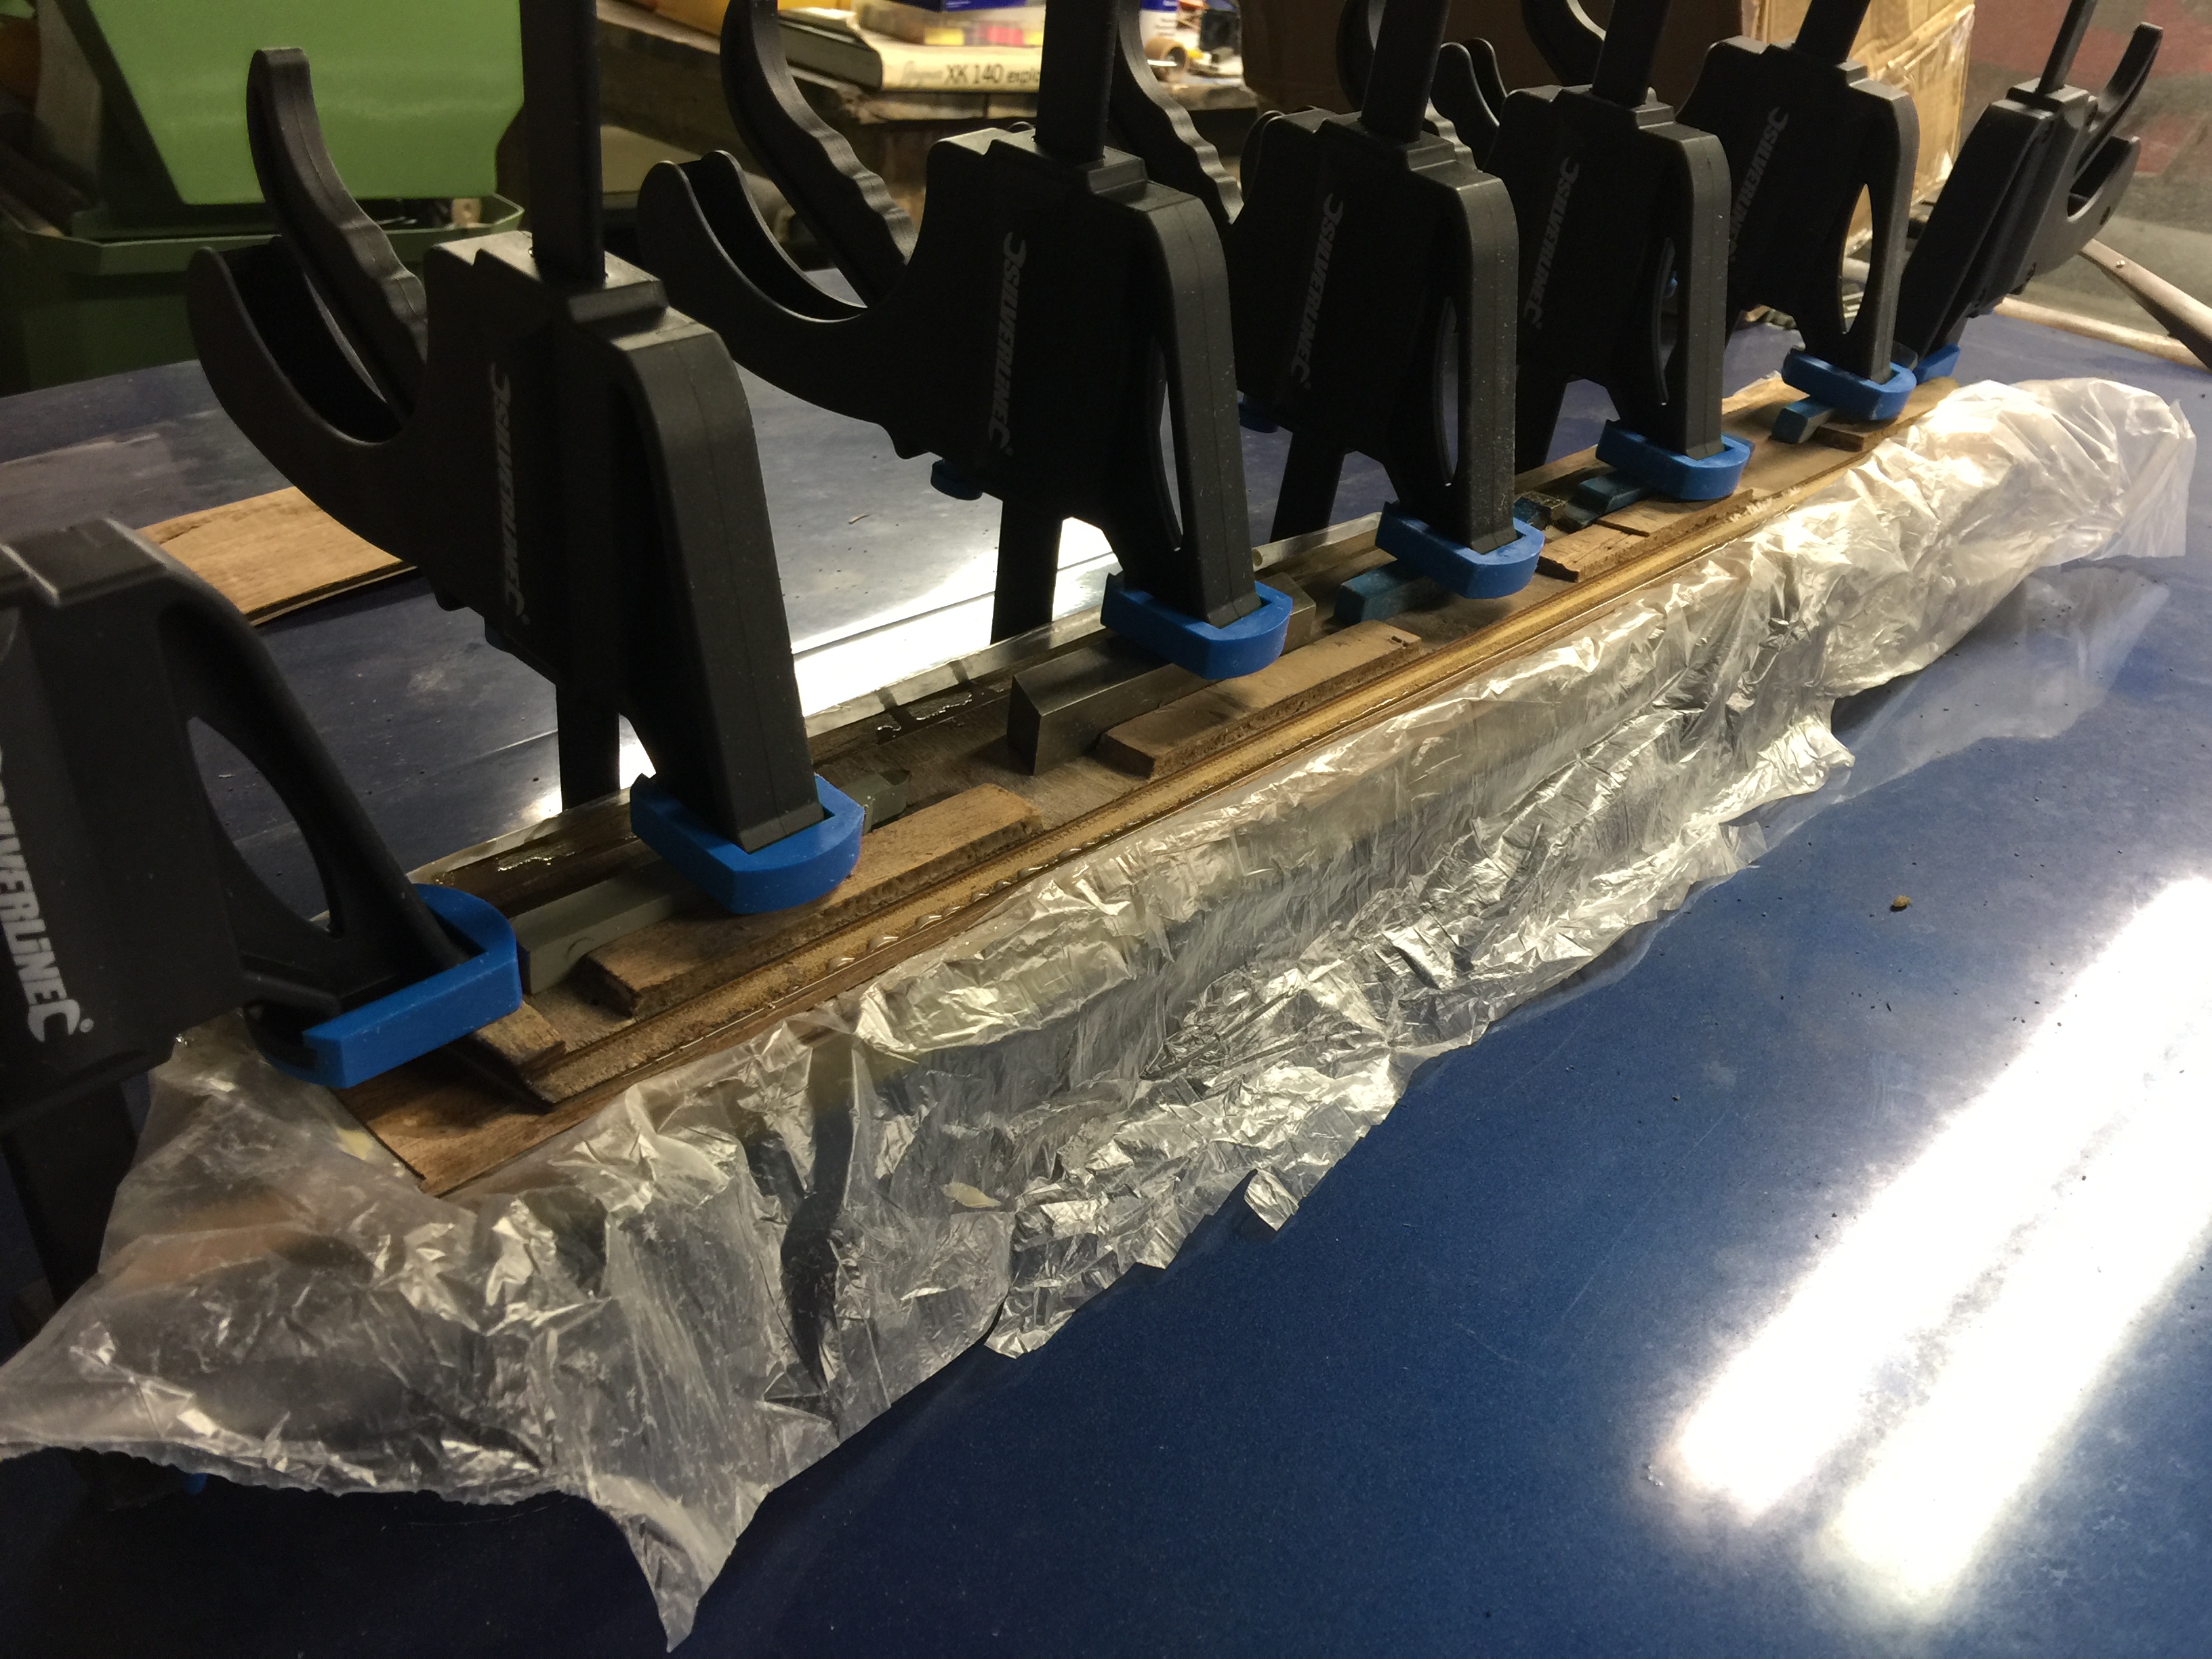
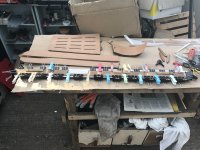
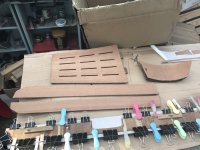
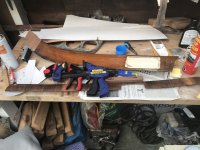
The glue I used was Cascamite – easy to work with but will need to dry with heat and pressure.

Some folks use Contact Glue (it is most important you must use High Temperature Contact) and that is an easier way than clamping. I will do a trail on that and try and destroy it to see if it’s any good,

A lot of folk use vacuum bags but I made a bed for the section to sit in out of expanded foam with a layer of thin plastic to use as a separating membrane so the wood would not stick to the foam when making the mould.


Good results and an easy way to do the capping – not worked out how to clamp the dash veneer as yet, but I’m a long away from that at the mow – still welding and a good few months of that!

MLjr5Ed.jpg

Glued and clamped - then put on rad overnight to set - glue is very strong....
uiuohRt.jpg

This is done and trimmed - no finish as yet - but had a light sand
 
Totally personal decision. No right or wrong unless you are going for strict originality.

I plan on deleting it bc these days there are many ways to get much better sound in a much more discreet way. But to each his/her own.
i agree that there is much better way to do sound ... but this is a good place to put tweeters - see the attached pic that i found a while back . i ended up putting tweeters in the side ashtrays - by replacing the metal / vinyl with perforated metal. i prefer the look of the wood speaker grille to the speaker grille delete versions. i still have a speaker behind the speaker grille, but i haven't decided whether i will end up putting gauges there or put a GPS screen there (covered up by the speaker grille) except when i am using it.

in dash tweeter.jpg
 
Next few stages, decided on speaker delete. Last pic shows wood done so far.
 

Attachments

  • IMG_0338.JPG
    IMG_0338.JPG
    2.2 MB · Views: 214
  • IMG_0339.JPG
    IMG_0339.JPG
    1.9 MB · Views: 217
  • IMG_0340.JPG
    IMG_0340.JPG
    2 MB · Views: 232
  • IMG_0341.JPG
    IMG_0341.JPG
    1.8 MB · Views: 213
  • IMG_0343.JPG
    IMG_0343.JPG
    2.9 MB · Views: 210
  • IMG_0389.JPG
    IMG_0389.JPG
    3.3 MB · Views: 226
Back
Top