

I've posted twice already about my purchase, assembly, and bracket alignment of my Euro-spec front bumper. I live alone so I manage doing things by myself, even when something is a two-man job. No children. Girlfriend and future wife is 13,000 km away. Just me for now.
The next step with my front Euro bumper installation project was to check for fitment and alignment. This meant attaching the bumper with all securing hardware only finger tight. If all goes well, then I can mark holes for mounting the ends of the bumper to the fender. My car has an air dam, so I was curious if the bumper would align with the OEM holes, which I can clearly see.
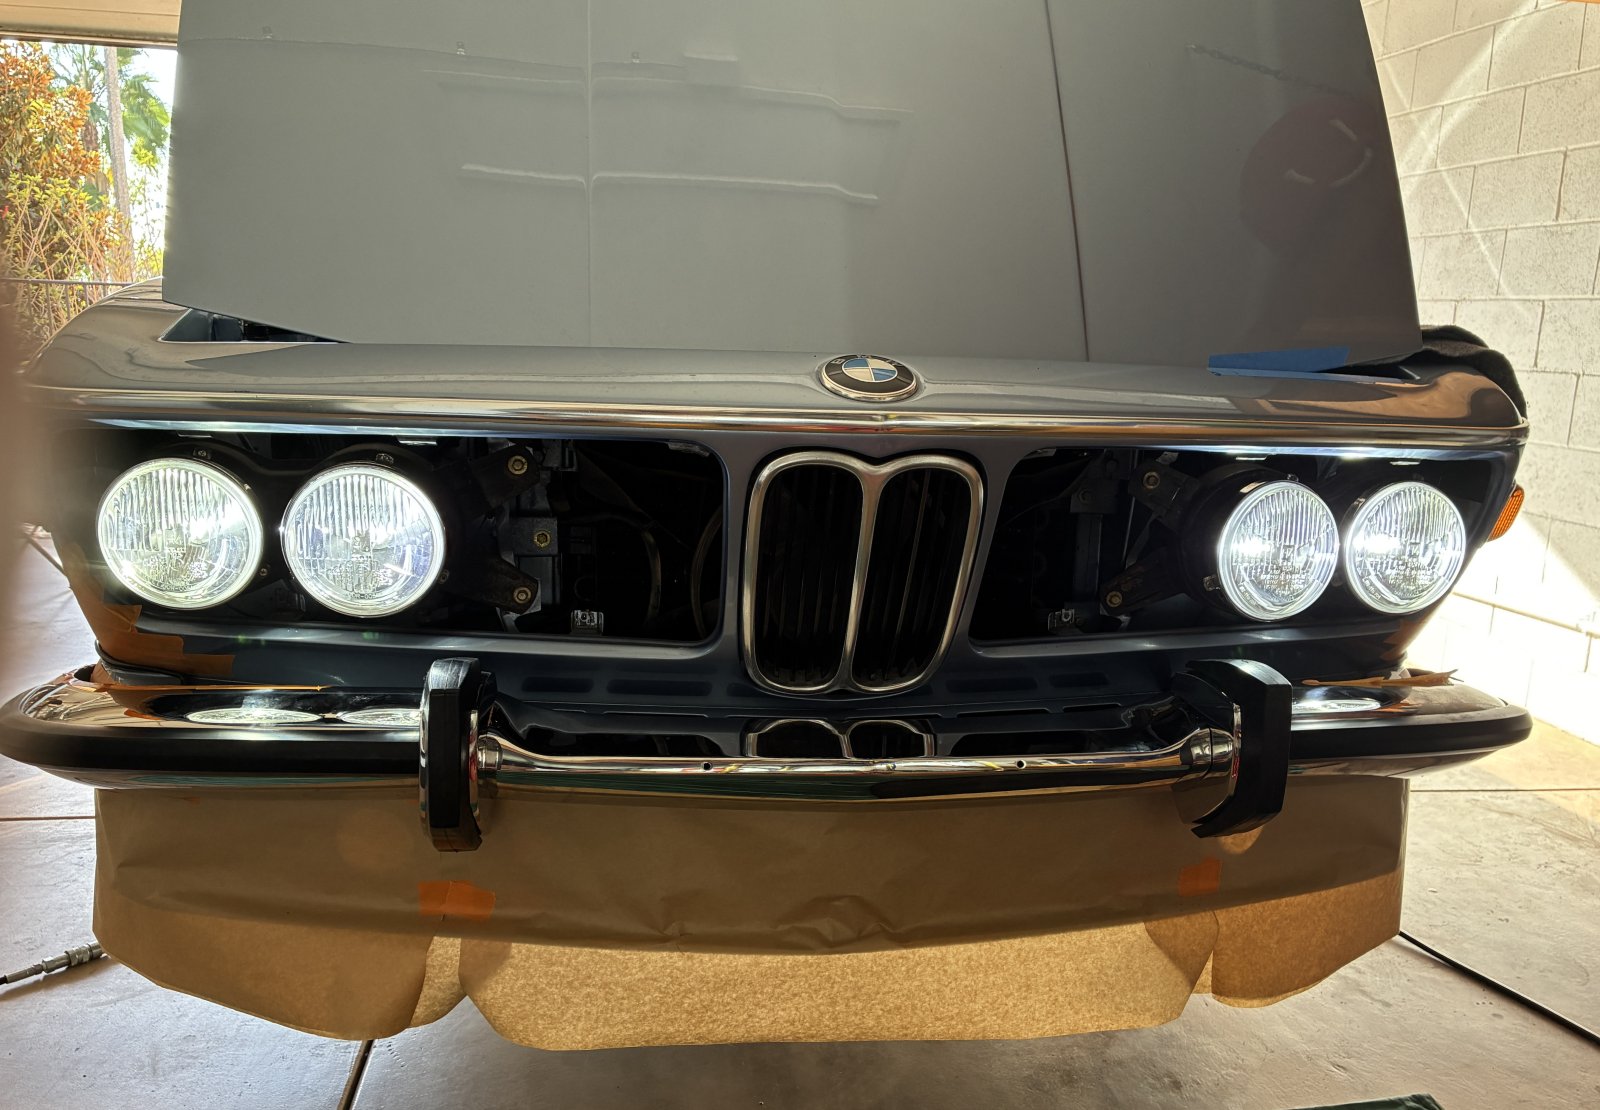
My first attempt was doing what seemed logical... attach the brackets first, then attach the bumper to the brackets. Before doing this, I applied two sheets of painter's masking paper to the fenders and air dam with painter's tape. The edges of the bumper are thin and sharp and would cut like a knife if applied with enough force and at the right angle. I also applied painter's tape to the edges of the bumper... a good move.
The problem with this approach has a few issues. First, without the dagmars attached, the bumper swivels at both ends like a jacknife. Second is trying to hold this double folding jacknife while attempting to get the plastic funny-shaped bushing onto the rather short dagmar bolt and then get the nut on. Not enough room, but barely enough room even with my small hands. I struggled with this for an hour before deciding on a new tactic. I was literally sweating bullets in fear of damaging the paint or the bumper. My precautions paid off, so nothing was damaged.
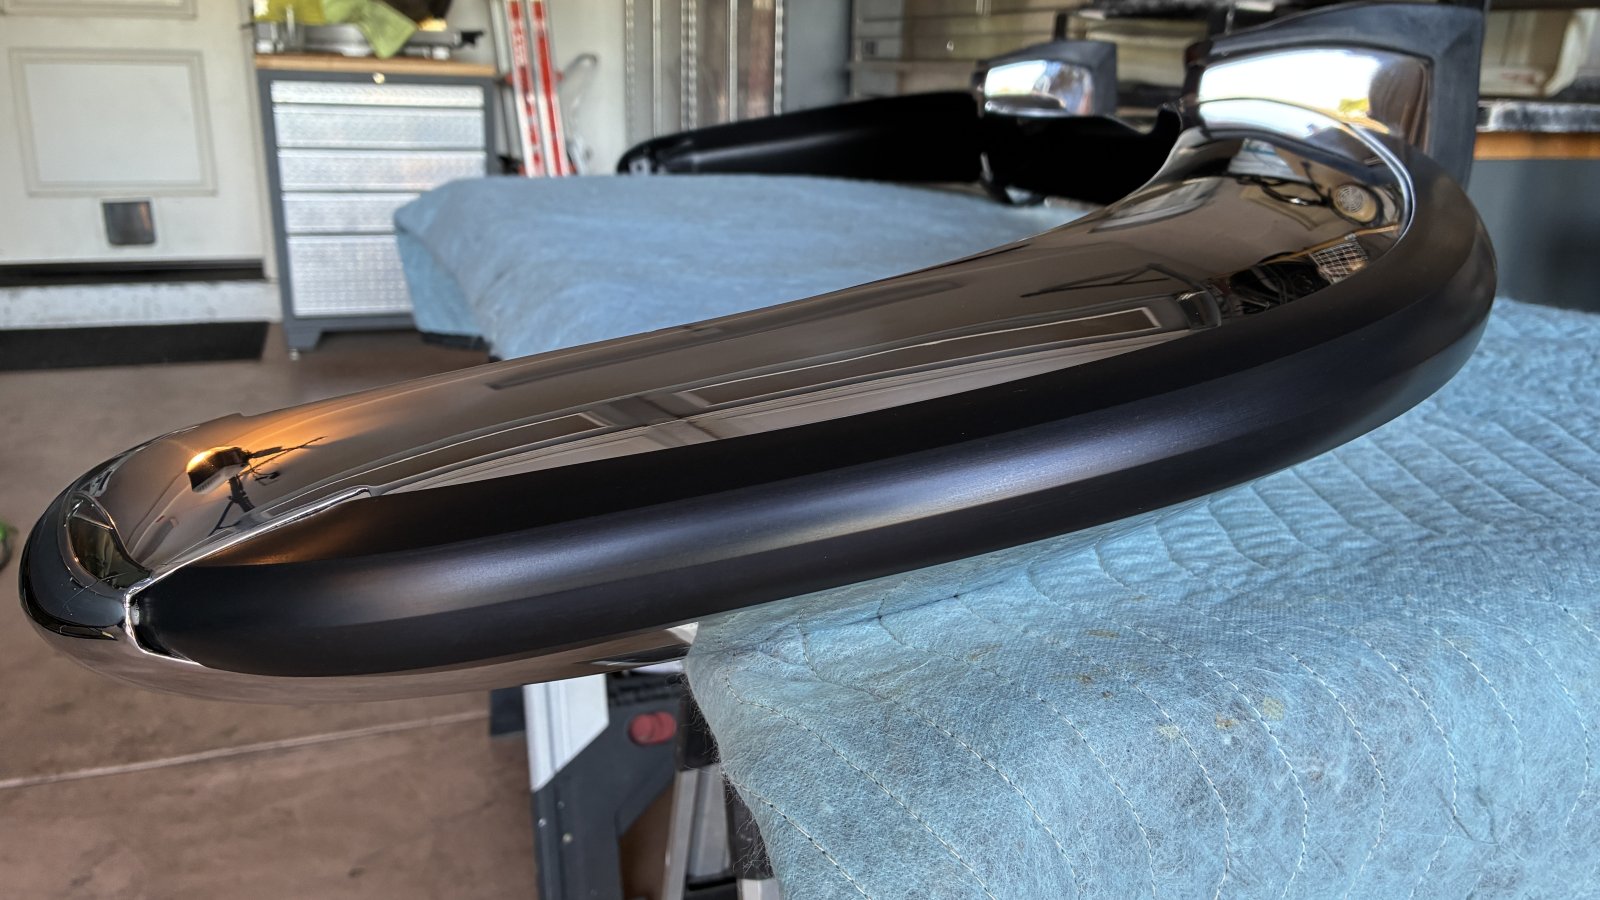
I then put the bumper on my proxy workbench and assembled the dagmars and brackets in comfort. Mounting the brackets alone is a bit tricky as they need to be angled at a steep downward angle to allow the holes to clear the frame rail and get the carriage bolts placed from behind. So, I wondered what problems I would have with the bumper attached to the brackets. Yes, it was a problem.
The good news is, with the bumper attached to the brackets, fitting the bumper in place is easy as the brackets hold it by in place without any need of a box of some kind. But, the brackets can't be angled so both mounting holes clear the frame rail. The solution was easy. The bracket mounting hole nearest the firewall clears the frame rail. The forward bracket mounting hole does not, but only by 1/4". It hits the nearby sheet metal, which has nothing else in the way. So, I drilled a 1/4" hole in the sheetmetal stopping the bracket from moving downward and then used a grinding bit on my drill to smooth it out. Yes, I applied black enamel paint to the small cutout to keep my precious E9 rust-free. Ta-da!
The next step with my front Euro bumper installation project was to check for fitment and alignment. This meant attaching the bumper with all securing hardware only finger tight. If all goes well, then I can mark holes for mounting the ends of the bumper to the fender. My car has an air dam, so I was curious if the bumper would align with the OEM holes, which I can clearly see.
My first attempt was doing what seemed logical... attach the brackets first, then attach the bumper to the brackets. Before doing this, I applied two sheets of painter's masking paper to the fenders and air dam with painter's tape. The edges of the bumper are thin and sharp and would cut like a knife if applied with enough force and at the right angle. I also applied painter's tape to the edges of the bumper... a good move.
The problem with this approach has a few issues. First, without the dagmars attached, the bumper swivels at both ends like a jacknife. Second is trying to hold this double folding jacknife while attempting to get the plastic funny-shaped bushing onto the rather short dagmar bolt and then get the nut on. Not enough room, but barely enough room even with my small hands. I struggled with this for an hour before deciding on a new tactic. I was literally sweating bullets in fear of damaging the paint or the bumper. My precautions paid off, so nothing was damaged.
I then put the bumper on my proxy workbench and assembled the dagmars and brackets in comfort. Mounting the brackets alone is a bit tricky as they need to be angled at a steep downward angle to allow the holes to clear the frame rail and get the carriage bolts placed from behind. So, I wondered what problems I would have with the bumper attached to the brackets. Yes, it was a problem.
The good news is, with the bumper attached to the brackets, fitting the bumper in place is easy as the brackets hold it by in place without any need of a box of some kind. But, the brackets can't be angled so both mounting holes clear the frame rail. The solution was easy. The bracket mounting hole nearest the firewall clears the frame rail. The forward bracket mounting hole does not, but only by 1/4". It hits the nearby sheet metal, which has nothing else in the way. So, I drilled a 1/4" hole in the sheetmetal stopping the bracket from moving downward and then used a grinding bit on my drill to smooth it out. Yes, I applied black enamel paint to the small cutout to keep my precious E9 rust-free. Ta-da!

