My '74 Air Conditioning Repair Quest

//My5UV

Member
Messages
38
Reaction score
22
Location
Austin, TX
Back in February I pulled the dash to replace the radio with a Retrosound unit, so as long as I was in there I sent the clock out for repair and replaced the instrument panel lights with LED bulbs following coupesport's thread from December.
So since it was open I could easily see how the temperature control was installed and wired and check for leaks in the refrigerant lines. All the R12 had leaked out a long time ago so I was able to pressure test the evaporator with nitrogen separate from the rest of the system before closing up the dash. I'm sure this will be a very easy project that will totally not take 6 months...
I pressure tested the compressor and its lines and they seemed fine, so I tested the condenser and its lines and found it was leaking somewhere.
So that was the excuse to replace it with a modern one with a couple new lines and the electric aux fan with it. I found a direct replacement for the drier so everything seemed like it would work out. I blasted flash flush through the lines I didn't replace and the evaporator before I learned you really shouldn't do that although my expansion valve seemed to survive. This is some nasty chemical. It's probably the first time in my life I've actually used safety goggles and gloves. I did get a bit of a nosebleed later, but that's probably just a coincidence. The compressor turned without much resistance so that seemed fine too.
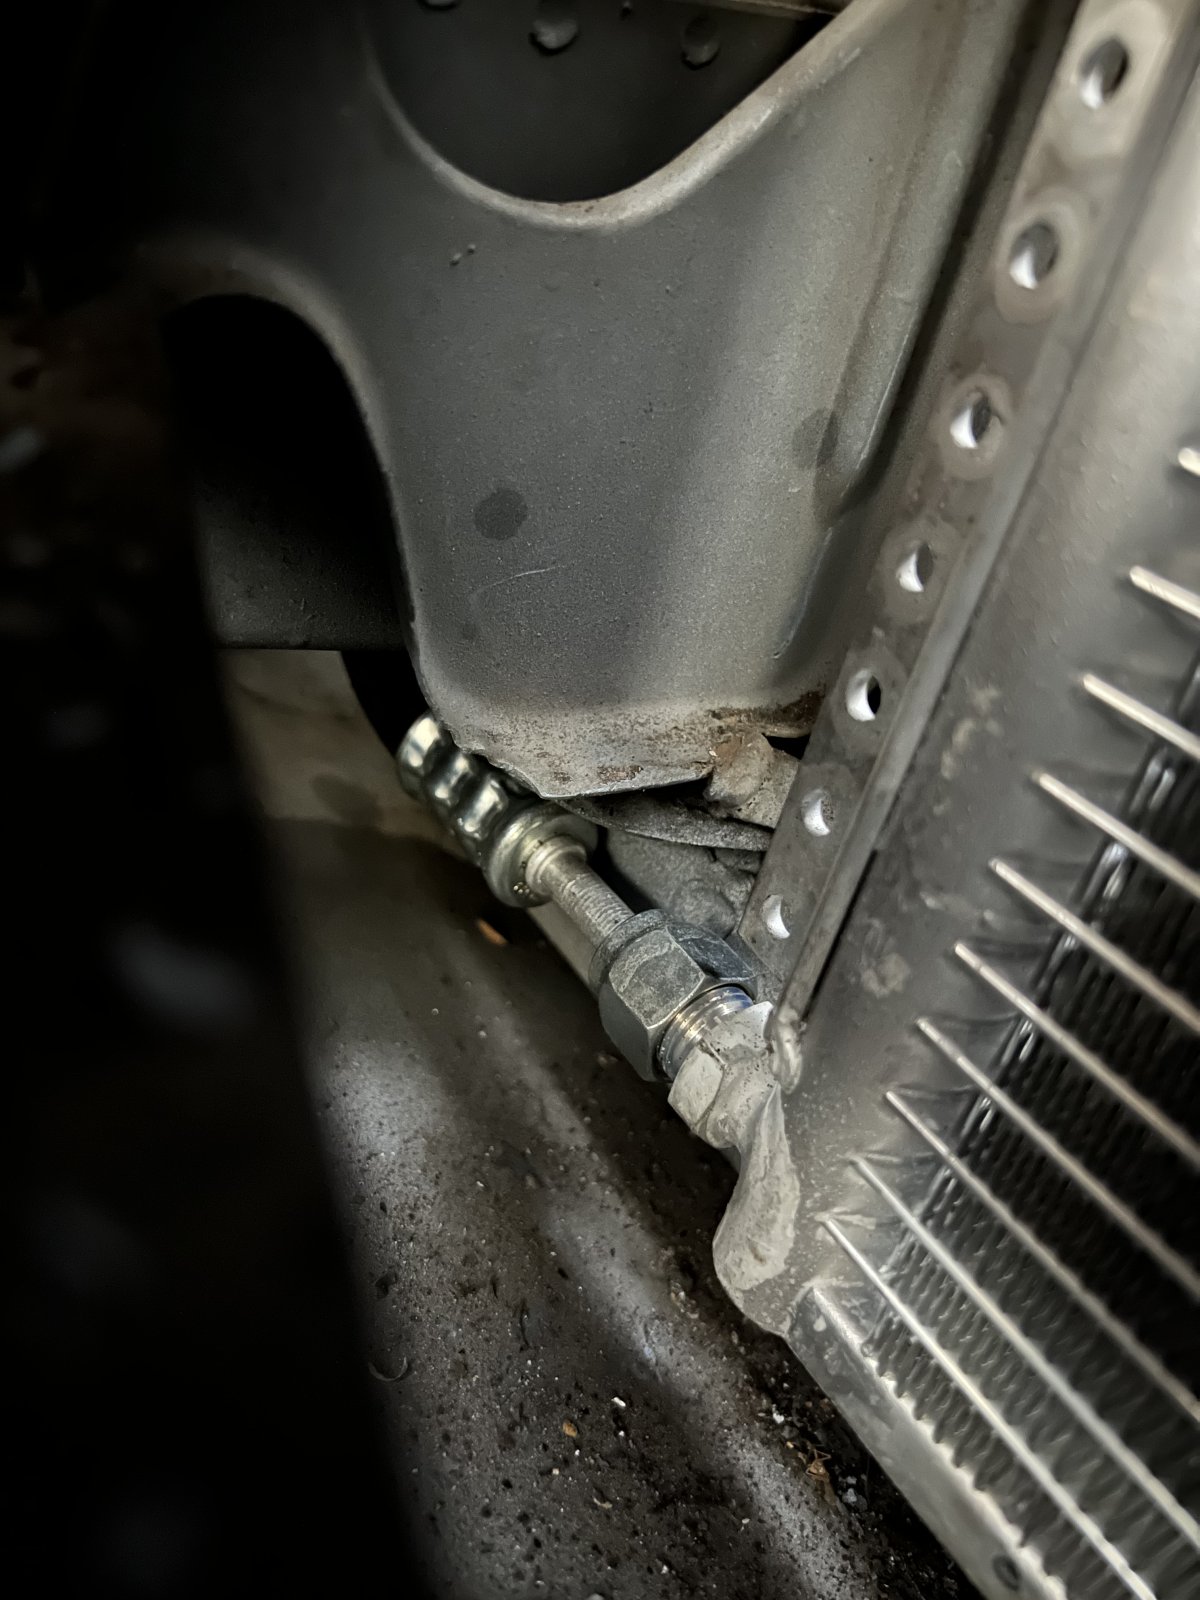
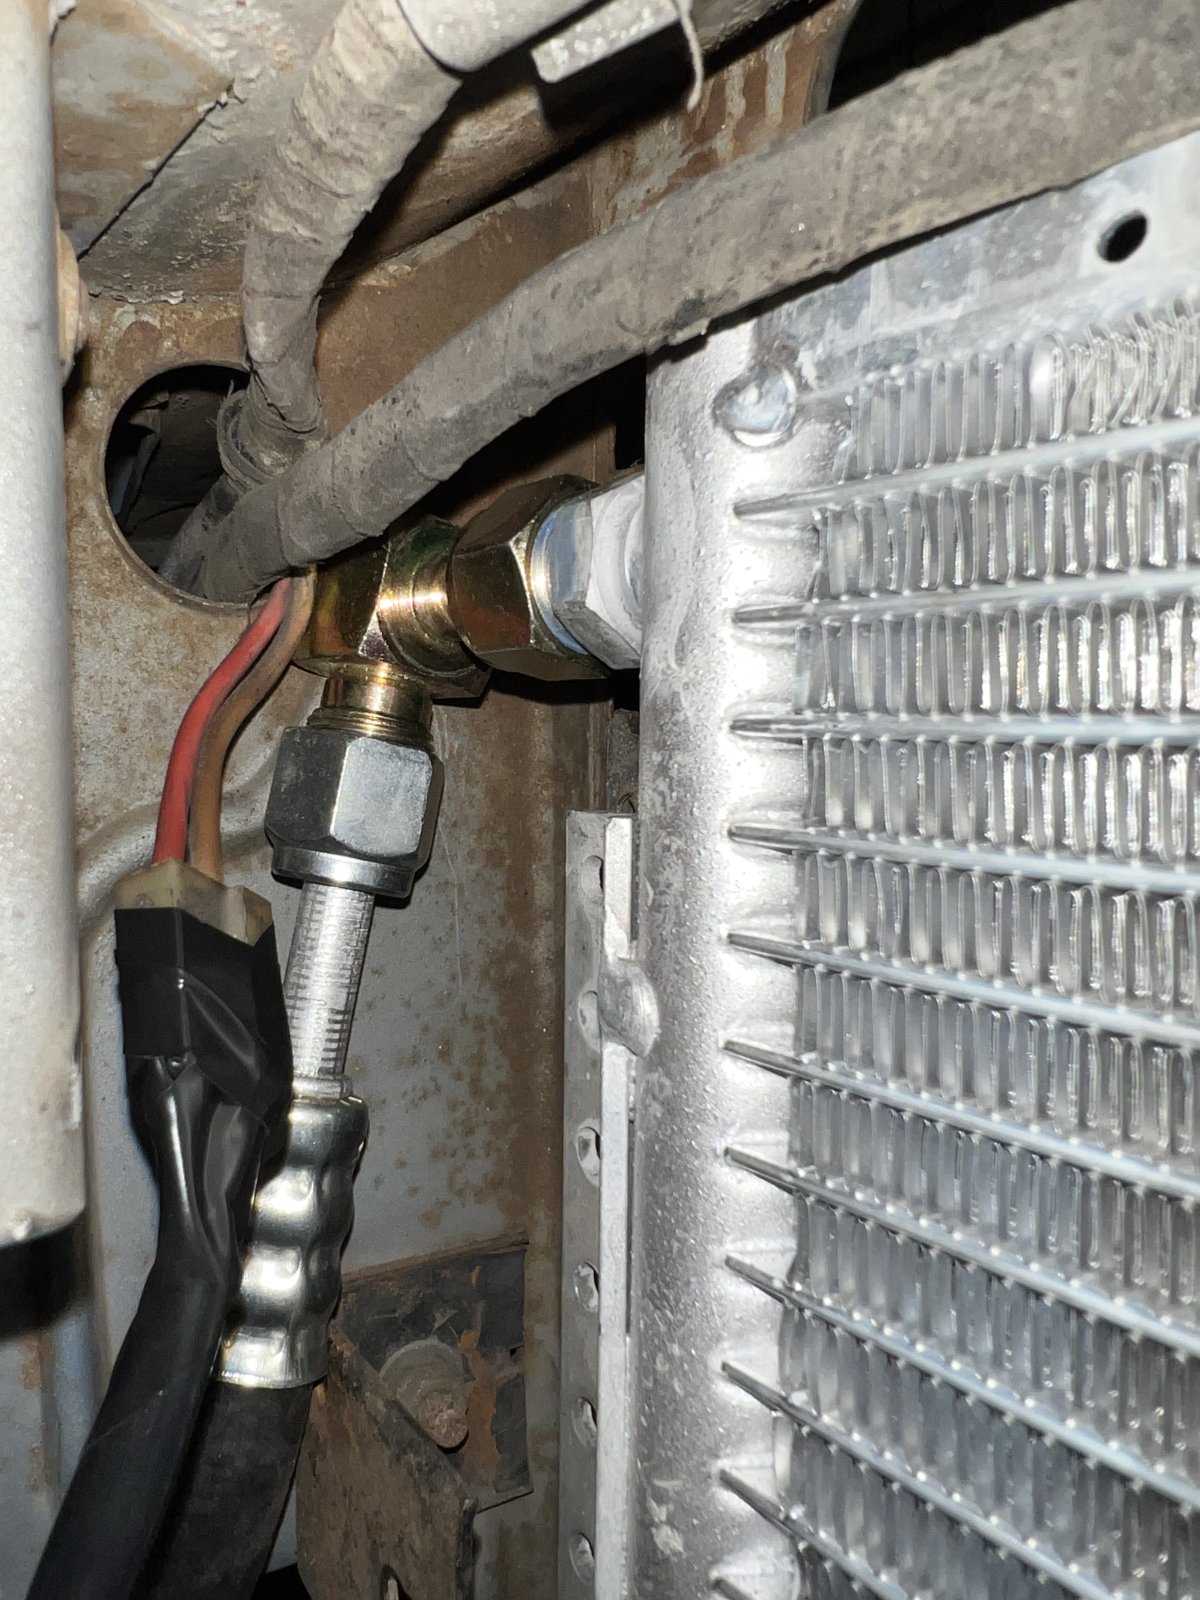
I put a R134 fitting set on the low pressure port that was already on the line between the evaporator and compressor and on a new port I spec'ed on the new line between the compressor and condenser. The consensus 16x20 size for a condenser that fits was backordered so I got a 16x22. Before ordering hoses I set it in place and decided the output port would be a straight shot out the side at the bottom but the top port would need a 90 degree adapter. If I had it to do over I would have skipped the adapter because it was bulkier than just putting a 90 degree fitting on the end of a hose. It was a really tight fit but it worked after a sufficient number of four letter words.
IMG_2592.jpeg

IMG_2591.jpeg

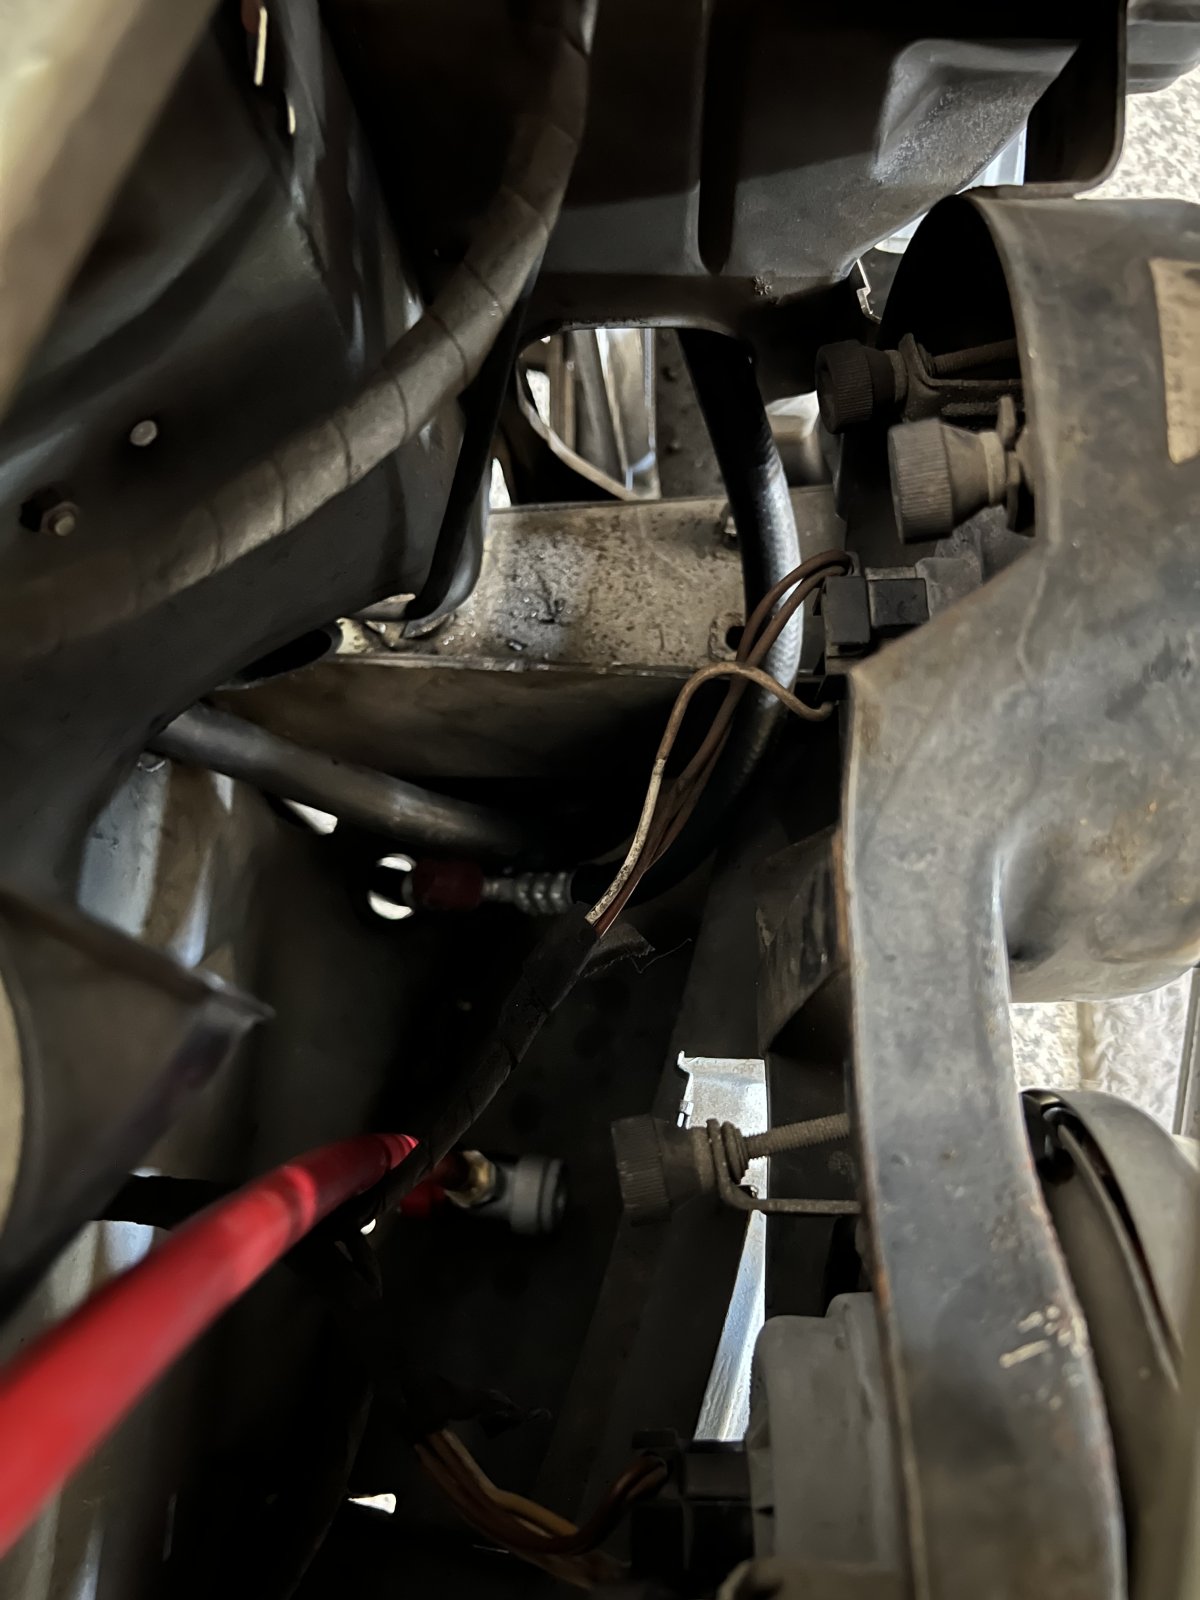
My other great revelation was that the high pressure port should be several inches closer to the condenser instead of the middle of the hose, but I can still reach it easier than the discharge port on the compressor!
IMG_2590.jpeg

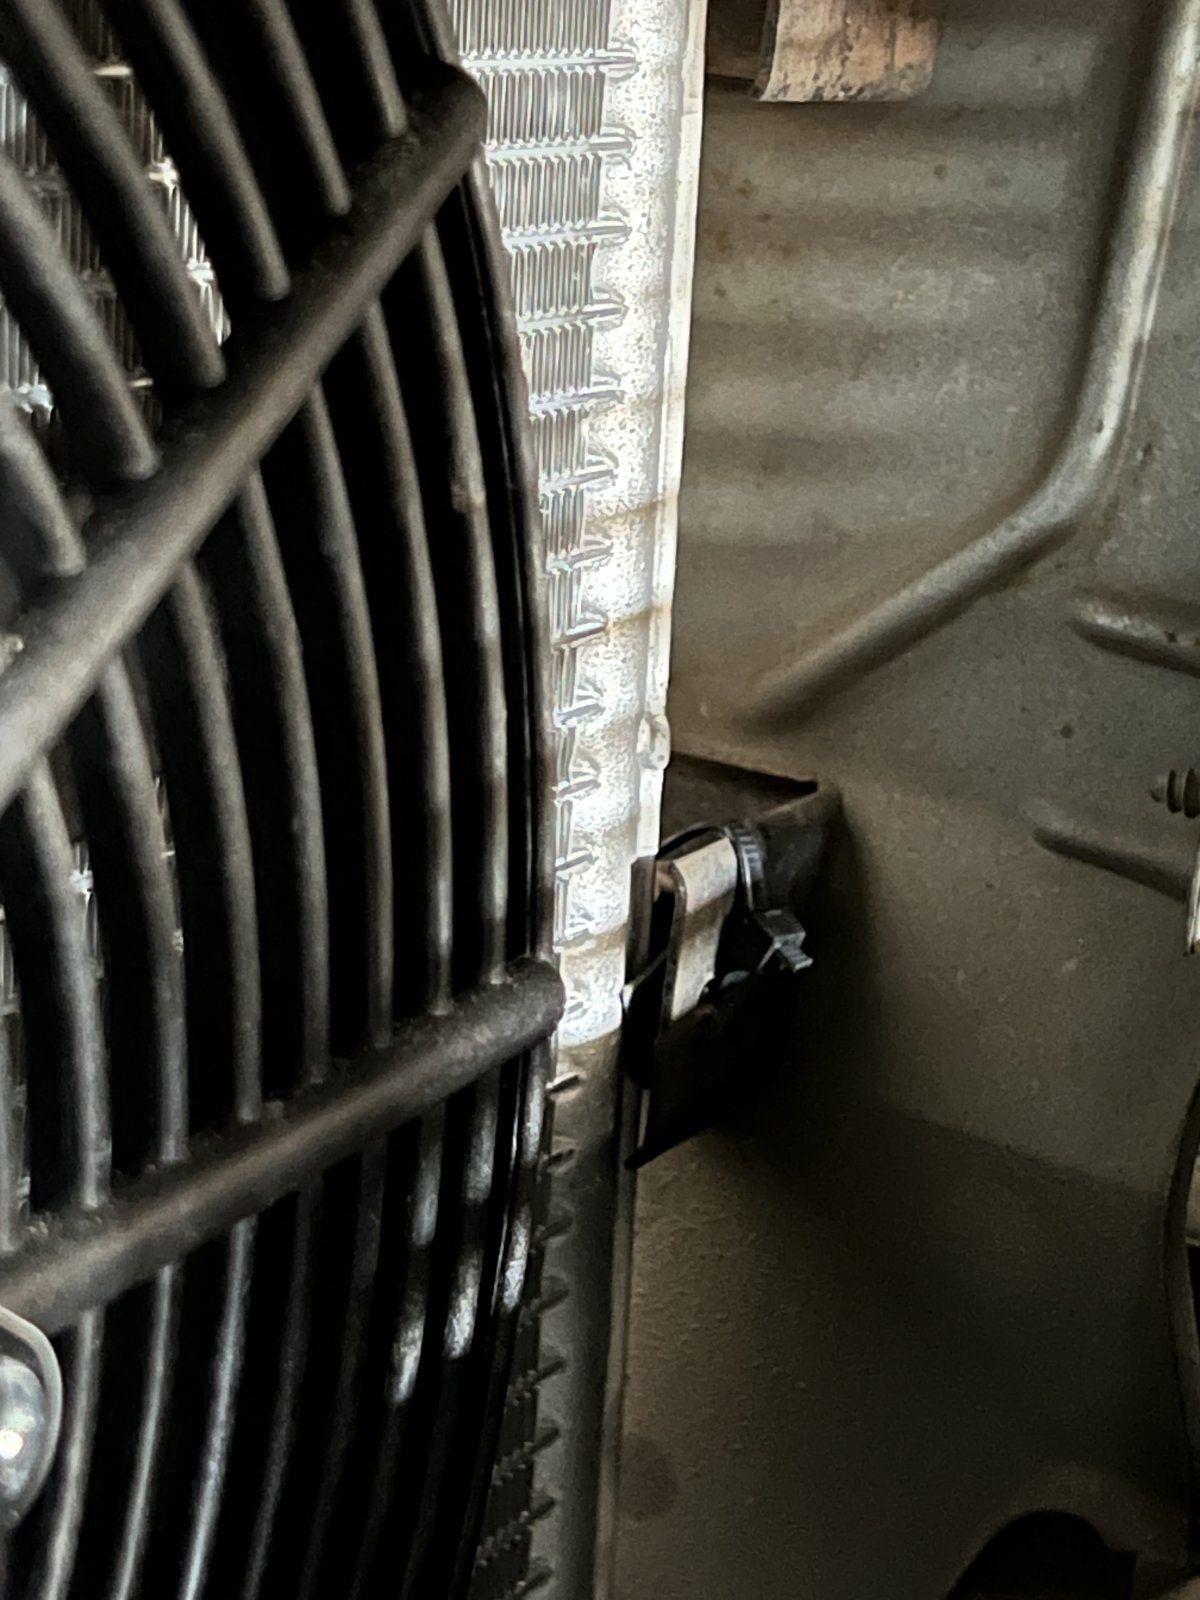
The original bolts that held the condenser in place were too large for the new one, so I decided that some rubber spacers and zip ties were Good Enough and still prevent any metal to metal contact anywhere.
IMG_2595.jpeg

Same for attaching the new electric fan to the condenser. Some standard crimp-on male spade connectors plugged right into the factory aux fan connector and I correctly guessed the polarity from the colors.
 
After hours of cleaning the bottom half of the engine I decided it was a good time to replace the valve cover gasket but I could now see the bolts that held the compressor in place and pulled that so I could drain it and put in new universal oil. Sadly the harness connecting the compressor to the dash had no disconnect so the compressor stayed tethered to the car but I had enough slack to support it with a wood block ahead of the front tire. My Bosch compressor has a drain plug on each side. (The brass screw on the back is not a drain plug, it's some sort of pressure calibration, whcih I suspected from reading other posts so I could count the number of turns and put it back where it started.) I opened one plug to drain it and poured new oil in the suction port until the new stuff started coming out and turned the pully until more new oil started spurting from the discharge port. I kept track of the net oil in it so I could top it up from the other drain plug while it was on its side.
I closed the compressor up and reinstalled it and all the lines. I pressurized the system with nitrogen again and had a leak so I put in new copper flare washers in all the fittings I had touched and accidentally found that there was still flush fluid in the evaporator which seemed to eat the brand new Schrader valve core in the low side R134 fitting. More flushing with nitrogen and new valve cores and eventually it held 60 PSI for a couple days. After that I finally felt comfortable putting the radiator back in, thoroughly trapping the new condenser, although with the headlight trim out I could still reach in to tweak things. I had hoped to see the fan blowing the correct direction but turning on the AC didn't make it go. I'm sure that won't be a problem later...
I went to pull a vacuum on the system. I had done this on just the evaporator before so I thought it would be easy but my Amazon vacuum pump wouldn't draw more than a couple inches. Weird. I assumed the pump had somehow gone bad so I ran into town to get another from Harbor Freight. Same problem! I disconnected the hose at the pump and it sounded better and instantly pulled against a finger on the port. Tried putting the hose back on the pump and disconnected from the gauge set and it wouldn't pull vacuum!? Tried again with another hose and it still wouldn't work!? I eventually figured out that the hoses I was using have one way valves to keep them from leaking refrigerant pressure. Luckily some hose I had happened to have a little plastic sleeve in it I could borrow to hold the valve open and I was in business, drawing 30+ inches of vacuum for the requisite 10 minutes and holding it for awhile more while I topped off the coolant.
I ran the engine a bit with the cap loose and was pleased to see the bubbles from the bleed hose eventually stop and closed the cap. At long last I could charge the system!
Tapped the first can of R134 with my gloved hands, stuck a thermometer in the AC vent and turned the temp to coldest with the fan control on max. I think I heard the compressor clutch engage, curiously didn't see the aux fan start but assumed it was a temperature thing and went ahead and slowly opened the low side valve on the gauge set. I was rewarded with the low pressure rising to 30~40 PSI and the high side up above 100, and used a free hand to hold the throttle open to get the specified 1000 RPM which brought the low pressure down to 30 as instructed. It was slow going but the can did get lighter and the thermometer in the vent dropped to under 60F in the 90F heat of the shaded garage. The can felt empty so I tapped the second one and it eventually seemed to stop discharging into the system so I decided it was time for a test drive to Sonic.
I had previously encountered vapor lock on hot days so wasn't too surprised when I had trouble going uphill and it seemed happier when I engaged my auxiliary electric fuel pump, but with the oil pressure light stuck on I didn't want to press my luck and went back to the garage. After an hour of trouble shooting the oil light (my new LED bulb was shorting so it ignored the pressure switch) the low and high pressures had equalized around 90 PSI. I worried that my expansion valve had been damaged by the flush as I no longer was getting any cooling! With everything put back together, replacing the valve would be a major PITA but I also noticed that I was not hearing the compressor clutch click on, and there was that dead fan too, but I was out of time for the day.
I decided that an electrical problem was both easier to diagnose and fix so I hoped that would be the problem. I started with the easiest problem: the compressor clutch. Disconnected the diode that couples it to the coolant temp switch and applied 12V from the battery through my ammeter and heard a satisfying thunk with just 3 Amps of current. Google told me that was well in the typical range so I bit the bullet to open the radio panel and check the temperature knob. Dead open. I hotwired across it, heard a nice thunk, ran the engine and glorious cold air came forth again. OK, ordered a new one from Amazon. Reconnected the line from compressor clutch to the aux fan diode and the fan remained dead. The wiring diagrams I found for a 74 insisted that the aux fan relay should be near the drier, but mine definitely is not. I eventually found it right next to the battery connected through what I have seen described as a 20A fuse link. Checked voltage and both sides of that link have battery voltage. Turned the AC fan on and the relay clicks, but still the fan remains dead. Curious. Checked voltage at the fuse link and it drops to 0 when the relay engages. Relay off, 12V!? I bypassed the fuse link with my ammeter and everything works fine with just 8 Amps of load. Weird. Added a new 20A inline fuse holder to the Amazon cart.
While investigating the diode and relays I realized my battery negative terminal lead was both not original and not in great shape so I added a new one to the Amazon cart too.
I knew that getting the thermostat probe into the evaporator was a pain even with the vents out of the dash so I added a cheap borescope to the Amazon cart.
The new thermostat, borescope, and negative lead arrive but not the fuse holder so I just grab one from Autozone on the way to the shop. Sadly the new thermostat shaft doesn't have the same threads as the original but one brass nut instead of the nice chrome one isn't the end of the world. A bigger problem is the probe doesn't fit in the little brass grommet so I grab my pliers and squish it so it does fit. Connected everything, turned it on and... nothing. I seem to have killed my new thermostat. Hotwired across it and finally everything clicks.. aux fan runs, compressor engages, cold air pours forth! I make my triumphant drive to Sonic, occasionally firing up the aux fuel pump to keep things running and order yet another thermostat. Not sure if it was my mechanical intervention or if the 3A compressor clutch load is just too much for the new thermostat I go belt and suspenders, adding a relay to control the compressor clutch and decide to simply yank that brass grommet so the probe with fit unmolested.
Turns out it is much more than just a grommet... it's actually a nice guide piece that plumbs all the way to the core of the evaporator. Well.. I don't have that anymore. But I have working AC. And a bunch of fuse holders, two vacuum pumps, and lots of other new tools.
I'm still bothered by the stumbling when the engine gets hot. I have decided to apply maximum ridiculous to it and have just received a data logging oxygen sensor with extra channels for a new inline fuel pressure sensor, coolant temp sensor, and the thermostat voltage. I'm sure it's not just a dumb issue like fuel sitting in a car that didn't run for 5 months...
 
Perhaps this list of stuff I found will be of some use to somebody else in the future:
Tools:
Rob's Book (has all the details I don't go into about doing this without killing someone)
Manifold Gauge Set (you'll blow something up if you use it wrong)
AC Flush Kit (you'll go blind if you use it wrong, needs shop air)
R134 hose to 3/8 NPT adapters (allowed me to add various NPT to flare fitting adapters for pressure testing hoses and components)
Pinch off pliers (lets you keep most of the coolant in the engine when you remove the radiator)
Borescope
Measuring Cups (for knowing how much oil you dump out, not counting what you spill)
Nitrogen Regulator Valve (you can probably injure yourself with this, too)
Vacuum Pump (smokes a little if you run it for an hour with the ports sealed. Don't breath that)

Parts:
Battery ground strap (OEM style)
Thermostat (fails when abused)
Relay
Rubber Spacers
Aux Fan
#6 Copper Flare Washers (evaporator low side)
#8 Copper Flare Washers (compressor discharge line and drier fittings)
#10 Copper Flare Washers (suction line)
Thumbscrews for covers above the headlights (not the original white but look better than rust)
R134 conversion quick connect fittings (there are probably better ones)
Custom hoses
16x22 Condenser (probably too wide but they don't make a 21 inch)
Drier (keep this sealed until everything else is back together)
 
Last edited:
The one thing I would add to the list - if your drier permits - is a trinary pressure switch for safety, preventing too high or too low pressure in the system and protecting the compressor.
 
I should have thought of that, good tip for next time! I also need to fix the washer size on the drier. For some reason it has #8 fittings and #6 hoses
 
I should have thought of that, good tip for next time! I also need to fix the washer size on the drier. For some reason it has #8 fittings and #6 hoses
the good news about the pressure switch: you do not need to open up your pressure lines. You put the switch into the drier, and connect your wiring accordingly, as it is essentially an upgrade to your electric circuit.
 
I am using this pressure switch 3/8'' 24 UNF male insert

1788290196595.png
 
My new one is a Mercedes part with smaller threads than that. It was a direct replacement for how the refrigerant lines were routed in my car and I hadn't thought about adding a switch. I am curious how it works without being exposed to the gas pressure... I guess there's a little piston in the drier that pushes on the switch?
 
that is a question for Gemini:

1. How it Mounts (The Schrader Valve)​

The switch features internal threads and screws directly onto a port on top of the receiver-drier. Inside that port on the drier, there is almost always a Schrader valve (similar to a tire valve stem).

  • Mechanic's Tip: Because of this Schrader valve, you can usually unscrew and replace a bad pressure switch without having to drain the refrigerant from the system. As you unscrew the switch, the valve snaps shut and seals the gas inside.
 
That makes sense...not what I have, so I'll probably just wait and add one to a new hose port if I ever get a leak... or maybe I can find one that goes on an r134 high side port...
 
Back
Top