

//My5UV
Member
Back in February I pulled the dash to replace the radio with a Retrosound unit, so as long as I was in there I sent the clock out for repair and replaced the instrument panel lights with LED bulbs following coupesport's thread from December.
So since it was open I could easily see how the temperature control was installed and wired and check for leaks in the refrigerant lines. All the R12 had leaked out a long time ago so I was able to pressure test the evaporator with nitrogen separate from the rest of the system before closing up the dash. I'm sure this will be a very easy project that will totally not take 6 months...
I pressure tested the compressor and its lines and they seemed fine, so I tested the condenser and its lines and found it was leaking somewhere.
So that was the excuse to replace it with a modern one with a couple new lines and the electric aux fan with it. I found a direct replacement for the drier so everything seemed like it would work out. I blasted flash flush through the lines I didn't replace and the evaporator before I learned you really shouldn't do that although my expansion valve seemed to survive. This is some nasty chemical. It's probably the first time in my life I've actually used safety goggles and gloves. I did get a bit of a nosebleed later, but that's probably just a coincidence. The compressor turned without much resistance so that seemed fine too.
I put a R134 fitting set on the low pressure port that was already on the line between the evaporator and compressor and on a new port I spec'ed on the new line between the compressor and condenser. The consensus 16x20 size for a condenser that fits was backordered so I got a 16x22. Before ordering hoses I set it in place and decided the output port would be a straight shot out the side at the bottom but the top port would need a 90 degree adapter. If I had it to do over I would have skipped the adapter because it was bulkier than just putting a 90 degree fitting on the end of a hose. It was a really tight fit but it worked after a sufficient number of four letter words.
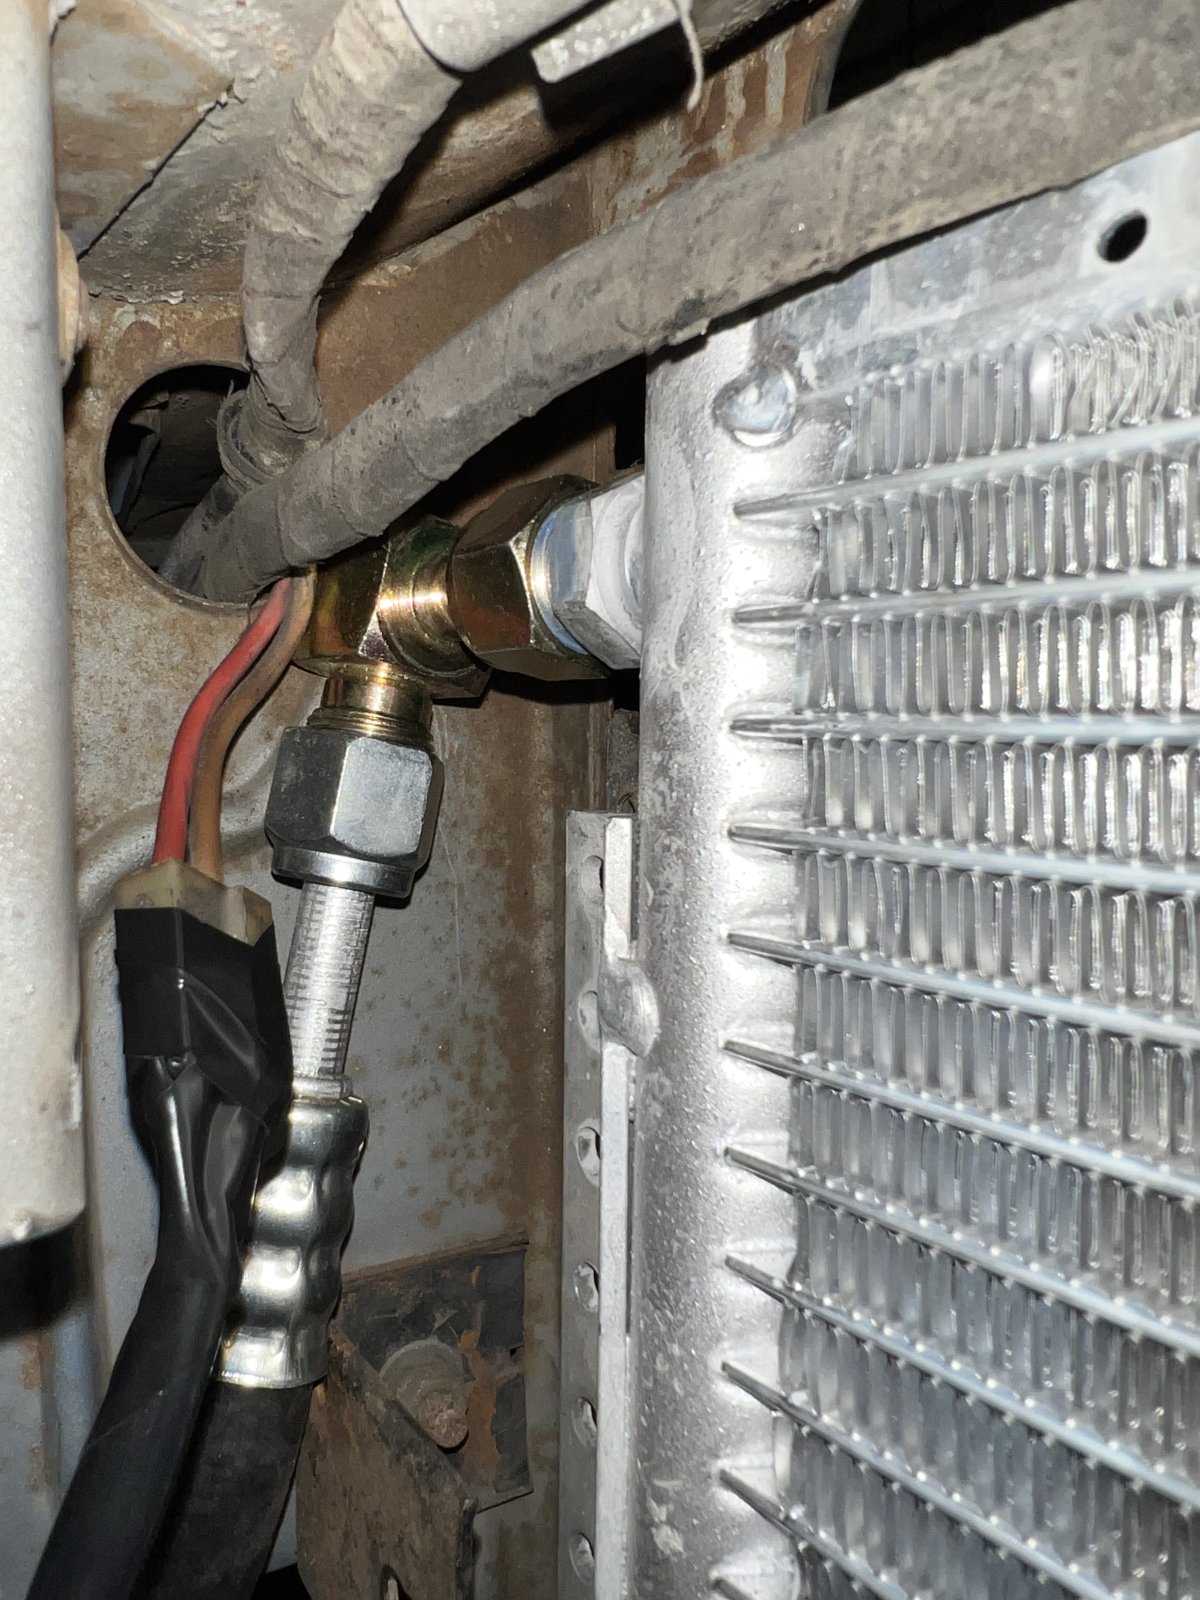
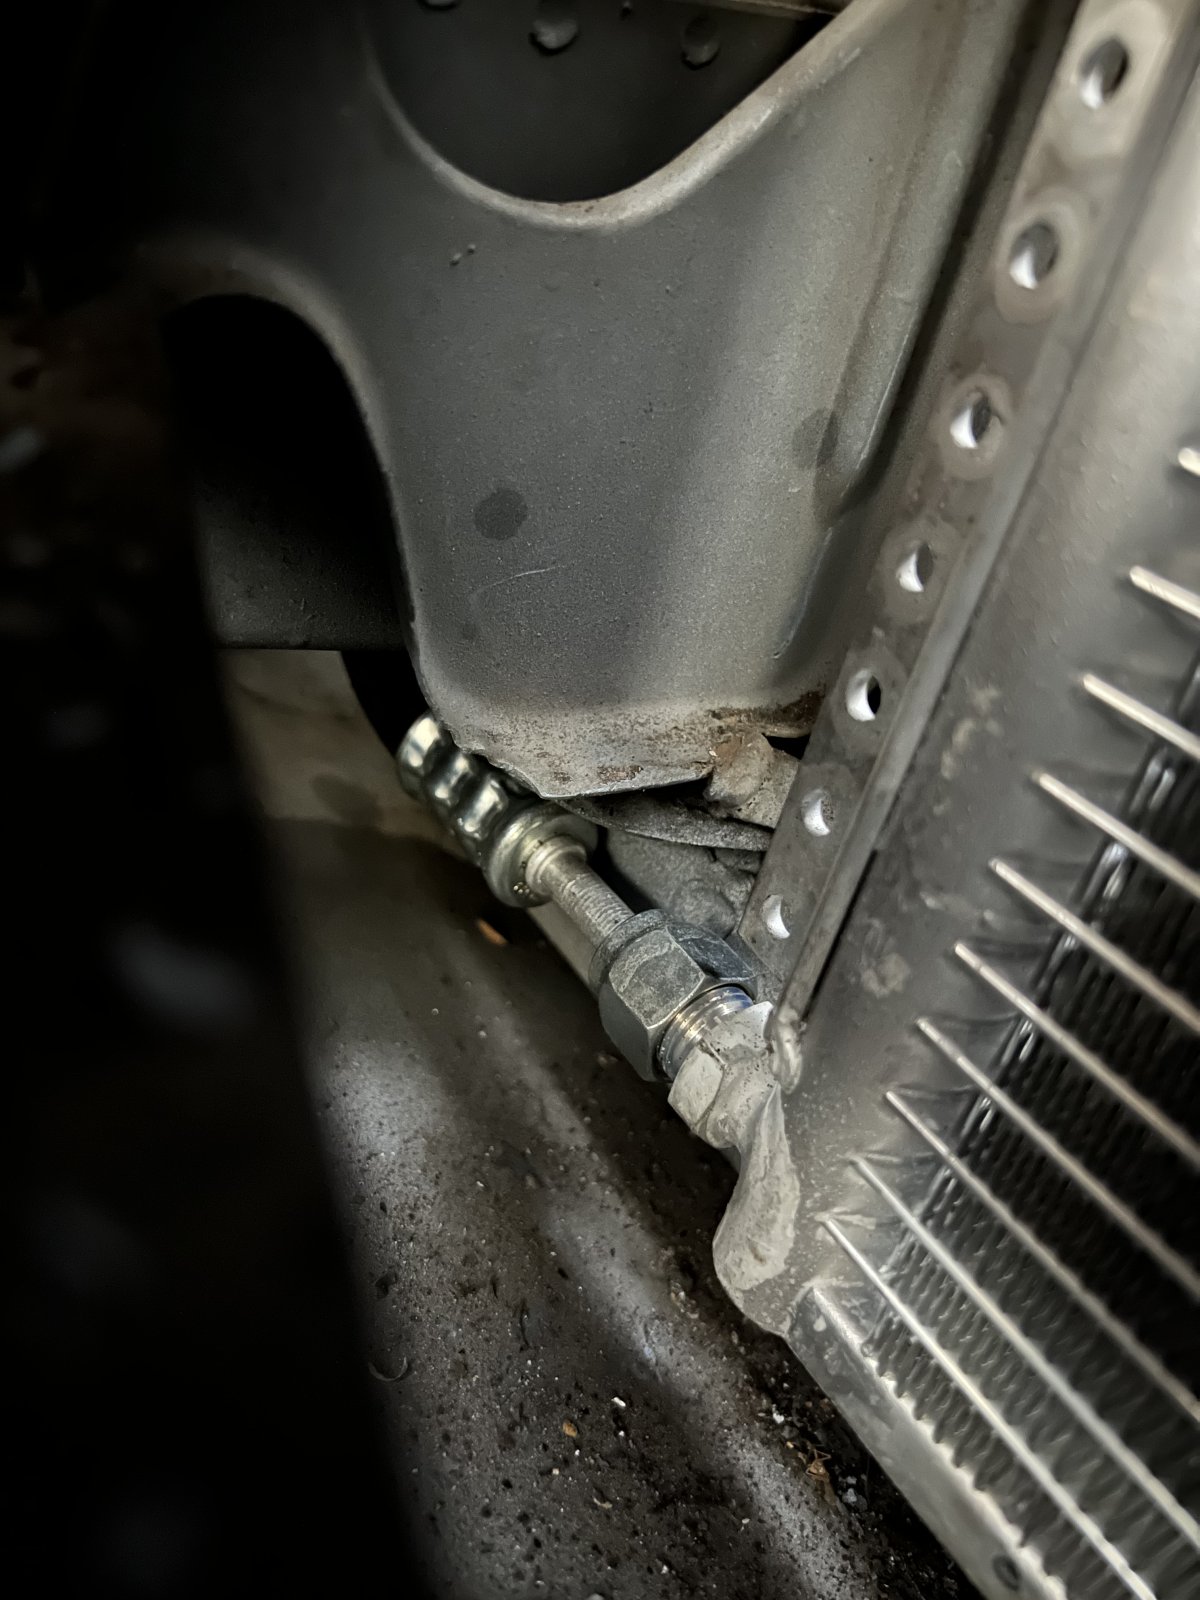
My other great revelation was that the high pressure port should be several inches closer to the condenser instead of the middle of the hose, but I can still reach it easier than the discharge port on the compressor!
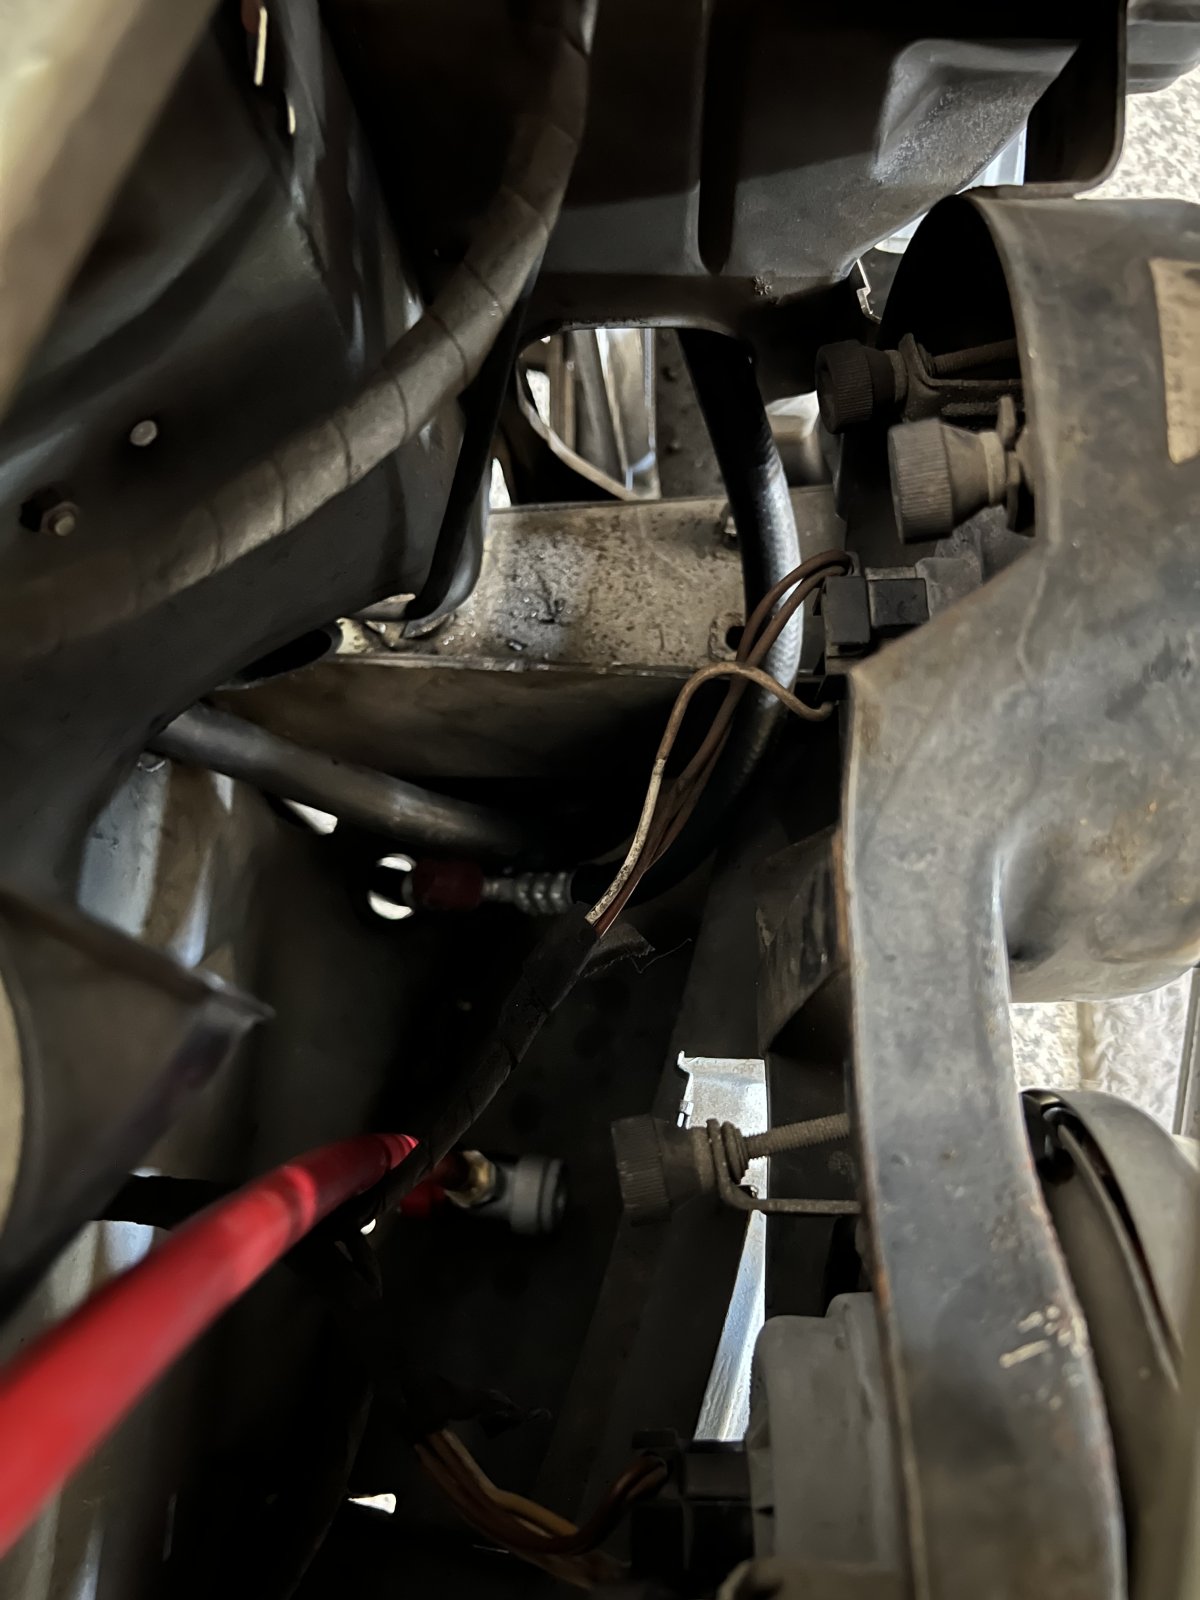
The original bolts that held the condenser in place were too large for the new one, so I decided that some rubber spacers and zip ties were Good Enough and still prevent any metal to metal contact anywhere.
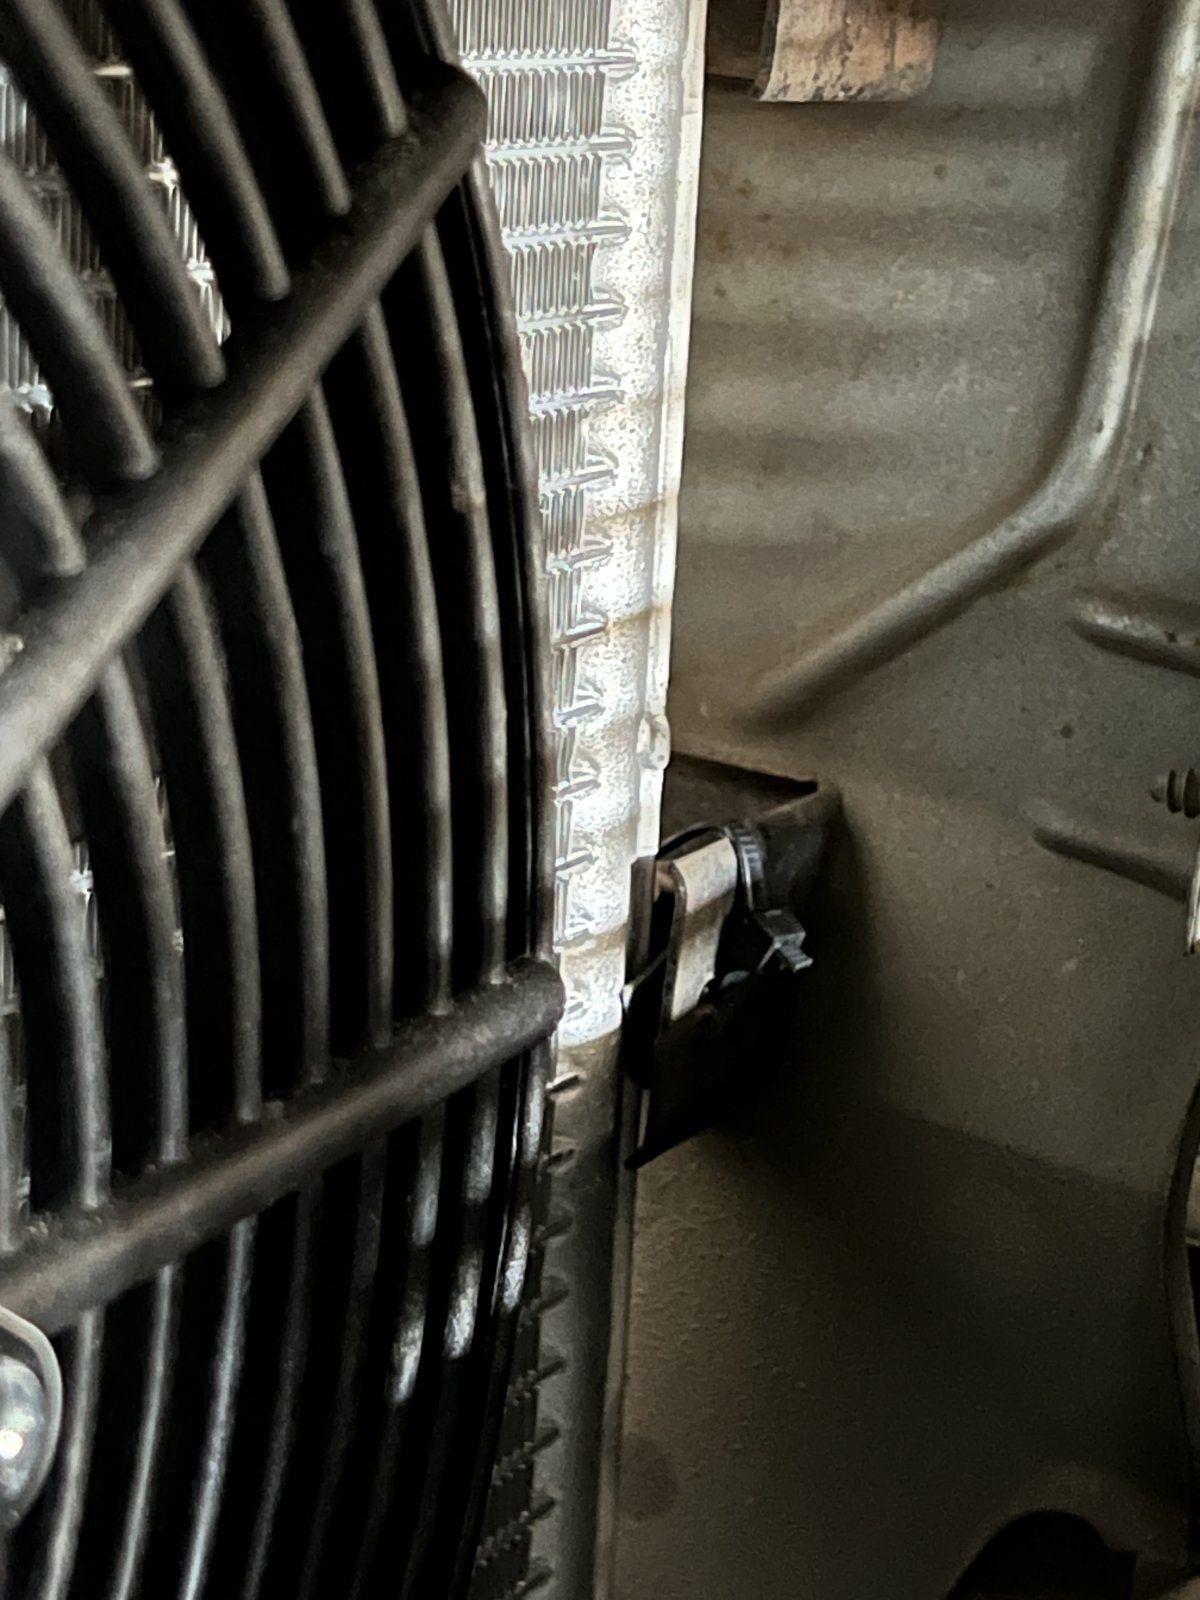
Same for attaching the new electric fan to the condenser. Some standard crimp-on male spade connectors plugged right into the factory aux fan connector and I correctly guessed the polarity from the colors.
So since it was open I could easily see how the temperature control was installed and wired and check for leaks in the refrigerant lines. All the R12 had leaked out a long time ago so I was able to pressure test the evaporator with nitrogen separate from the rest of the system before closing up the dash. I'm sure this will be a very easy project that will totally not take 6 months...
I pressure tested the compressor and its lines and they seemed fine, so I tested the condenser and its lines and found it was leaking somewhere.
So that was the excuse to replace it with a modern one with a couple new lines and the electric aux fan with it. I found a direct replacement for the drier so everything seemed like it would work out. I blasted flash flush through the lines I didn't replace and the evaporator before I learned you really shouldn't do that although my expansion valve seemed to survive. This is some nasty chemical. It's probably the first time in my life I've actually used safety goggles and gloves. I did get a bit of a nosebleed later, but that's probably just a coincidence. The compressor turned without much resistance so that seemed fine too.
I put a R134 fitting set on the low pressure port that was already on the line between the evaporator and compressor and on a new port I spec'ed on the new line between the compressor and condenser. The consensus 16x20 size for a condenser that fits was backordered so I got a 16x22. Before ordering hoses I set it in place and decided the output port would be a straight shot out the side at the bottom but the top port would need a 90 degree adapter. If I had it to do over I would have skipped the adapter because it was bulkier than just putting a 90 degree fitting on the end of a hose. It was a really tight fit but it worked after a sufficient number of four letter words.
My other great revelation was that the high pressure port should be several inches closer to the condenser instead of the middle of the hose, but I can still reach it easier than the discharge port on the compressor!
The original bolts that held the condenser in place were too large for the new one, so I decided that some rubber spacers and zip ties were Good Enough and still prevent any metal to metal contact anywhere.
Same for attaching the new electric fan to the condenser. Some standard crimp-on male spade connectors plugged right into the factory aux fan connector and I correctly guessed the polarity from the colors.
