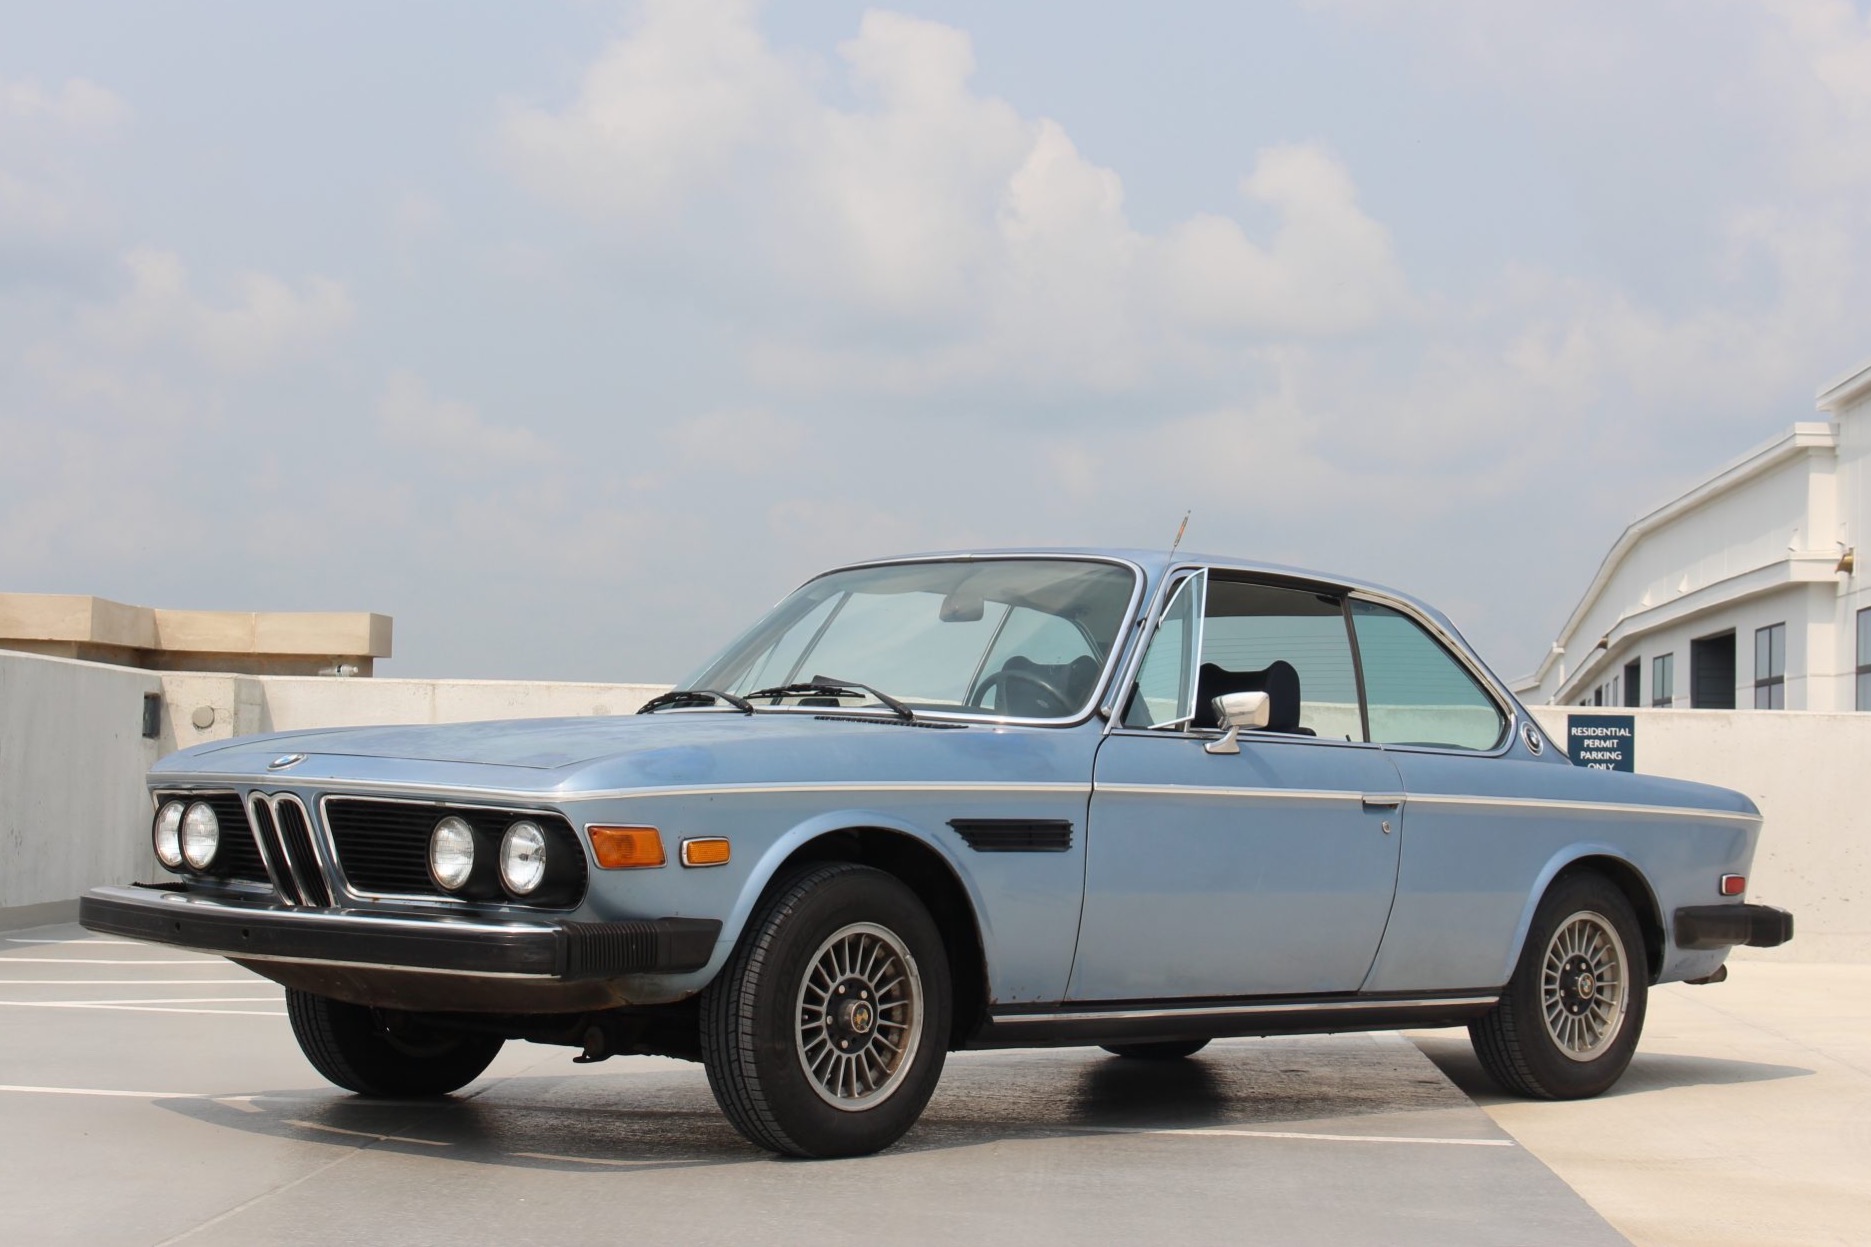
Image 8695 bares repeating. Note just how dark the un-UV damaged Fjord blue paint is. This shadow line is from the rubber accordion side cover protecting this paint for the past 48 years.

You are using an out of date browser. It may not display this or other websites correctly.
You should upgrade or use an alternative browser.
You should upgrade or use an alternative browser.
Patricia A. Mayer's 3.0 CS / Paul Cain's Fjord project / The 300 mile Test Drive / VIII / Final Punch List
- Thread starter paul cain
- Start date
-
- Tags
- restoration list
Paul, how are you going to handle the inside of the trunk (the 74 and later reinforcing “sail” panels?
John
John
I am going to leave them intact. It’s only a few pounds and they do contribute to the unibody’s overall rigidity.
After that he’ll have to put the hood grilles on then drink a cold one
Steve - I laughed out loud at that comment, because I knew it was absolutely true.
In the late '70's, I was in Munich on business, and had a half day of leisure time, so - owning an e3 and an e9 at the time I arranged a factory tour at the BMW plant. From the assembly line through the engine assembly area, etc. every work station had a bench almost within arms reach of the workers station with an open beer bottle on it. In case any of you have found some error or part mis-alignment in your e-9, you shouldn't necessarily blame it on the PO, it could just have been assembled at the end of the day in Munchen!!
Fast forward to tours I took of both a Mercedes C class and a VW Phaeton plant in Germany about 5 years ago, and there was no alcohol to be seen anywhere.
Gary
From the assembly line through the engine assembly area, etc. every work station had a bench almost within arms reach of the workers station with an open beer bottle on it.
“Was als Nationalgetränk der Deutschen gilt, ist in Bayern Grundnahrungsmittel – das Bier, auch „flüssiges Brot“ genannt. Kein Wunder, dass zu einem traditionellen bayerischen Weißwurstfrühstück, neben süßem Senf und einer Brezen, das Weißbier nicht fehlen darf.”
Translated: “What is considered the national drink of Germans is a staple food in Bavaria - beer, also known as“ liquid bread ”. No wonder that a traditional Bavarian veal sausage breakfast, along with sweet mustard and a pretzel, should not be missing a wheat beer. "
Has anyone done a study of the quality of E9 production by build date correlated to the outcome of Bayern Munchen matches the day before? I have a feeling both major victories and stunning losses might have contributed to the care and attention found in construction.
Imagine restoring Leonardo's The Last Supper mural to its original color...Image 8695 bares repeating. Note just how dark the un-UV damaged Fjord blue paint is. This shadow line is from the rubber accordion side cover protecting this paint for the past 48 years.
Converting the shifter consoles from automatic to stick shift. 11 simple steps:


Pinstripe inc.
Well-Known Member
Wonderful background story. How did you discover the car? One owner, numbers matching 3.0cs, must be extremely rare by now. Congratulations.awesome time capsule! But I whole heartedly agree w/your plans for the car.
Pinstripe,
It was hidden in broad daylight:
 bringatrailer.com
There were actually two long term owners. I am still working on building the provenance book. I can now confirm that Patricia A. Mayer (original owner) was an avid water skier - into her seventies! This is going to be an interesting story.
It was hidden in broad daylight:
No Reserve: 1974 BMW 3.0CS
Bid for the chance to own a No Reserve: 1974 BMW 3.0CS at auction with Bring a Trailer, the home of the best vintage and classic cars online. Lot #55,083.
There were actually two long term owners. I am still working on building the provenance book. I can now confirm that Patricia A. Mayer (original owner) was an avid water skier - into her seventies! This is going to be an interesting story.
Image one: the 'blast booth': we went through three types of media and ended up with a glass mix with oxide at 100 psi, using a Harbor Freight pressurized media pot.
MEDIA BLASTING IS AN EXCEEDINGLY DIRTY AND DUSTY PROCESS. This booth worked great in containing the material. It gets in every nook and cranny.
Image two: media canister with blasting on the driver side lower sills
Image three: this is the third outer structural layer with surface rust and holes. This panel gets covered by the fender. Fender gets welded to this lower edge (later).
Image four: After blasting at 100 psi. This is raw metal. Not the notch on the far left edge, with the factory spot welds. We are going to keep all of the intact metal and cut away all the compromised sections that are thin.
Image five: Example areas that are 'gone' and will be cut back and replaced.
Image six: more raw metal
Image seven: W&N patch panel at the ready. Its been rough cut on the large side and will get a lot of rust protection before it gets trimmed and welded in.
The best place to find correct shade of fjord for me was on the underside of the trunk lid, after removing the wood/elephant skin panels. Almost zero chance of any atmospheric or man made alteration there. We matched that color and it was surprisingly close to the 037 formulation from Spies HeckerImage 8695 bares repeating. Note just how dark the un-UV damaged Fjord blue paint is. This shadow line is from the rubber accordion side cover protecting this paint for the past 48 years.
The media blasting exposing the common rusty areas is not a surprise & no doubt that's the tip of the iceberg on the rocker panels. I'd have the rocker panels removed to the first layer & media blast it. Looking at the A pillar, car has definitely been driven in Ohio salt.
Betting the lower part of the car will need to rebuilt from the accent trim line down.
Betting the lower part of the car will need to rebuilt from the accent trim line down.
as they say, what you see of the iceberg is about 10% of the whole thing.
The car looks mightly clean when you got it. I can only imagine how bad #4/#5 cars that often bring $35-45k.
The car looks mightly clean when you got it. I can only imagine how bad #4/#5 cars that often bring $35-45k.
@adawil2002 following up on the comment 'will need to be rebuilt'. That won't be necessary.
See the bore-a-scope video from last month - earlier in this tread - that showed the sill inner cavities very well protected with the Ziebart waxy oil.
Today we fully opened the sardine can and we can now report the only thing inside these sills is waxy oil. Both sides are pristine. We are going to do some severe coating on the replacement panel (both sides) in a future day, for now, here is the insides.
Note the condition of the inner perforated structural sill plate. Red circle.
@paul cain, very nice.
I am extremely fortunate to have near carte blanche access to a full metal fabricating shop. All of the metal work will be completed at this facility. While Elbert is cranking away on panel replacements, I spent 5 hours today fitting the rear bumper precisely to this body. The first dry fit was completed 3 weeks ago. Today the bumper went on and off ~7 times to make all the hardware, gap adjustments and tuning the bumperettes to the lower valance. At first glance image seven does not look like much, but this is after many dry fits and getting the gaps perfectly even to the body.
Image one: about two hours to fix all the threaded bosses and nuts welded to the insides of these bumper parts. All the new nuts welded in place are now stainless
Image two: first test fit with the bumperette fitted to the bumper and presented to the valance. Note the blue lines and arrows indicating high spots that need to be removed to achieve two things: 1) flush to the body and 2) totally squared off and aligned from the rear view. lots of measure before grinding as they are all compound curves.
Image three: second install after grinding the high spots away, we are closer to a squared up part
Image four: Bumper end with the mounting tab out of position, note the arrow as a reminder which direction to bend once the bumper hits the floor.
Image five: Difficult viewing angle here, this is the stainless hardware holding the bumperette to the bumper, back side view. Stainless nuts welded on the inside of the
bumperette will make some mechanics job easier in 2034.
Image six: opposite side mounting tab with perfect parallel alignment
Image seven: Dry fit no. 5 left side is drooping slightly and there is a whoop-deee-do curve on the upper lip on the left side
Image eight: how to find the precise location to drill into your rear valence only once!
Image nine: this is after three passes of light grinding to get the bumper to body gap even all the way round the car
Image ten: Blue line is the grinding mark to remove more material, this is the second pass
Image eleven: starting to look very close on that gap
Image twelve: bumperettes done, one more test fit tomorrow and this bumper set can go off to the plater with "don't touch the fit'' instructions.
Awesome progress!
Ya, converting diving board bumpers is quite a feat; something to think about when purchasing an E9.
Ya, converting diving board bumpers is quite a feat; something to think about when purchasing an E9.
Patricia Mayer's fuel lines took the brunt of the corrosion. While removing the return line it crumbed instantly. So I purchased some do-mestic line for JEGS. See: https://www.jegs.com/i/JEGS/555/63034/10002/-1 This is 5/16'' = 0.3125'' = 7.9375 mm. Stock is 8mm. Being 0.0625 mm smaller than stock, I calculated my fuel flow loss and at 9400 rpm, I might start to experience fuel starvation (Ha!). This JEGS material is very soft and wonderful to work with and 25 ft is just enough to do an entire E9. About $35 to the door. I decided to make the 'feed' line in two pieces. It is simply too difficult to reinstall over the rear subframe, around the brake line, through the trunk floor, etc. So I will have one coupling just forward of the rear subframe. Install will then be minutes and not hours. All the lines are now fab'd and waiting till we finish up the welding on the lower sills.


Probably silly question...does the tubing arrive in a coil? If so it looks like it was pretty easy to straighten.This JEGS material is very soft and wonderful to work with and 25 ft is just enough to do an entire E9.