I did not find much in terms of illustrated description of how to reinstall the dashboard. There are several threads on disassembling it but not the other way around. So here is one way to do it.
The dashboard is essentially comprised of three sections: the base wood assembly, the upper foam/vinyl assembly, and the front grab bar.
Assembling of the wood section:
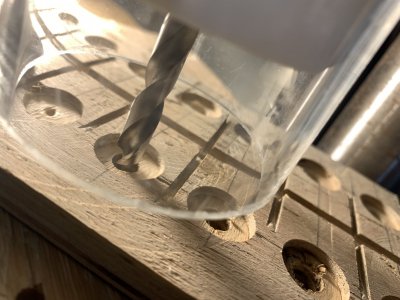
Preparing the flat deck. The Tnuts under the deck are often in very poor shape. So I made new ones
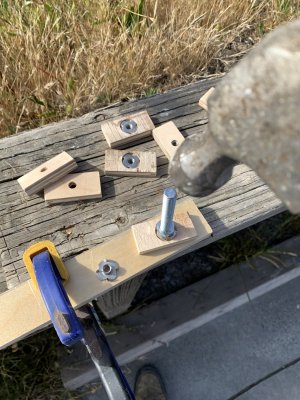
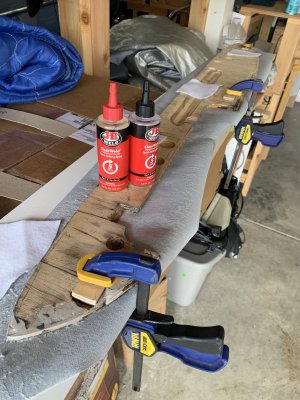
Epoxy the three Tnuts.
.
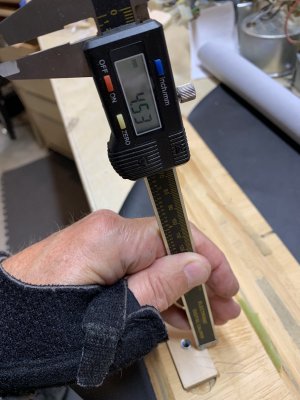
They should not stick out more than 4.5 mm from the deck height
Glue some felt in four spots as shown.
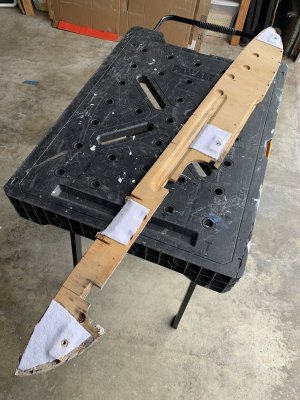
Flip the deck upside down and place it on top of the two curved wood parts. If need be (due to some gluing or repair you may have done), pre-drill the holes where the screws will go.
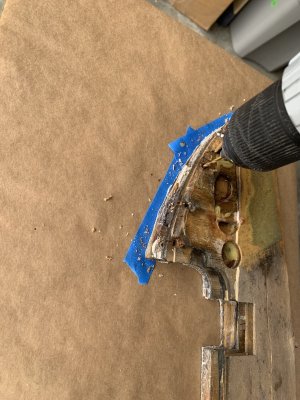
Use flathead Phillips 1 inch screws to secure the two curved pieces to the deck
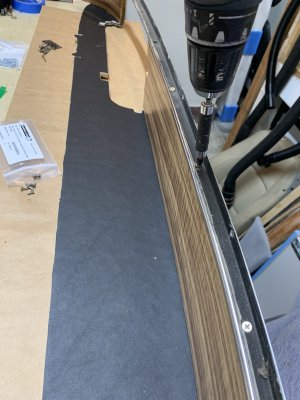
Flip the assembly over and screw the curved chrome piece on top
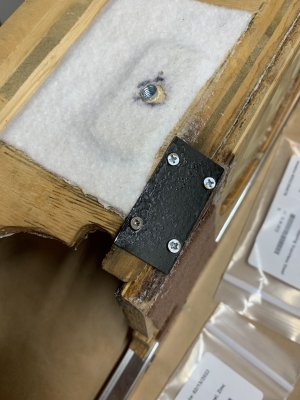
There is a small black rectangular plate that secures the deck and the longest curved piece together right in the middle. I ended up not putting it back in because it does stick out a bit and I was concerned it would hamper the fitting or cause some rattling.
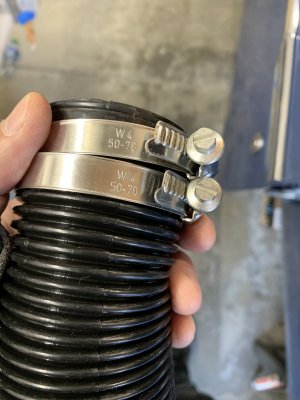
Make sure the two defroster vents are in place. Have them hooked up to the accordion tubes underneath. This will keep them up in their general position
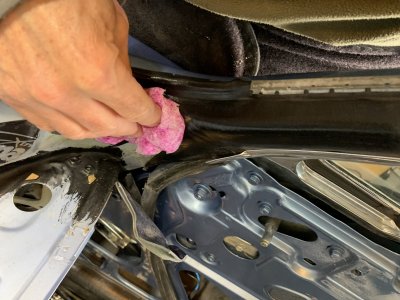
Thoroughly clean the black vinyl coming down the A pillar and anything that will soon be covered or difficult to access.
Then make sure the colored vinyl edge piece that runs down to the floor is in place because it needs to be in there before the dash goes in. In this photo, I realized this after the fact. So I had to take the dash out again to insert this piece under the vertical chrome first. Photo with correct position a little further down.
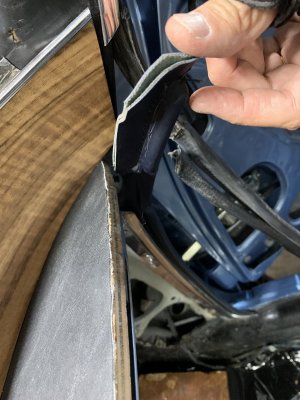
Insert the right side of the wood assembly in the car through the windshield opening first. Then tuck the left side where it is supposed to be. It really helps to point the assembly down towards the bottom of the rear seats and keep it as low as possible over the metal frame. You want to squeeze the whole thing under the chrome piece that comes down the A pillar from the roof.
NOTE: this pic is using a test dash. Not my final one
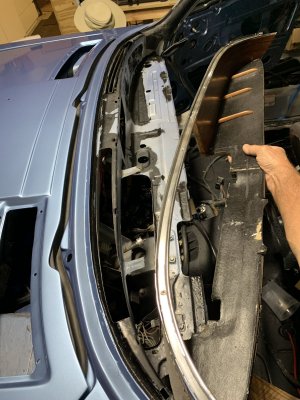
Go to the right side and very gently press the wood assembly in. Again, you have to keep it pointing down because you have to sneak your way under the chrome piece coming down the A pillar. (Note correct position of the colored vinyl trim piece)
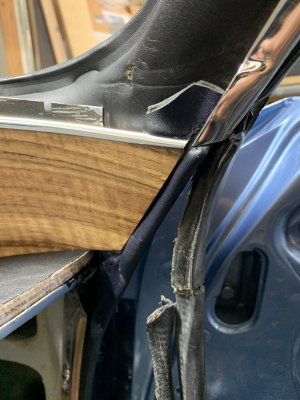
Once installed look to make sure that the holes that the cowl bolts will need to go through are perfectly aligned between the wood and the metal frame behind it. Run a test now by trying to insert an M5 bolt in there from the same angle as the ones from the cowl later will. I had not done that and I subsequently had to file some of the wood off so that the two holes would align properly.
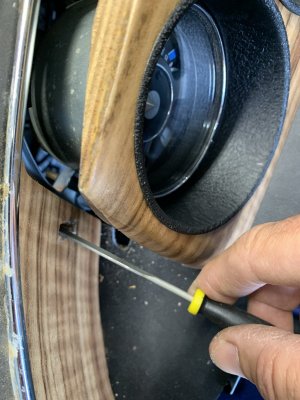
Secure the wood assembly to the frame with the 6 Philips screws through the chrome rim piece.
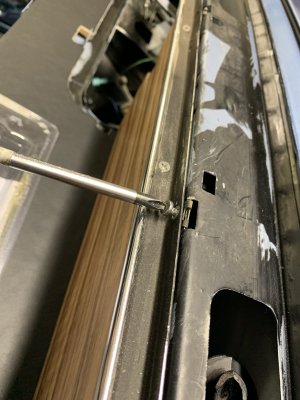
But wait…. As pointed out by @sfdon long ago, two of them protrude in the area where the defroster vents go. Do not use those screws there. I used some black nylon tie wraps instead.
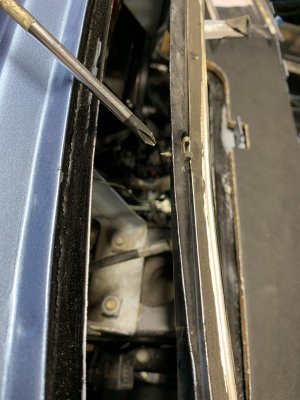
I installed the instrument cluster before the cowl. Doing it before has the advantage that you have plenty of room to reestablish the connections and to insert the two 8 mm nuts to secure it. But it does require a little bit of finagling when later installing the cowl because it will have a hard time squeezing into place. Now, the big problem I discovered if you install the gauges first is that then there will be no way to reach the right side cowl bolt later on. So there are pros and cons on both options.
Install the vinyl assembly in a similar way you did the wood assembly. Left side corner in first. Then you have to gently try and push the two cowl bolts through the wood and then through the metal frame.
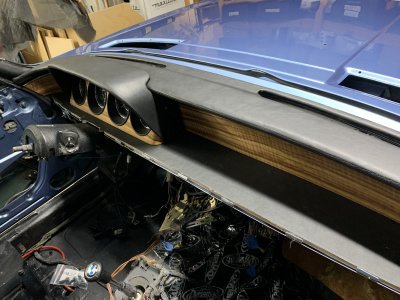
Gently press the right side in.
As you gently move the vinyl assembly of the dash in position be ready to have to slide the defroster vents in towards the centerline of the car a little bit so you can then slide them onto the clip which is on the outer side of each of those vent openings. There is no clip on the inner side.
Be sure to do that properly otherwise the top of the dash will never seat correctly
Pic from below:
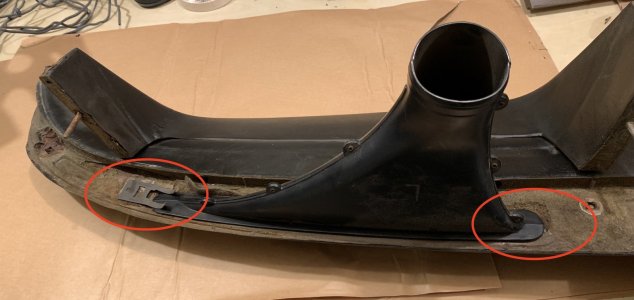
Pics from above
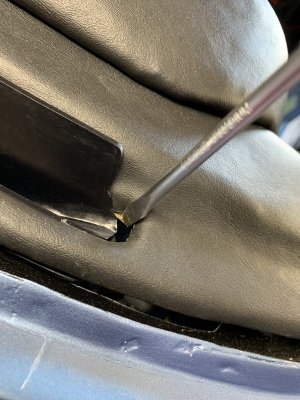
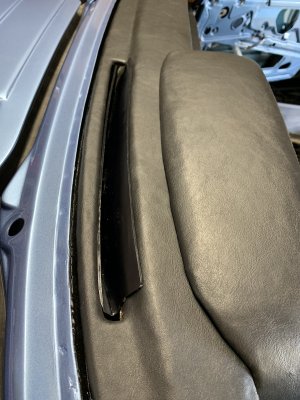
Visually check that the four clips attached to the underside of the top section align with the holes in the metal frame behind them. On mine, the right side did not align at all so I decided to get rid of it rather than having it stick out and push the dash upwards
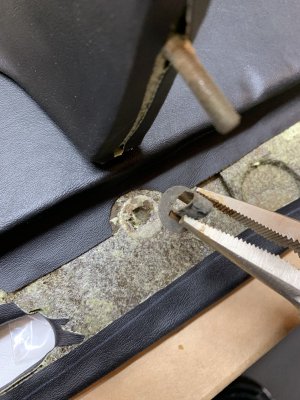
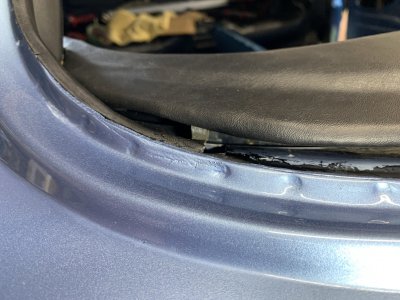
Bolt the 3 C shaped brackets underneath the deck.
There also were 2 philips screws there but they are a total pain to remove and they are likely not necessary. I did not re-install them.
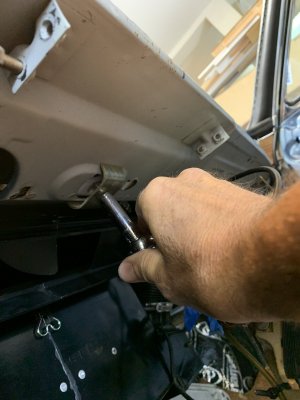
Re-install the grab bar. (Not done yet on mine)
Enjoy the fruits of your (very hard) labor
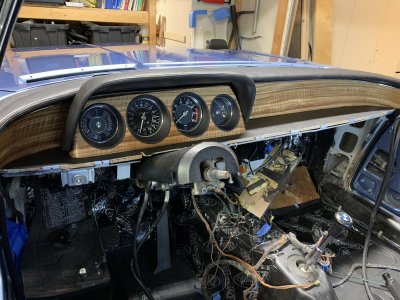
The dashboard is essentially comprised of three sections: the base wood assembly, the upper foam/vinyl assembly, and the front grab bar.
Assembling of the wood section:
Preparing the flat deck. The Tnuts under the deck are often in very poor shape. So I made new ones


Epoxy the three Tnuts.
.

They should not stick out more than 4.5 mm from the deck height

Glue some felt in four spots as shown.

Flip the deck upside down and place it on top of the two curved wood parts. If need be (due to some gluing or repair you may have done), pre-drill the holes where the screws will go.

Use flathead Phillips 1 inch screws to secure the two curved pieces to the deck
Flip the assembly over and screw the curved chrome piece on top

There is a small black rectangular plate that secures the deck and the longest curved piece together right in the middle. I ended up not putting it back in because it does stick out a bit and I was concerned it would hamper the fitting or cause some rattling.

Make sure the two defroster vents are in place. Have them hooked up to the accordion tubes underneath. This will keep them up in their general position

Thoroughly clean the black vinyl coming down the A pillar and anything that will soon be covered or difficult to access.

Then make sure the colored vinyl edge piece that runs down to the floor is in place because it needs to be in there before the dash goes in. In this photo, I realized this after the fact. So I had to take the dash out again to insert this piece under the vertical chrome first. Photo with correct position a little further down.

Insert the right side of the wood assembly in the car through the windshield opening first. Then tuck the left side where it is supposed to be. It really helps to point the assembly down towards the bottom of the rear seats and keep it as low as possible over the metal frame. You want to squeeze the whole thing under the chrome piece that comes down the A pillar from the roof.
NOTE: this pic is using a test dash. Not my final one

Go to the right side and very gently press the wood assembly in. Again, you have to keep it pointing down because you have to sneak your way under the chrome piece coming down the A pillar. (Note correct position of the colored vinyl trim piece)

Once installed look to make sure that the holes that the cowl bolts will need to go through are perfectly aligned between the wood and the metal frame behind it. Run a test now by trying to insert an M5 bolt in there from the same angle as the ones from the cowl later will. I had not done that and I subsequently had to file some of the wood off so that the two holes would align properly.

Secure the wood assembly to the frame with the 6 Philips screws through the chrome rim piece.

But wait…. As pointed out by @sfdon long ago, two of them protrude in the area where the defroster vents go. Do not use those screws there. I used some black nylon tie wraps instead.

I installed the instrument cluster before the cowl. Doing it before has the advantage that you have plenty of room to reestablish the connections and to insert the two 8 mm nuts to secure it. But it does require a little bit of finagling when later installing the cowl because it will have a hard time squeezing into place. Now, the big problem I discovered if you install the gauges first is that then there will be no way to reach the right side cowl bolt later on. So there are pros and cons on both options.
Install the vinyl assembly in a similar way you did the wood assembly. Left side corner in first. Then you have to gently try and push the two cowl bolts through the wood and then through the metal frame.

Gently press the right side in.
As you gently move the vinyl assembly of the dash in position be ready to have to slide the defroster vents in towards the centerline of the car a little bit so you can then slide them onto the clip which is on the outer side of each of those vent openings. There is no clip on the inner side.
Be sure to do that properly otherwise the top of the dash will never seat correctly
Pic from below:

Pics from above


Visually check that the four clips attached to the underside of the top section align with the holes in the metal frame behind them. On mine, the right side did not align at all so I decided to get rid of it rather than having it stick out and push the dash upwards


Bolt the 3 C shaped brackets underneath the deck.
There also were 2 philips screws there but they are a total pain to remove and they are likely not necessary. I did not re-install them.

Re-install the grab bar. (Not done yet on mine)
Enjoy the fruits of your (very hard) labor

Last edited:
