You are using an out of date browser. It may not display this or other websites correctly.
You should upgrade or use an alternative browser.
You should upgrade or use an alternative browser.
rear bonnet interior trim renewal
- Thread starter deQuincey
- Start date
Excellent as usual. How did you remove the warpage from the tool box lid so it fits flush? Also did you reinforce the lid with fiberglass etc to prevent breaking? Can you get SEM paint in Spain - their Storm Grey #15763 would remove the yellowish age color and make it match your nice new elephant skin.
thanks.
i am not sure to understand you well, what is the warpage ?
if i assume that you are asking about the matching of the toolbox against the elephant skin, i will give you an idea: fitting the elephantskin pannels, 1 hour. ftting the toolbox, 2 hours
i was trying to get all the surfaces fixed by the bolts in direct contact with the body to avoid any tension, torsion, etc., and as this was impossible at the begining, i started on the bottom suplementing the gaps with pieces of wood in order to reach the goal, this was a unending process of trial-error, but at last went well
i did not reinforce the toolbox with fiber glass, it is brand new and i did not wanted to ruin it
i appreciate your help with the paint details, i have not heard about that particular brand but i will check probably in internet
regards
I didn't read you correctly, you were referring to the base against the trunk lid, I was referring to the tool box lid against the base, now I understand. And yes, well done on the cigars also!
i am not sure to understand you well, what is the warpage ?
which montecristo - #2?
it is a pity alan, but the montecristo box is full of a strange sort of cigars...:razz:
towards the end, but not yet finished...
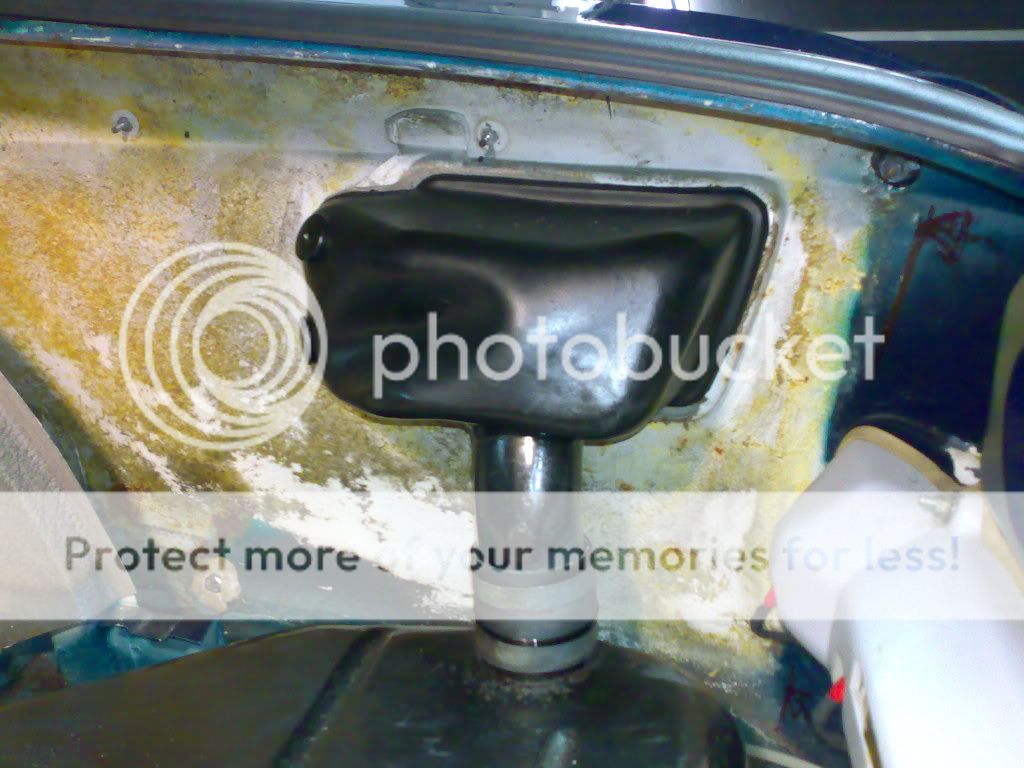
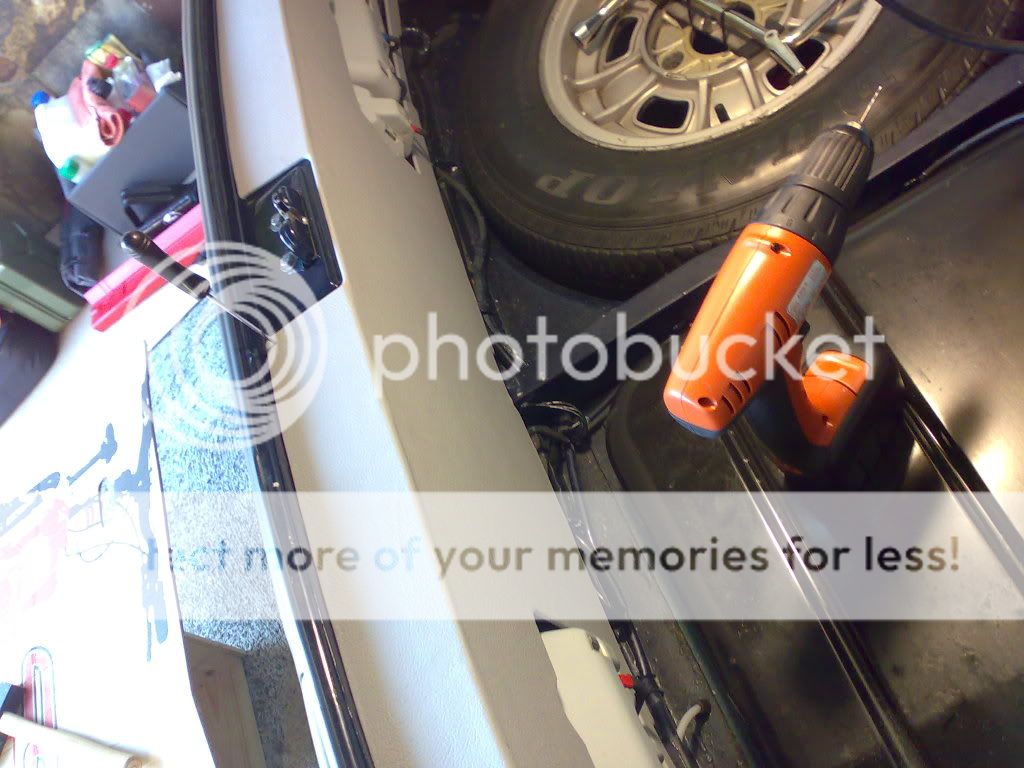
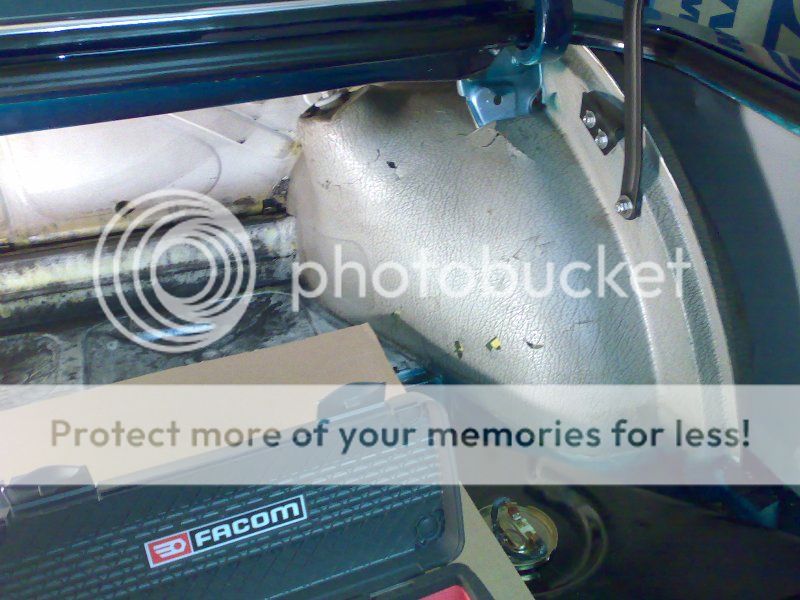
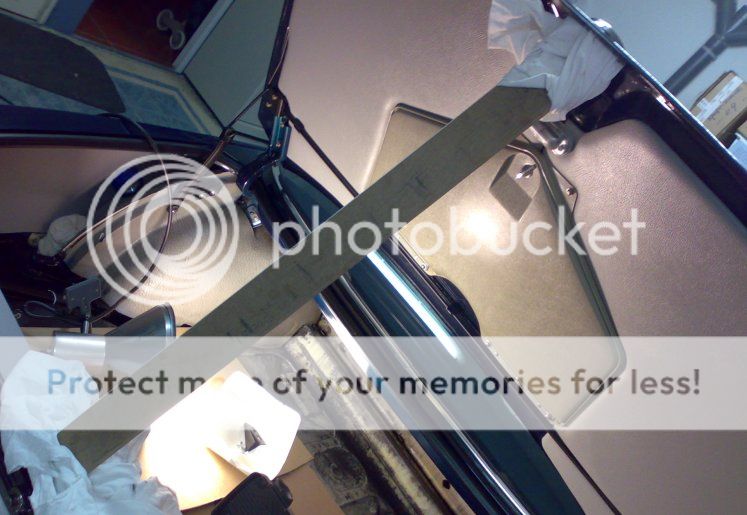
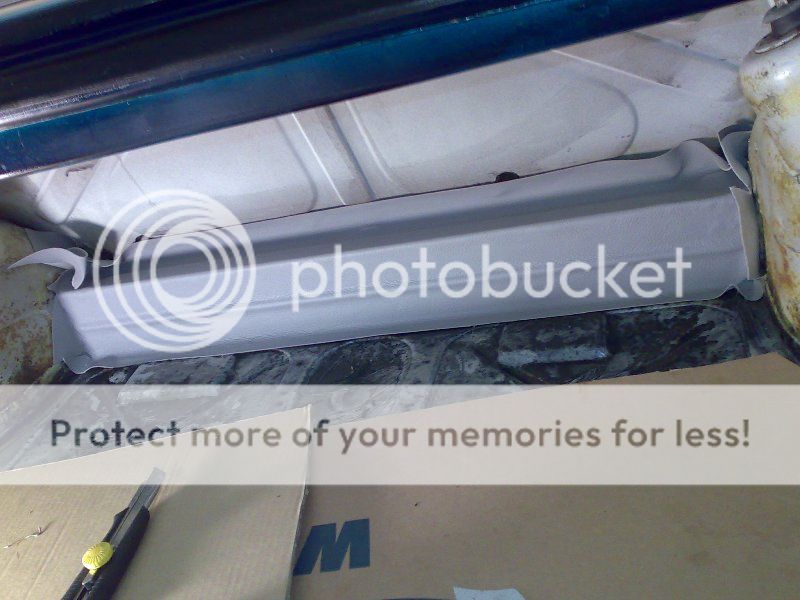
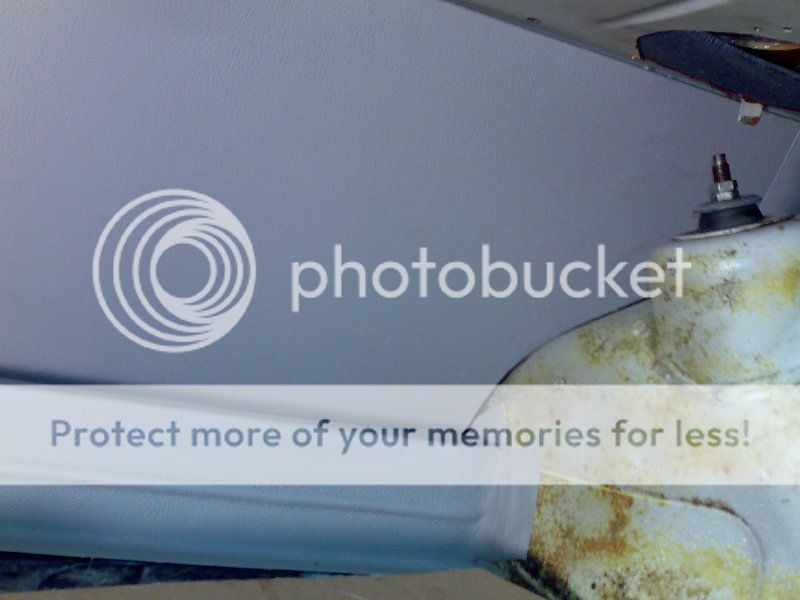
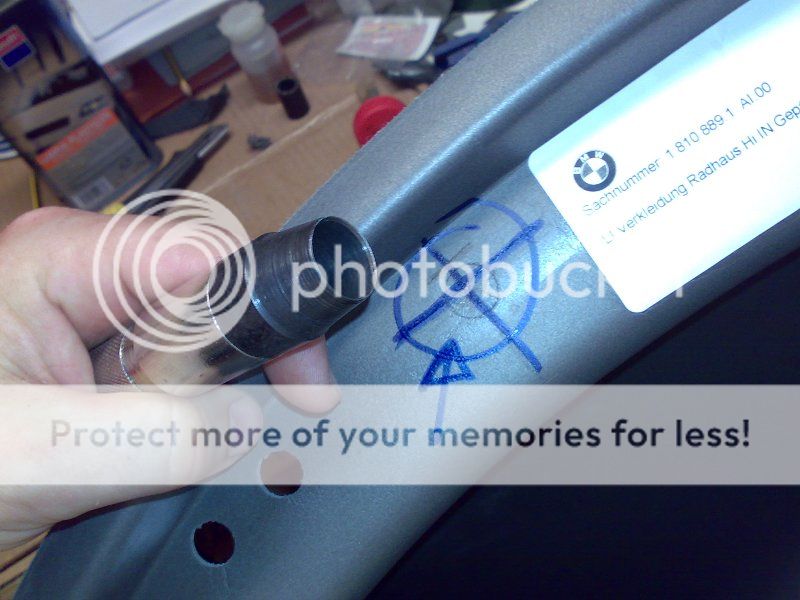
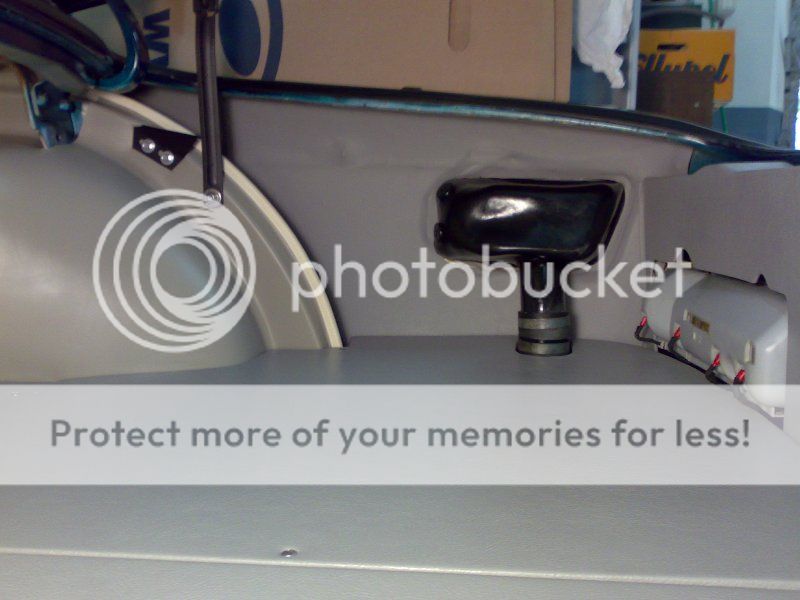
next step were the trunk laterals, left (easy) and right (not so easy with the fuel hose and so on)
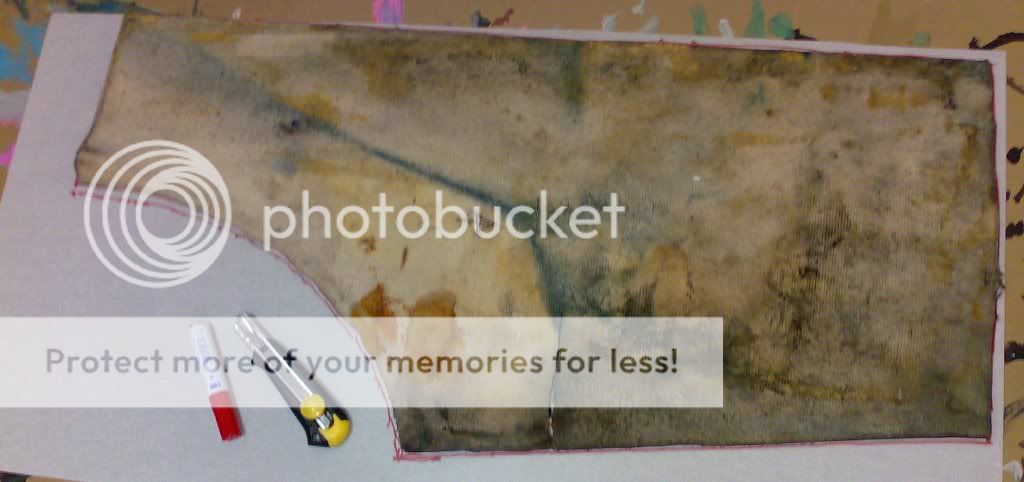
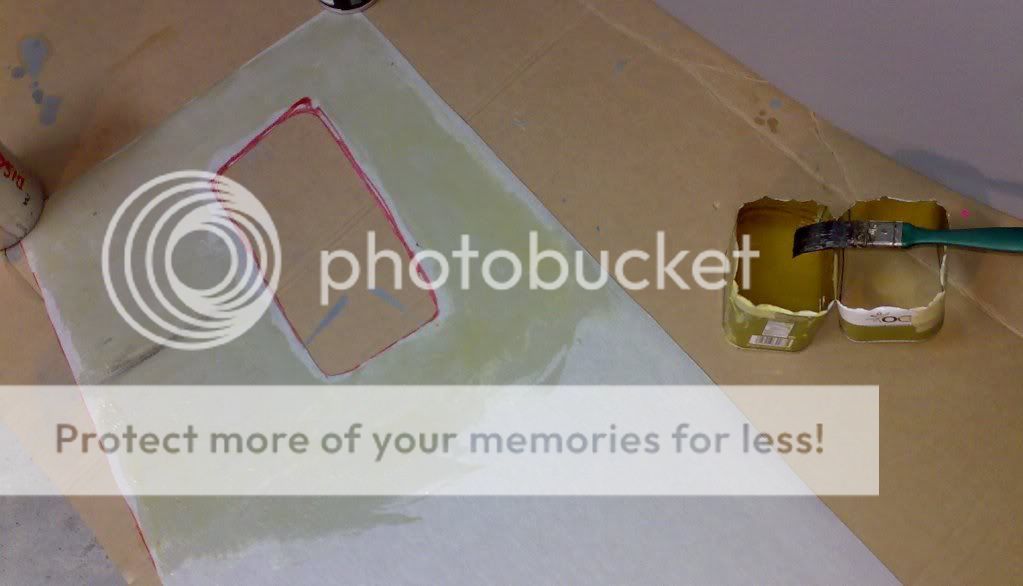
marking
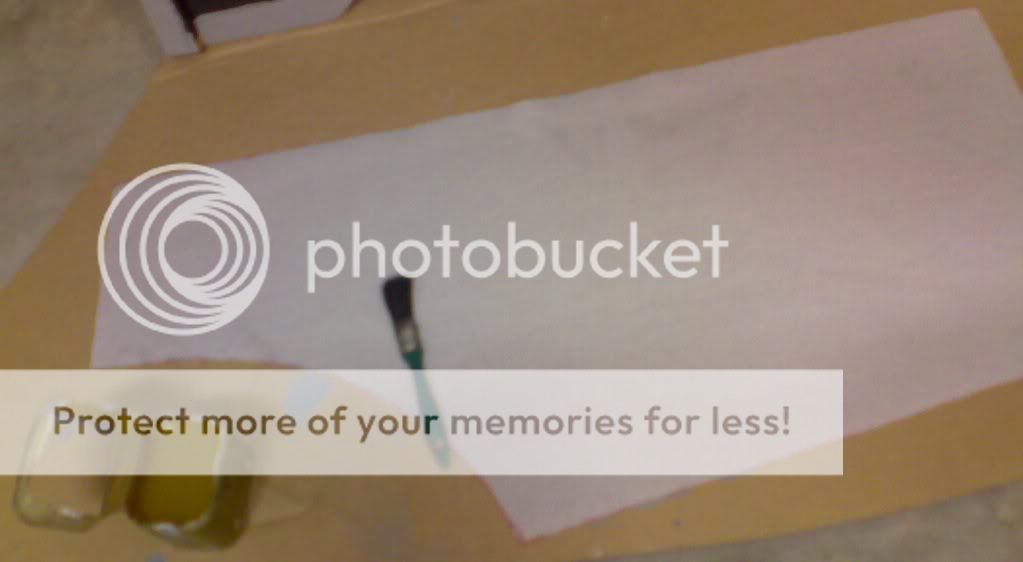
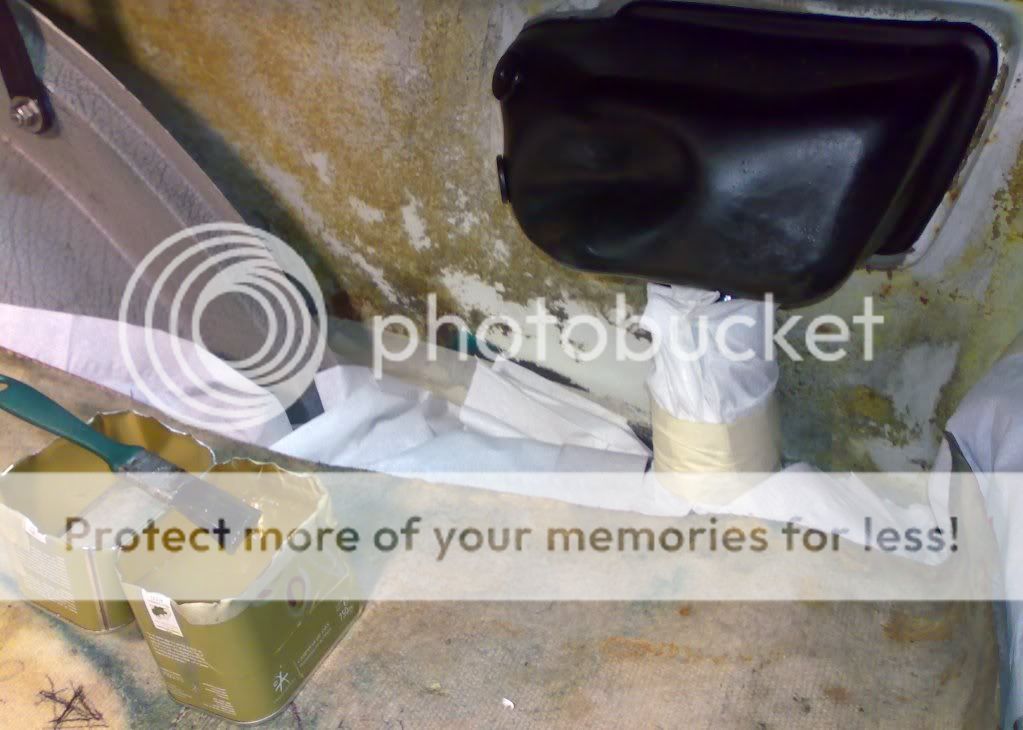
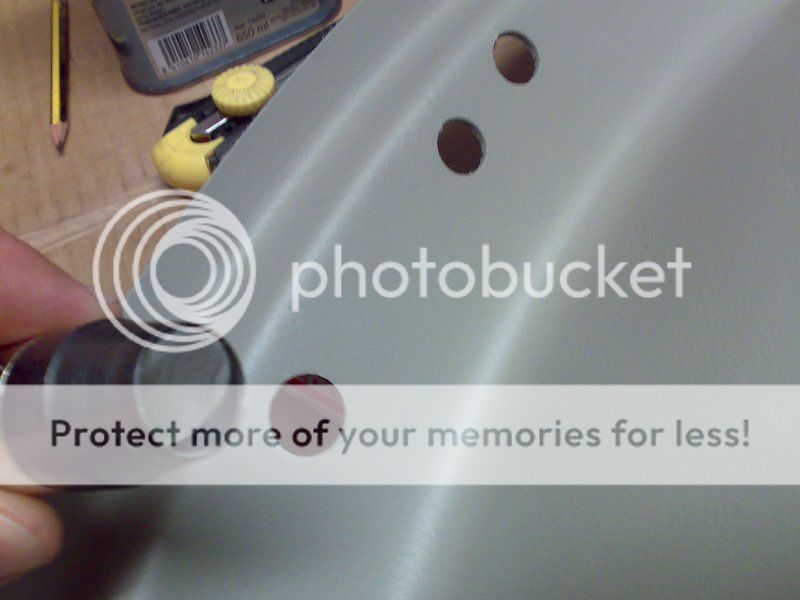
cutting and glueing (the type of glue you give on the two surfaces and wait until it is dry)

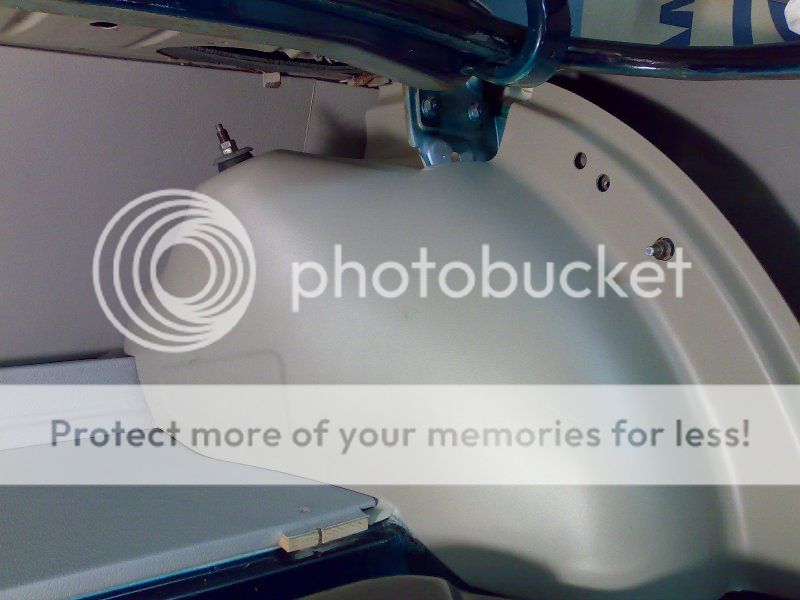
and put them together:
this will be done in two steps:

first half
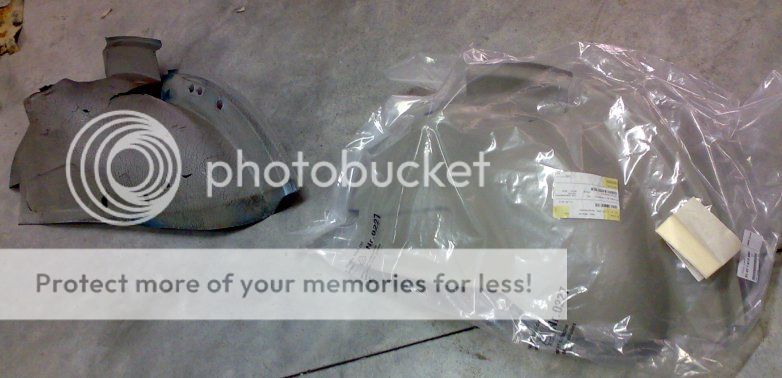
yes, the next step is to fix or find replacement for the wheel covers !
only missing the rear wall,...may be next weekend !!!
next step were the trunk laterals, left (easy) and right (not so easy with the fuel hose and so on)
marking
cutting and glueing (the type of glue you give on the two surfaces and wait until it is dry)
and put them together:
this will be done in two steps:
first half
yes, the next step is to fix or find replacement for the wheel covers !
only missing the rear wall,...may be next weekend !!!
this is the end,...my friend !
well probably three or four weeks for completing this, it has been quite long, but, the result is not bad; ....what do you think ?
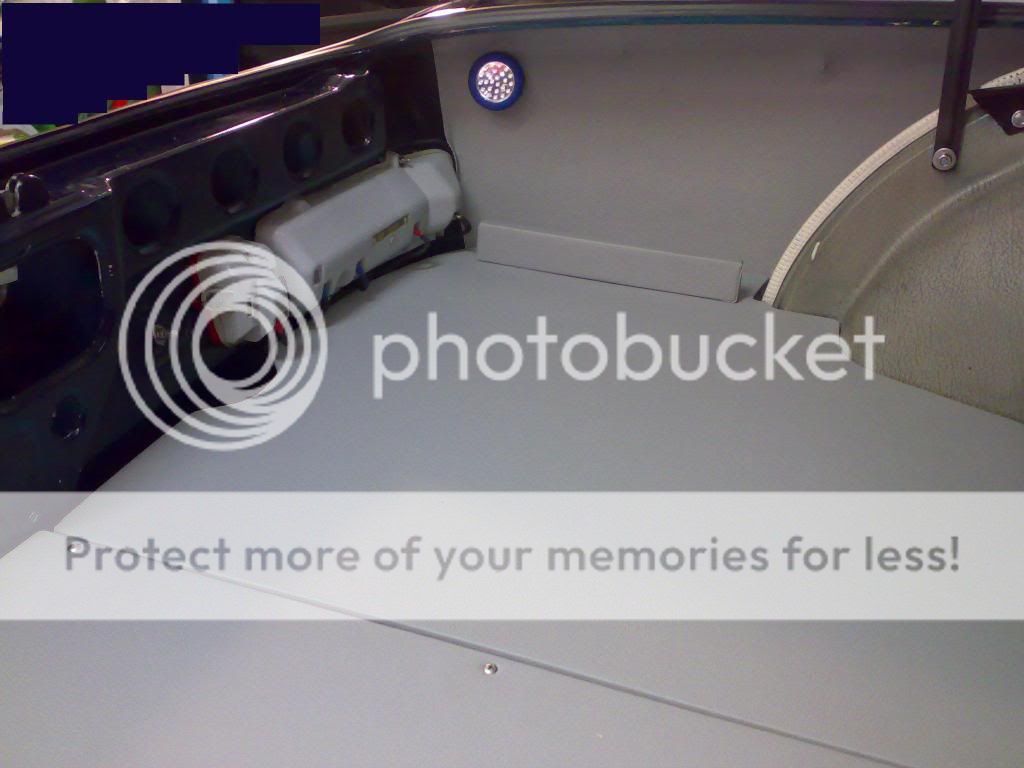
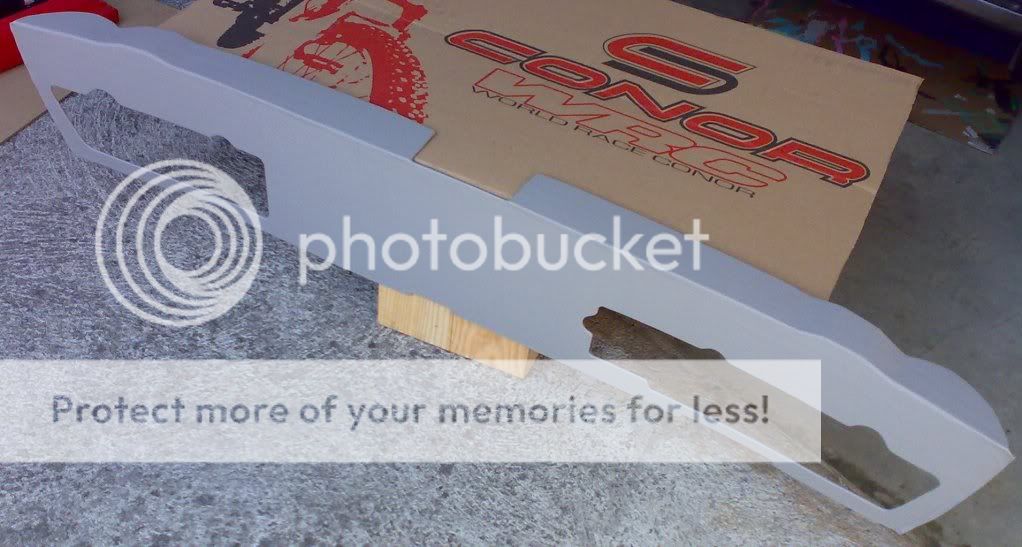
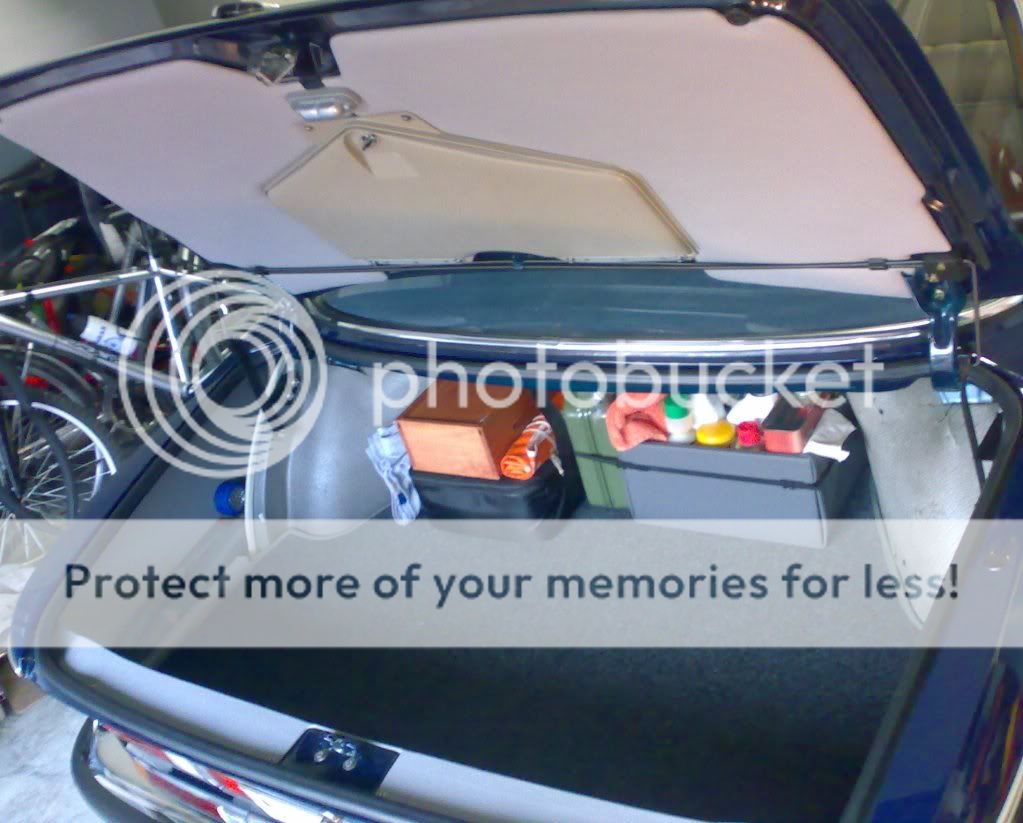
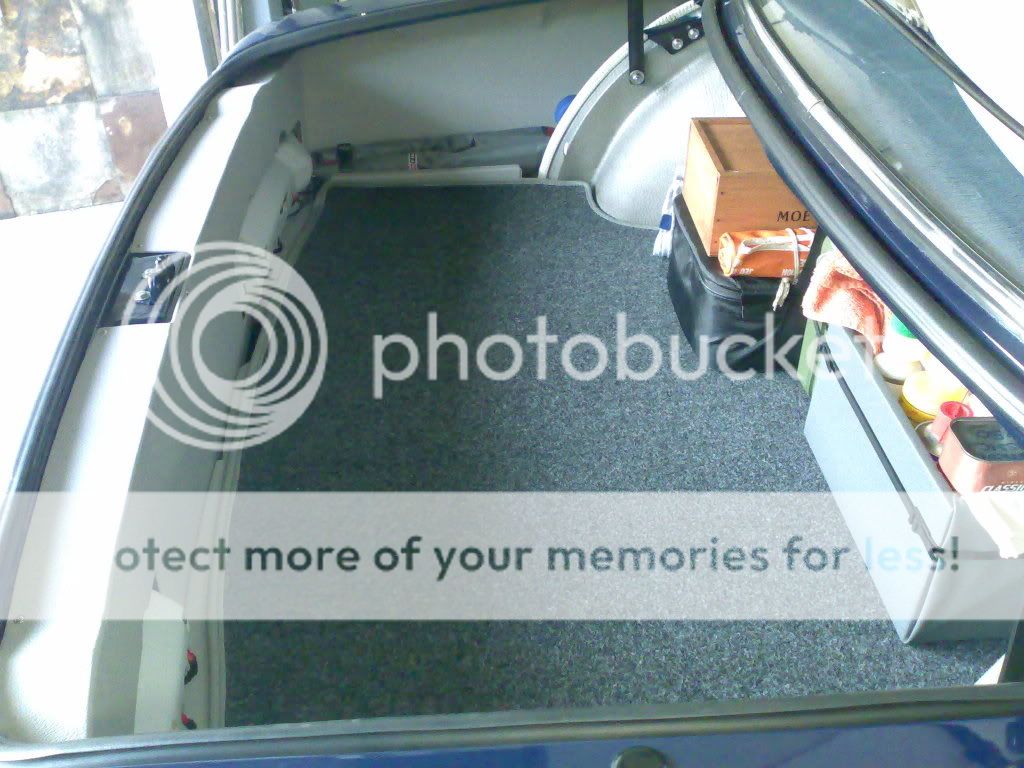
so the rear wall with the new elephant skin on it:
beautiful shape:

on the car:
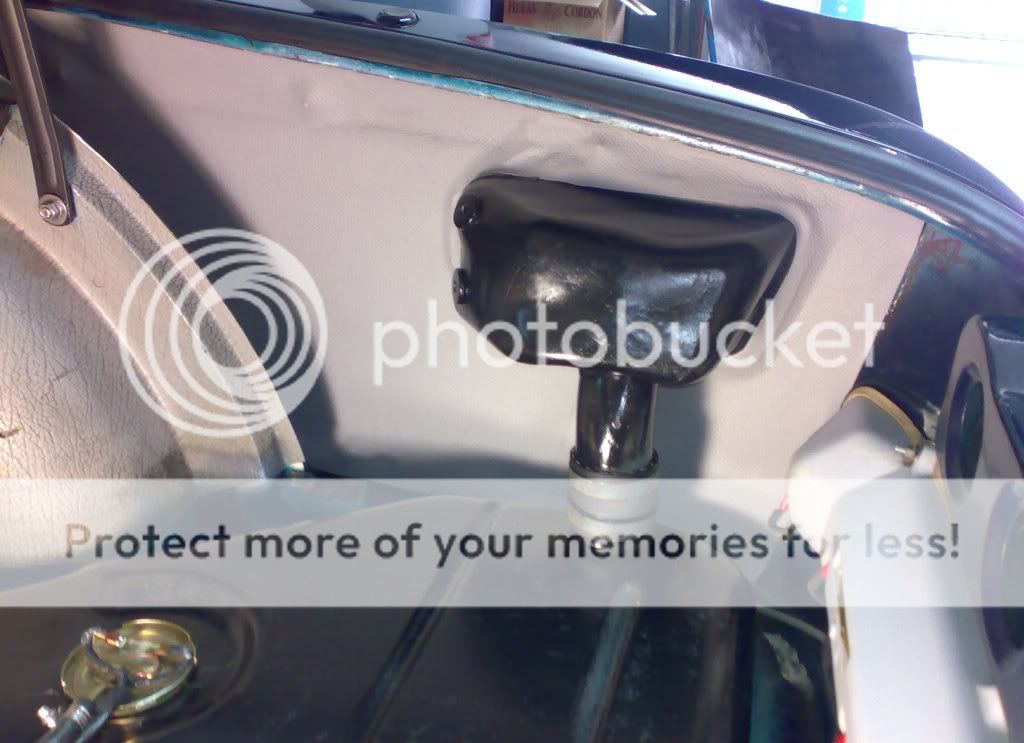
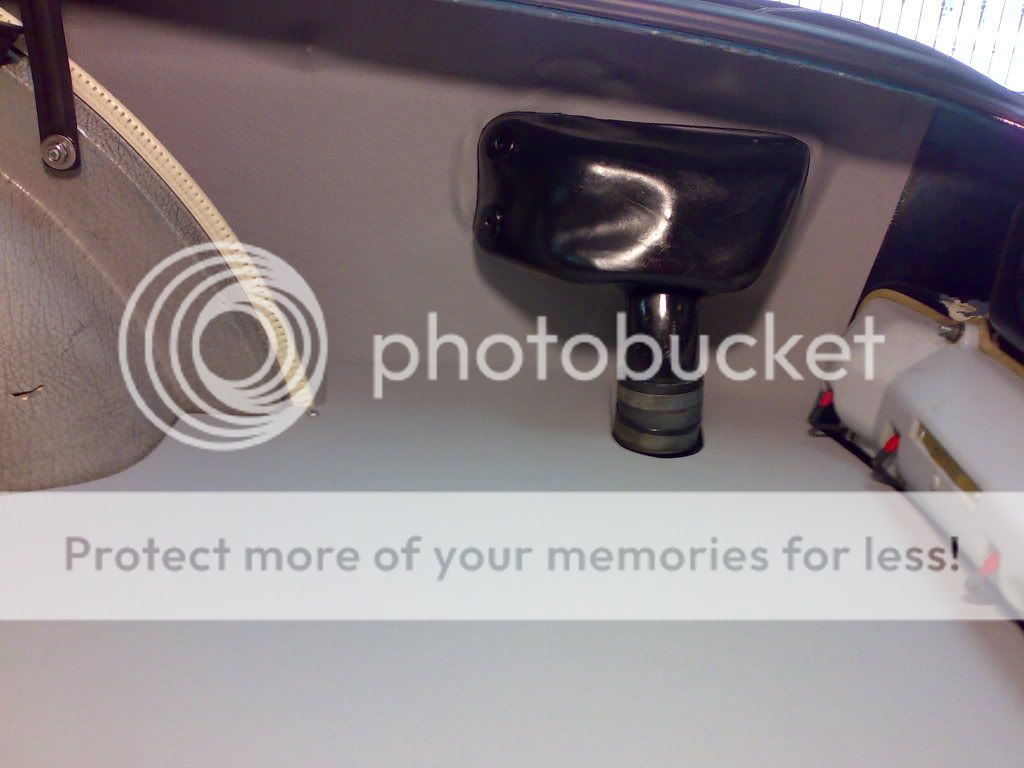
details:

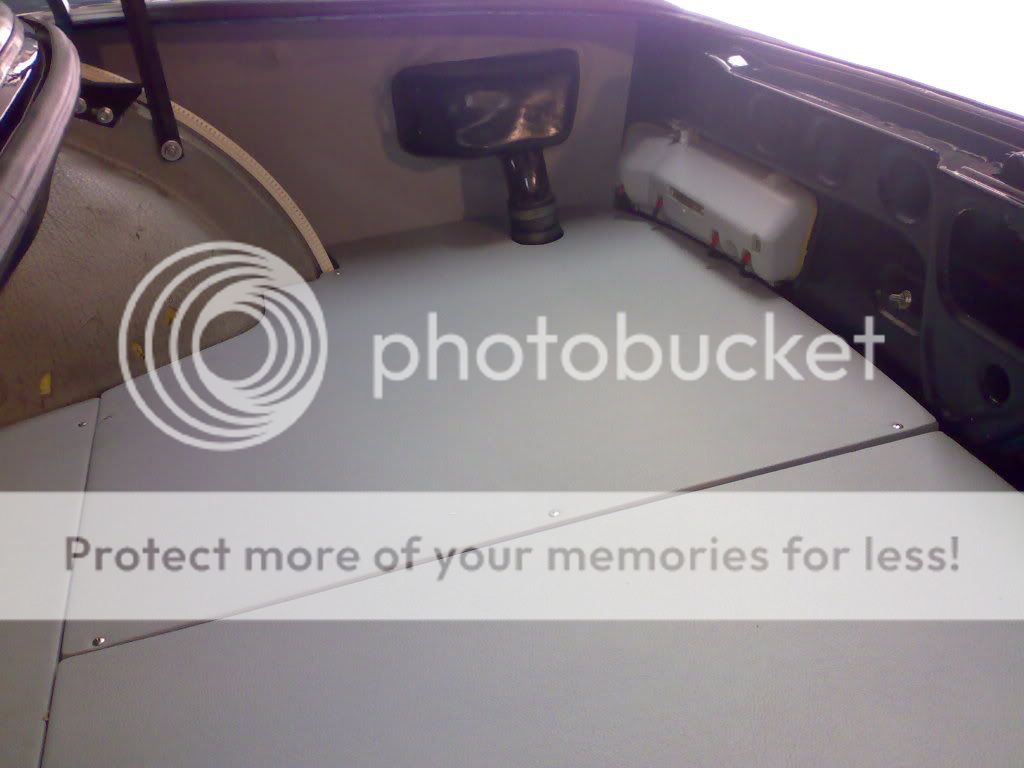
general view
i feel good !!!
well probably three or four weeks for completing this, it has been quite long, but, the result is not bad; ....what do you think ?
so the rear wall with the new elephant skin on it:
beautiful shape:
on the car:
details:
general view
i feel good !!!
Honolulu
Well-Known Member
inspiring!
deQuincey your work is excellent.
I have a couple questions that probably arise from translation.
One: you say you used "cardboard" for the new panels but that is not what my American eyes are seeing. The new panel material does not look like the corrugated material I'm used to calling cardboard. Is there another name for the material?
Two: the cover that goes across the rear has a 90 degree bend between the vertical and horizontal. Is that correct (factory?). I can't tell on my car whether it is made that way or not.
Three: did you consider padding material (foam rubber or other) between the new "elephant skin" and and cardboard? I know BMW did not, but I think it would feel very nice to have a little softness to the surface (except for the trunk floorboards).
It looks like the new "elephant skin" is textured vinyl. I have seen this material in shops here, but it is thicker and heavier than the BMW original. Is the material you used also?
Again congratulations on your work and efforts to post so many pictures. I did something similar with one of my door panels years ago when the original material became soft and crumbly. I used 1/8" thick plywood.
deQuincey your work is excellent.
I have a couple questions that probably arise from translation.
happy to answer those questions, and try to help
One: you say you used "cardboard" for the new panels but that is not what my American eyes are seeing. The new panel material does not look like the corrugated material I'm used to calling cardboard. Is there another name for the material?
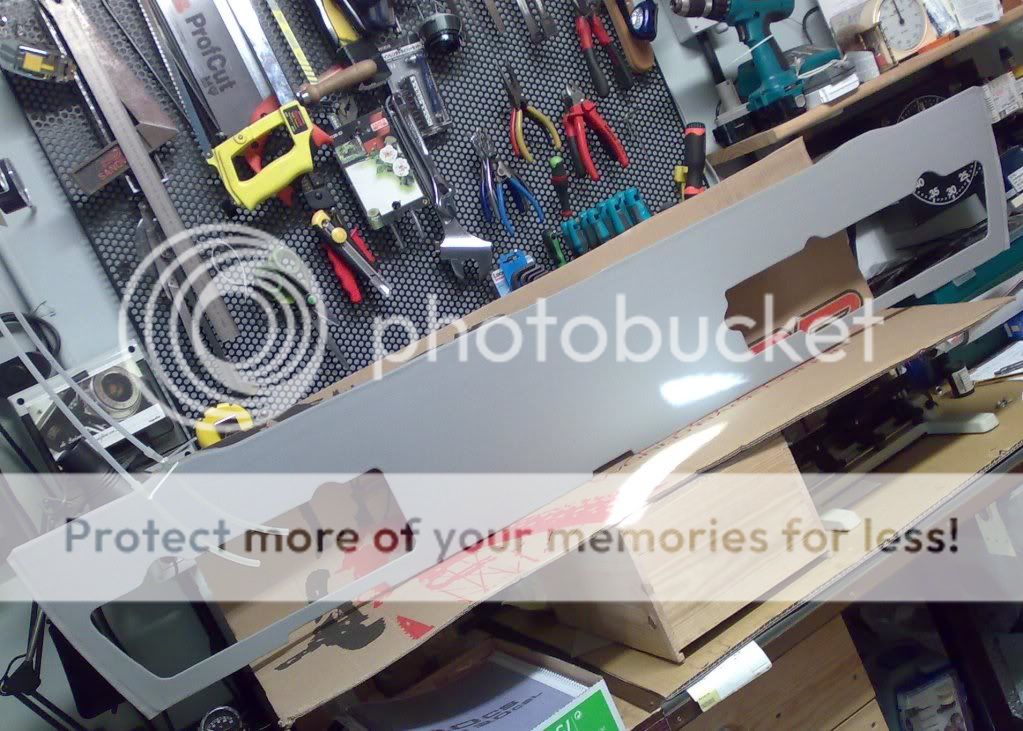
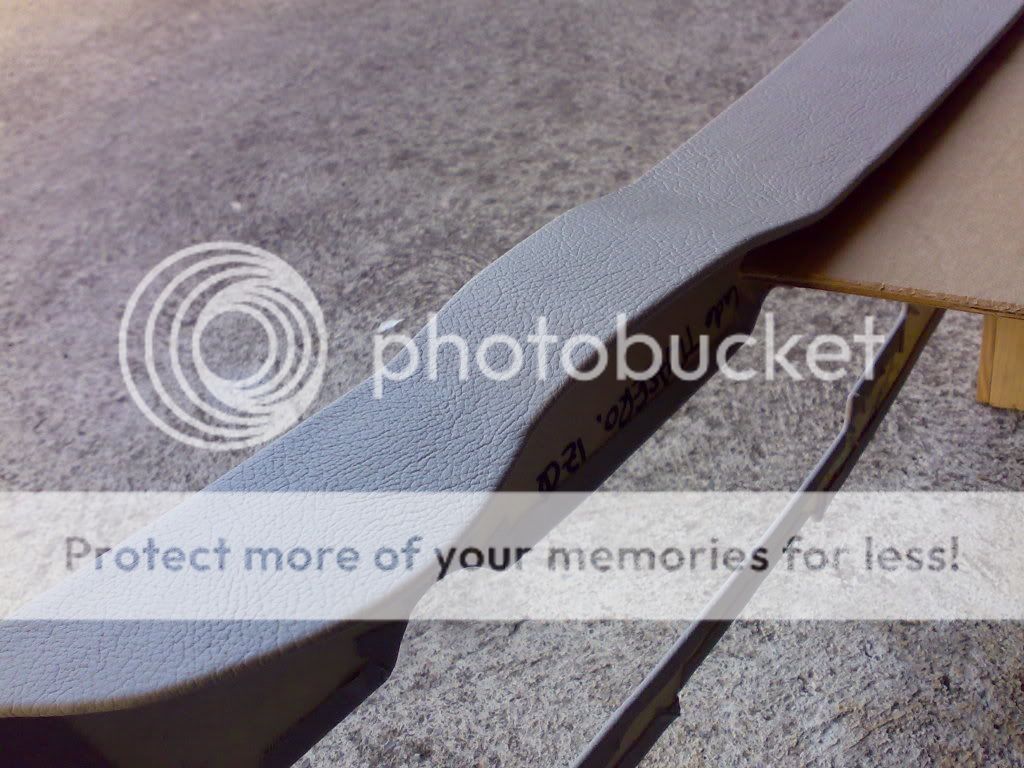
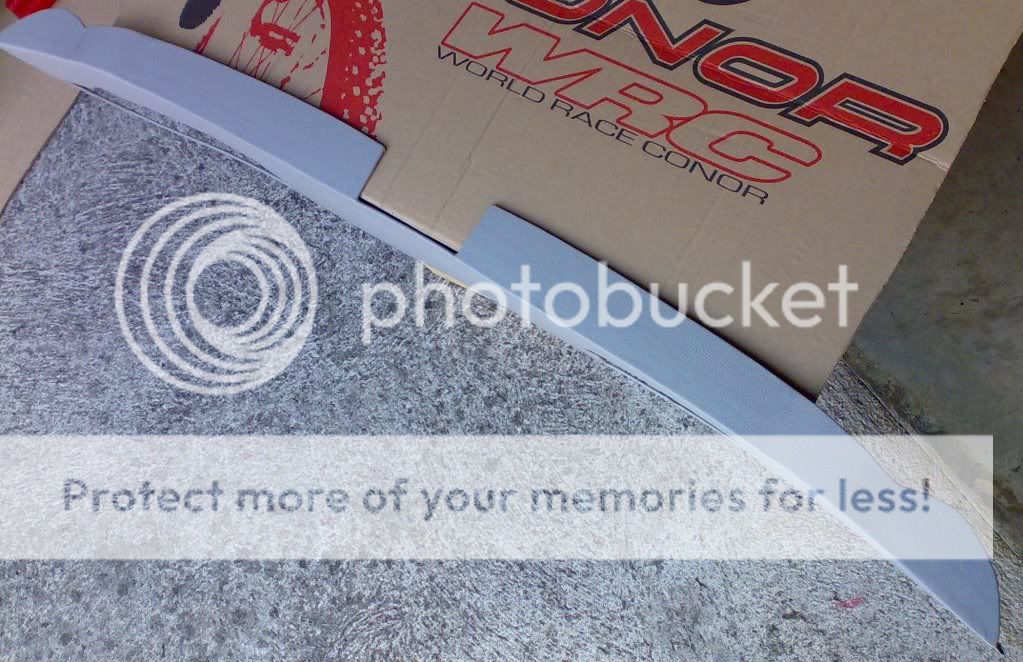
right, it is not that kind of corrugated material, but i feel difficult to find a name for it, it is a pressed cardboard very strong and hard but flexible enough to accomodate shapes and curves, in spanish we call it "carton-piedra" (translation: stone-cardboard)
anyway, take a look to the pictures and find that the materials used are different, the material for the vertical parts going in the trunk cover is thicker and stronger, because as it is flat i can use it there, but for configuring the shapes and curves in the rear wall i must use a different material, in no case i have used plywood, because the material available here in that thickness (3 to 4mm) is fragile for punctual forces, it is not so homogeneous as the pressed stone-cardboard, i find it problematic in the clip attaching holes
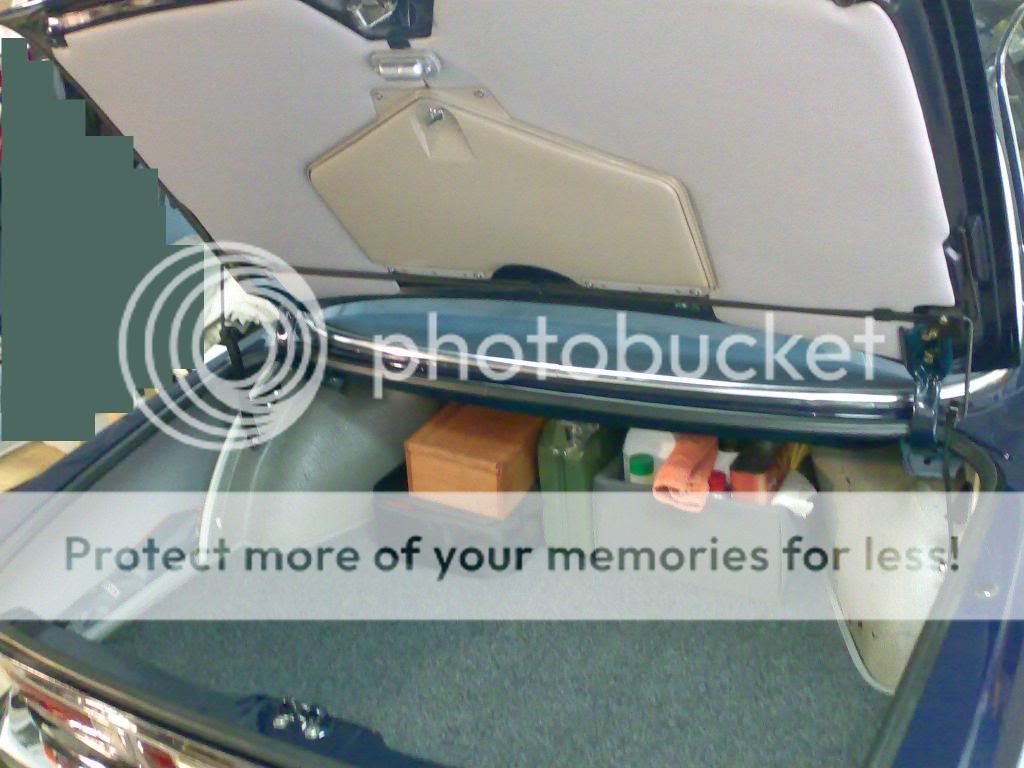
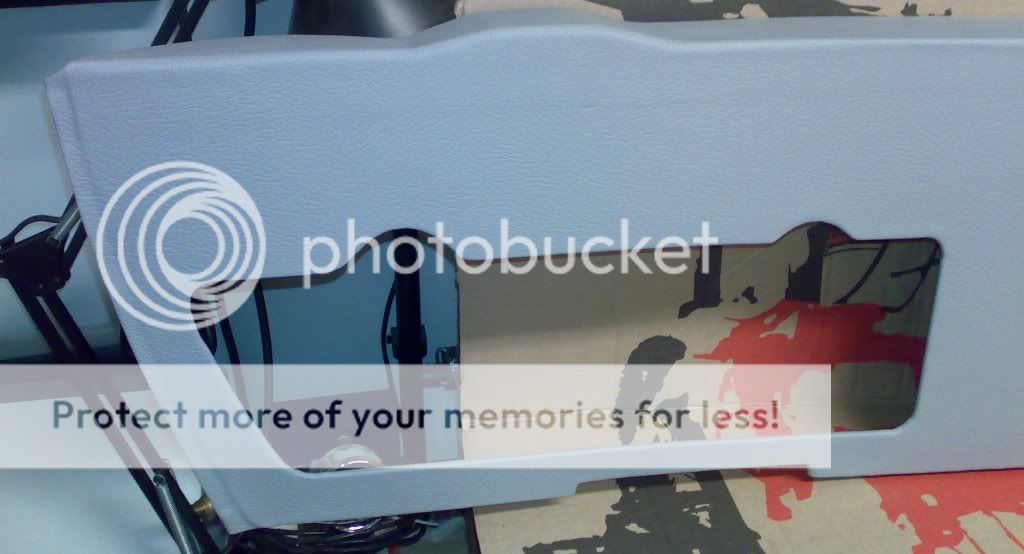
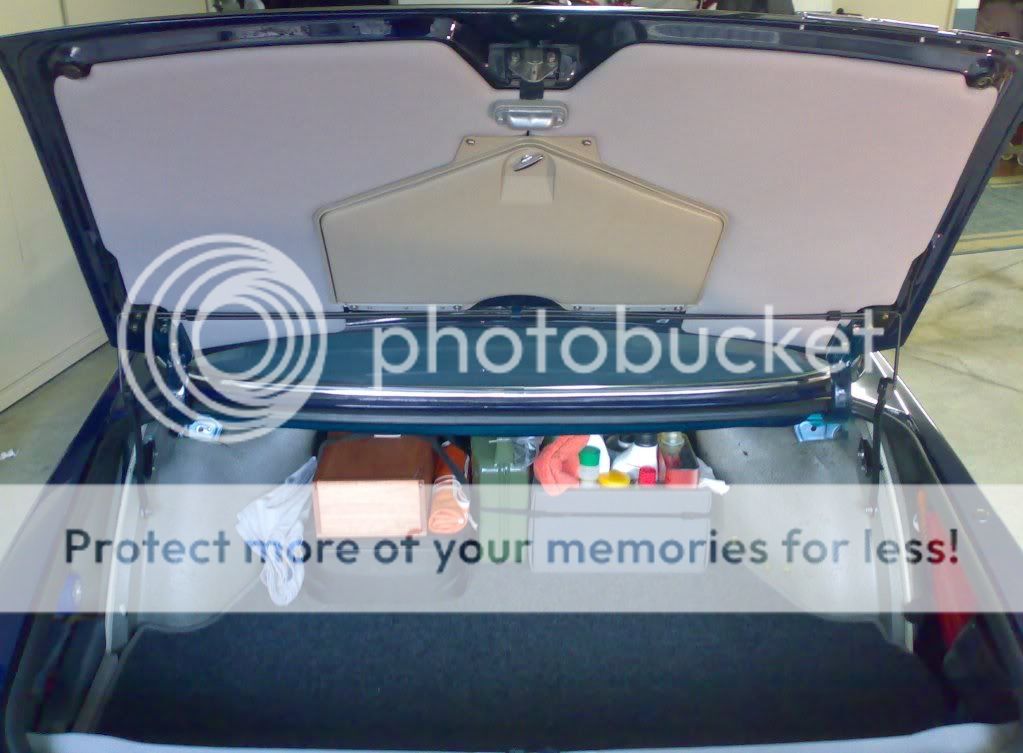
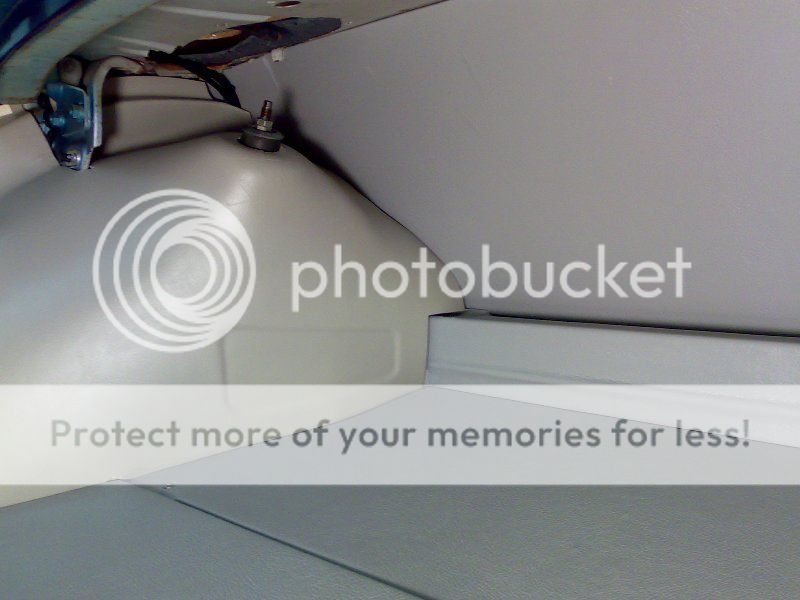
Two: the cover that goes across the rear has a 90 degree bend between the vertical and horizontal. Is that correct (factory?). I can't tell on my car whether it is made that way or not.
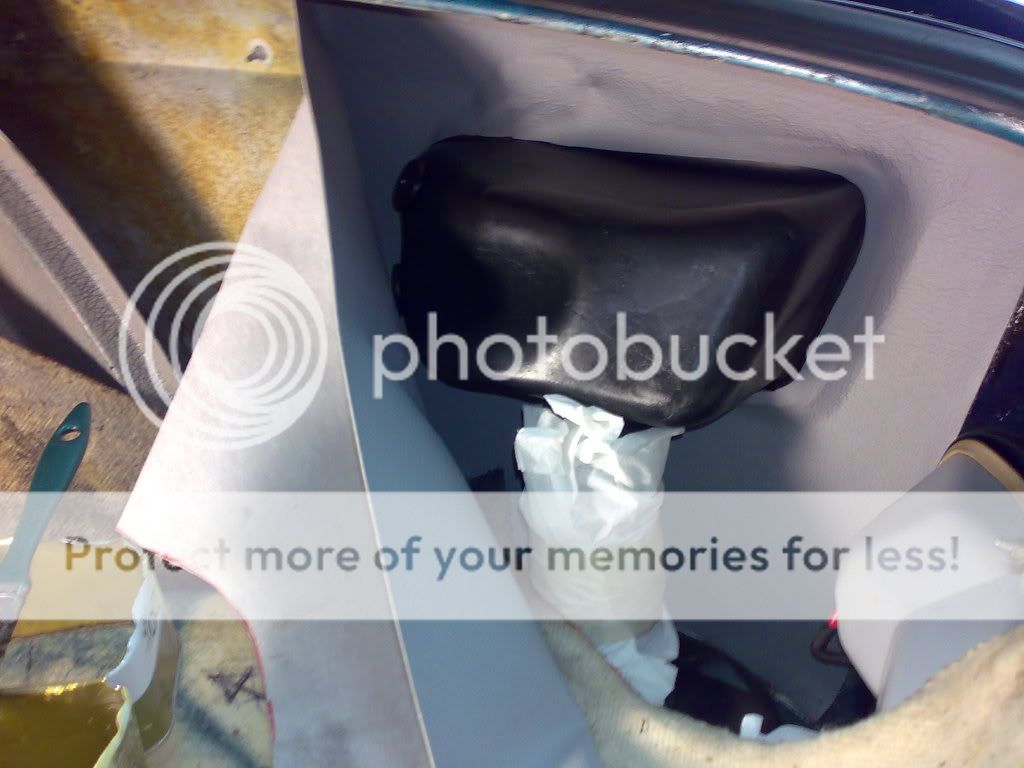
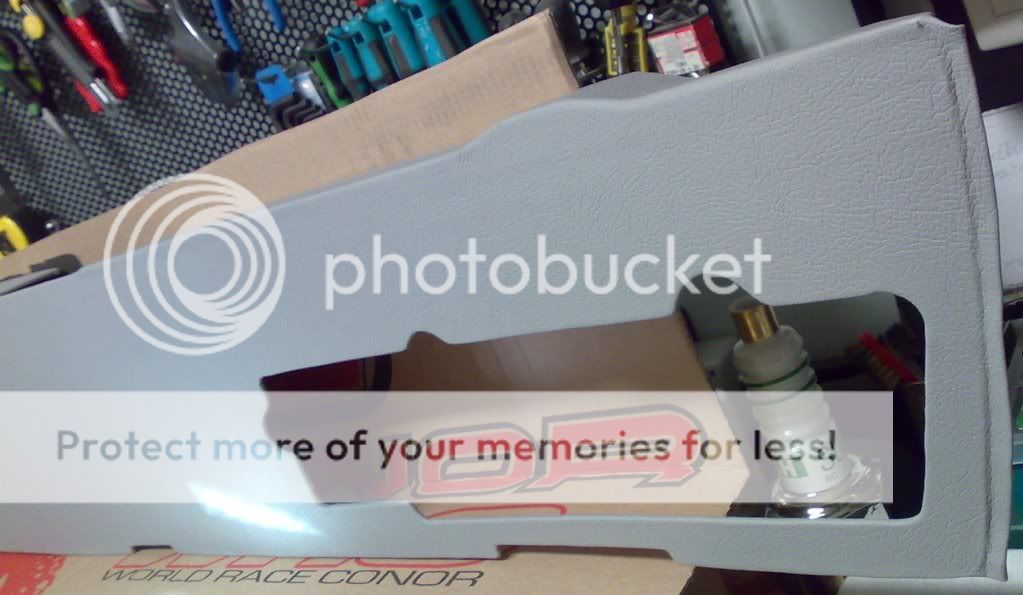
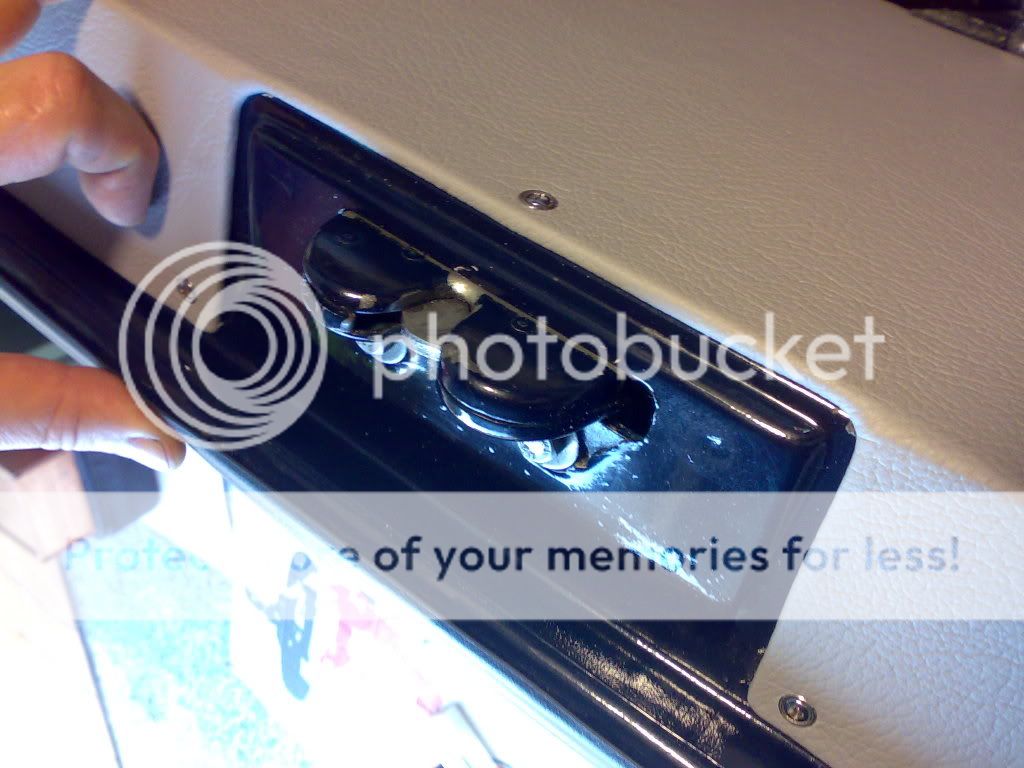
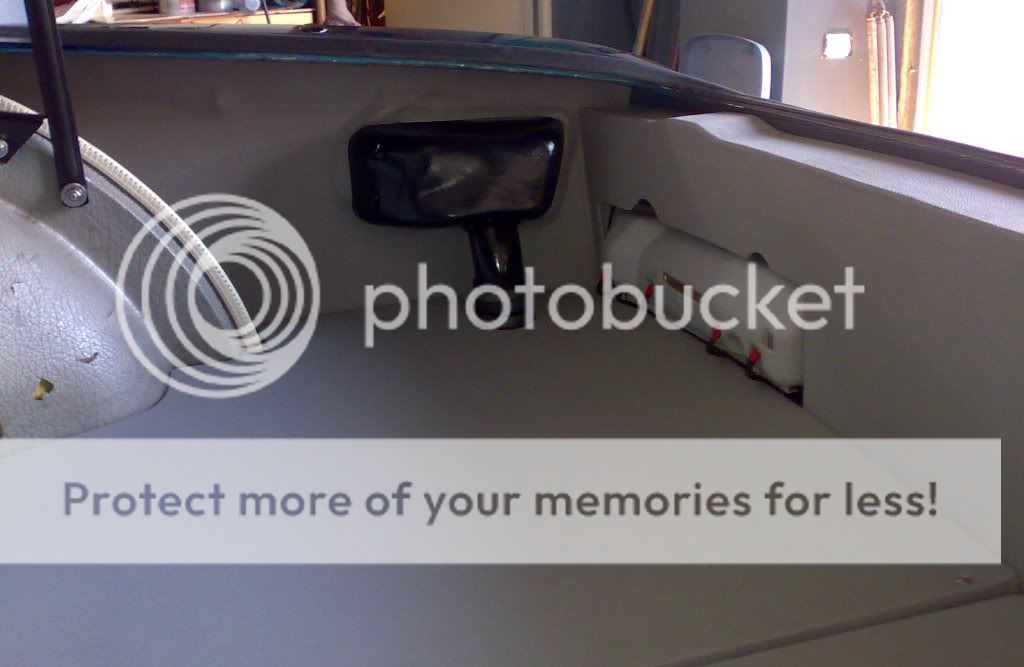
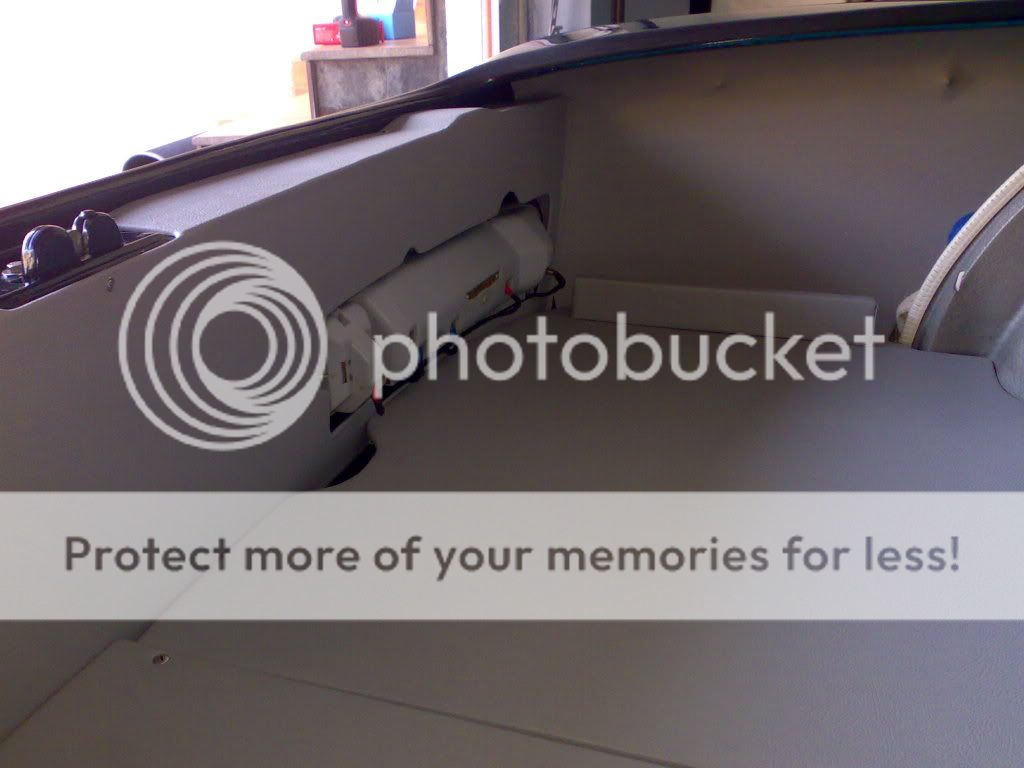
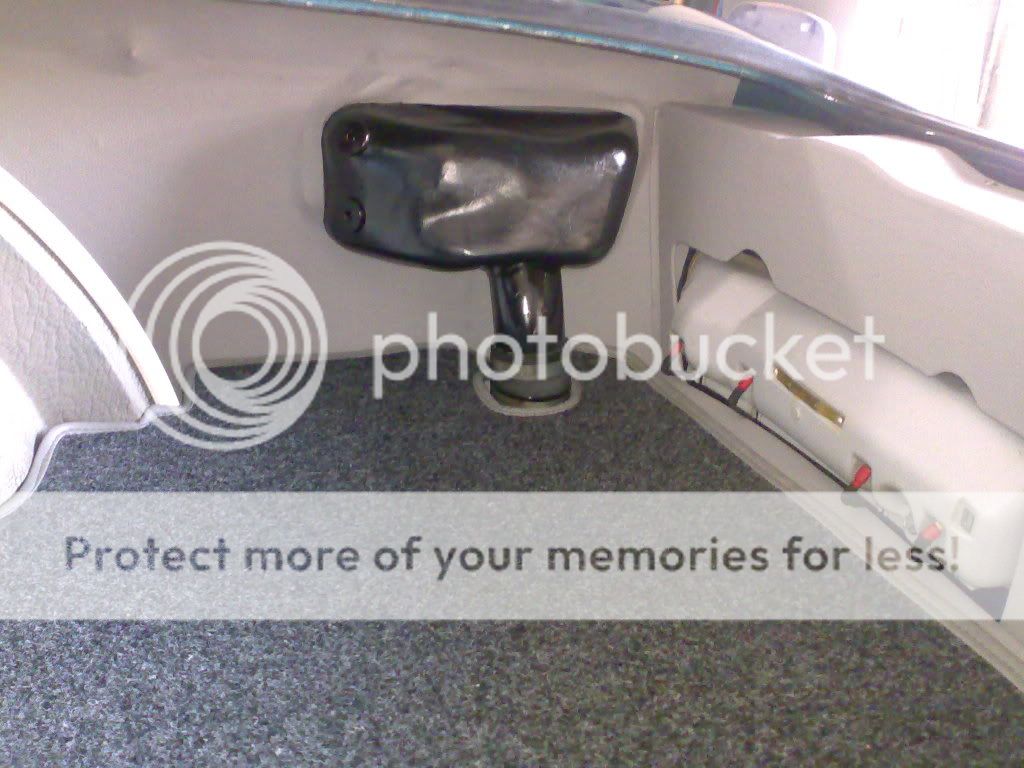
i think so, all the work i have done is try to copy the factory settings and aspect, the only difference in that particular part is that the horizontal opening for the lock mechanism has not the 5mm width transition from left to right because it would have been very weak to produce (probably you can better understand it on the pictures), but i found the result nice enough, you can see a detailed pic of that area to judge, i know that the template prepared by some other colleagues include that thin transition, but i feel very difficult to glue such a small strap so i decided to remove it
Three: did you consider padding material (foam rubber or other) between the new "elephant skin" and and cardboard? I know BMW did not, but I think it would feel very nice to have a little softness to the surface (except for the trunk floorboards).
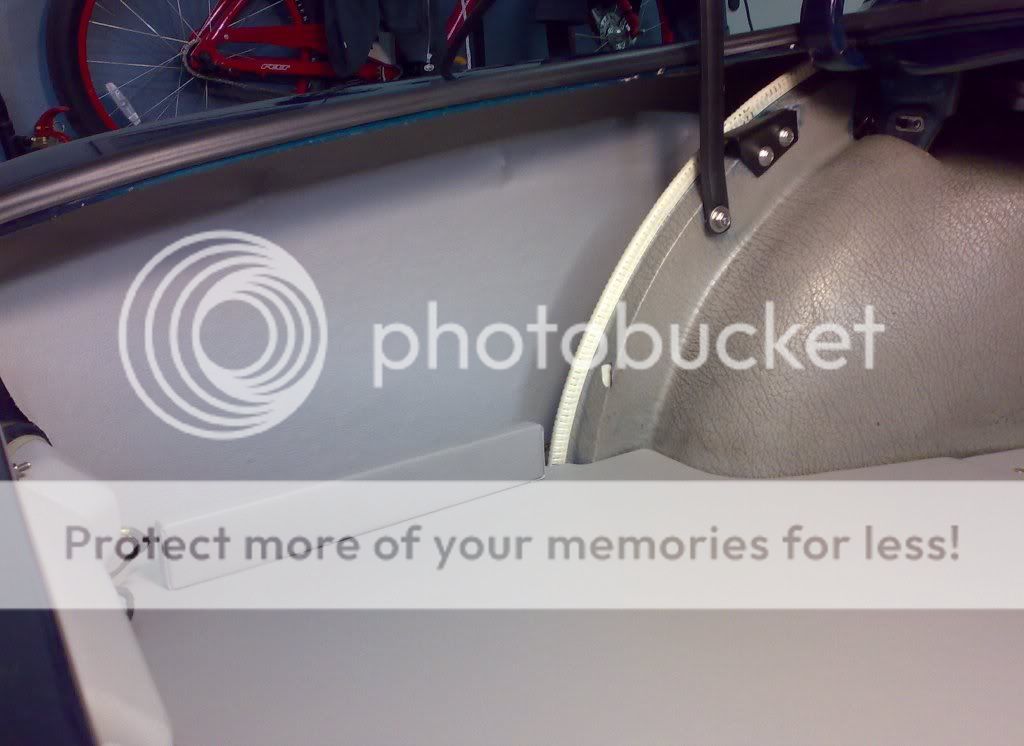
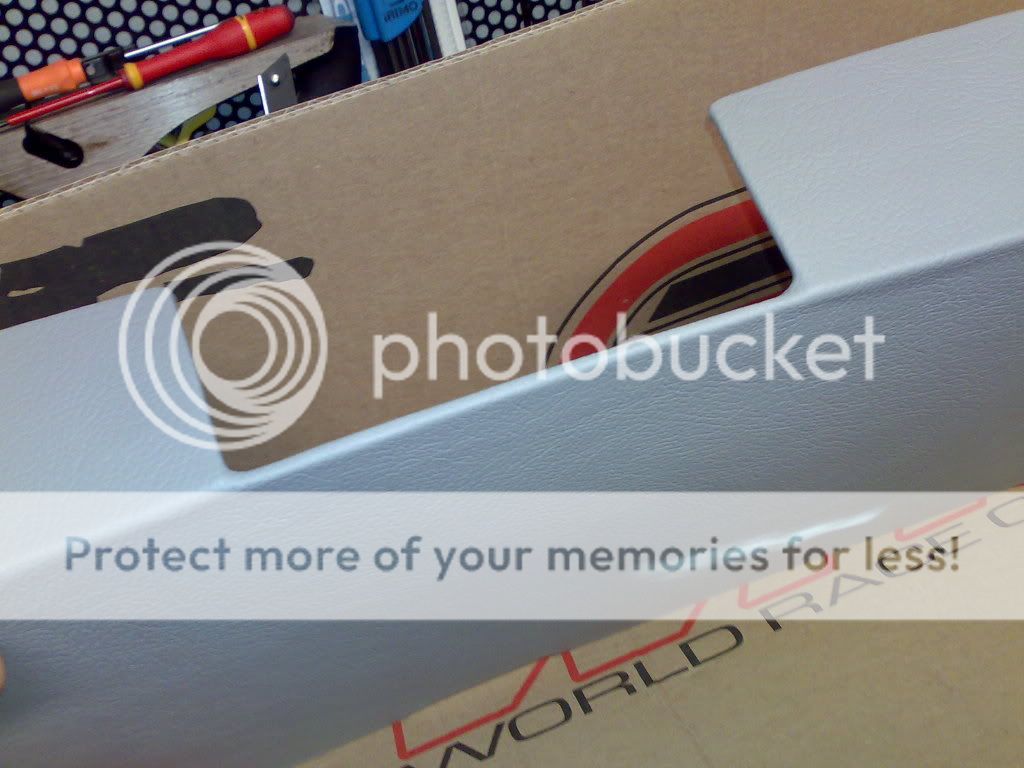
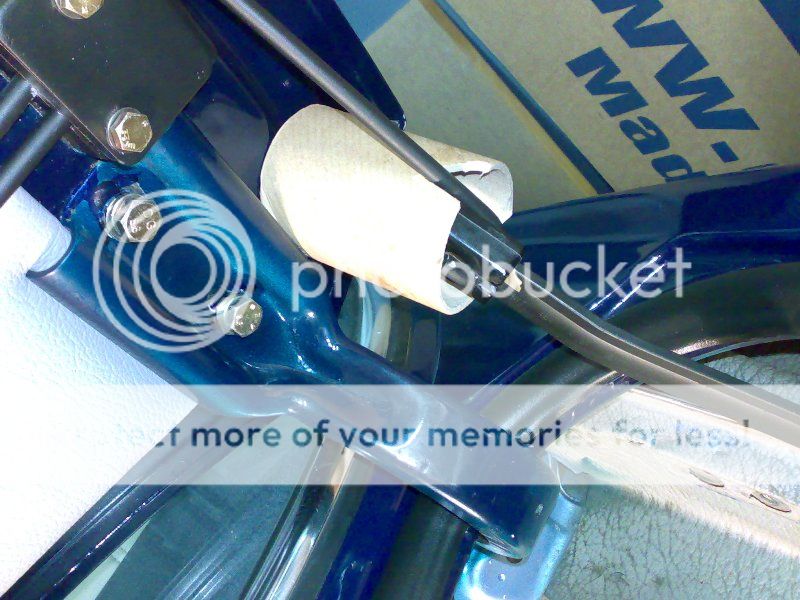
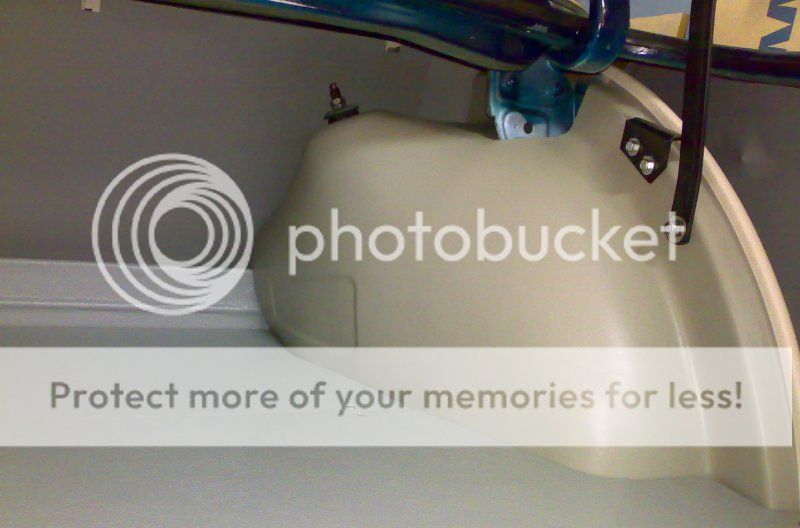
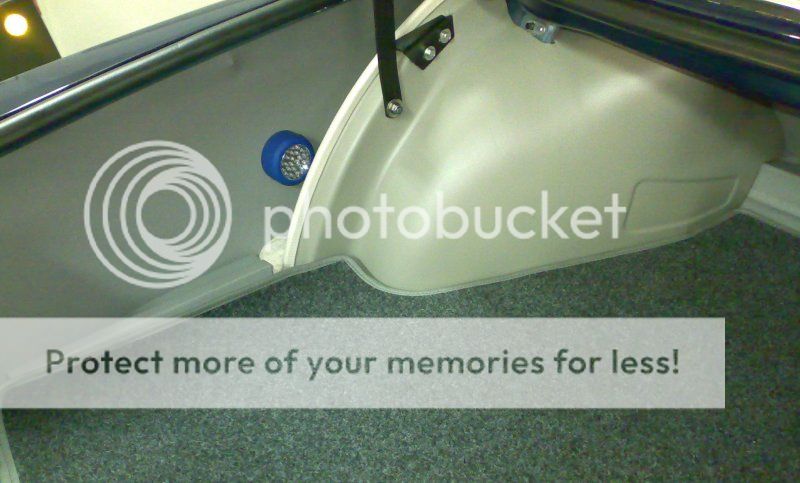
yeah, but not in all the cases,... i added some 5mm foam to the vertical panels that go in the trunk cover around the tool-box, i don´t know if it can be seen in the pictures, the result is a nice soft and smooth touch; by the way, i am not sure that bmw did not do that in the factory, when i removed the old skins, a lot of yellow dust came off that area, i identified that as a corrutped old foam but i am not sure
i added that foam only in that two parts, and not in the rest of the trunk
It looks like the new "elephant skin" is textured vinyl. I have seen this material in shops here, but it is thicker and heavier than the BMW original. Is the material you used also?
the material i found is in fact exactly equal to the old vinyl, but as it is fresh it is much more soft and flexible, easy to glue, and very adaptable to shapes, i am not sure if it will stand the friction as good as the old one, but,...who knows, it has not been quality checked in an automotive industrial way !!
Again congratulations on your work and efforts to post so many pictures. I did something similar with one of my door panels years ago when the original material became soft and crumbly. I used 1/8" thick plywood.
ok, you are wellcome,i appreciate very much your feedback and extended comments, because my intention is to share with you and help others, as others are helping me
regards
Tierfreund
Well-Known Member
Dequincy: as so often: Excellent work!
Apart from myself, your one of very few people I would allow to work on my car. If you´re ever bored with your day job: I´ve got a Jaguar that I´m not making much progress on...
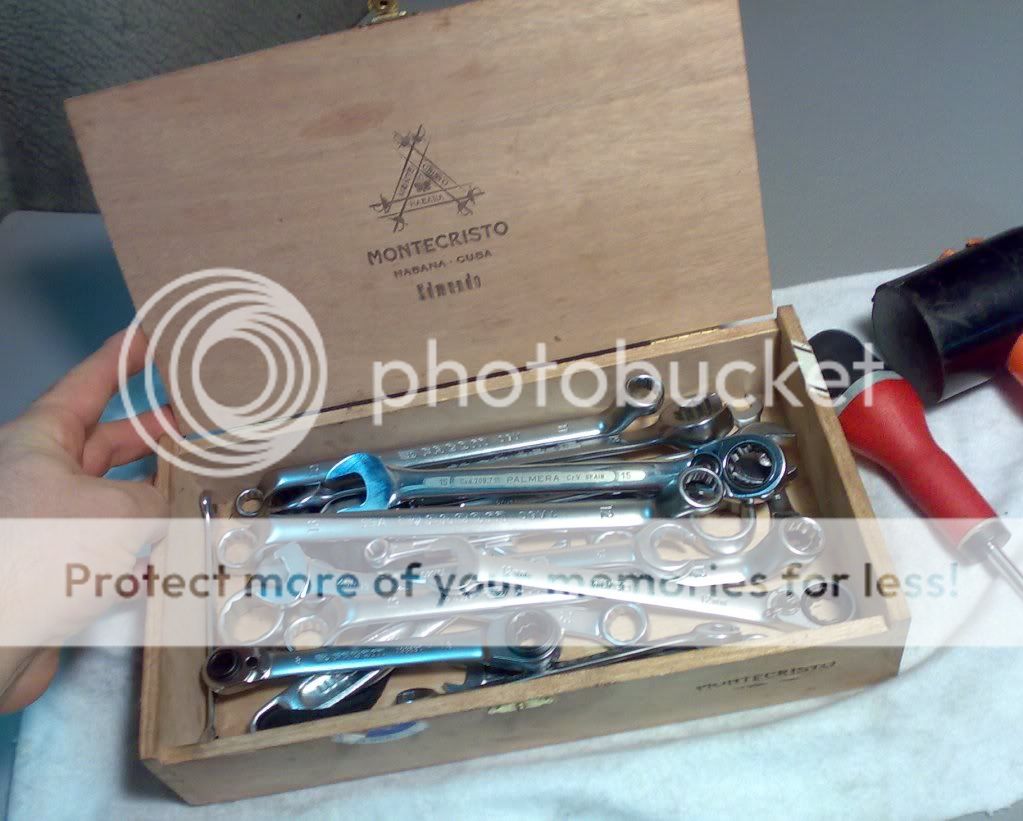
I agree with a provious poster though: Spray painting the toolbox might be worthwile. I´ve done it with mine and the toolbox takes to carefull painting very well (I´ve done mine 6 months ago and nothing has flaked yet) - use a plastic primer though of course.
Also, on my toolbox: I´ve used oversized washers under the screw heads. Distributes the stress from the screw a lot more evenly. Looks less original, but if you´re looking at spraypainting the boy anyway, why not glue some oversized washers in front of the hole and then spraypaint it all to make it less visible.
Btw, very nice and clean rear lights...")
Apart from myself, your one of very few people I would allow to work on my car. If you´re ever bored with your day job: I´ve got a Jaguar that I´m not making much progress on...
I agree with a provious poster though: Spray painting the toolbox might be worthwile. I´ve done it with mine and the toolbox takes to carefull painting very well (I´ve done mine 6 months ago and nothing has flaked yet) - use a plastic primer though of course.
Also, on my toolbox: I´ve used oversized washers under the screw heads. Distributes the stress from the screw a lot more evenly. Looks less original, but if you´re looking at spraypainting the boy anyway, why not glue some oversized washers in front of the hole and then spraypaint it all to make it less visible.
Btw, very nice and clean rear lights...
Dequincy: as so often: Excellent work!
Apart from myself, your one of very few people I would allow to work on my car. If you´re ever bored with your day job: I´ve got a Jaguar that I´m not making much progress on...,
ha, ha, ha, when we met you mentioned it, you should work on that beauty !
I agree with a provious poster though: Spray painting the toolbox might be worthwile. I´ve done it with mine and the toolbox takes to carefull painting very well (I´ve done mine 6 months ago and nothing has flaked yet) - use a plastic primer though of course.
yes, i will try to do painting on that and on the two wheelcovers too
Also, on my toolbox: I´ve used oversized washers under the screw heads. Distributes the stress from the screw a lot more evenly. Looks less original, but if you´re looking at spraypainting the boy anyway, why not glue some oversized washers in front of the hole and then spraypaint it all to make it less visible.
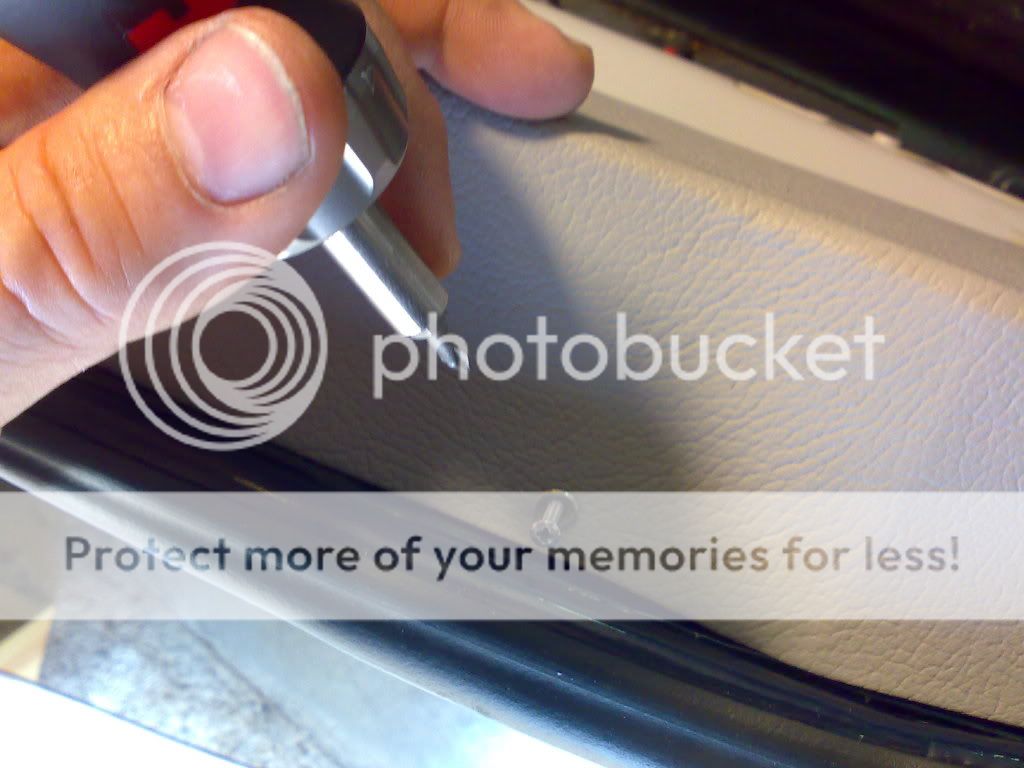
yeah, i used a combination of nylon washers to accomodate the pressure and oversized stainless steel washers to distribute the stress just as you said, anyway considering the importance of the aesthetics, i did that in the interior fixing points
but the most important effort was made in producing a flat surface for all the attaching points, this way no induced tensions in the material will take place (hopefully)
Btw, very nice and clean rear lights...
ha, ha, ha, as you said this is the "learned lesson" from insisting in an aparently not very communicative seller, thank you for the contact efforts !
g
final step on the trunk, now completely finished
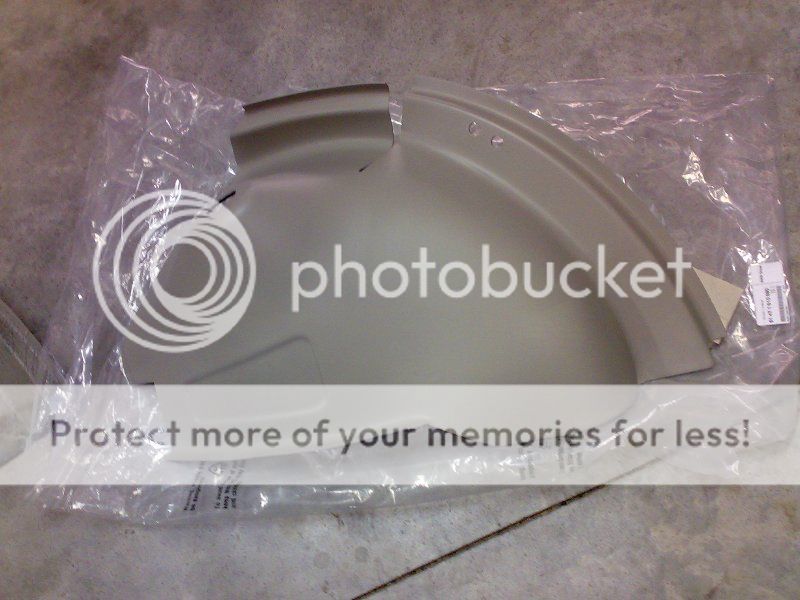
from ARDE´s info about the availability of the weel inner covers (those inside the trunk), i have decided to finalise the trunk restoration,
I ordered both LH & RH parts from bmw, they were stored wating for the right moment
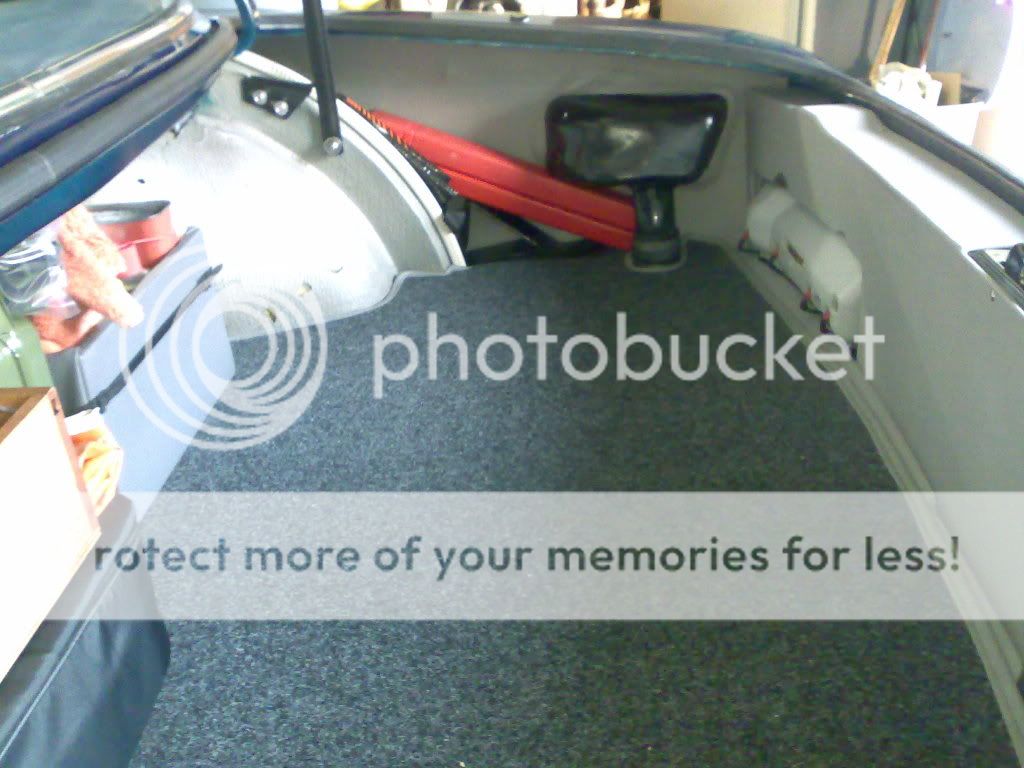
the restoration included also rear seat wall, because a HIFI sound amplifier was installed by PO and they destroyed that panel
so pictures again:
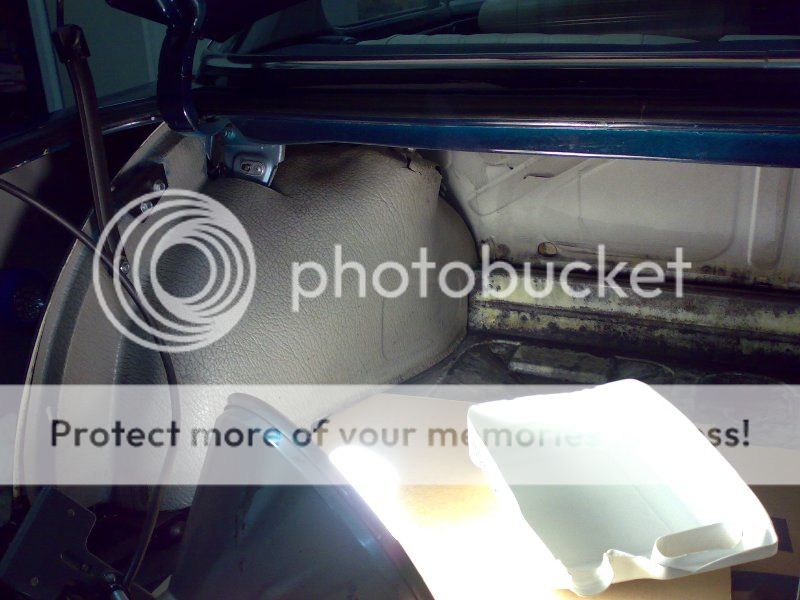
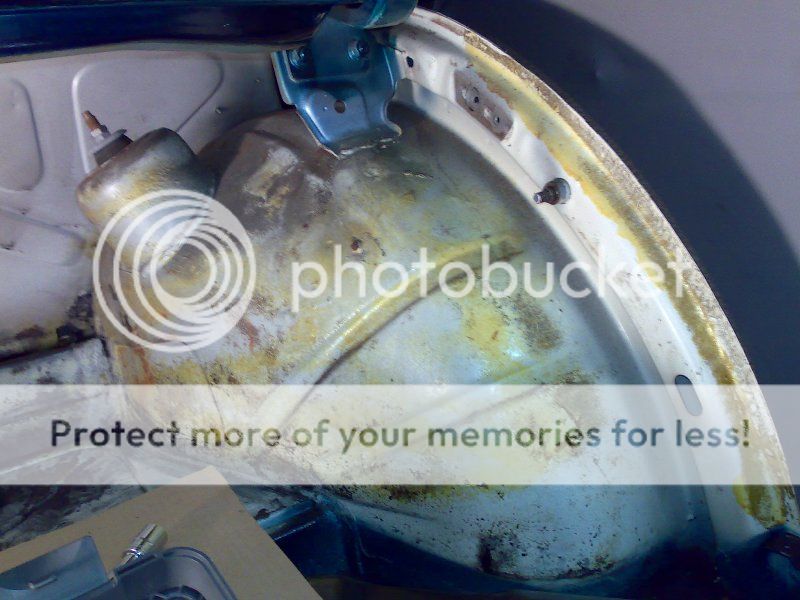


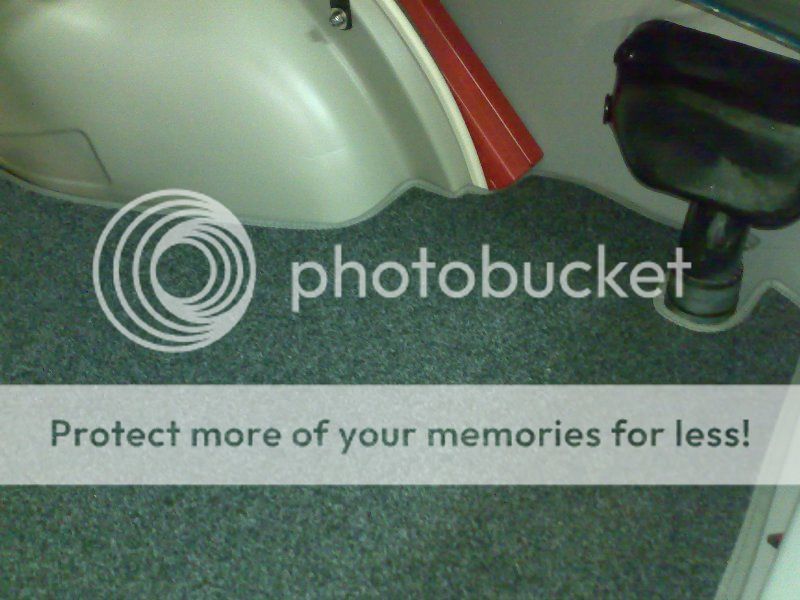
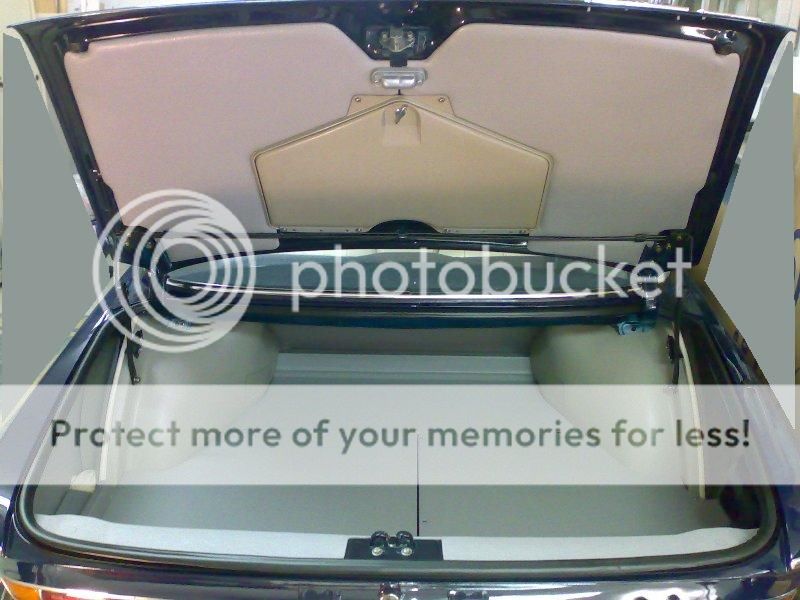
compare with previous status, it is worth doing:
from ARDE´s info about the availability of the weel inner covers (those inside the trunk), i have decided to finalise the trunk restoration,
I ordered both LH & RH parts from bmw, they were stored wating for the right moment
the restoration included also rear seat wall, because a HIFI sound amplifier was installed by PO and they destroyed that panel
so pictures again:
compare with previous status, it is worth doing:
Last edited:
Nice and clean!
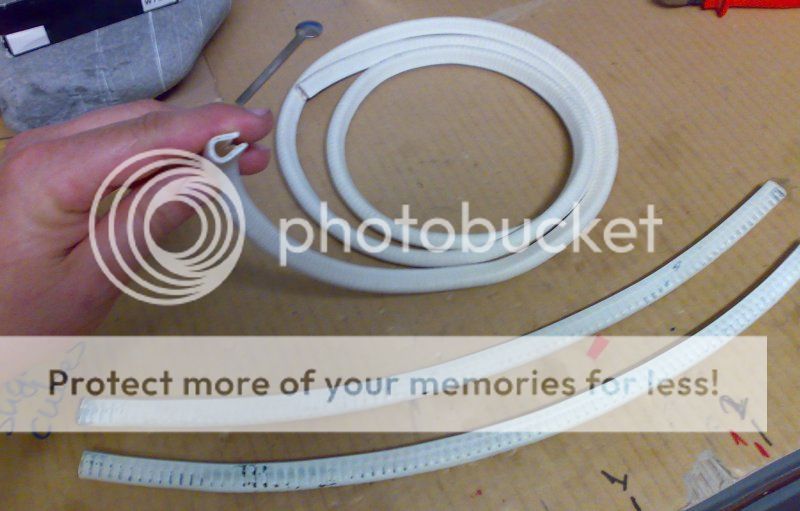
a questin about this has arised,
due to the shapes, curved and 3D curves, you need a material that you can wet bend and then dry with the new shape
this material is able to do the trick,
moreover you can make it waterproof with latex application
due to the shapes, curved and 3D curves, you need a material that you can wet bend and then dry with the new shape
this material is able to do the trick,
moreover you can make it waterproof with latex application