tdgray
Well-Known Member
Great work… tricky little section there. So glad I didn’t have to yank mine out.
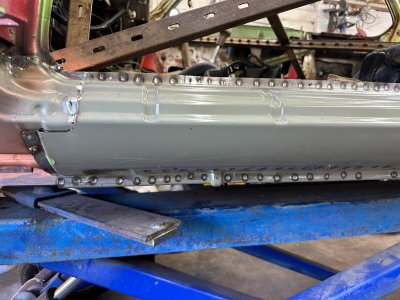
Thanks! And yes it's great... no gas to worry about either. The downsides are it's awkward as hell and kind of a workout to use, but I'm really glad I picked it up. I might eventually sell it in hopes of finding a smaller one (I've seen them in a different form factor where they're more like a cart instead of a crane) but for now it's working out really well.Really nice progress, and your spot welder sure makes it looks nicely original too. It's a beefy one for sure, looking at the size of the spotwelds!
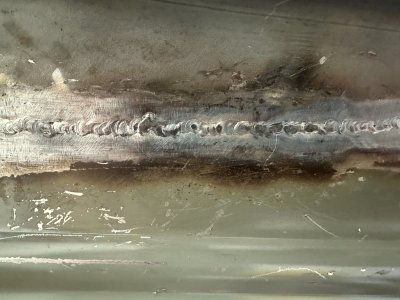
One of the best traits of a spotwelder is the no-need to dress welds afterwards. Zap and done!
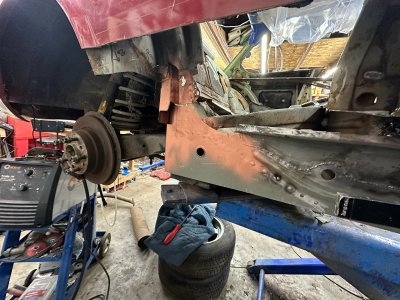
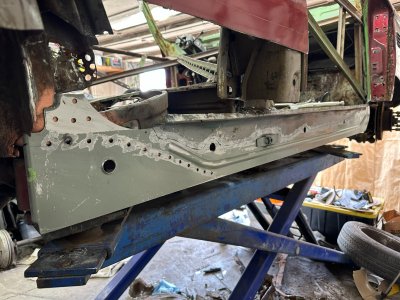
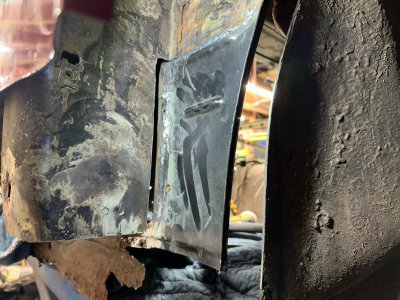
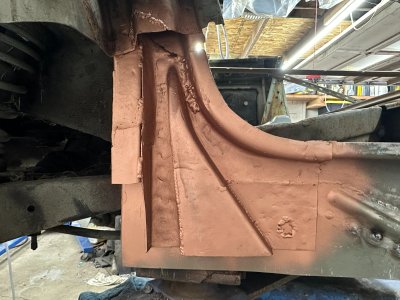
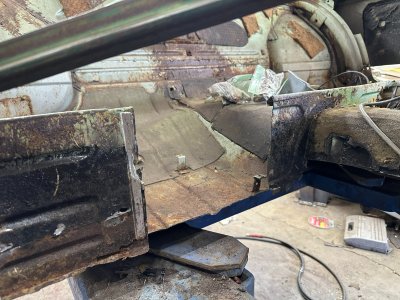
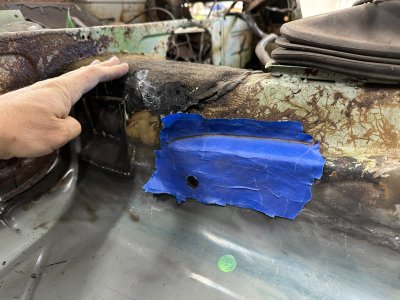
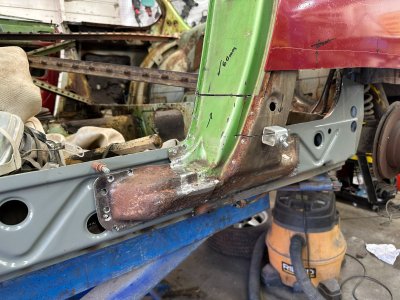
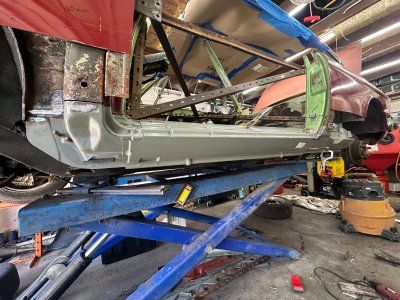
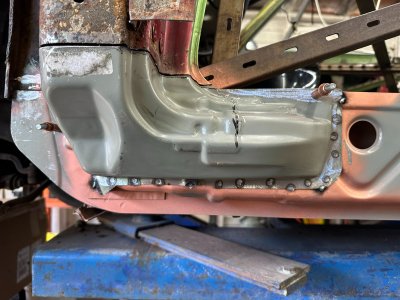
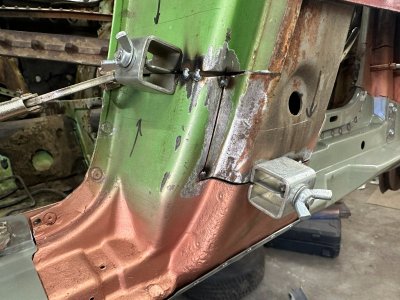
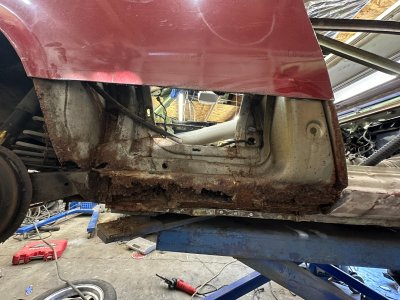
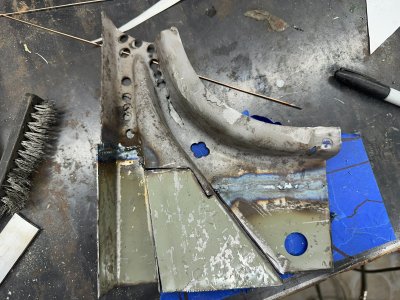
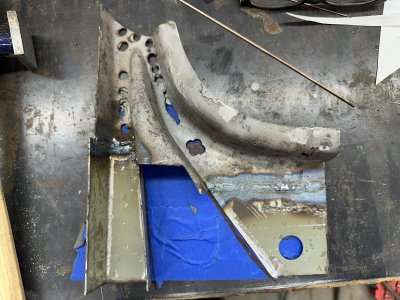
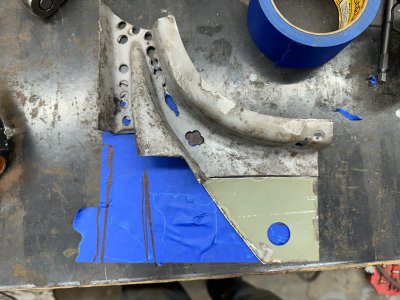
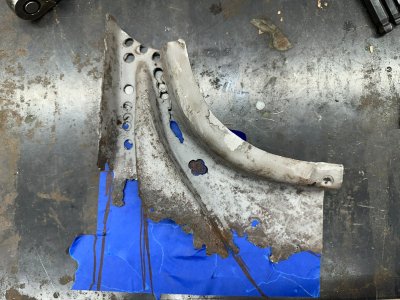
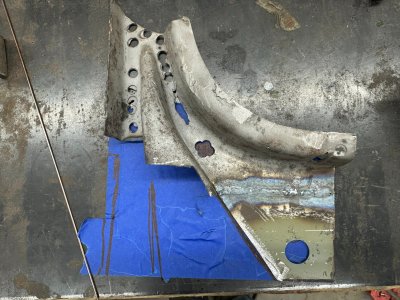
On image 4499 it looks like you prefabricated the outer sill with the thick inner still. And that assembly is placed to the car. Wasn’t that a non welded area originally. It looks so unusual for the original manufacturer (Karmann) the get the complete sill (4 pieces) assembled.I came home from vacation to find that part of my garage ceiling had collapsed (!), so I've been dealing with that as well as various other projects, hence the delay. All is pretty much back in order now, though, so I've started to make progress again.
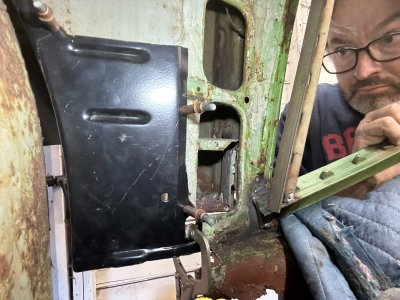
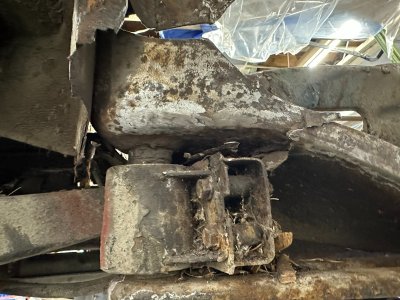
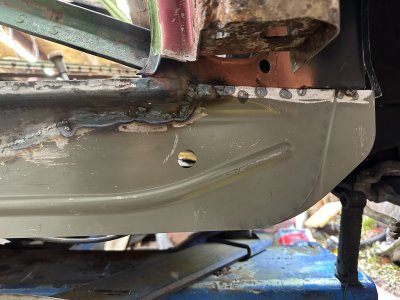
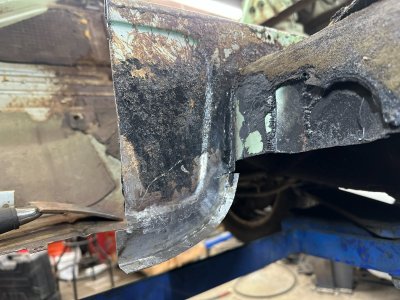
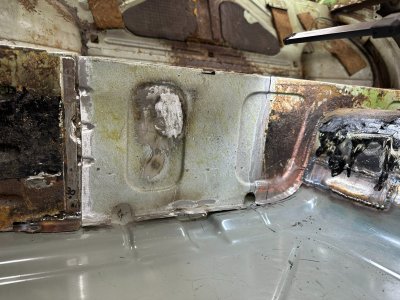
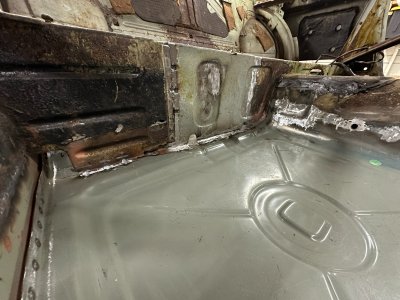
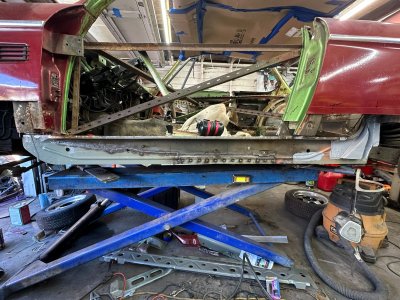
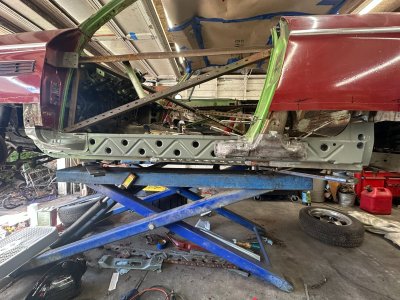
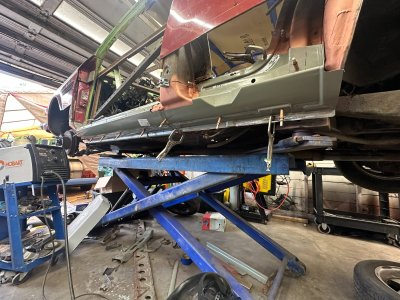
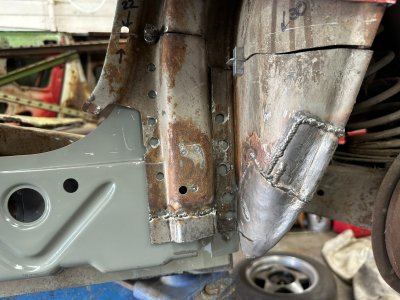
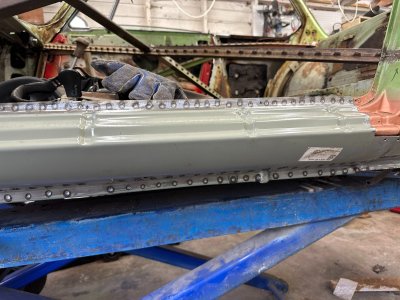
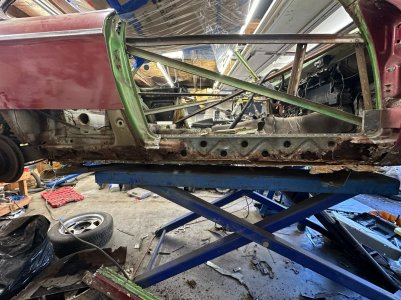
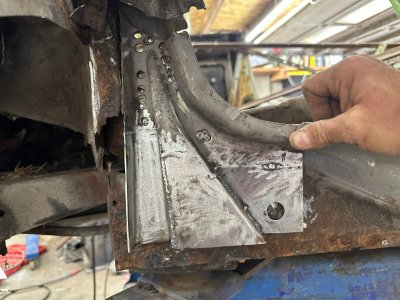
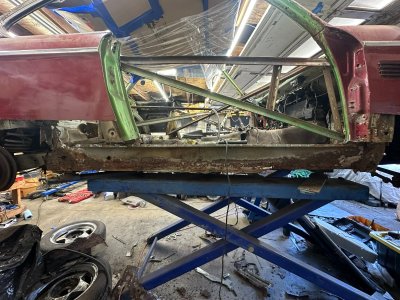
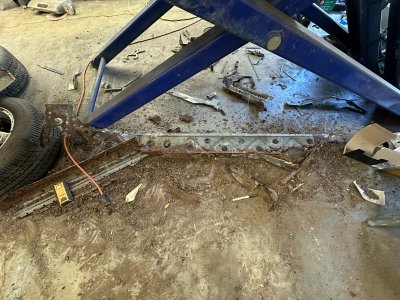
I finished patching up / fabricating that tail end of the rocker assembly where it interfaces with the inner wheel arch (this took me a long time, mostly due to second guessing myself and lots of measuring, adjusting etc). After a lot more back and forth with test fitting etc., I finally committed and tacked the a and b pillar supports, as well as that tail end section, to the intermediate rocker. And then, finally, it was time to bring out the spot welder for its first real use since I resurrected it.
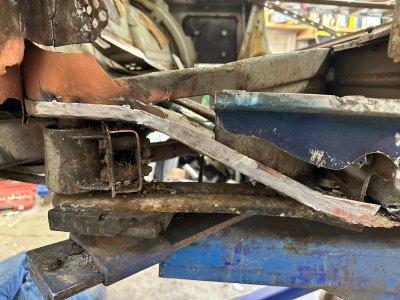
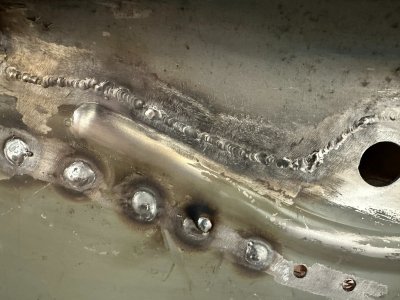
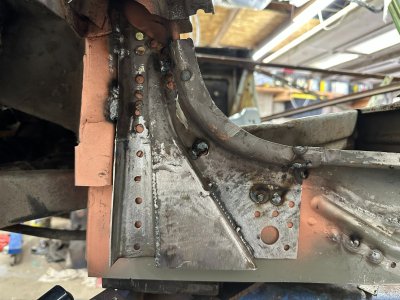
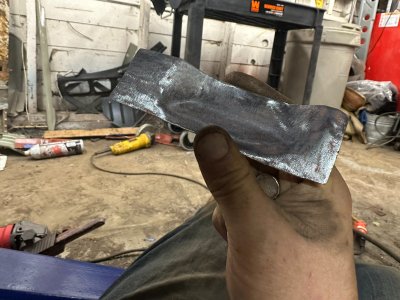
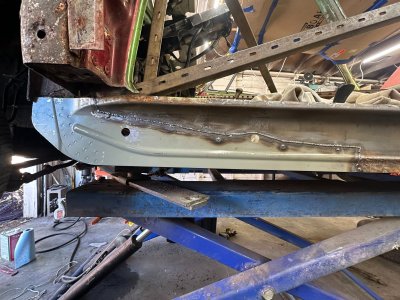
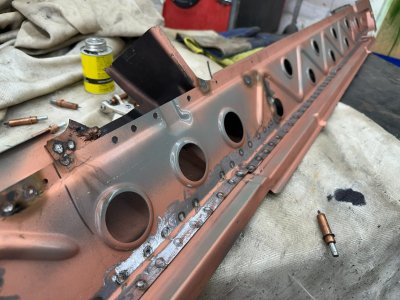
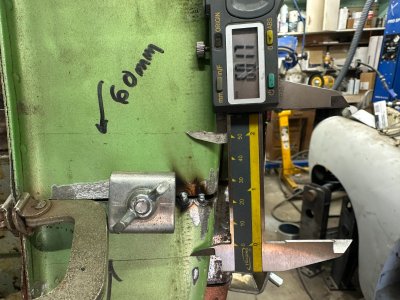
I did a bunch of testing settings on scrap metal until I was happy with the "nugget," and then went ahead and spot welded those sections together. And then finally, after still more fitting, adjusting and tweaking, spot welded the outer rocker to the intermediate assembly.
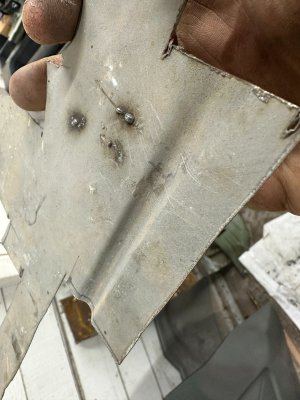
I realized too late that while the spot welder has no problem going through weld-through primer on the inner surfaces of the things it's welding, I guess it's not conductive enough for the electrodes themselves. So, I had to sand that off of the inner and outermost surfaces not long after applying it. Live and learn (and probably should have known better in the first place).
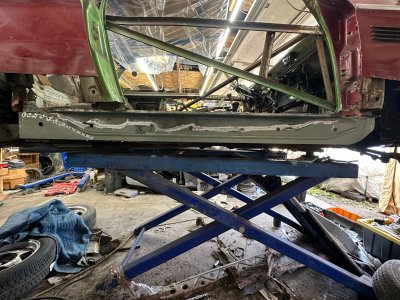
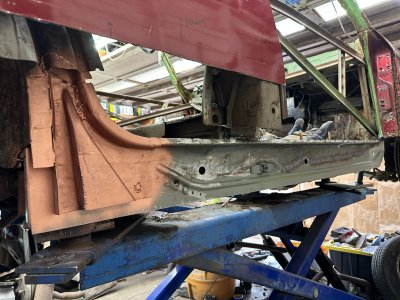
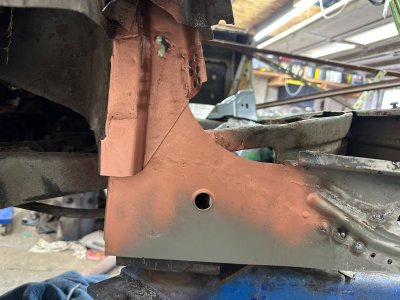
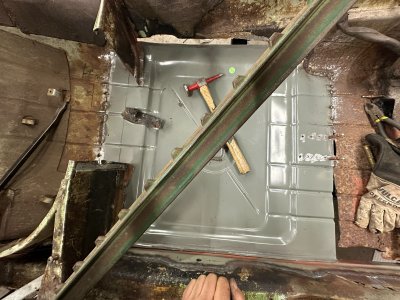
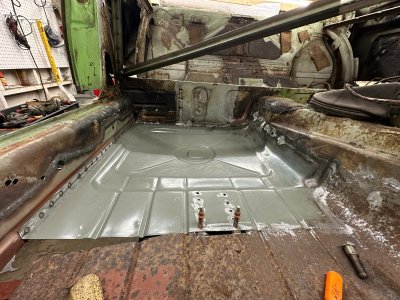
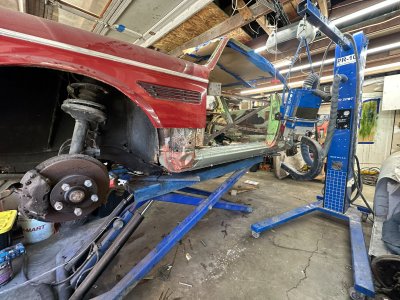
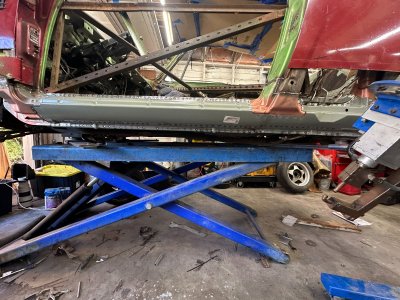
The next step is to re-mount the whole assembly, and then weld up all the but welds where I cut the a and b pillar supports initially. Then spot welding along the top and bottom flanges, and seam welding in the various spots where the factory did. There'll still be a few places where I have to use plug welds but nothing like what I'd be dealing with without ol' spotty. It take up an enormous amount of space in my garage, but it now seems clear it's worth it.
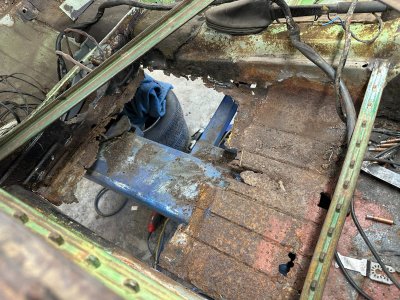
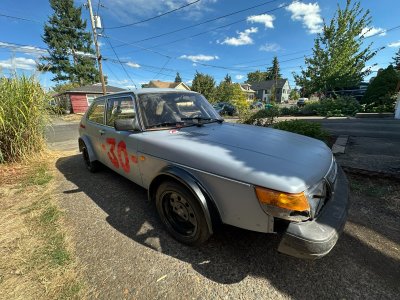
I'm alternating between this project and getting a Lemons Saab some friends and I have built ready for a race the 30th-31st. It'll be our second one and I'm wrapping up our various improvements from last year -- should be fun!
Yup, that's what I did, having gotten the idea from @nosmonkey 's thread. I'm pretty sure that flange was welded originally, judging by what i found when I took everything apart. That's the main reason for pre-assembling the sills... for easy access to those welds (made even easier with the spot welder of course).On image 4499 it looks like you prefabricated the outer sill with the thick inner still. And that assembly is placed to the car. Wasn’t that a non welded area originally. It looks so unusual for the original manufacturer (Karmann) the get the complete sill (4 pieces) assembled.
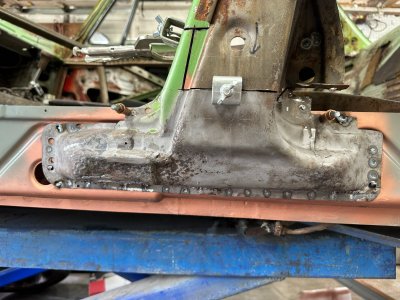
By the way: you made much more stiffer sill! Not bad at all.