Just some images showing that e9's do flex & some reinforcements that i made / saw in other resto threads:
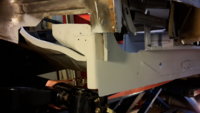
From a members car; the opening in the tunnel should be a flat round shape. It isn't anymore.
From my own car:
In red you can just make out the hairline crack. In green a weld already made by the PO... this is at the top of the tunnel, where a depression runs down both sides for the wiring harness to fall into.
and another detail of the cracks; when you look closely you can see that there are actually 3 hairline cracks in the corners of the rectangular speed clip opening at 5-7 and 9 o'clock:
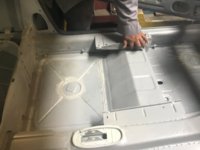
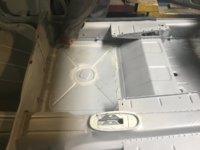
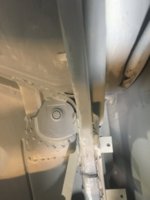
here's what i made to improve it. It now has 3 threaded bushes to accept the shifter console. It's inserted from under the body and then plug welded it into place:
I will not know if it is strong enough to prevent it from buckling again, untill I drive it. that'll be another 2-3 years at my speed. (edit 2026 : duhuh.... still not driving
")
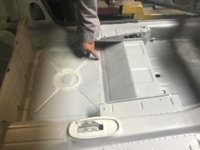
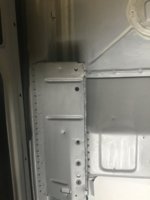
Another modification is this one (i've seen it on more restorations): the sills have a middle layer that is connected only to the outer layer (just 0,8 mm thick) by spotwelds. As such it does form a closed section, but only to thin sheet. The middle section (with the series of large round holes) could benefit from connecting it directly to the inner sill creating a tube from the open C-section these 2 parts from originally.
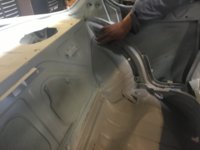
Here you see the 'open' C-shaped channel that the intermediate sill (left in pic) and the inner sill (right in picture) form. Closing this channel with some tabs will increase it's torsional and bending stiffness immensely. The pic is made with the left side outer sill removed, looking towards the front wheel.
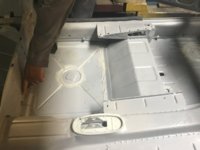
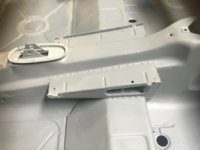
These connections are best made at the lower b-pillar and lower C-pillar. Here's the pic of the lower C-pillar where the jack pick up point is now welded to the inner sill. and on the right pic you can see the b-pillar where i could have (should have ...) made the connection as well:
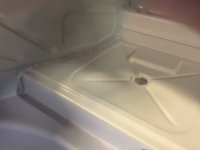
Another modification i did was under the rear seats, where the reinforcement plate sits that holds the big pin for the rear subframe. This reinforcement plate is only rigidly connected on one side to the inner sill with seams welds. the other side just is spotwelded to the 0.8 mm floor. In an ideal world, it should all be constructed in triangles. that is not the case here: the reinforcement just hangs on the wall of the inner sill, and the floor is not really strong. SO i opted to create another strong point for the reinforcement to be welded to.
In my car the floor under the the rear trailing arm pick-up points were rusted out, including the ends of the inner sill. So i needed to replace those sections anyway.
I made a new end section to the inner sill, with a larger flange that folds around the corner into the wheel well, just behind the reinforcement plate. It now connects directly to the reinforcement piece that sits under the rear seat, completing the 'triangle' to.
Gaping hole under rear right seat & New inner sill end section made (The flange in the green rectangle was my addition):
and lined up for welding:
and here you now see how it supports the reinforcement plate. It was plug welded together later on from this side, so not noticeable anymore afterwards. The section left of the red line was added, in comparision to OEM shape, thus tying the reinforcement bracket that holds the thick pin directly to the thick inner sill structure
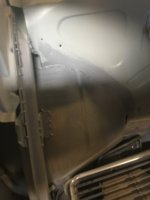
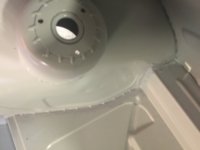
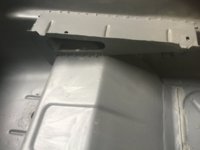
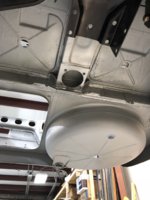
In the rear, I've reinforced the differential mount. As my trunk is quite airy at the moment; this was easy to do:
I doubled the vertical flange where the diff support is welded to:
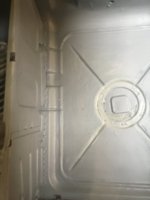
Then spotwelded the whole thing. The thicker welds are where it connects to the rear diff mount.
Now as you see, I haven't touched the front of my car. I need to open the hood still after 7 years working on the mid & rear of the car....