Recommend the air assist gun


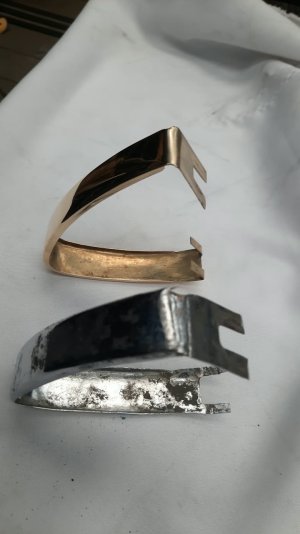
I just lightly scrape off anything close to loose, it is pretty thin.If it looks good then don't do anything. If it looks 50-years-old worn out then yes. A bit of an annoyance. You can't easily flock over the old stuff because i don't think the adhesive will stick to it or if it does it will look clumpy. Welcome to another afternoon lost.
I used a wire wheel to get to blank metal, then degreased, then applied glue.I just lightly scrape off anything close to loose, it is pretty thin.

I used a wire wheel to get to blank metal, then degreased, then applied glue.


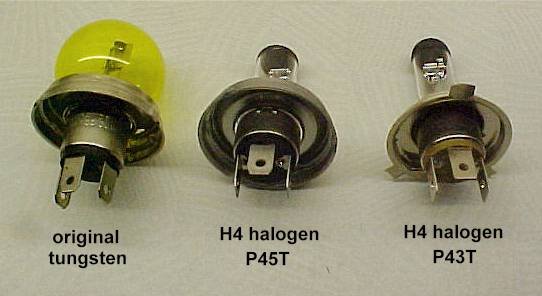
Just be sure you have early p45t which are impossible to find in higher watts or p43t which are the standard H4 bulb. The base is different as are the wire snaps.you can buy vintage Marchal h1 low beam headlights for the French market. they have yellow filter lenses inside for h1 bulbs.
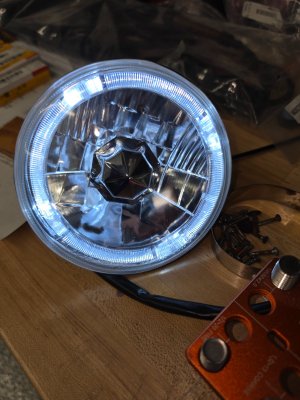
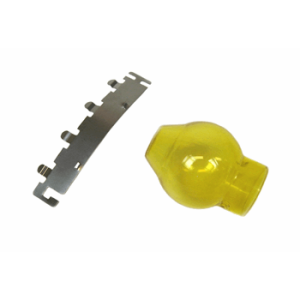
Pretty pricey at $208 per headlamp but at least the reflector and bulb work together. What is the advantage of the yellow bulb other than the old school fog light approach?

I fixed my error above: ChrisJust be sure you have early p45t which are impossible to to find in higher watts or p43t which are the standard H4 bulb. The base is different as are the wire snaps.

I have plans for this as well in the future as needed. There are 3D printed jigs that make it easy to stripe the wires, assuming you have access to a 3D printer. Some public libraries will give you a few free prints per month. Check with your library system as it's usually only limited locations.Tried my hand at "Painting" a black stripe onto a white wire.
In my limited experience above, I chose the oil based paint pen, and did the job "freehand", but near edge of bench so my hand could follow edge of the wooden top and I would just place pen onto the wire and pull my hand along. I had secured wire at each end with a screw into the wood top with a large washer and pulled it tight. I was anxious to get to the finish line on this, as car had been apart, longer than anticipated.I have plans for this as well in the future as needed. There are 3D printed jigs that make it easy to stripe the wires, assuming you have access to a 3D printer. Some public libraries will give you a few free prints per month. Check with your library system as it's usually only limited locations.
Mechanism: The jig holds the wire steady while you insert an oil-based paint pen or a permanent marker (like a Sharpie) through a top slot. As you pull the solid-colored wire through the guide hole, the marker tip leaves a perfectly straight, consistent tracer/pin stripe along the length of the insulation.
Tips for Best Results
Use Paint Pens for Dark Wires: If you are trying to add a light tracer stripe (like white or yellow) onto a dark wire (like black or blue), standard ink markers will be too translucent. Use an oil-based paint pen instead, as it provides an opaque, permanent stripe that won't crack when the wire bends.
Printing Material: Standard PLA works perfectly fine for this print, as it is easy to print and rigid enough to keep the marker aligned.
Friction reduction: Try printing it so that the internal guide hole matches your layer lines, allowing the wire to glide smoothly without snagging on the print layers.