It has been almost a year since I've posted on this site. I've been busy with another project and now i think I am ready to tackle this one.
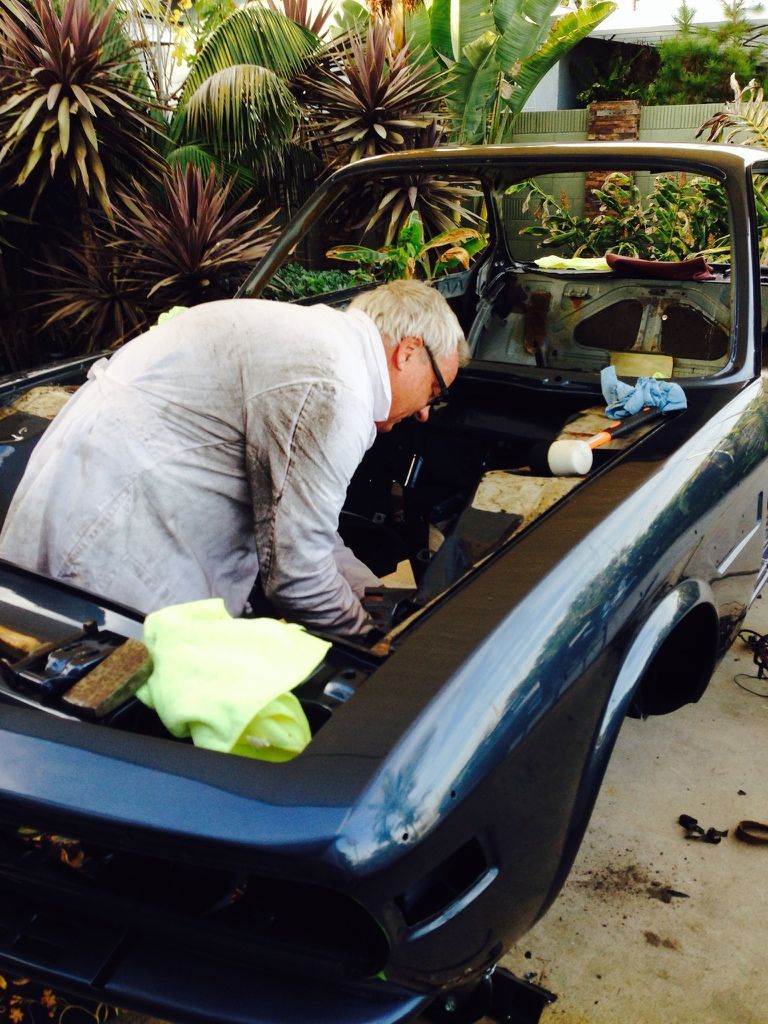
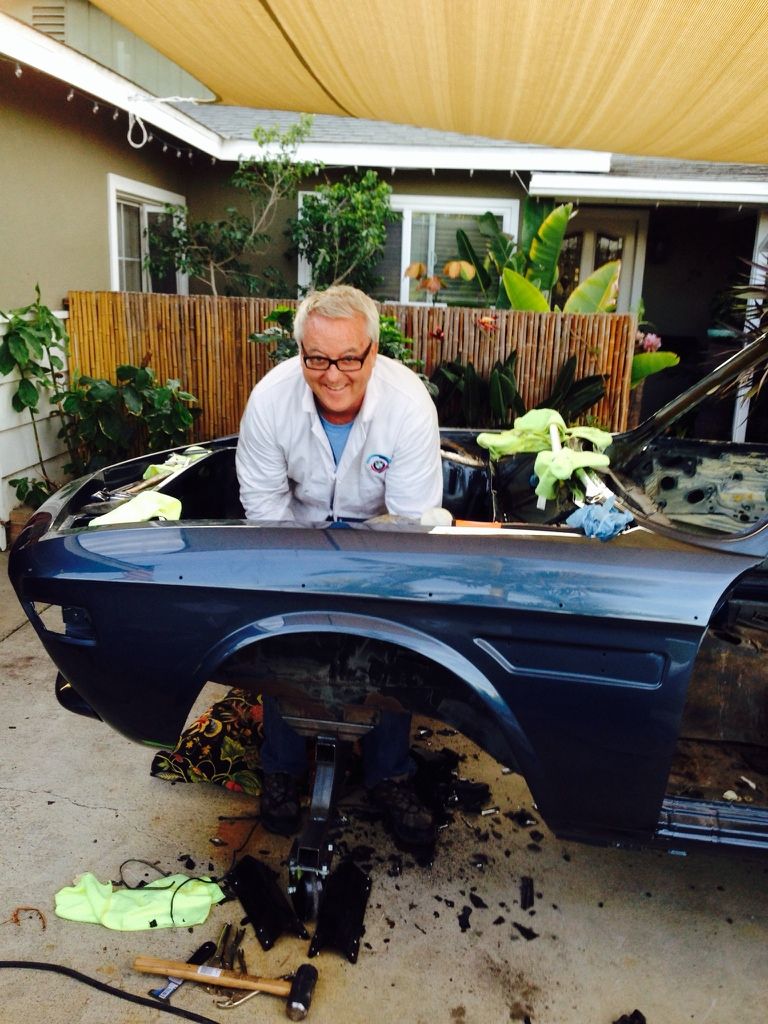
Back in April with quite a bit of help, I decided to jump in and start the long process of refreshing my e9 Coupe. I've never done anything like this before so I was without a doubt overwhelmed with the task at hand.
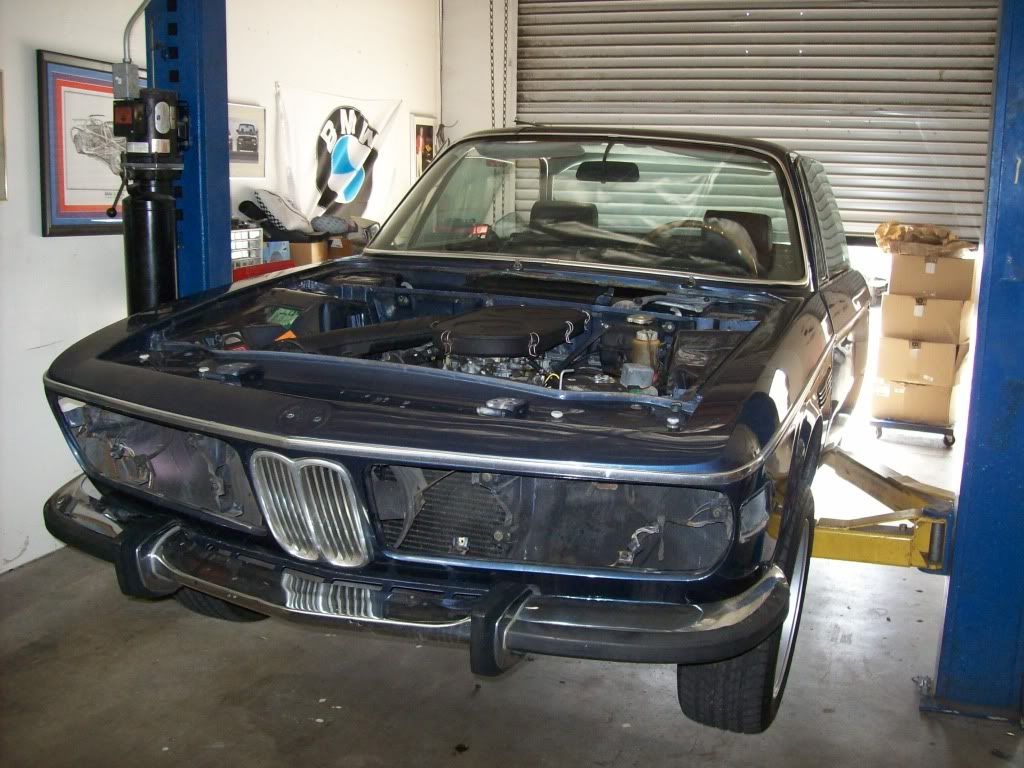
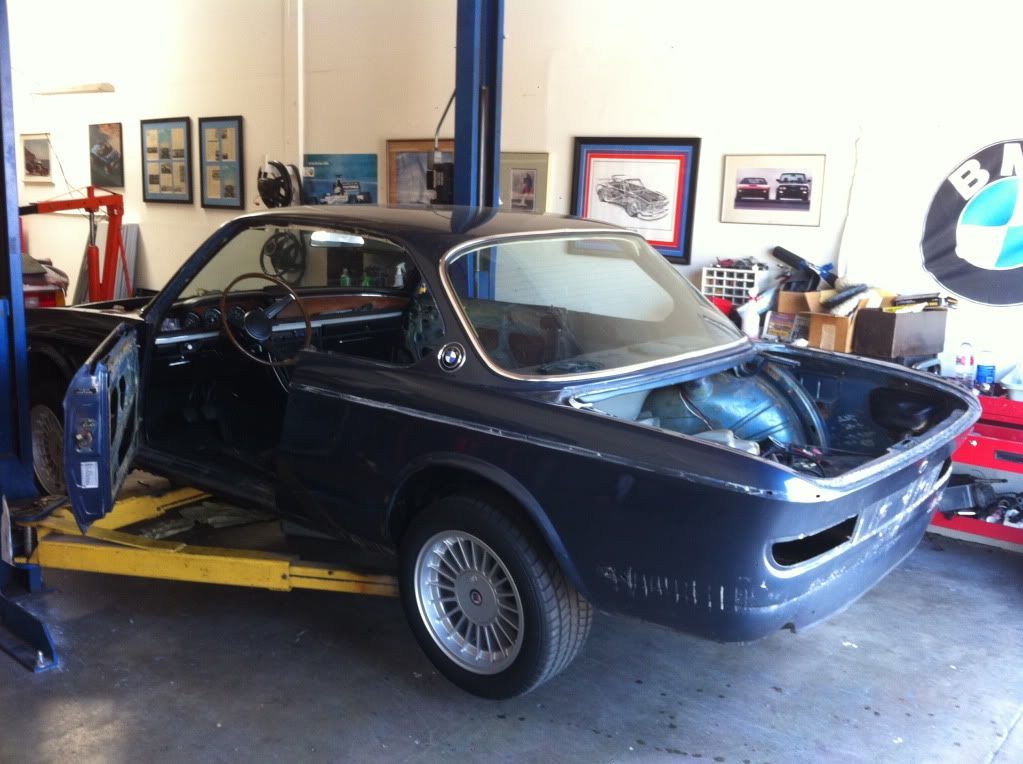
Subject vehicle:
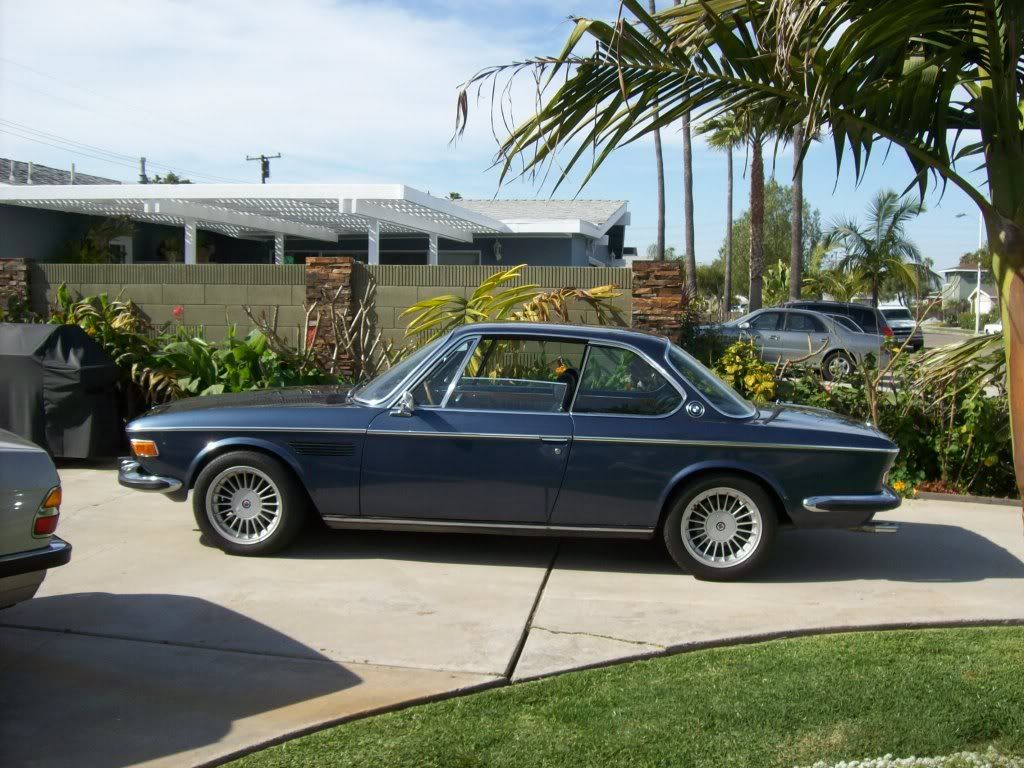
She looks pretty here but there are many underlying issues so common with the e9.
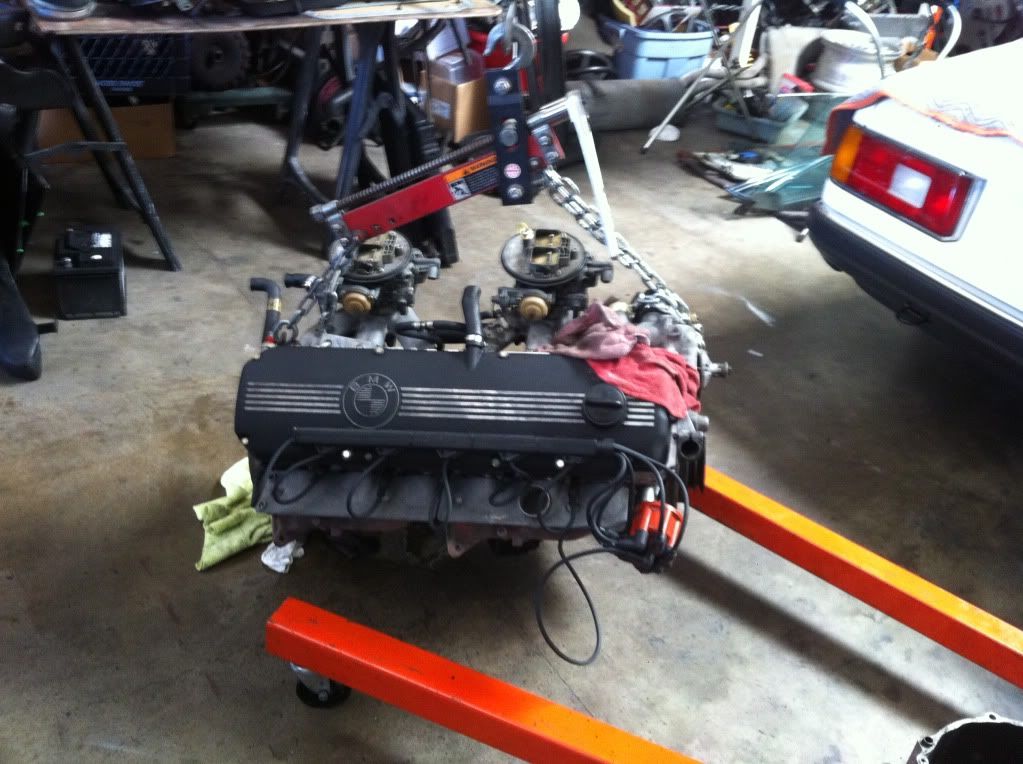
Progress
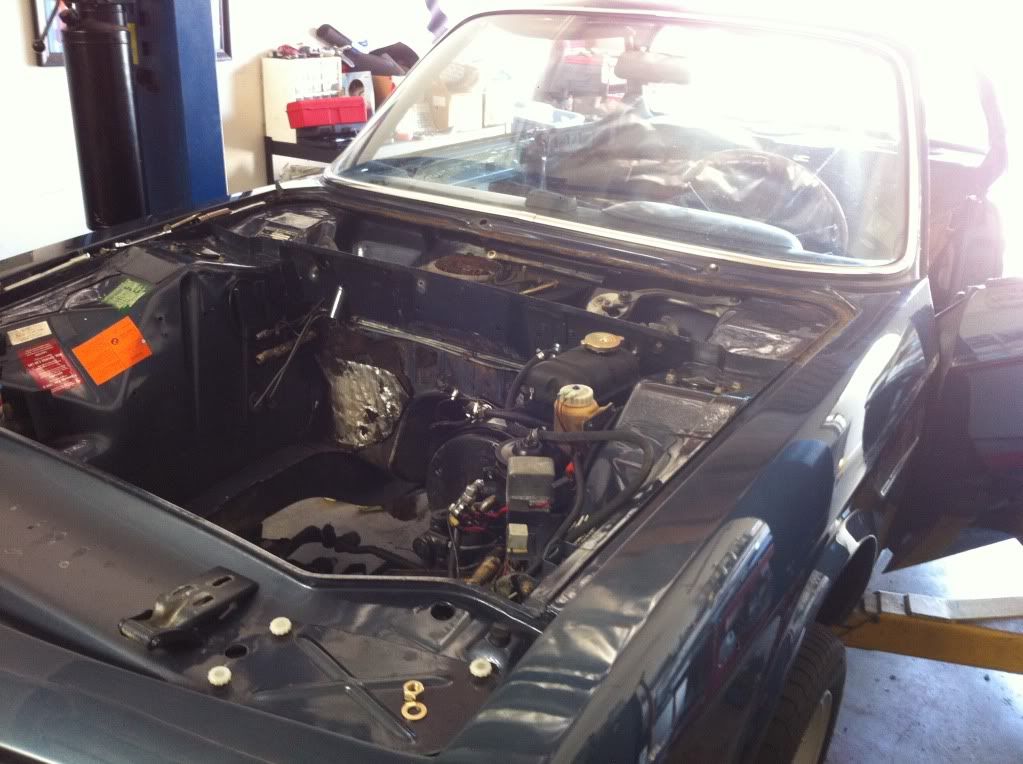
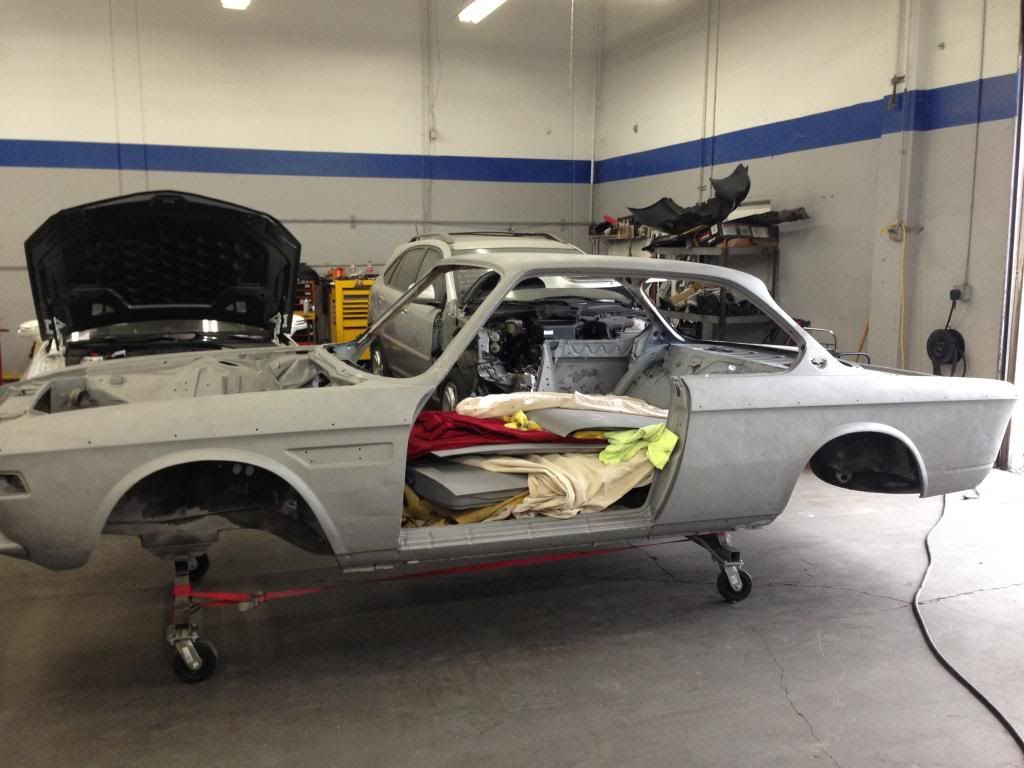
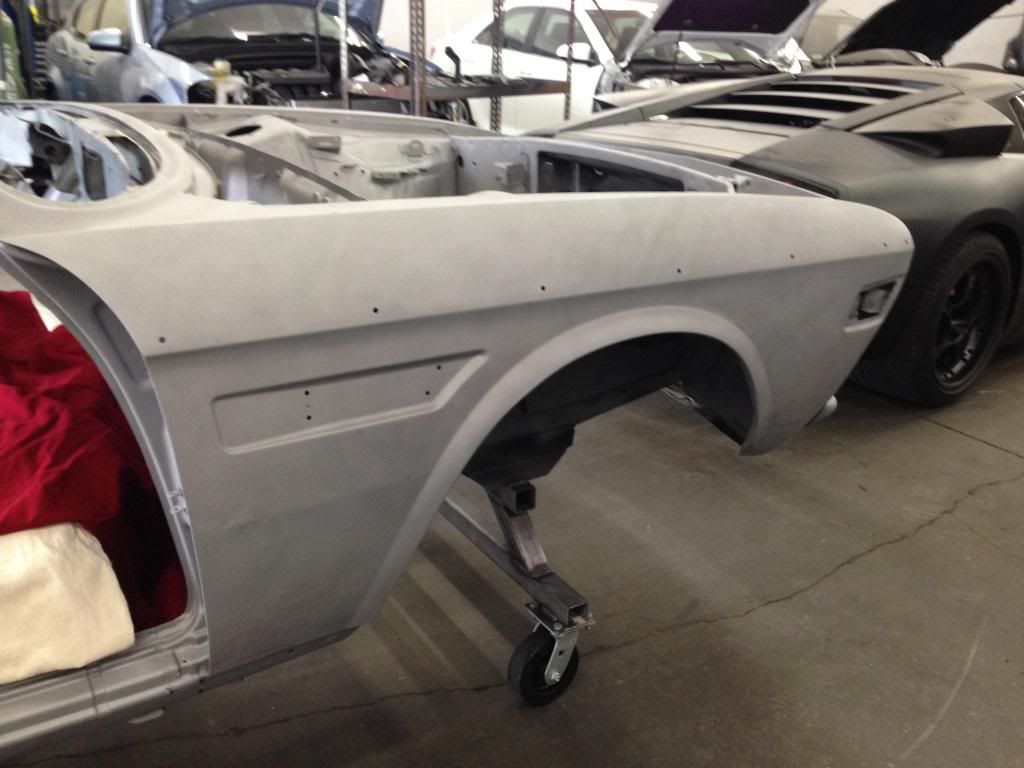
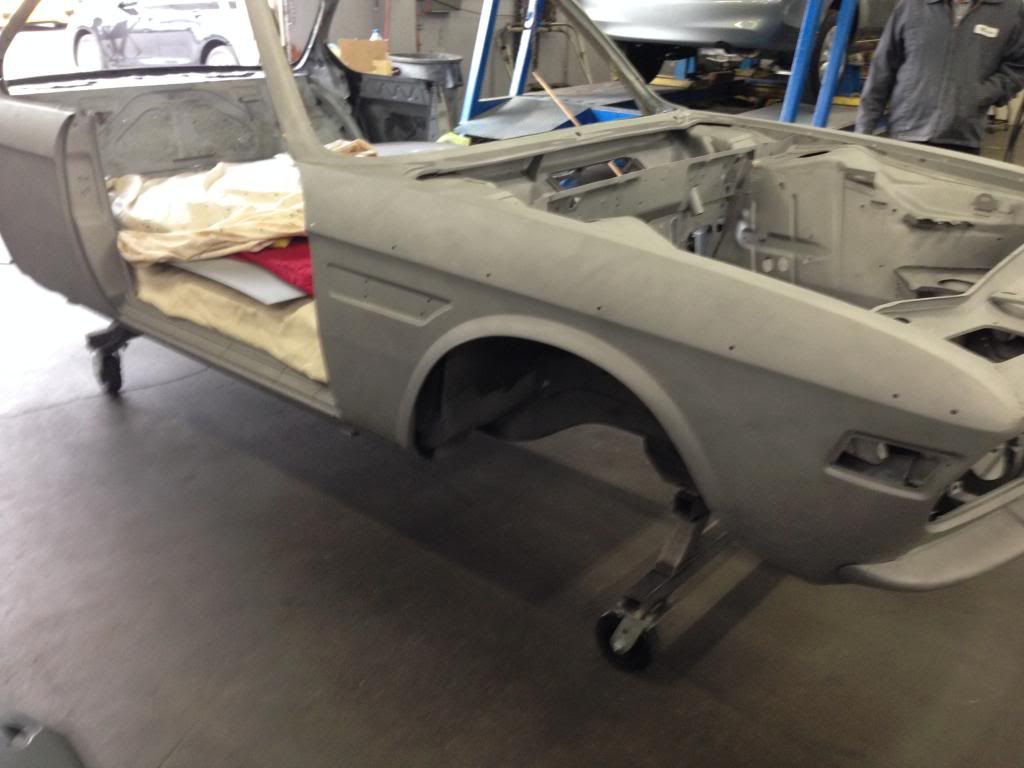
Engine out
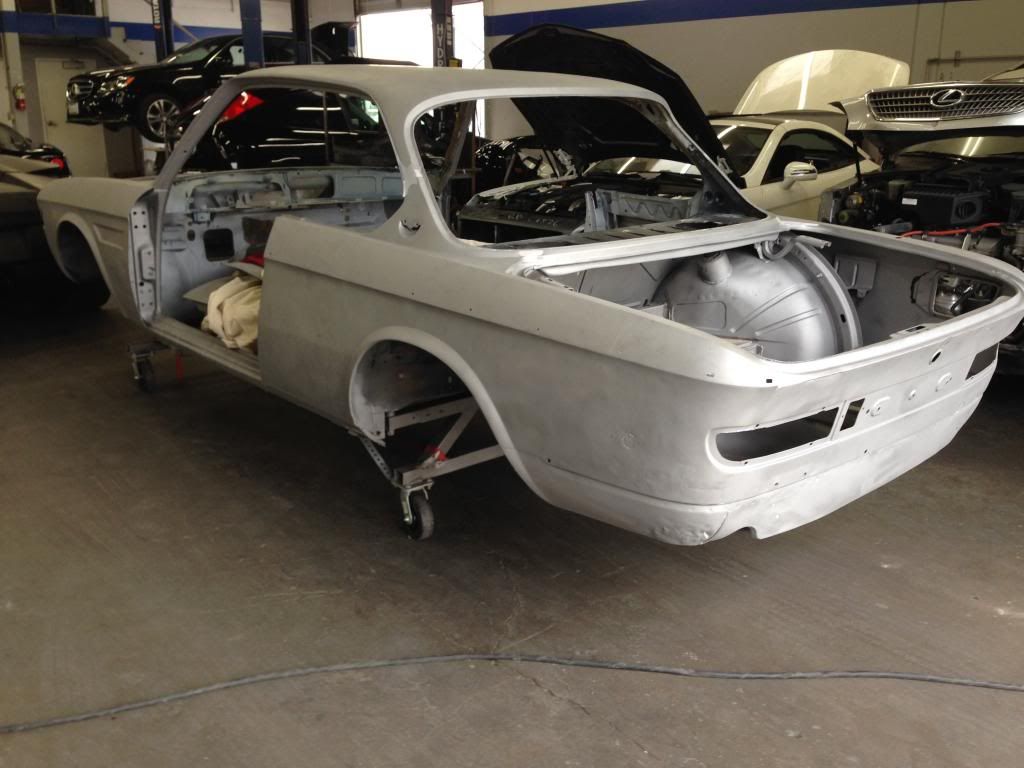
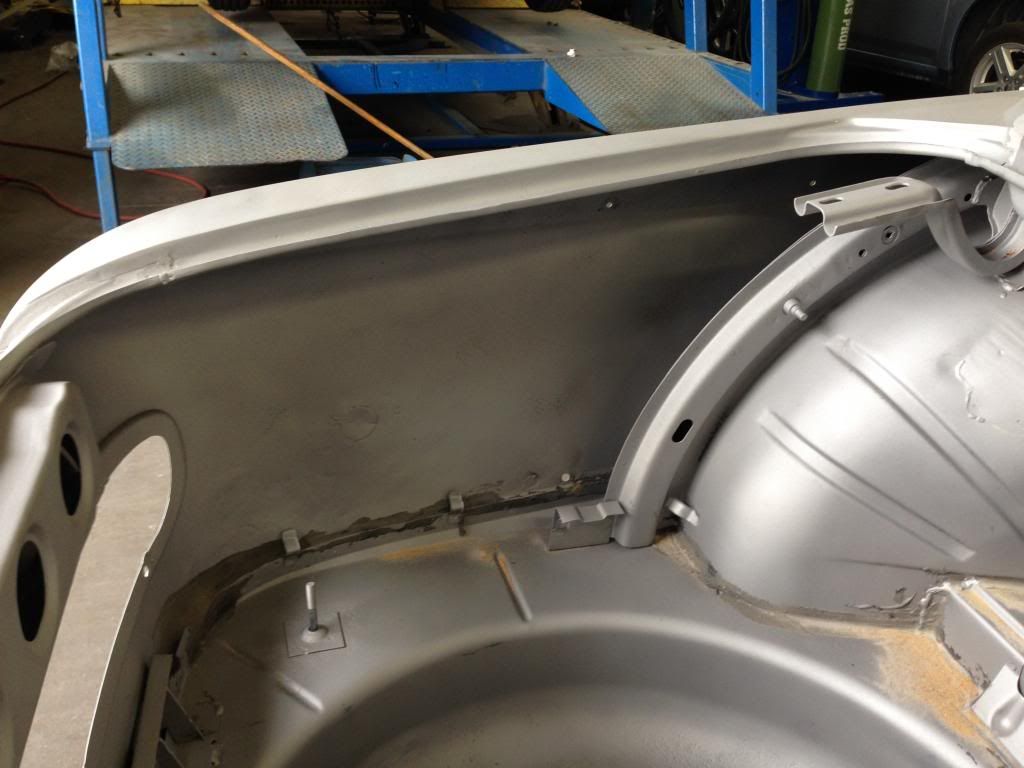
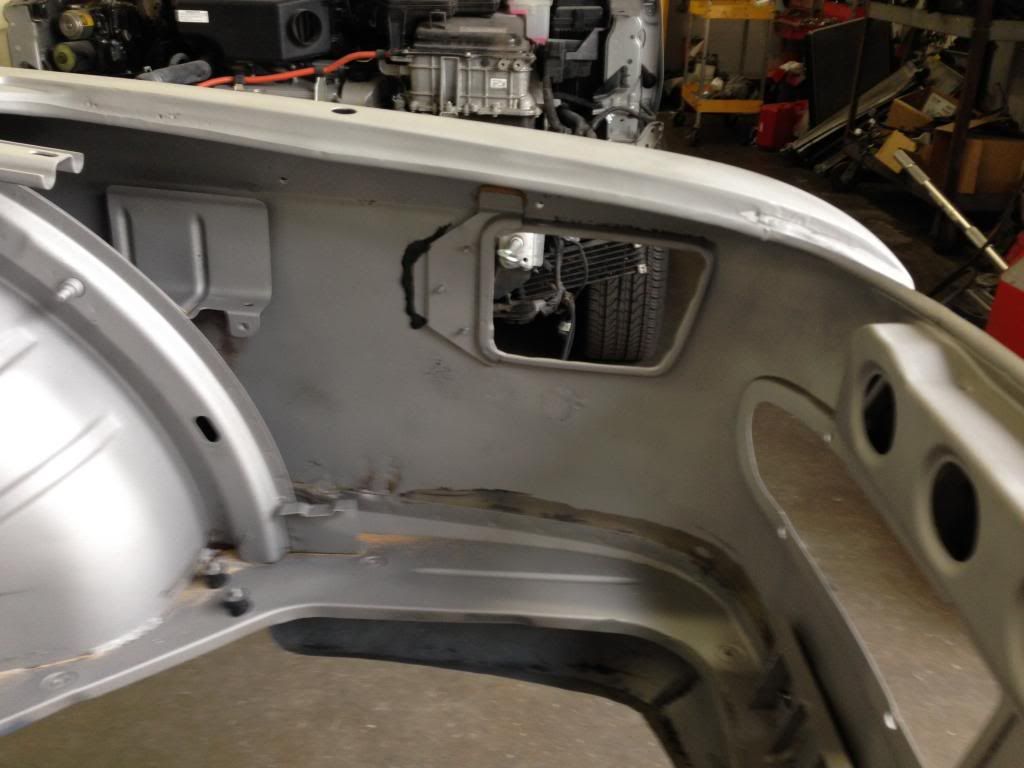
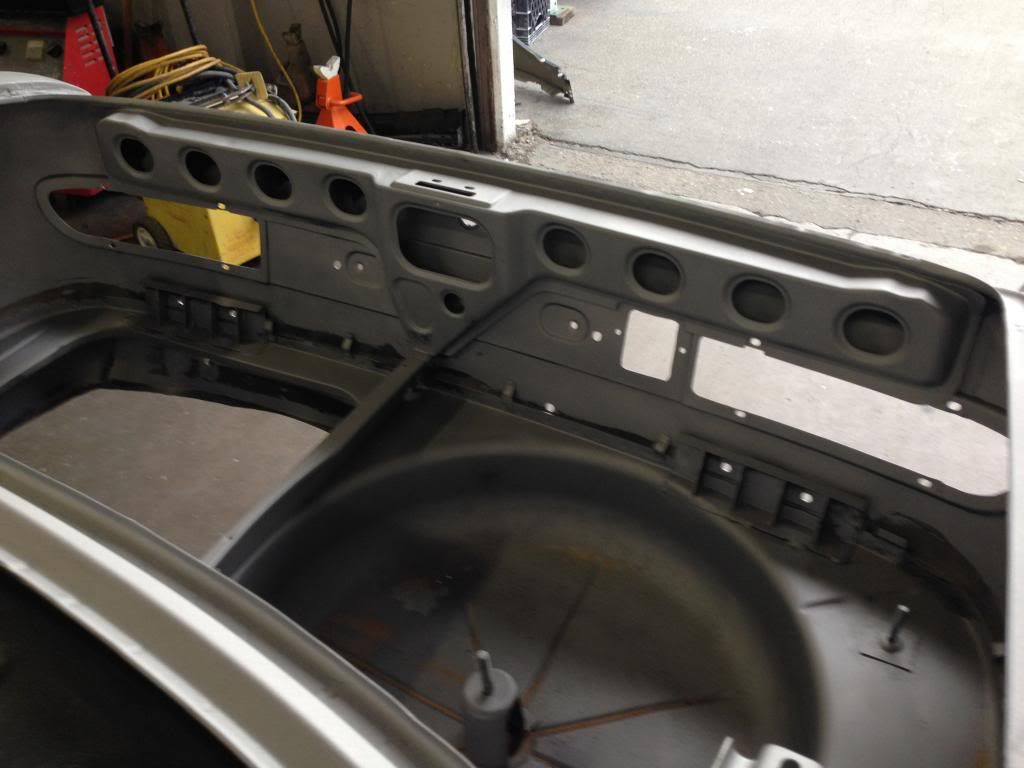
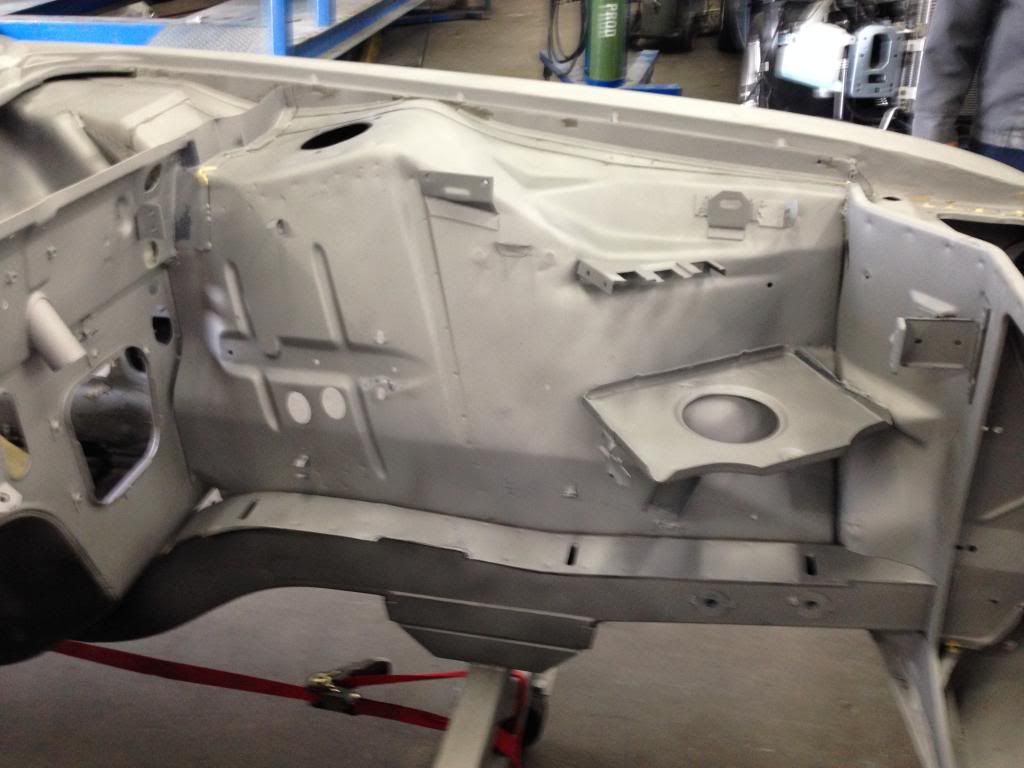
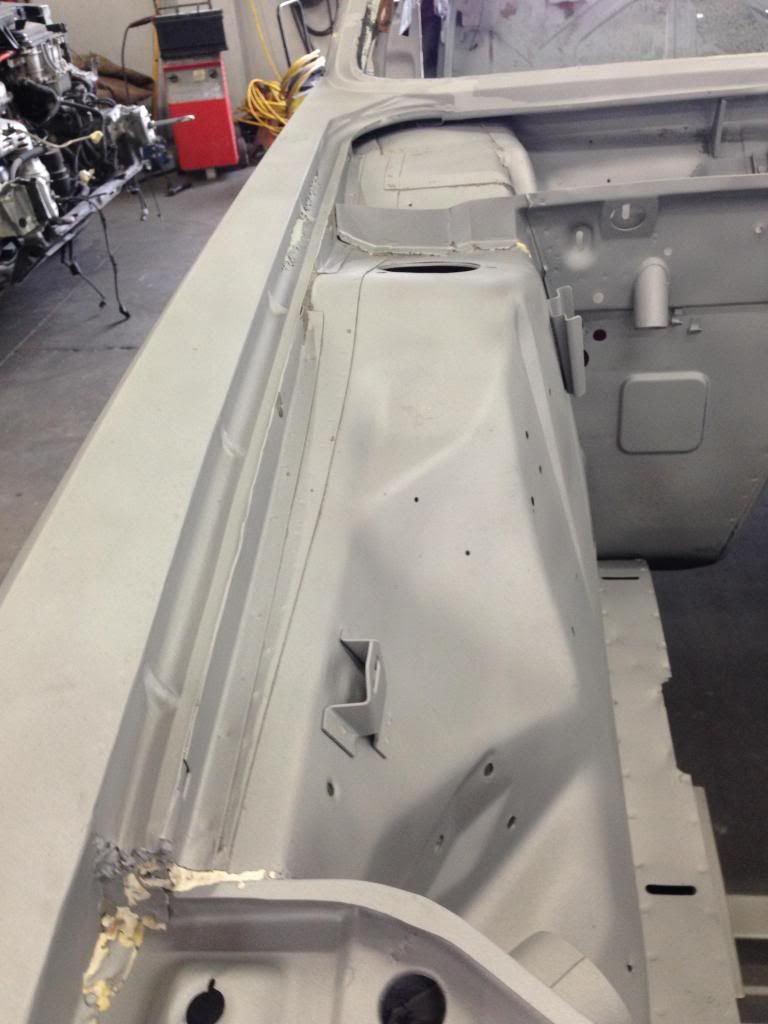
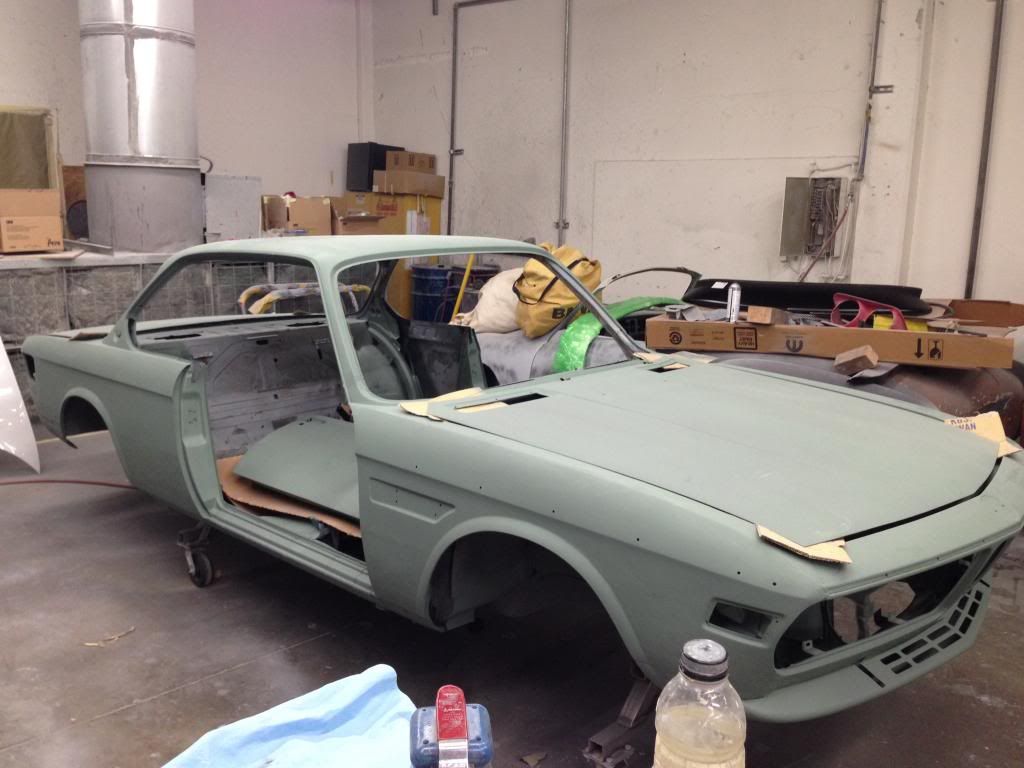
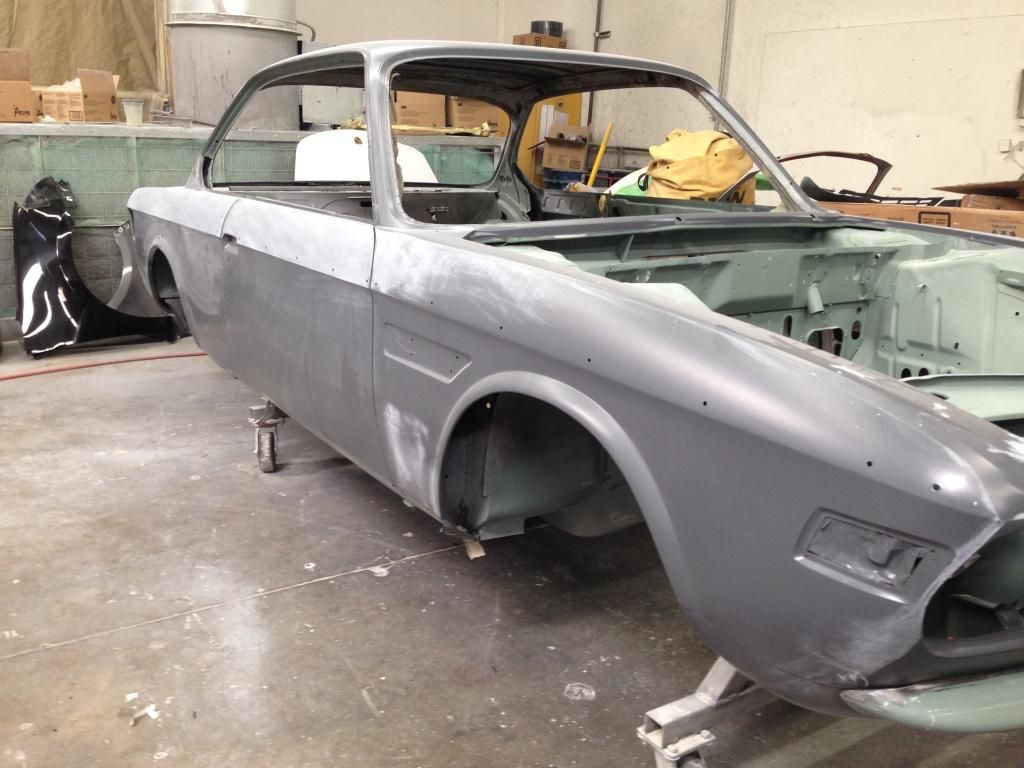
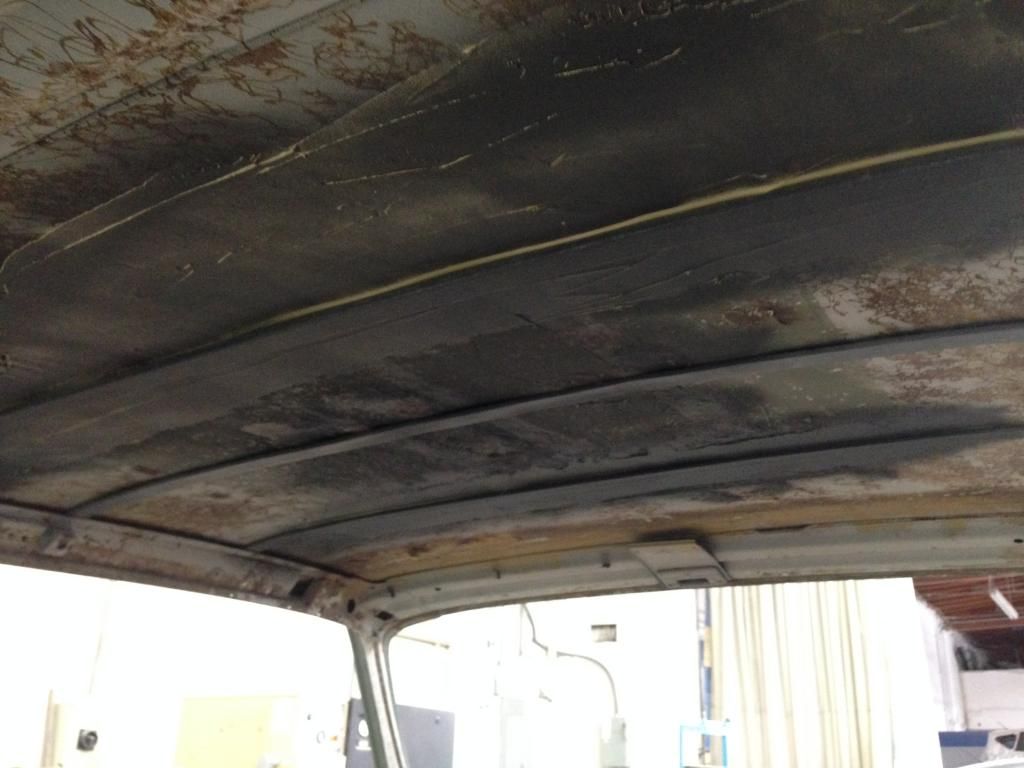
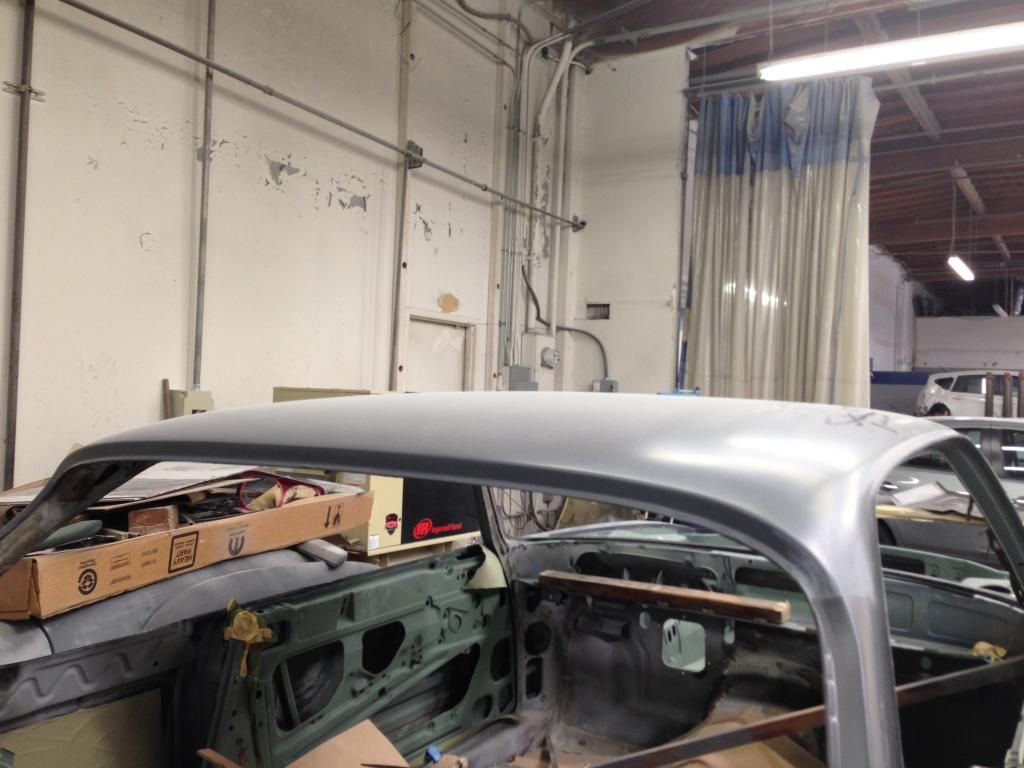
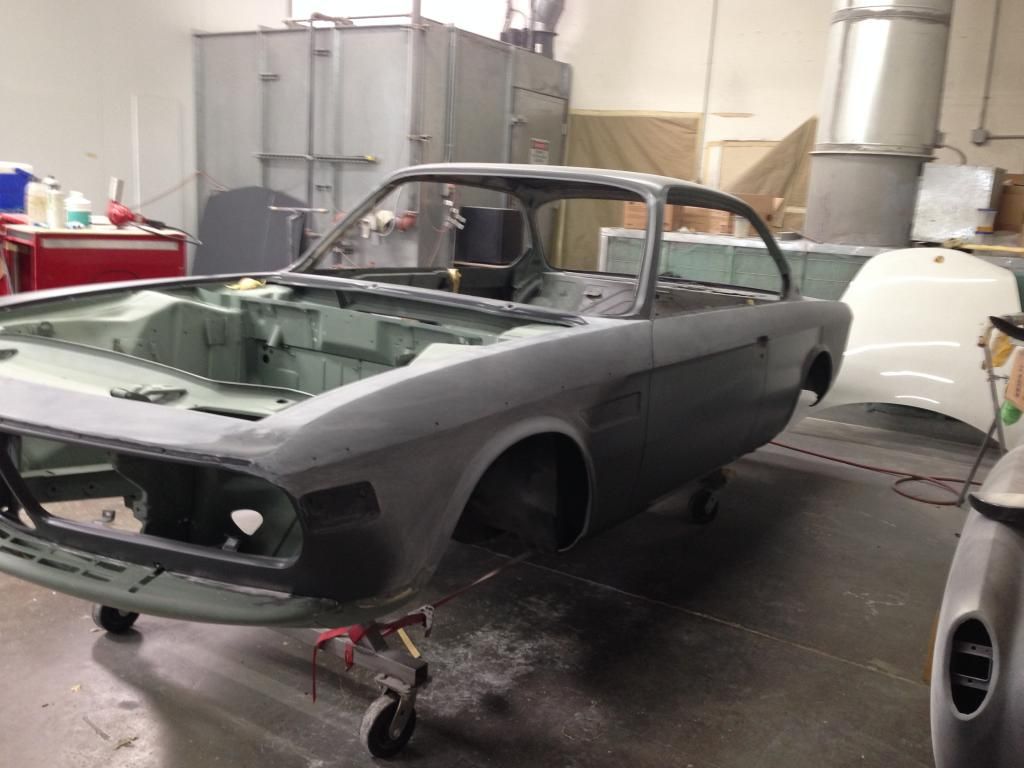
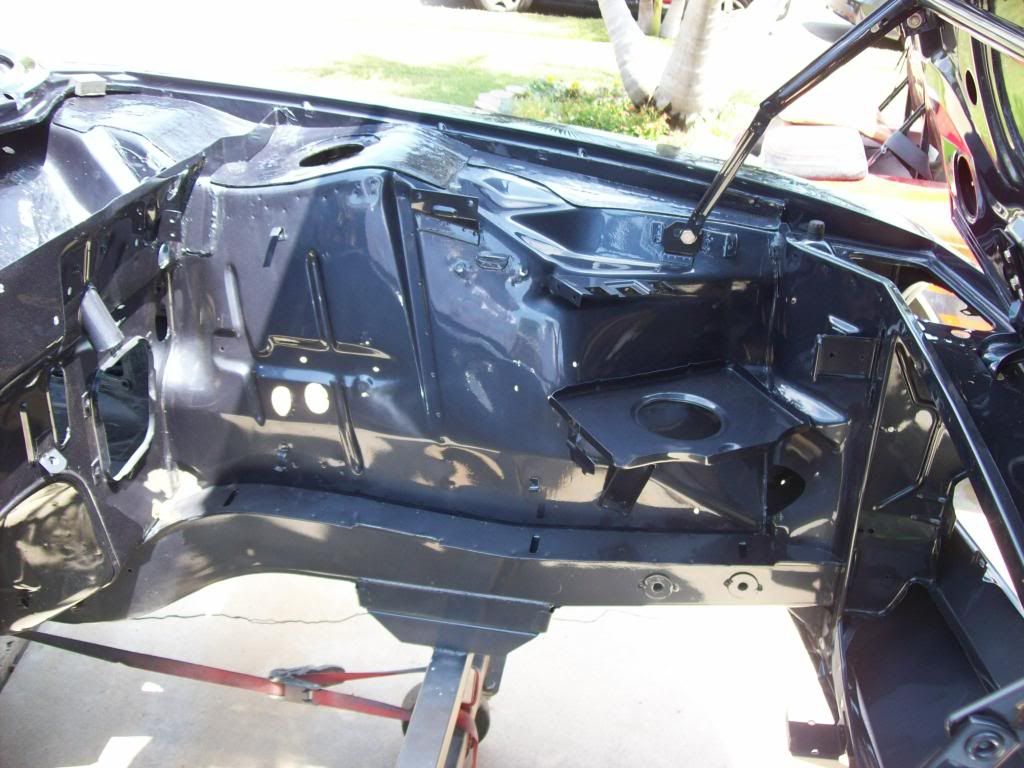
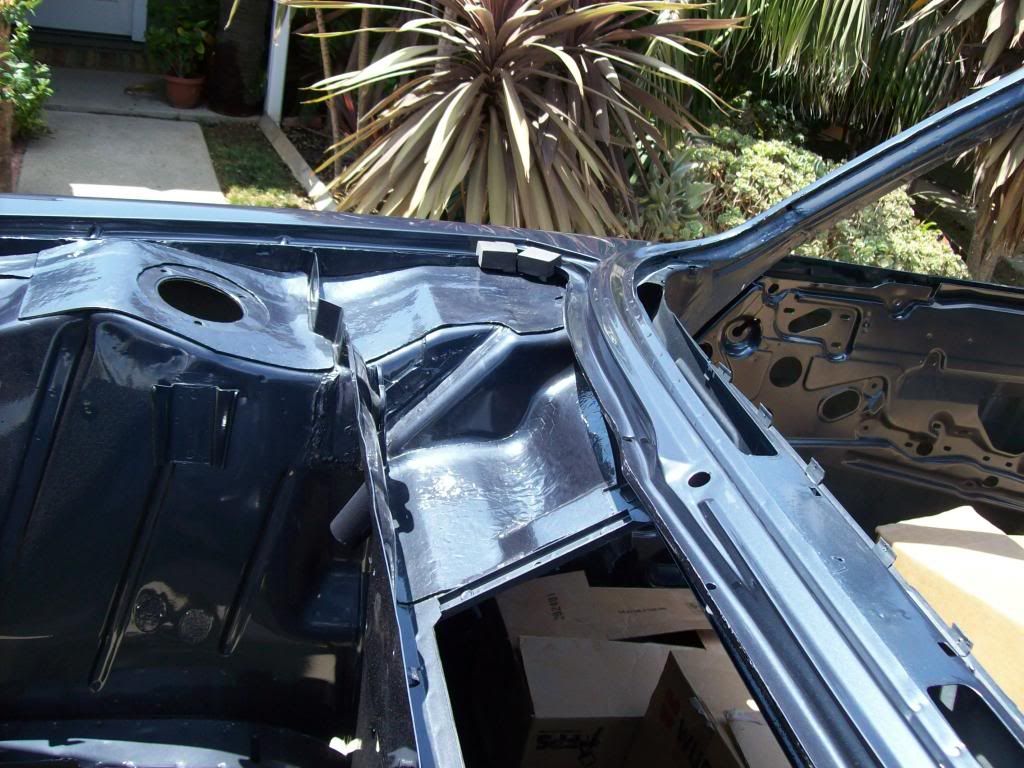
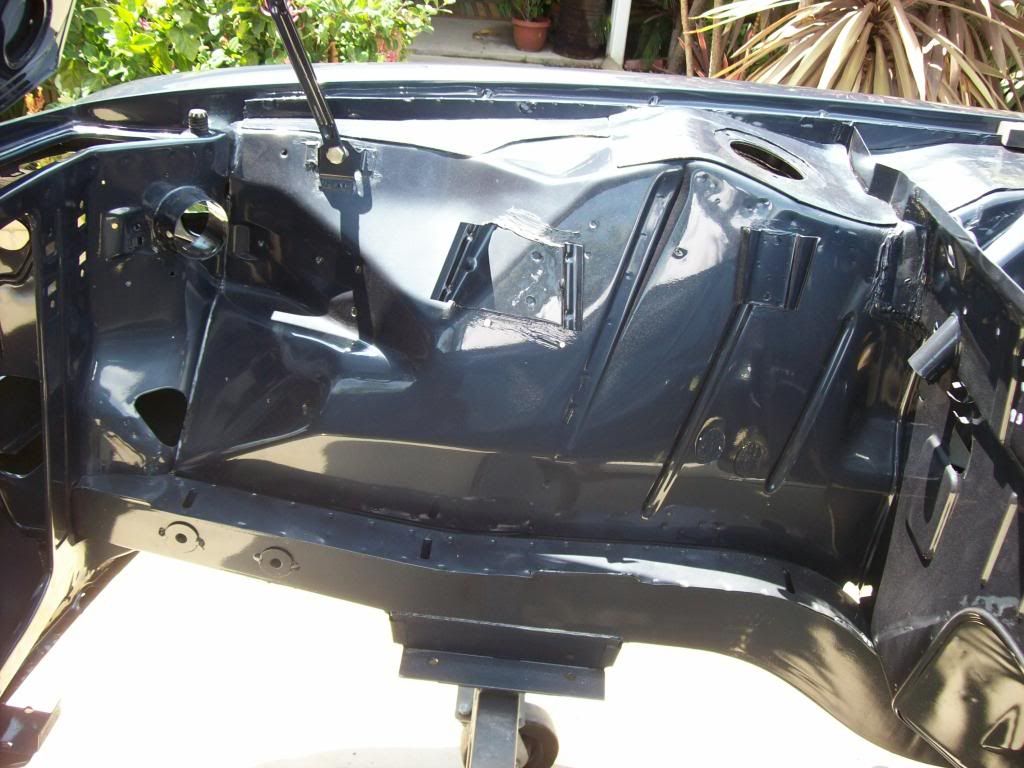
Now to get media blasted to bare metal then to paint
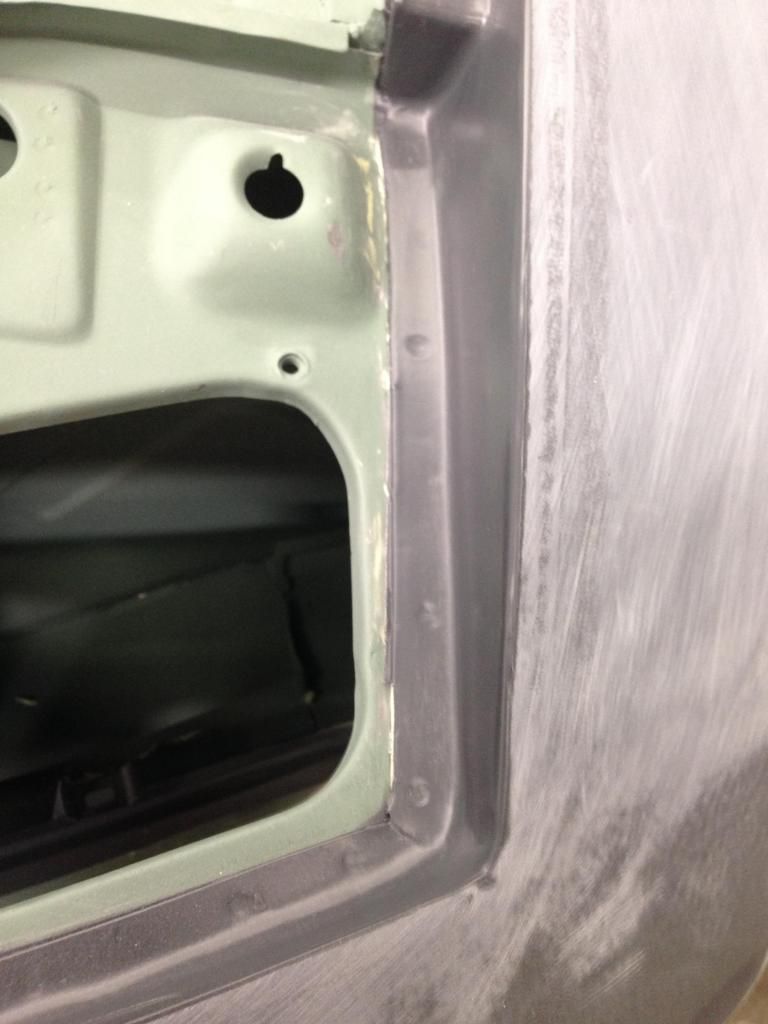
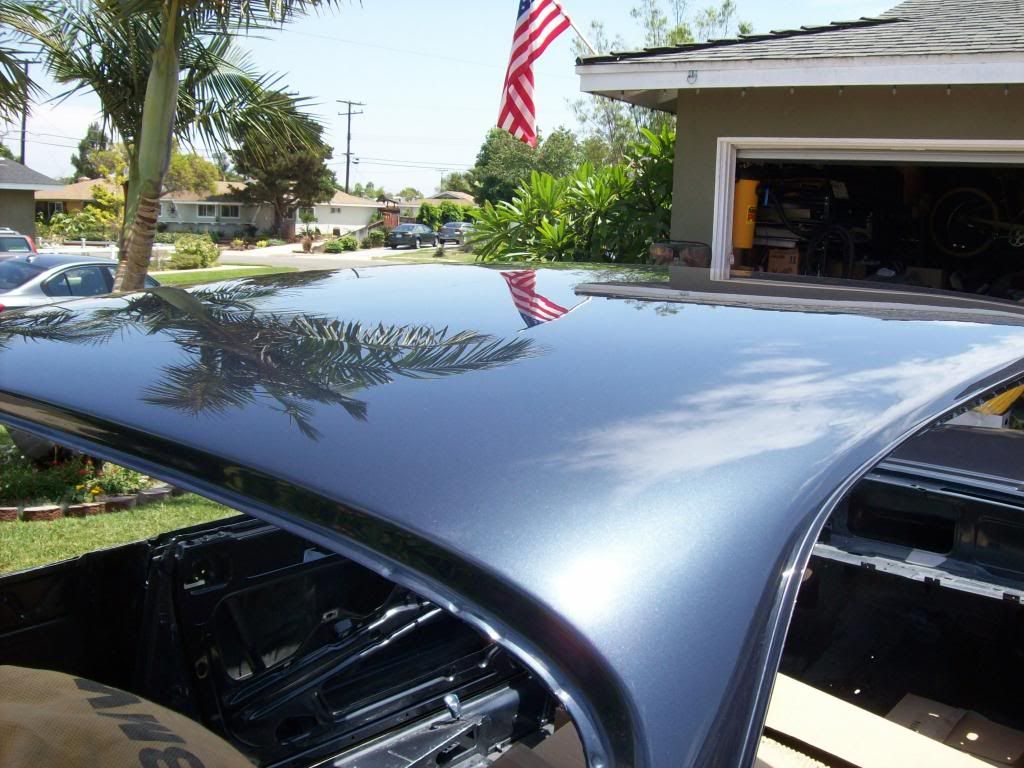
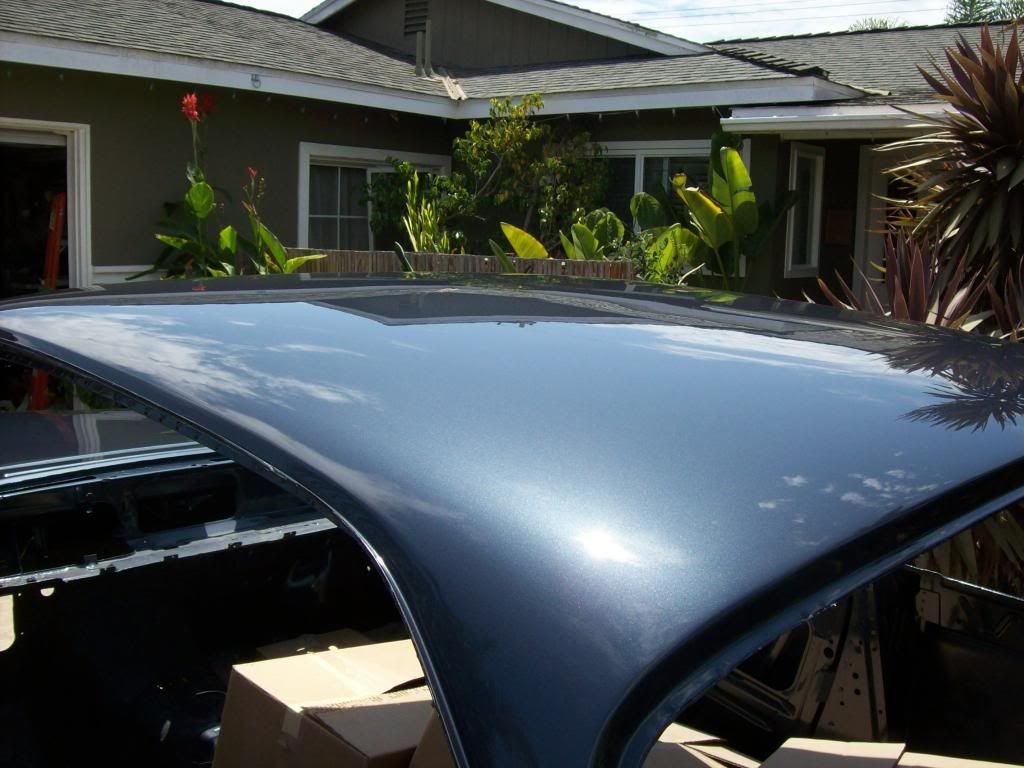
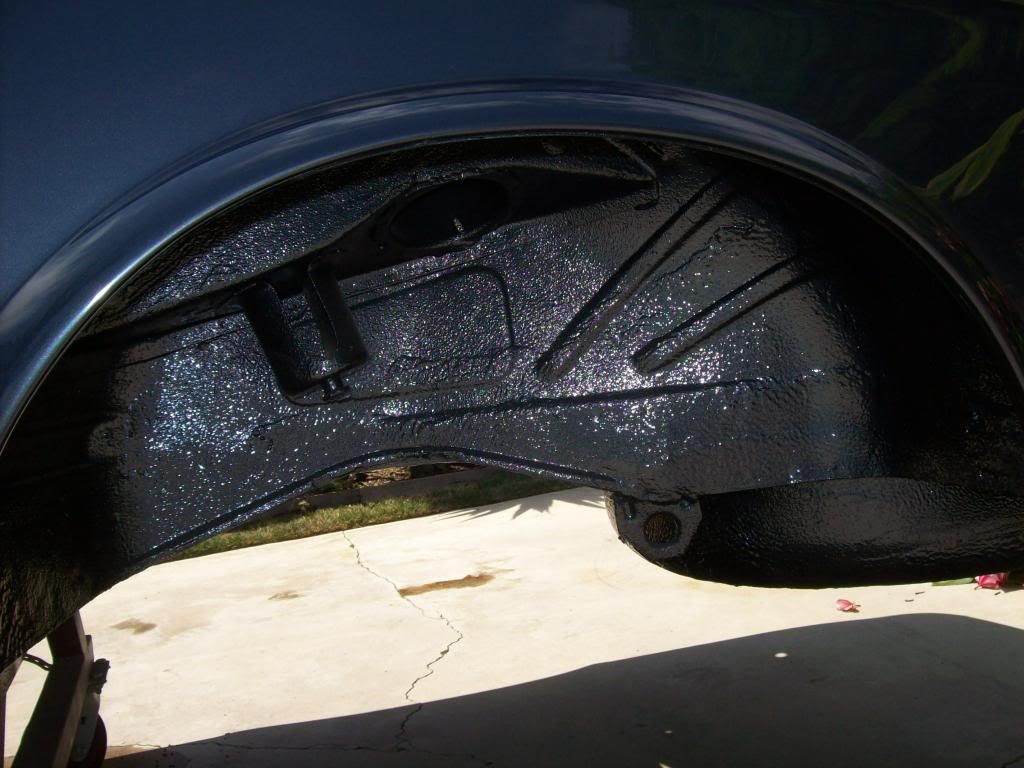
There were many issues that had to be dealt with including getting the color right. Nacht Blau isn't so exotic of a color; but now that the EPA is so tight on paint and since water base is mandatory in California getting the formula right isn't an easy task especially when the swatches are 40 years old. The first round of paint came out like Royal Blau. Great color but not for the Coupe.
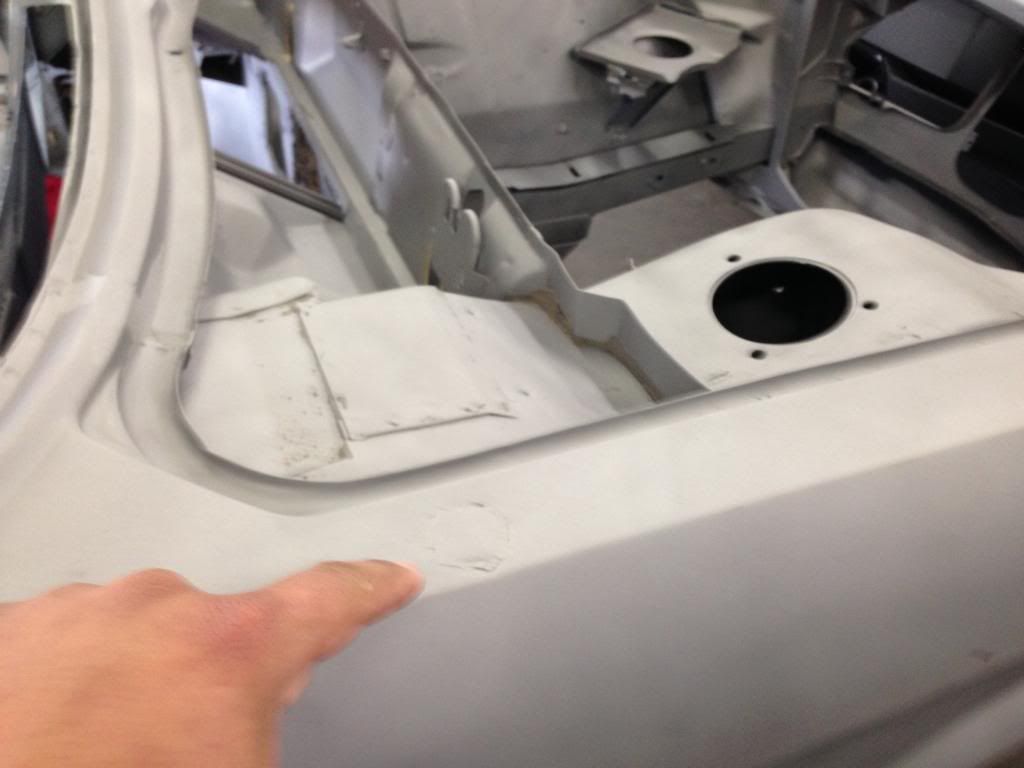
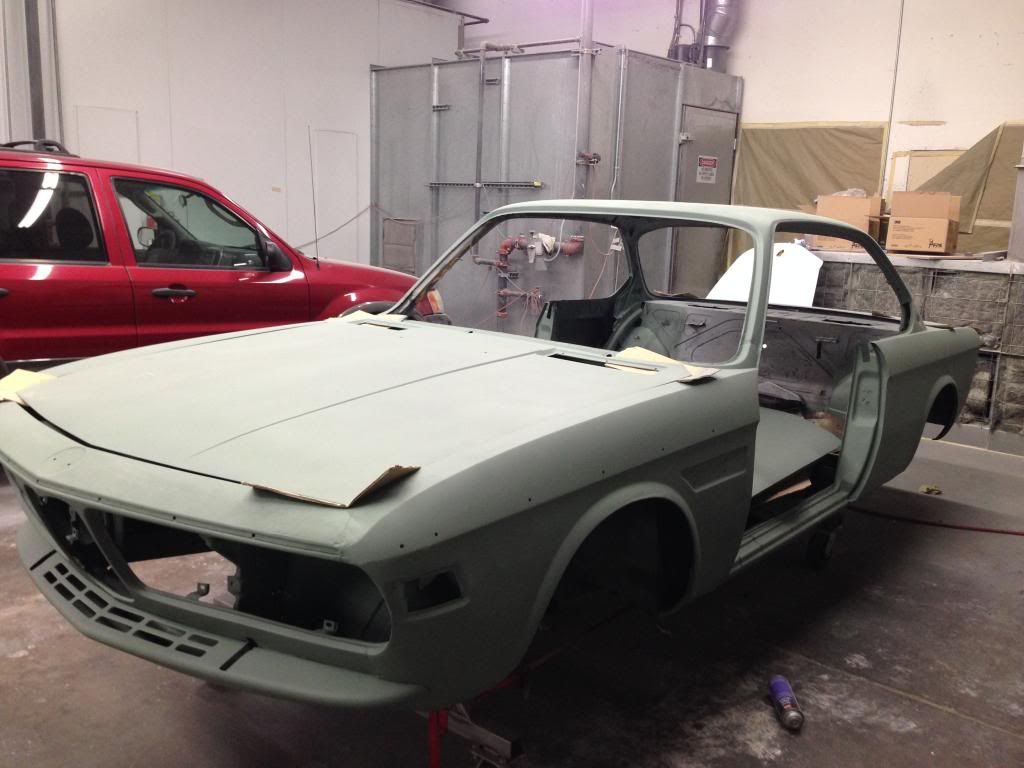
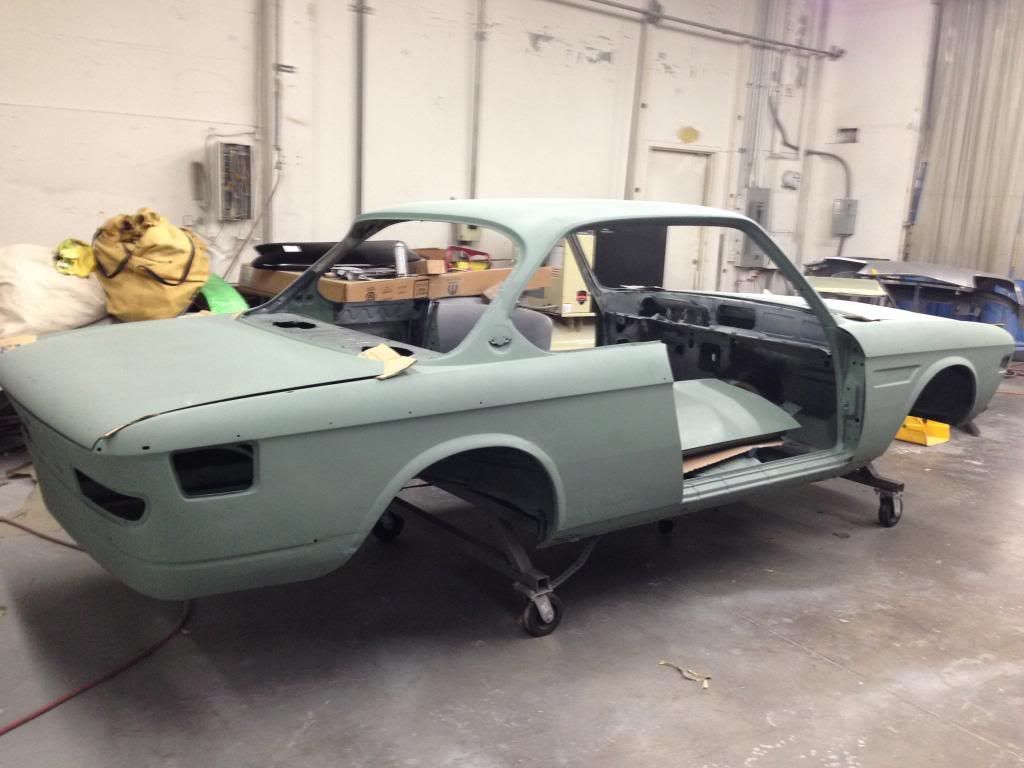
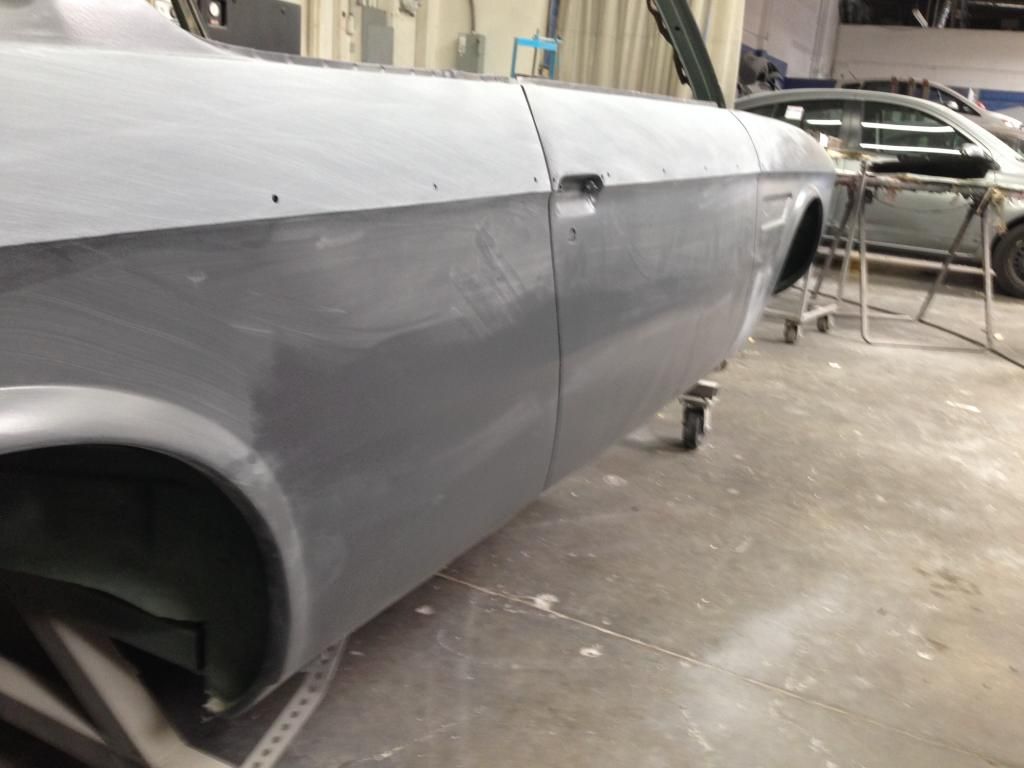
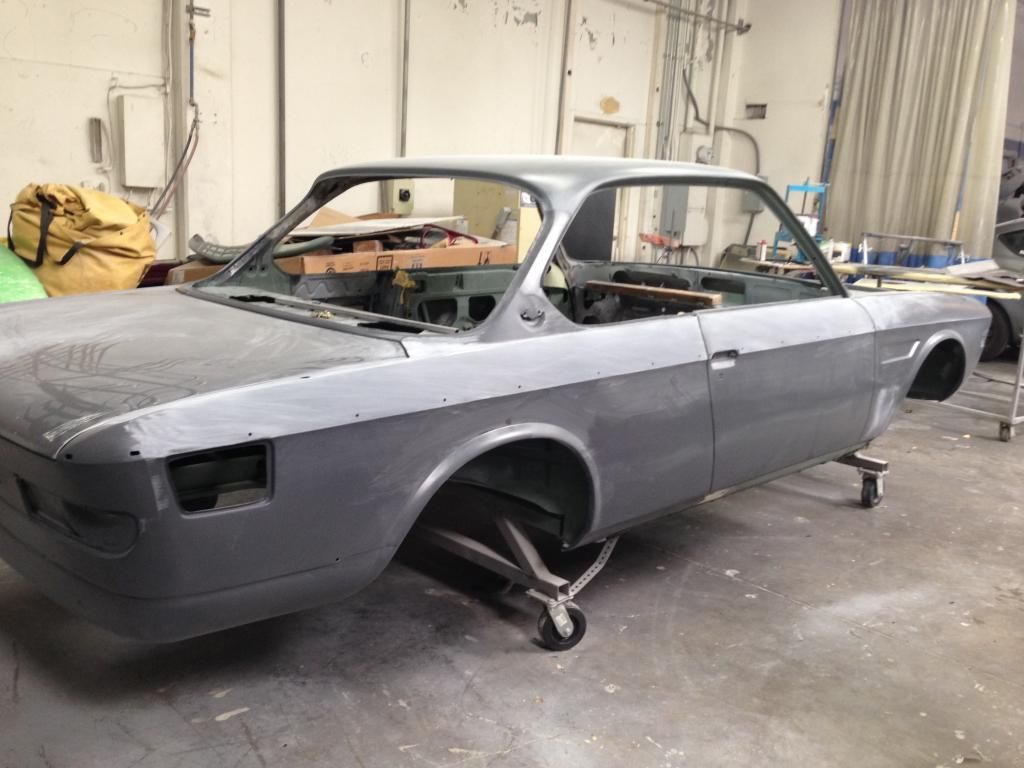
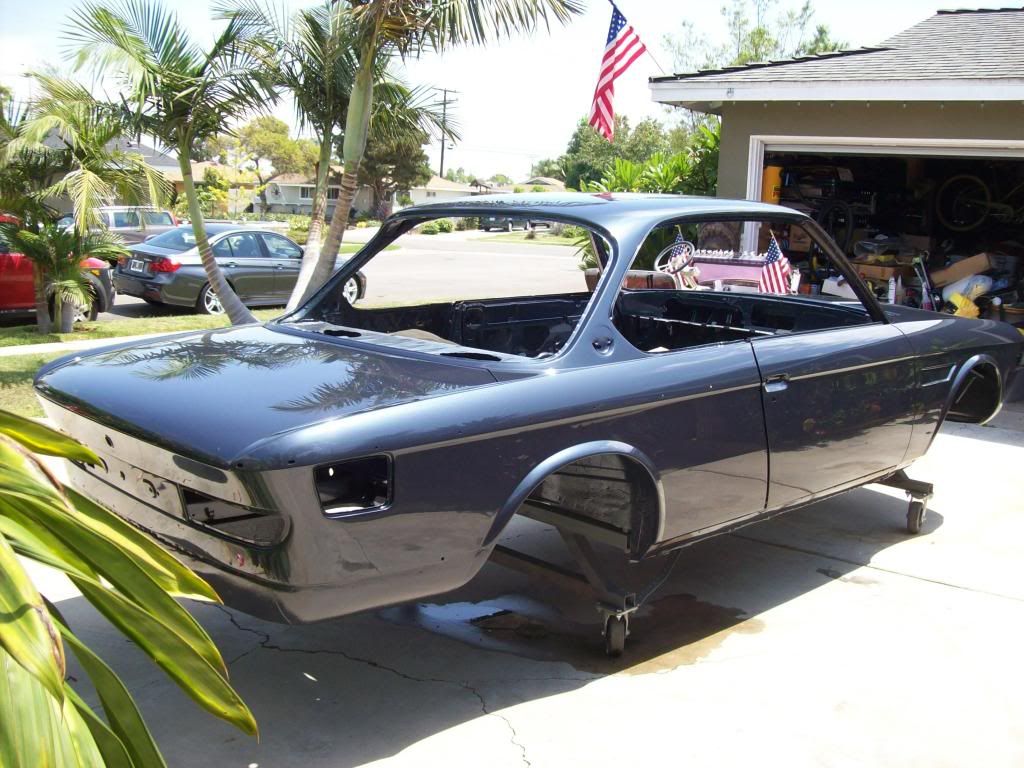
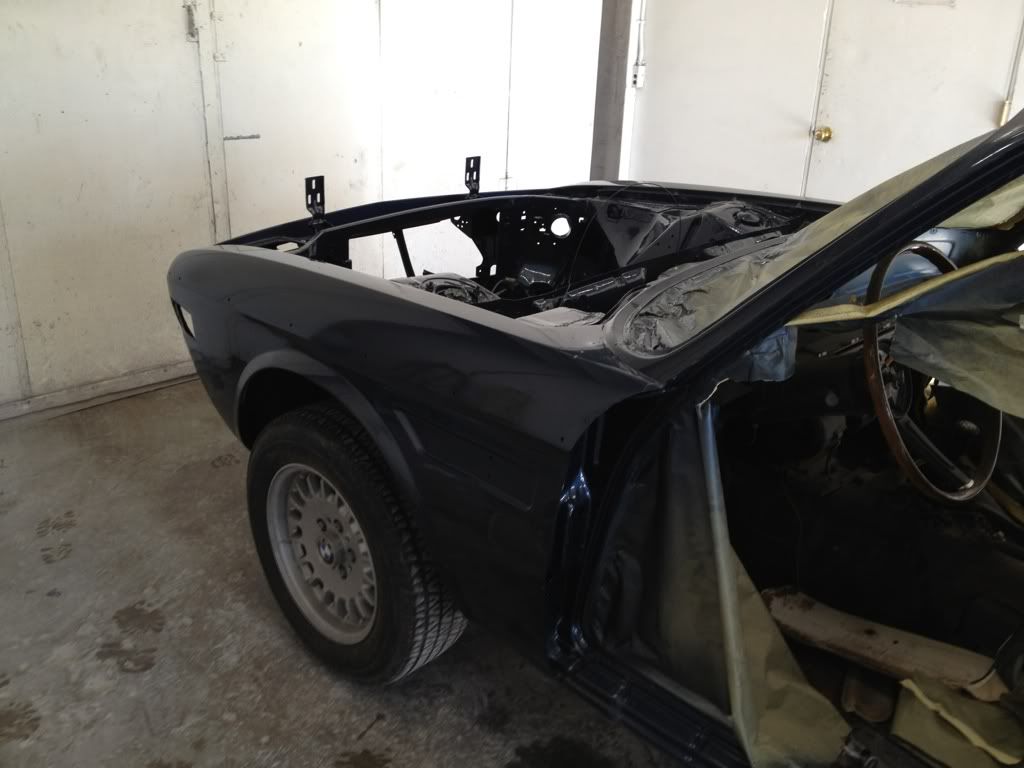
I got a call on Wednesday "your car is painted". I was in shock, really? I went down today to take a look and here is what I saw:
(sorry for the lousy shots)
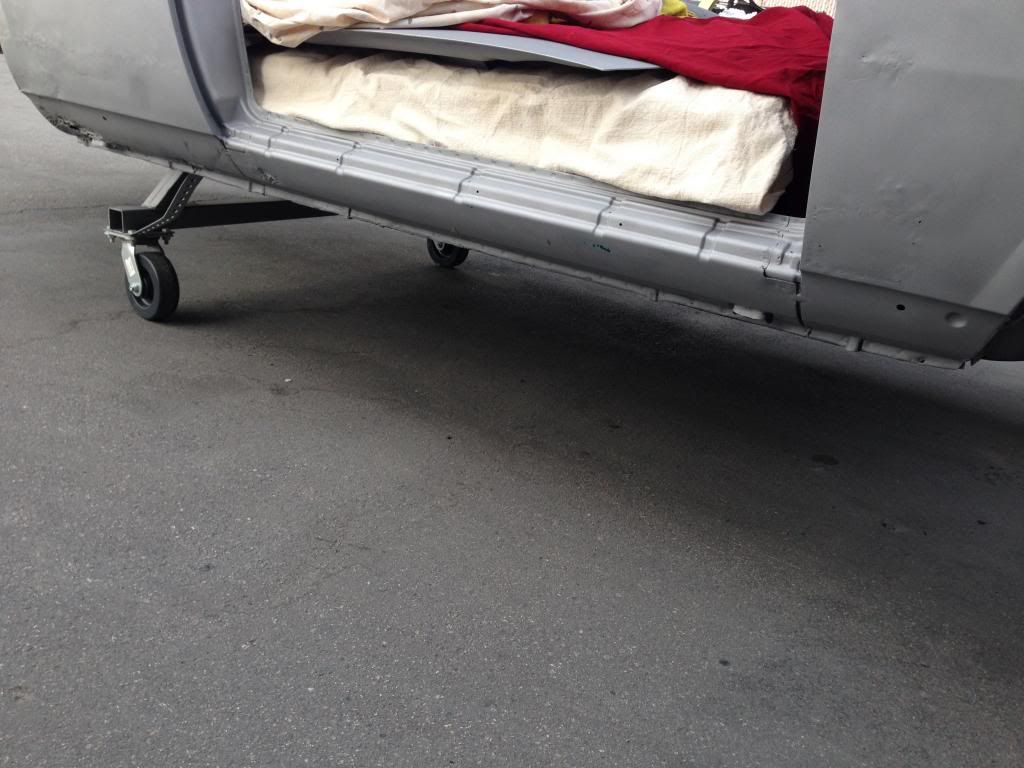
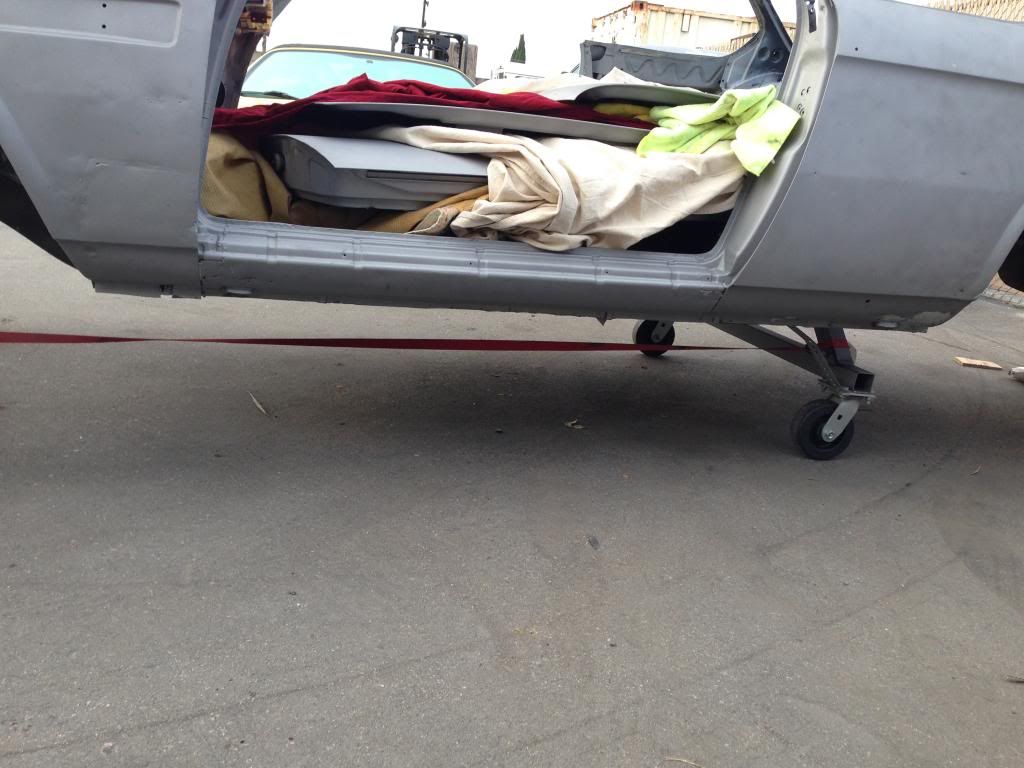
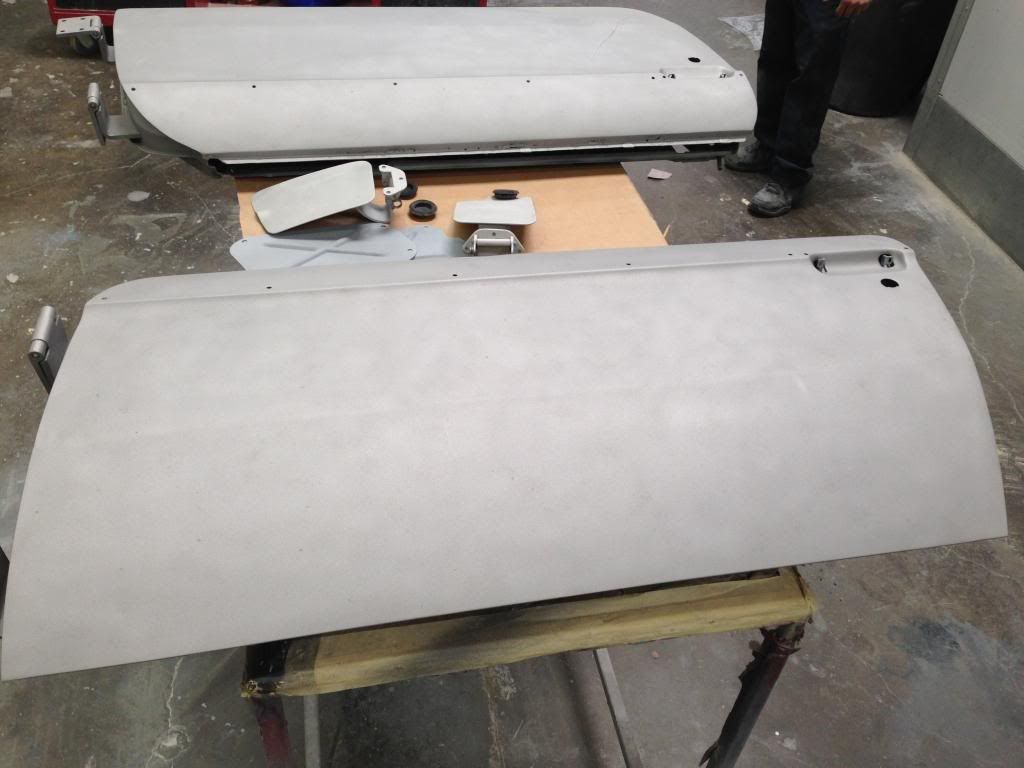
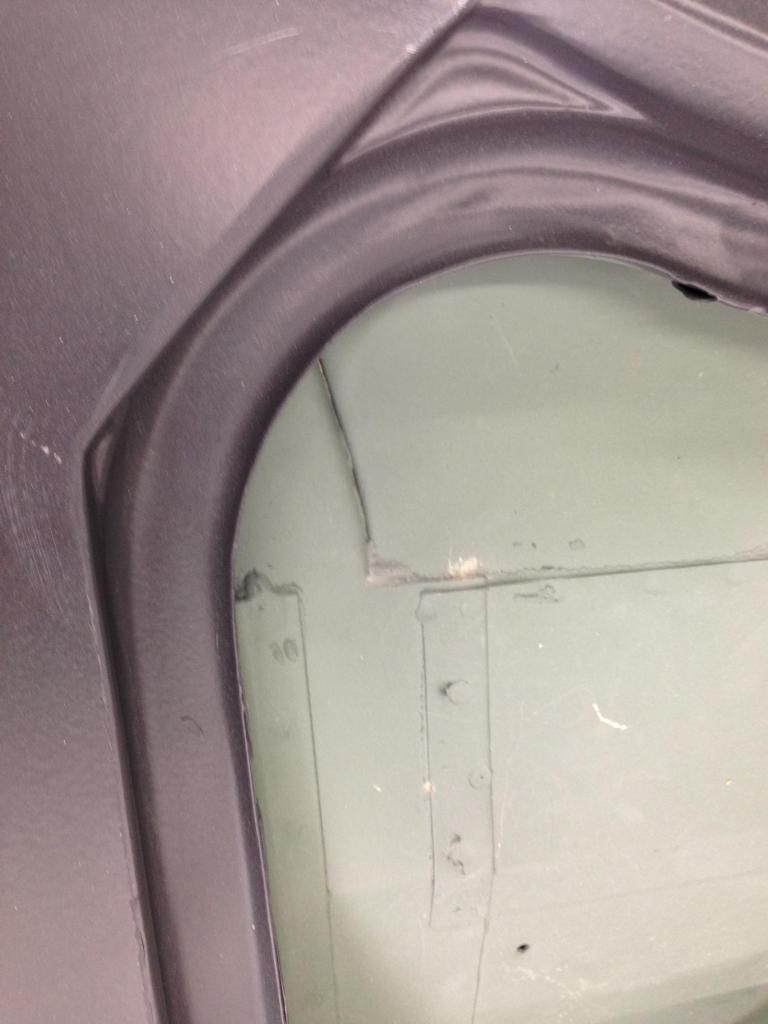
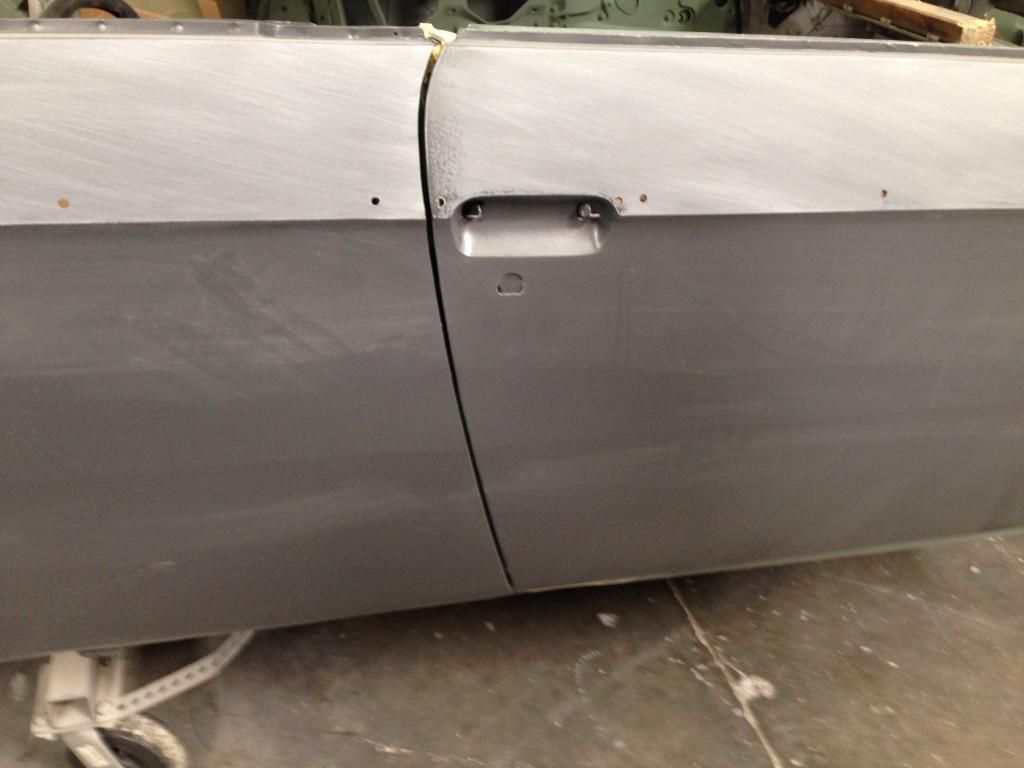
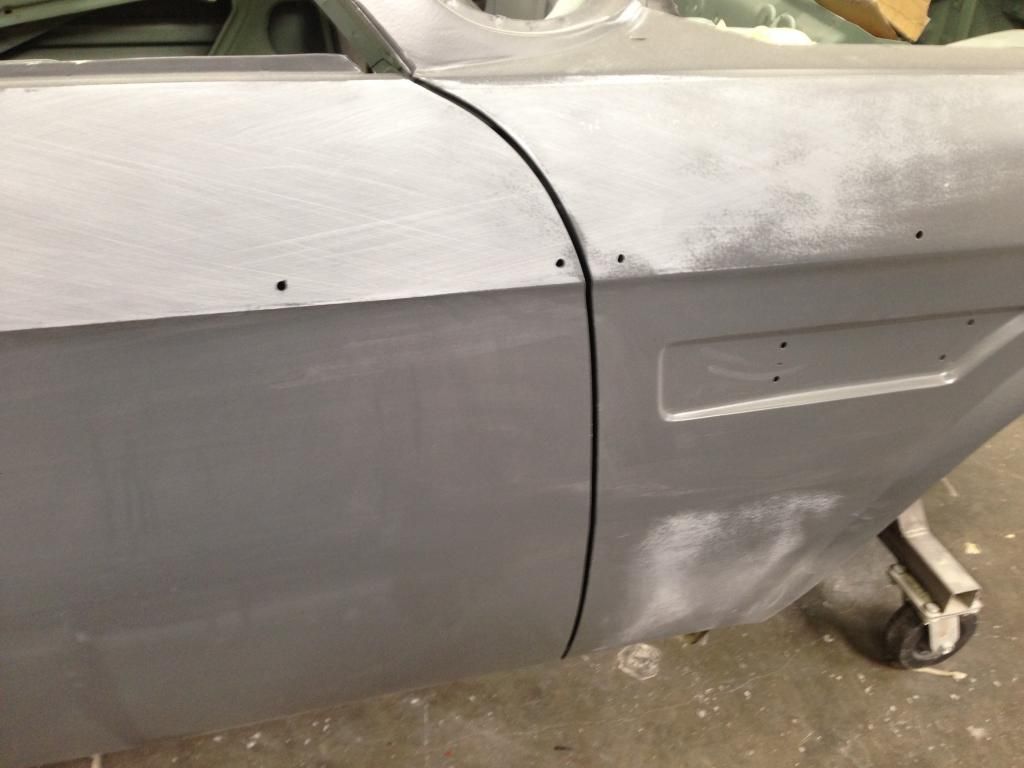
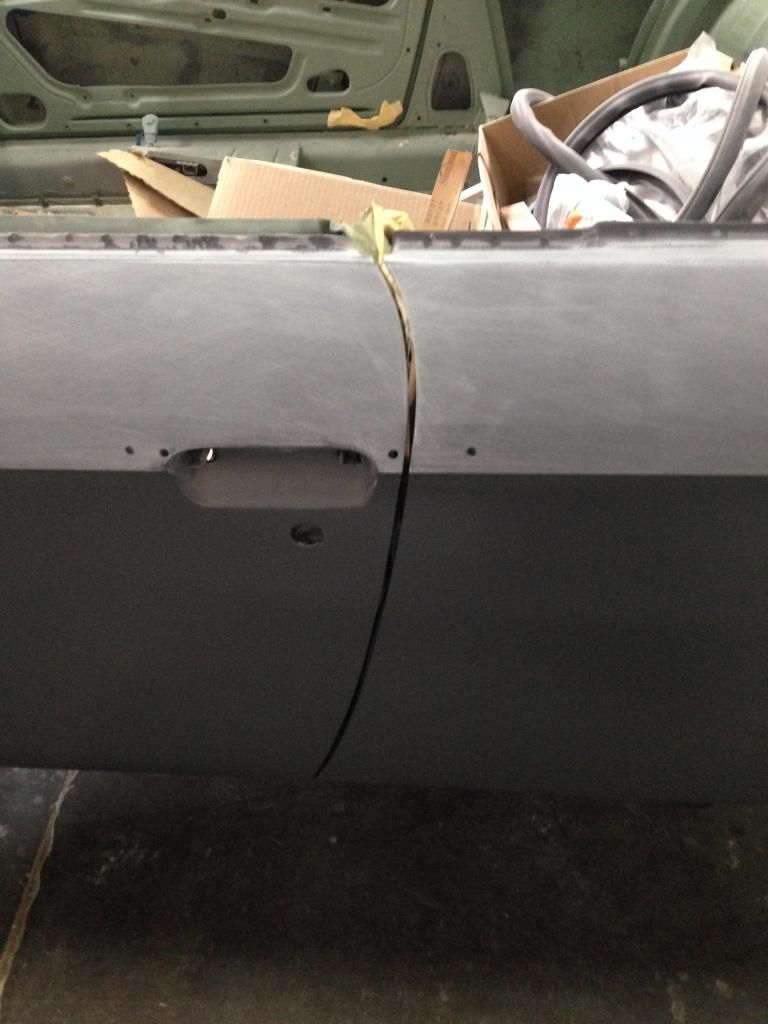
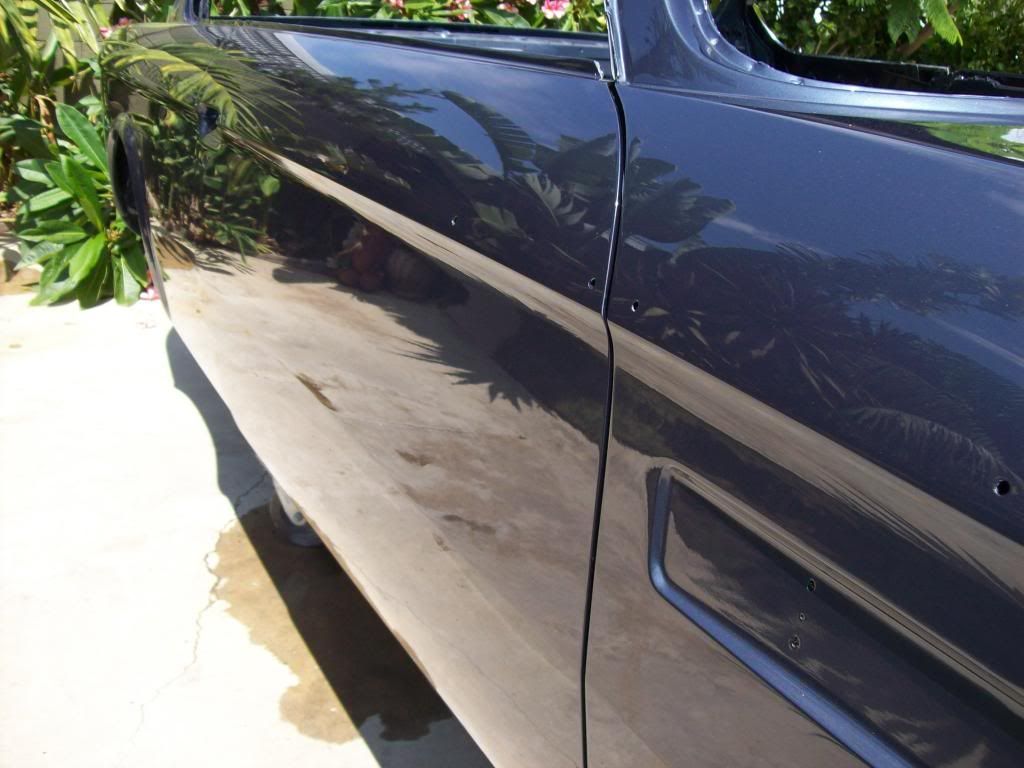
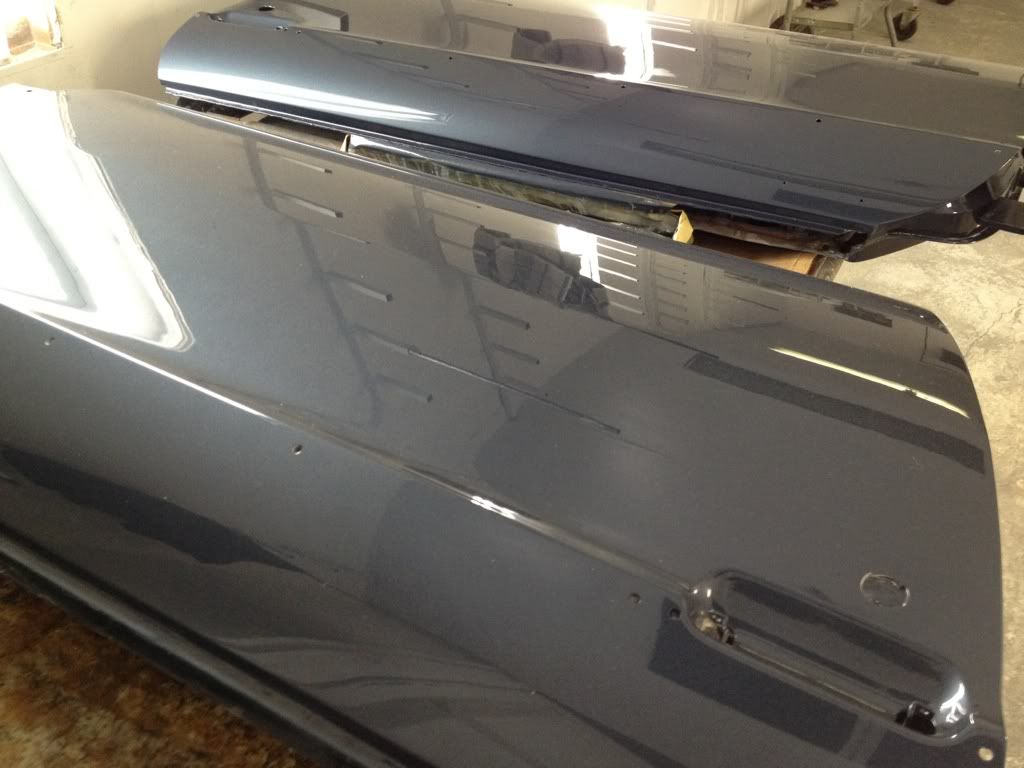
Doors. Notice the subtle mid line:
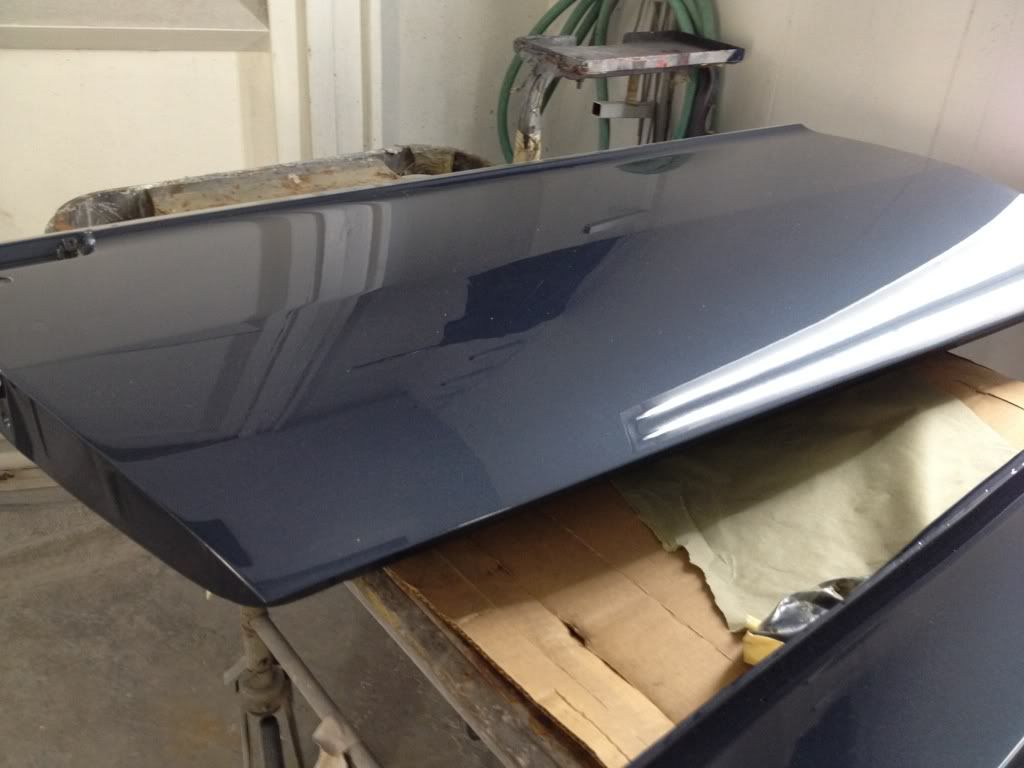
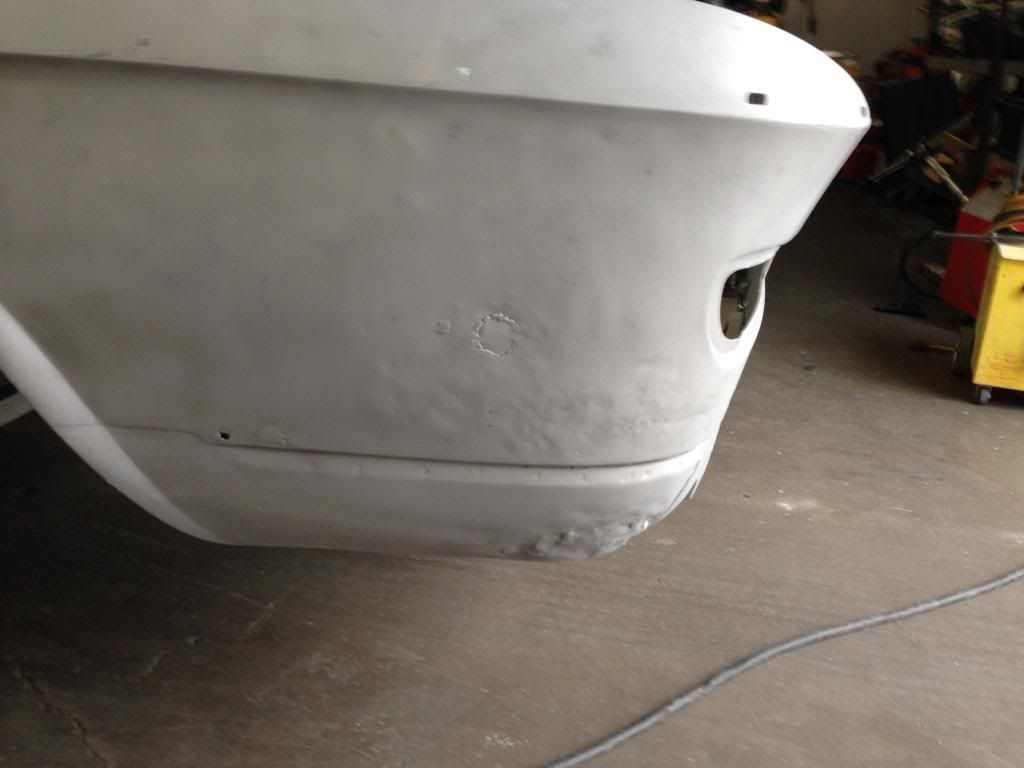
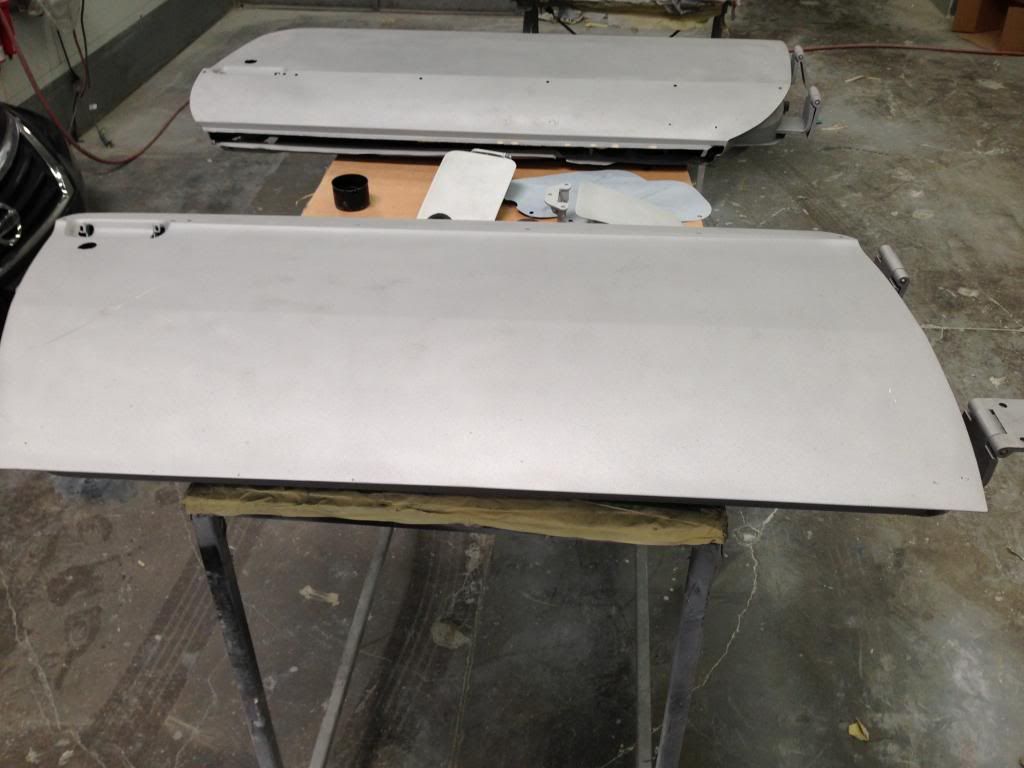
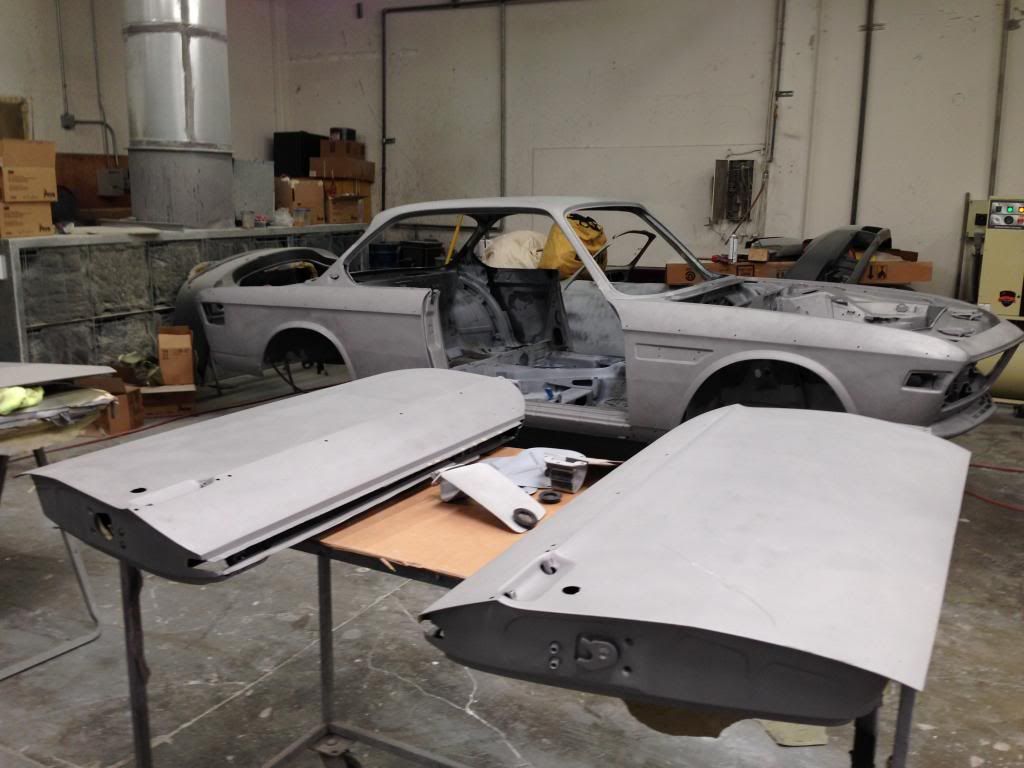
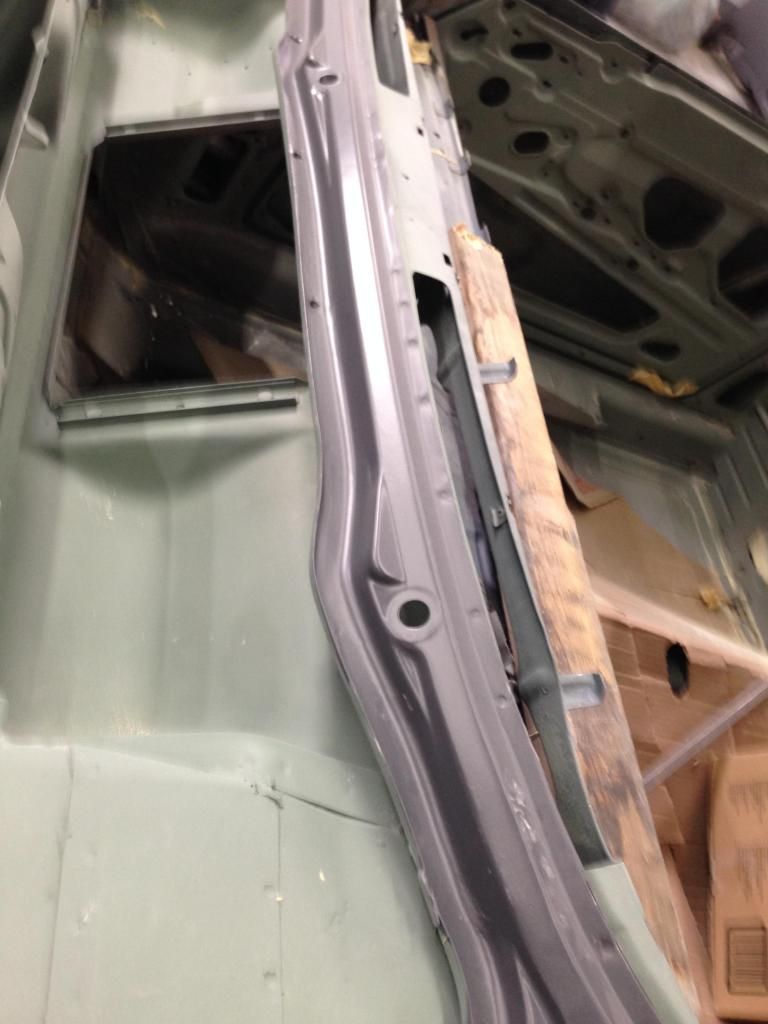
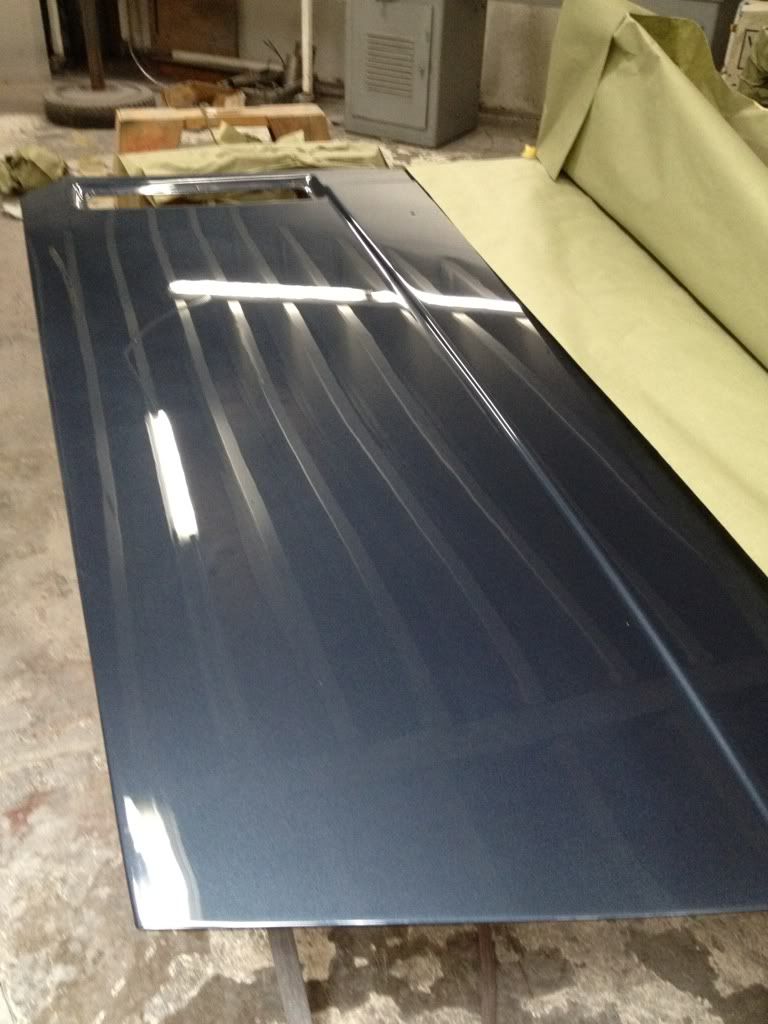
Rear deck lid:

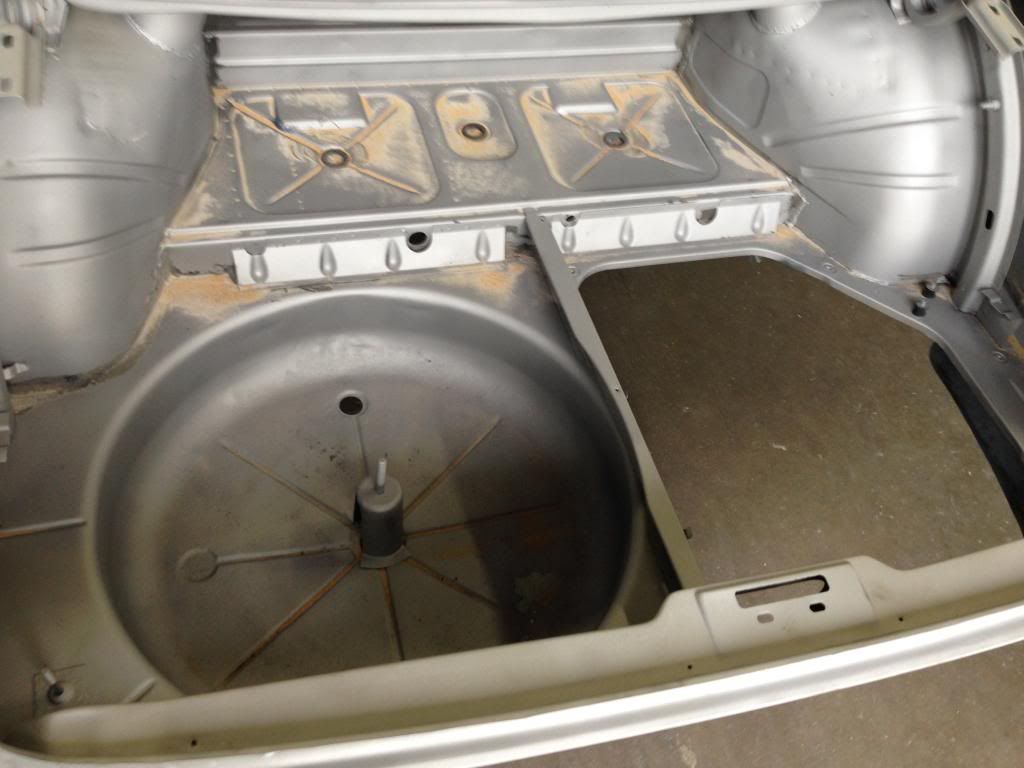
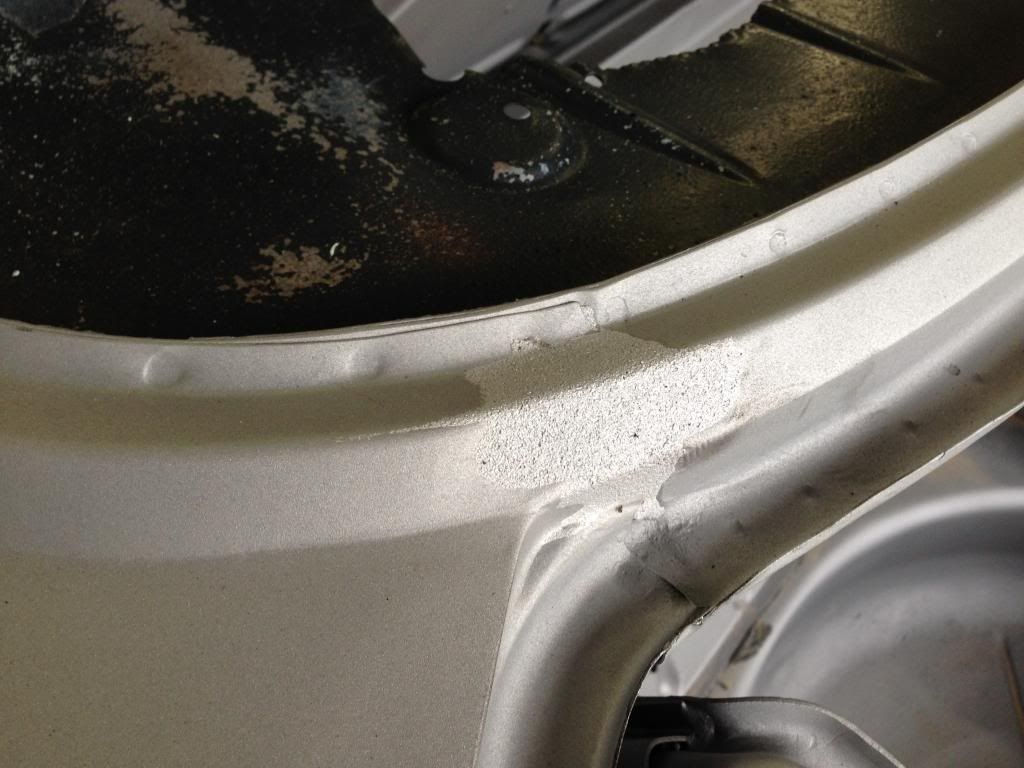
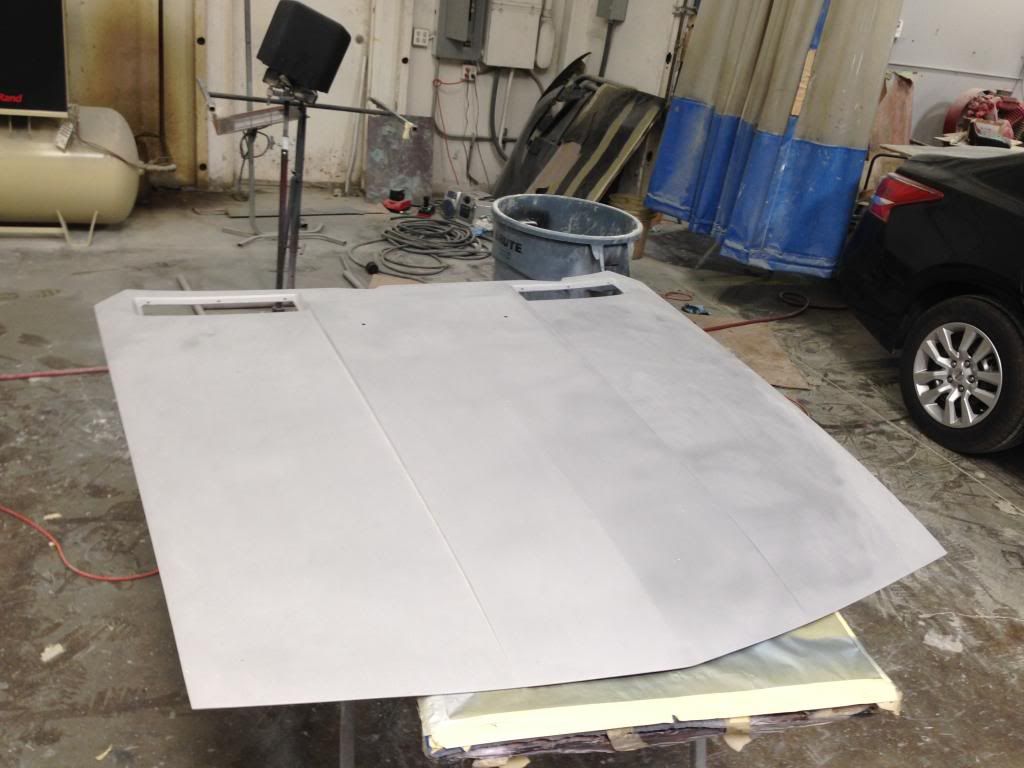
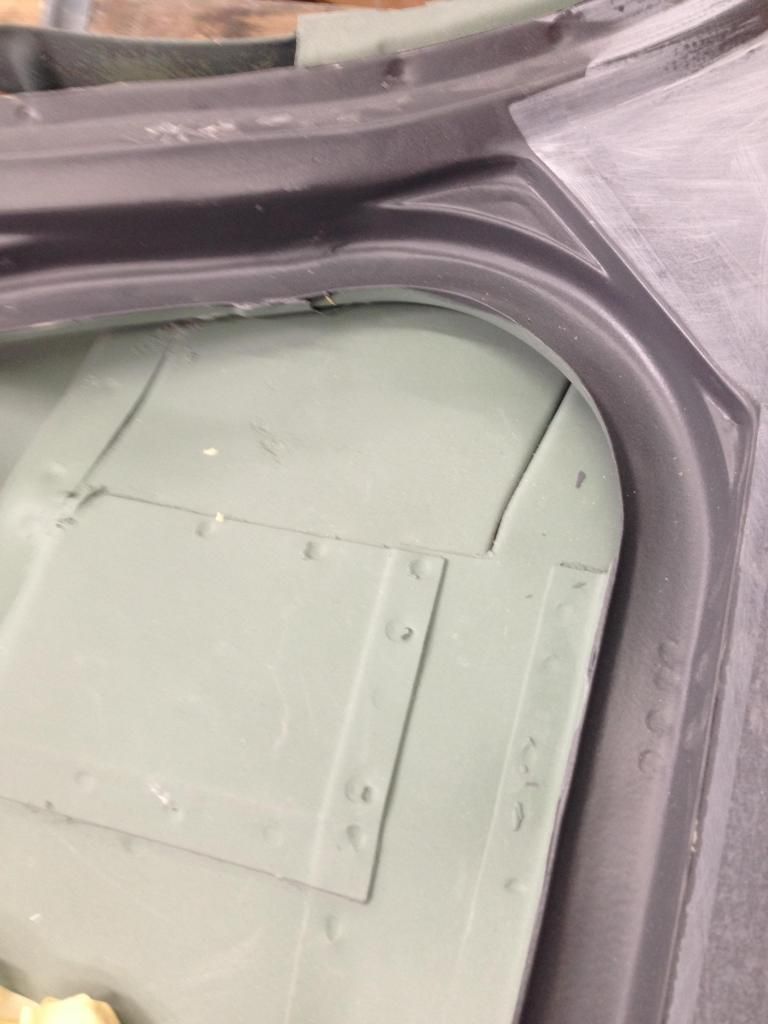
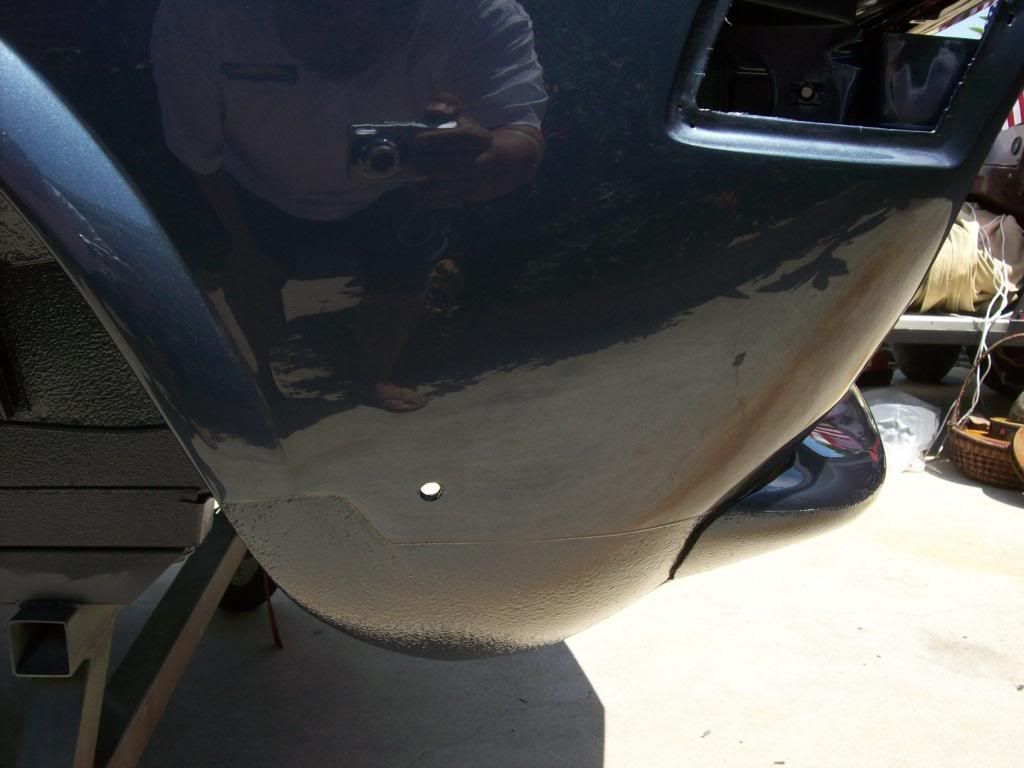
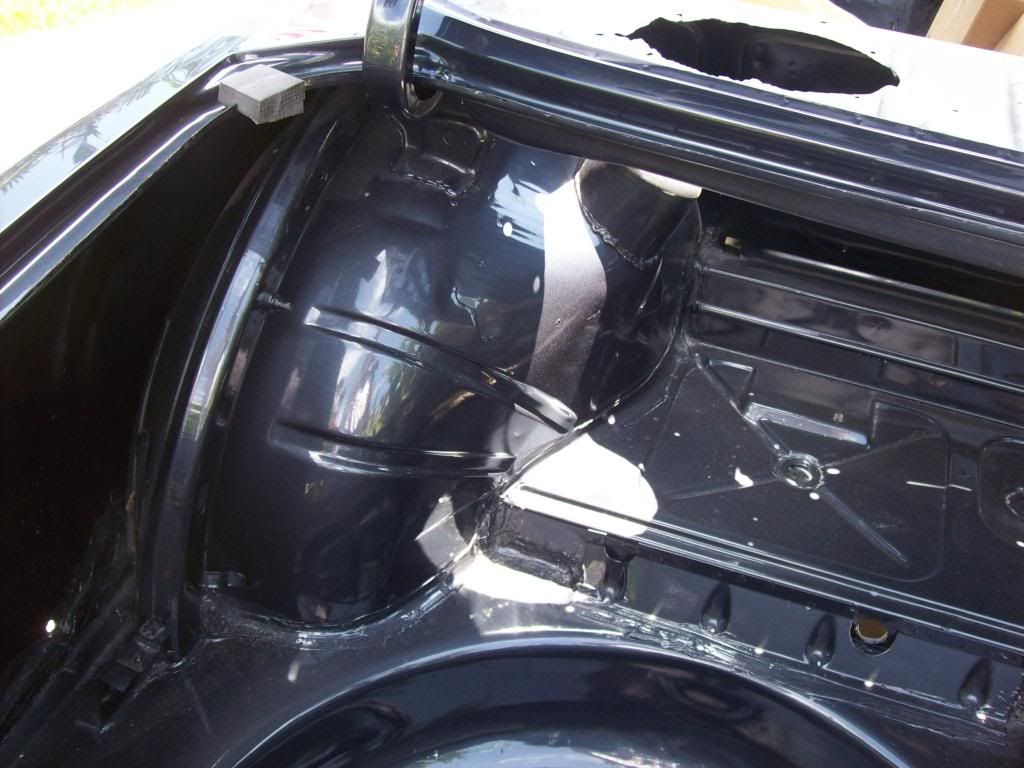
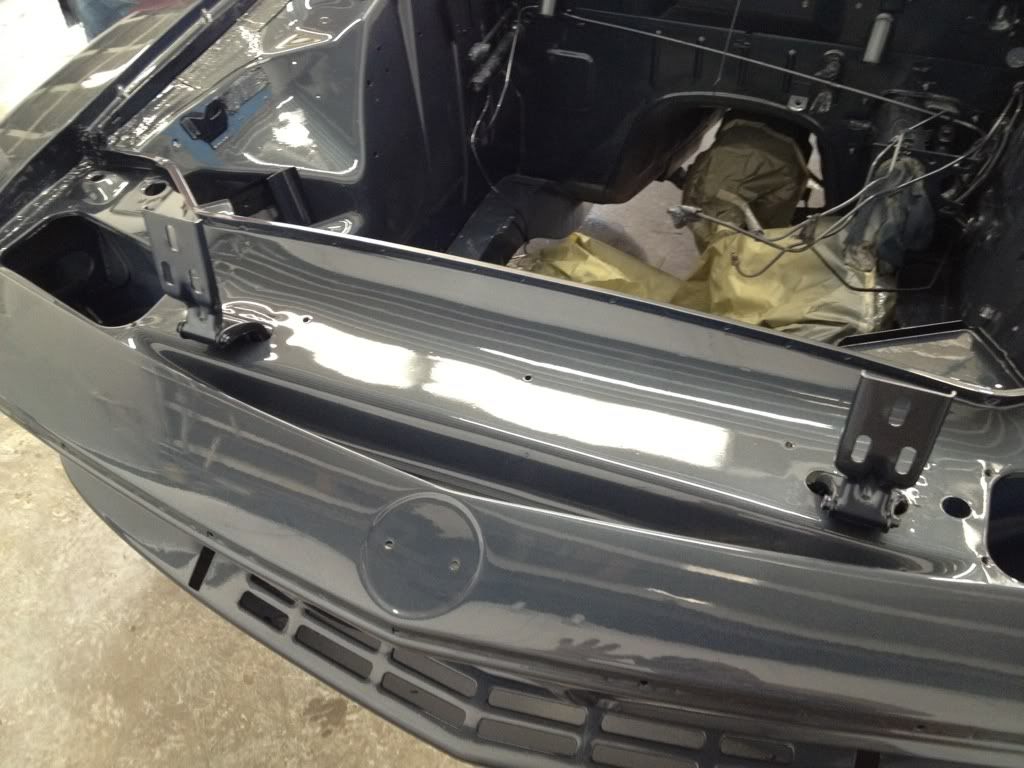
Trunk, tough to see:

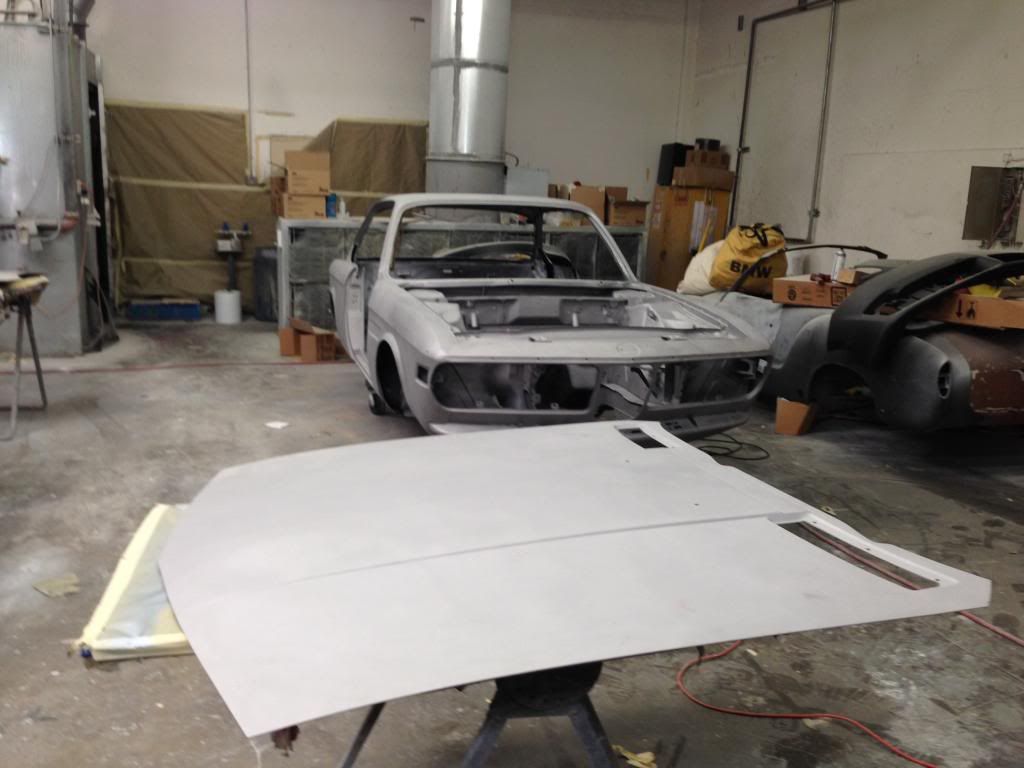
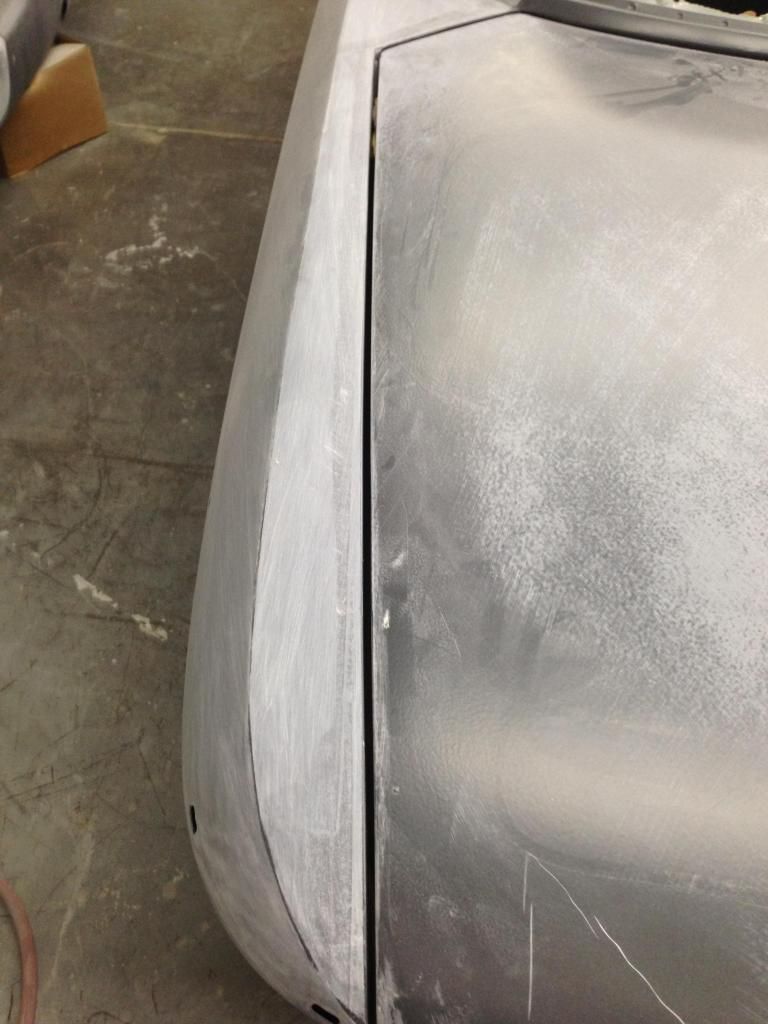
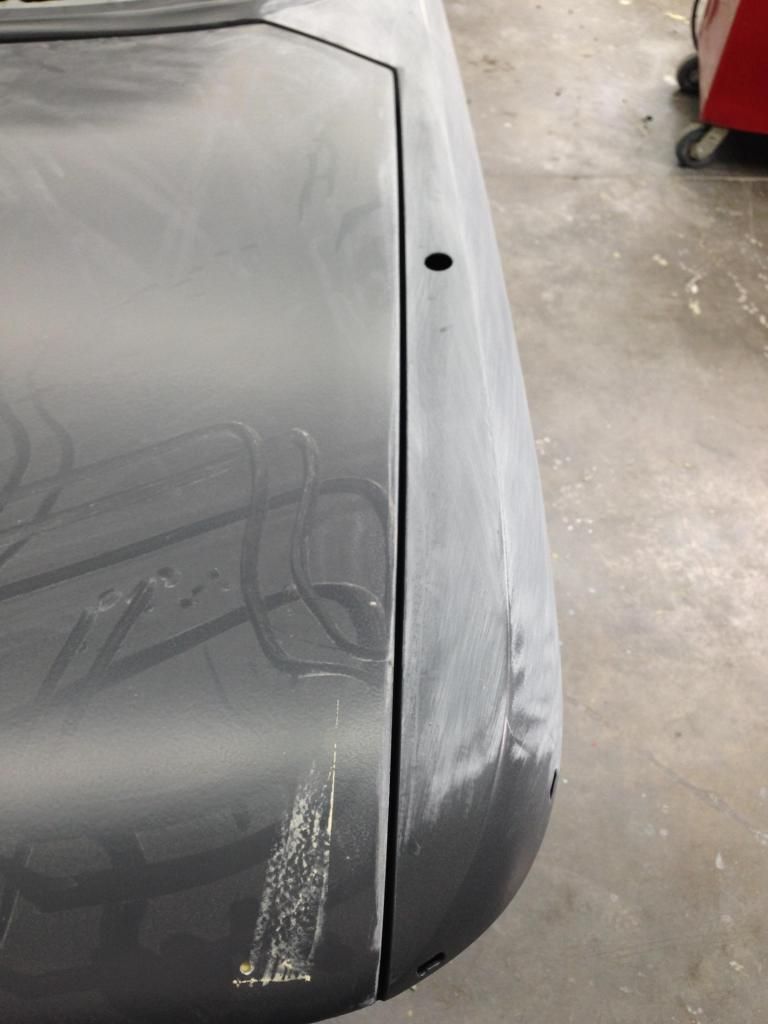
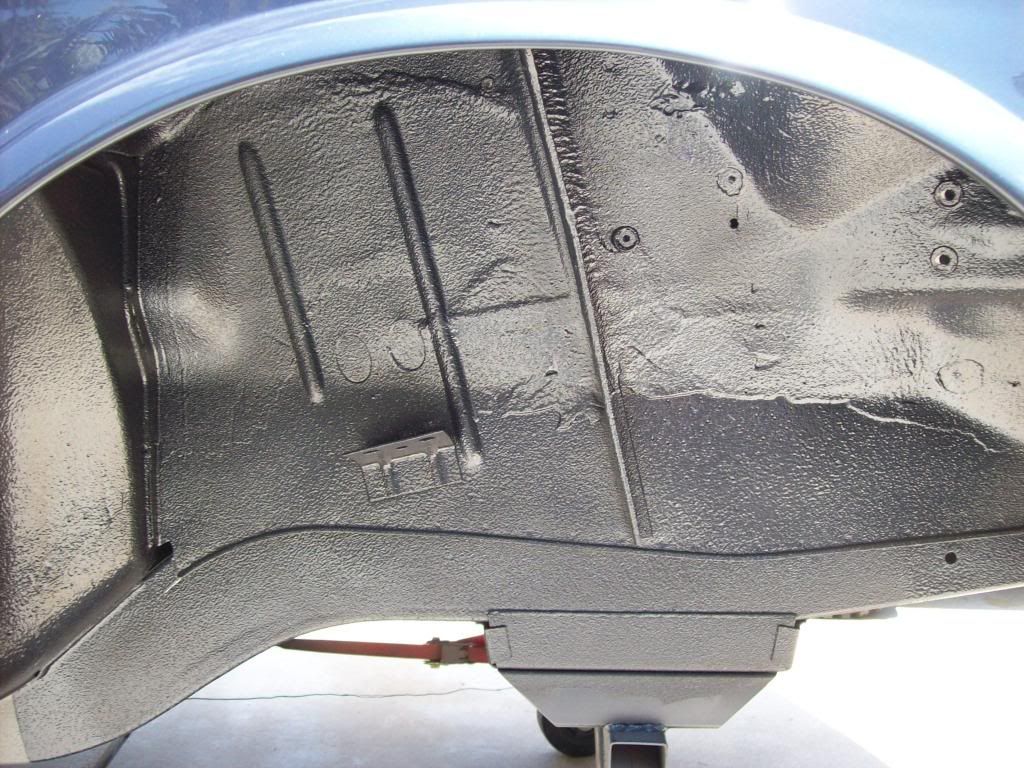
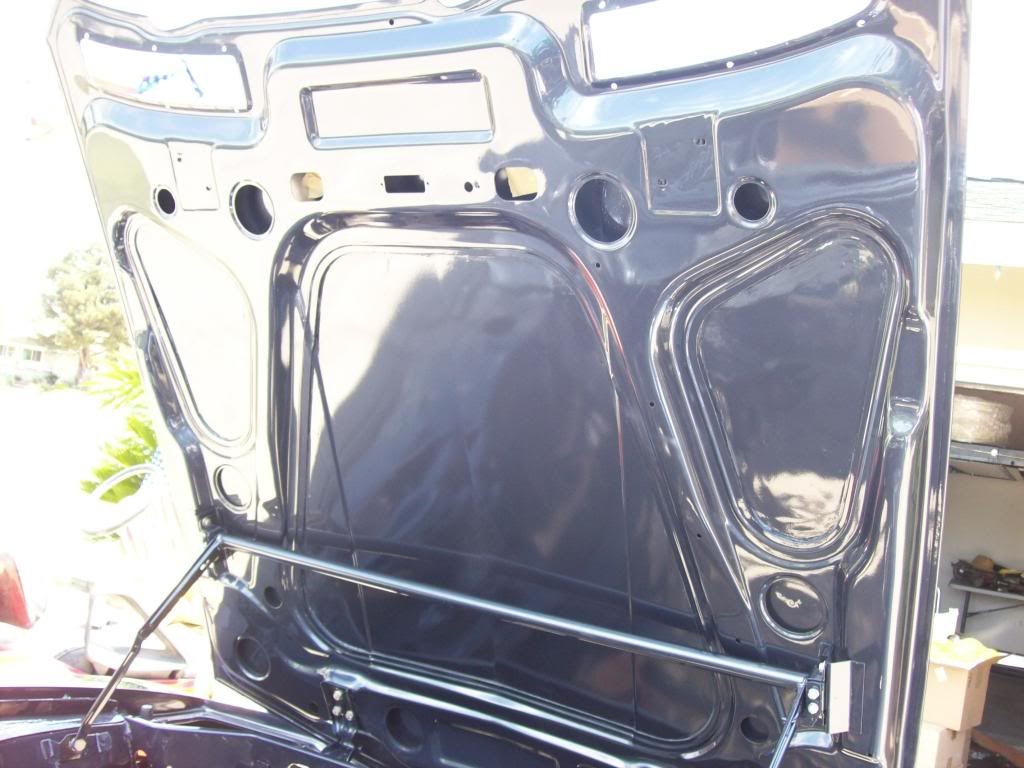
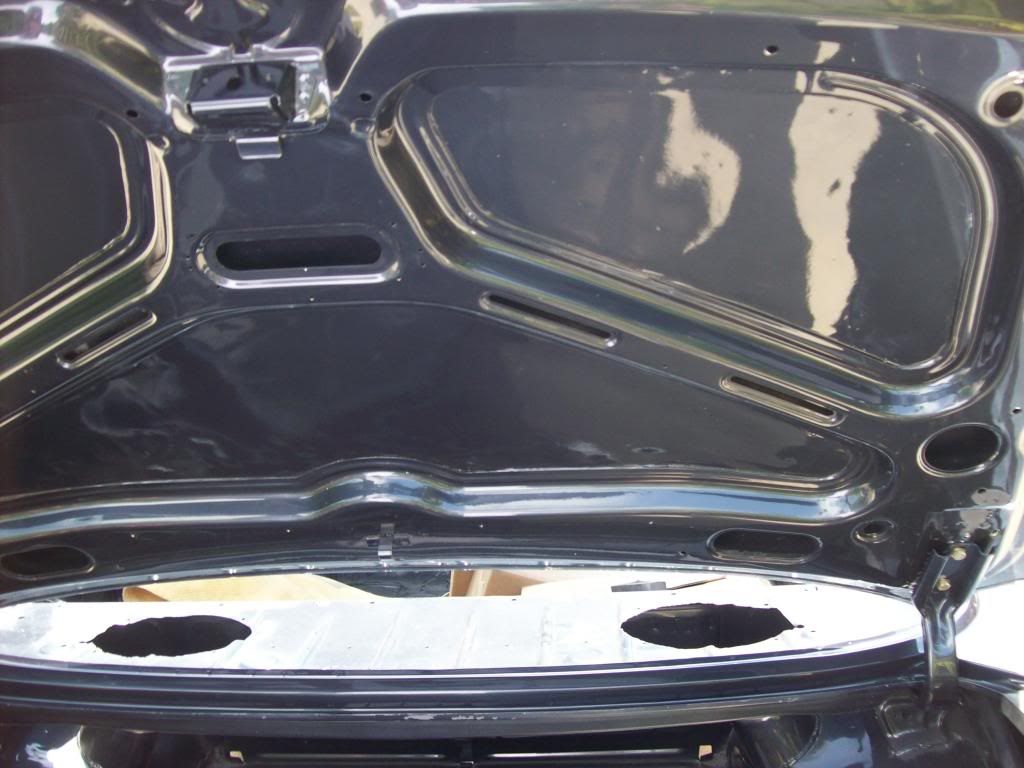
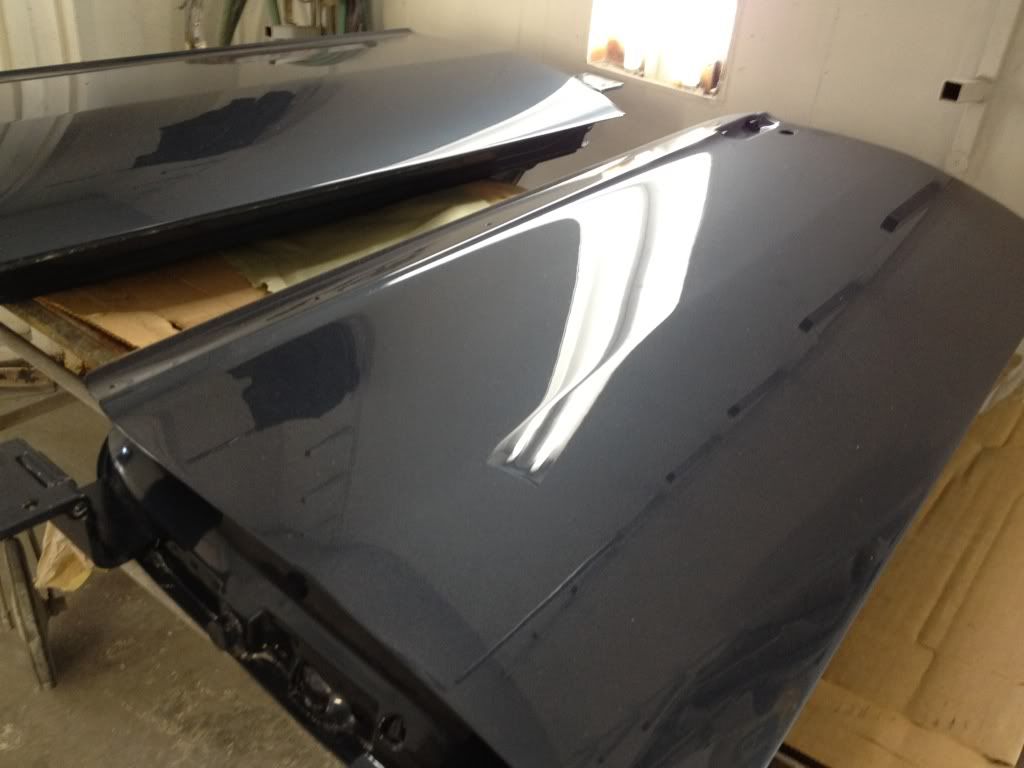
This is a partial of the hood:
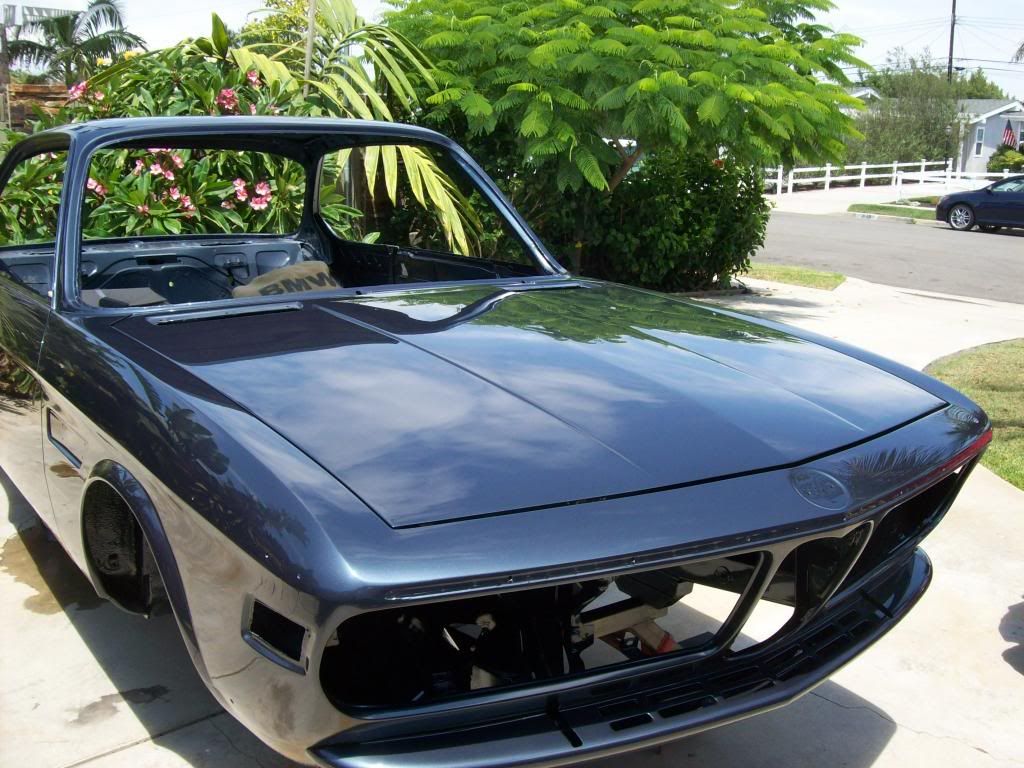
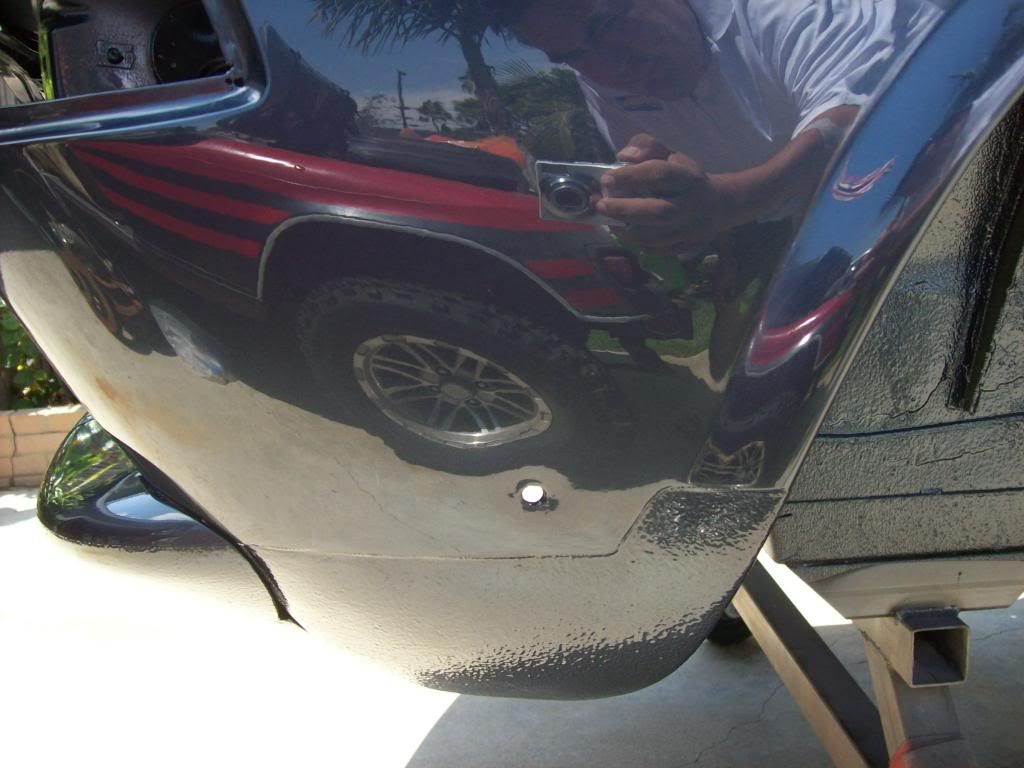
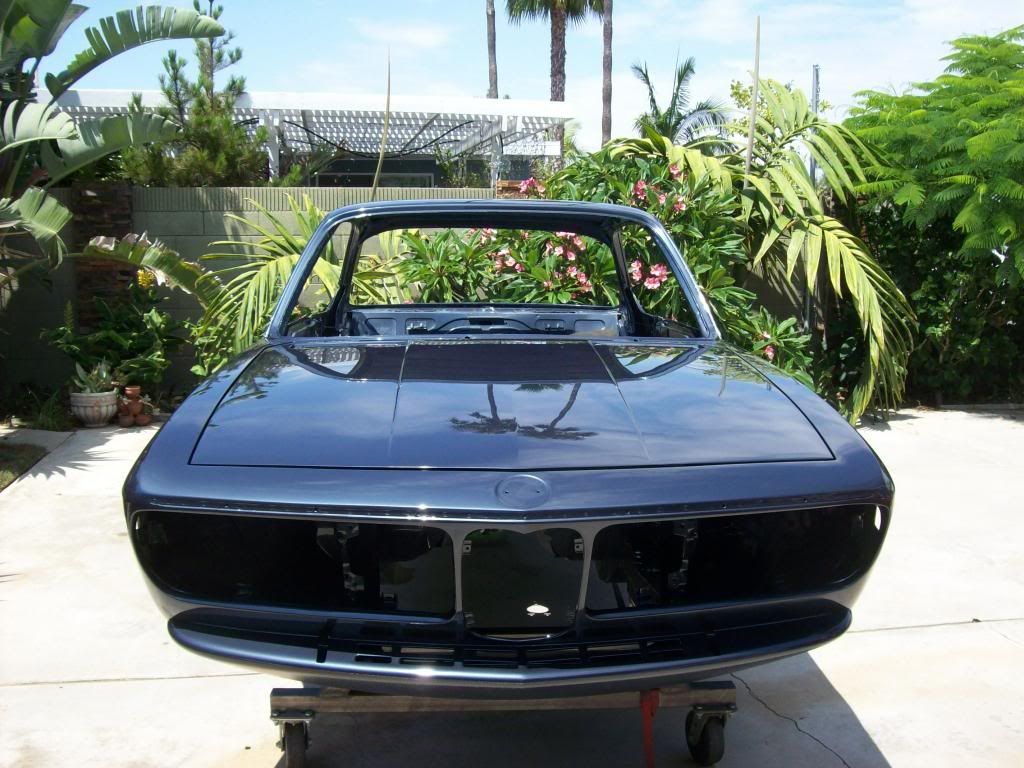
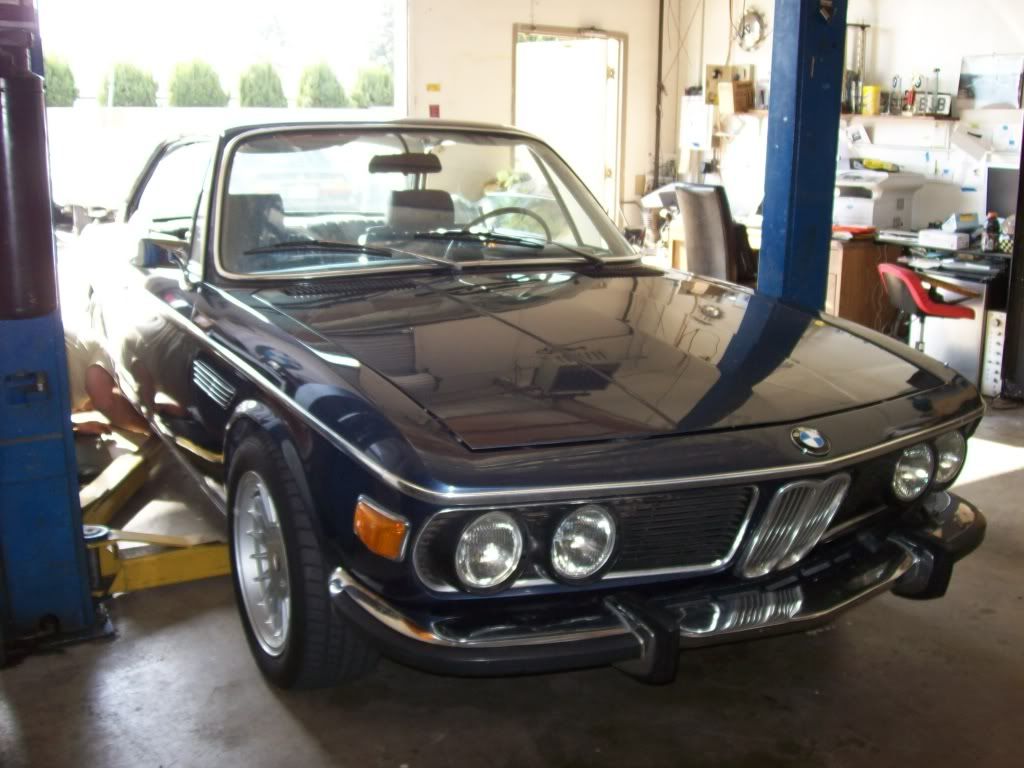
US markers have been shaved and the euro headlight added. I also tucked the bumpers so she looks the part. Next is getting her home and letting her rest so the paint hardens before we get started on reassembly. Then we get started on the motor and interior.
I'll try to keep everyone posted with our progress.
Thanks for looking and for your support!
Mike
Back in April with quite a bit of help, I decided to jump in and start the long process of refreshing my e9 Coupe. I've never done anything like this before so I was without a doubt overwhelmed with the task at hand.
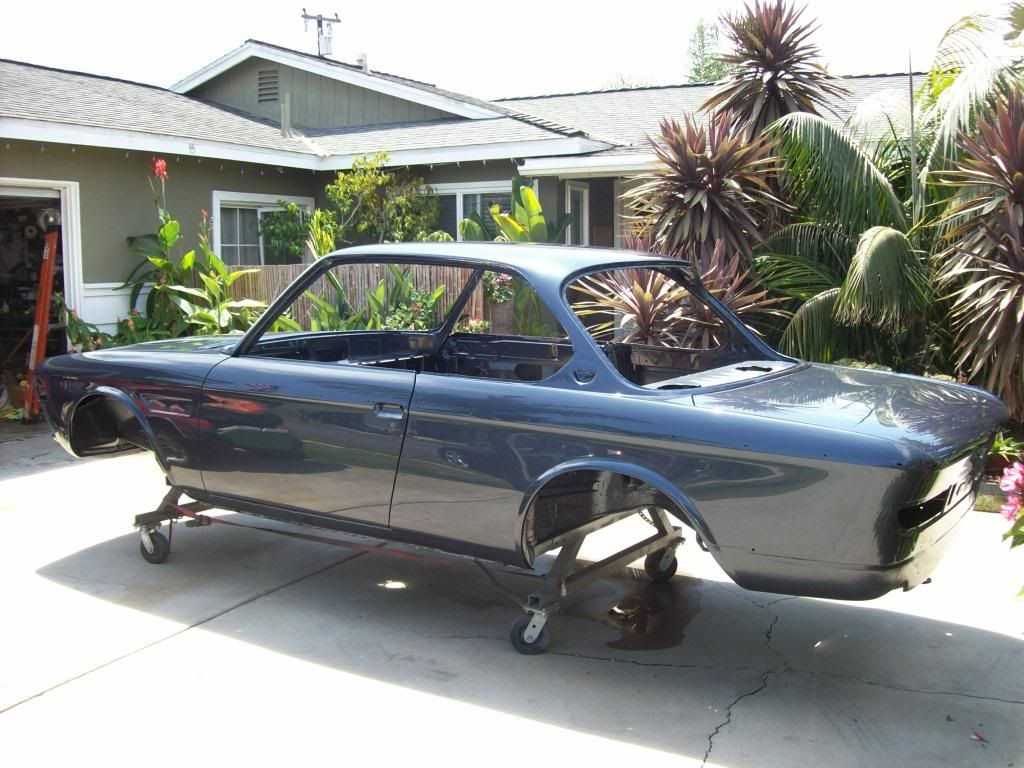
Subject vehicle:
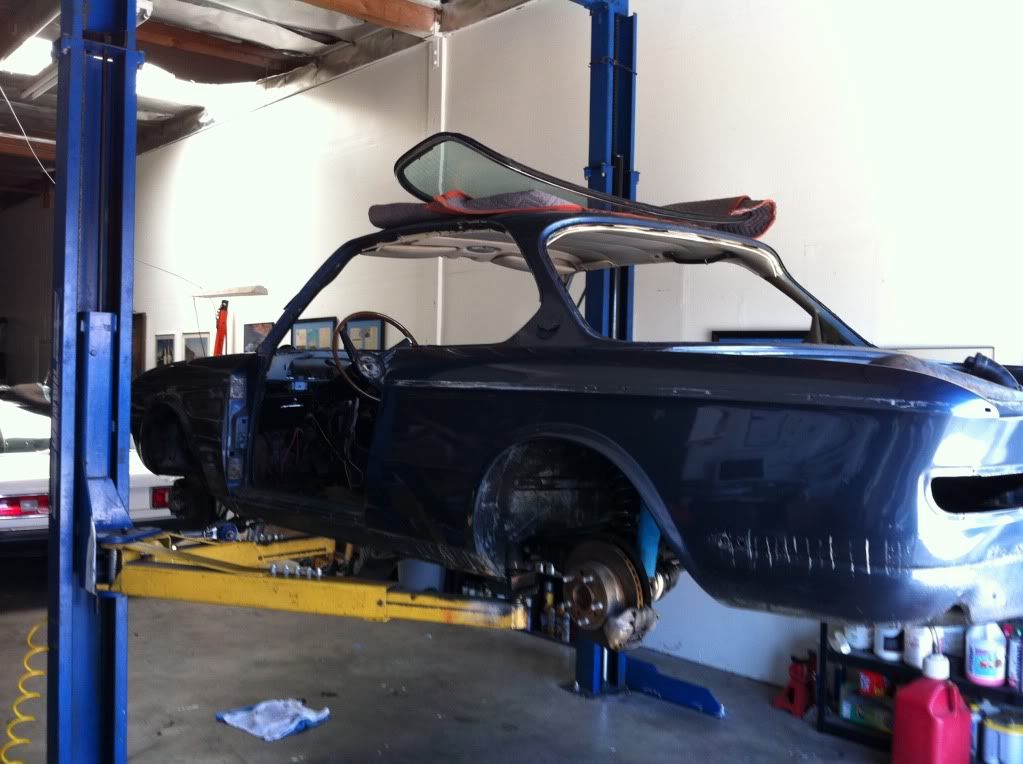
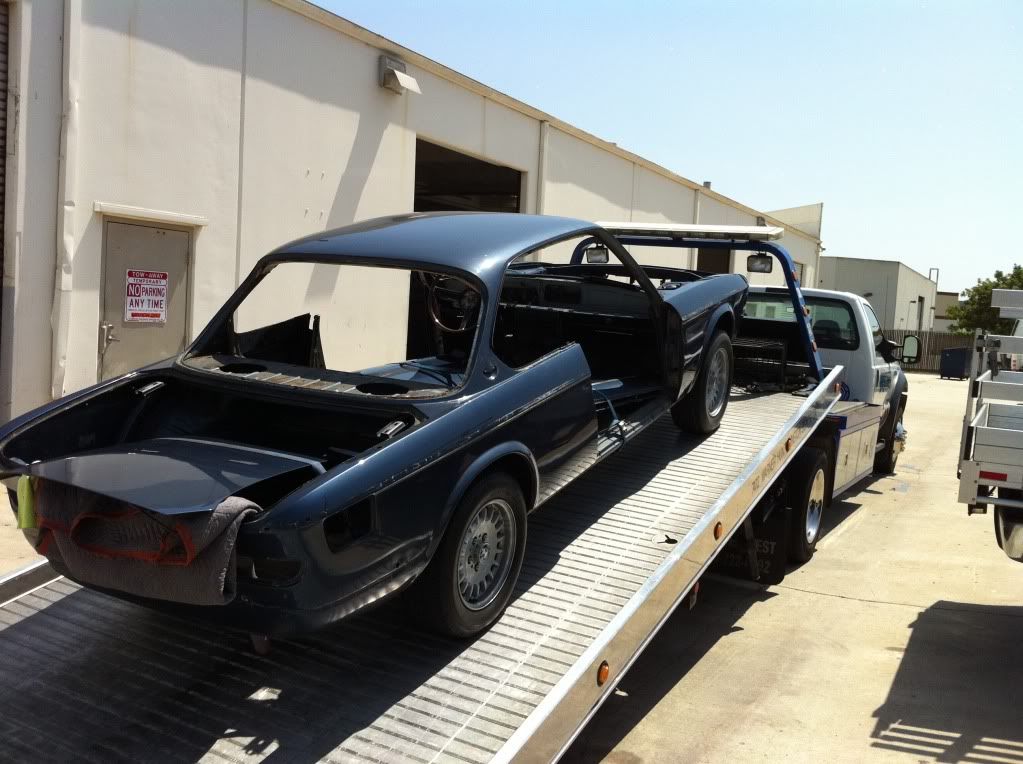
She looks pretty here but there are many underlying issues so common with the e9.
Progress
Engine out
Now to get media blasted to bare metal then to paint
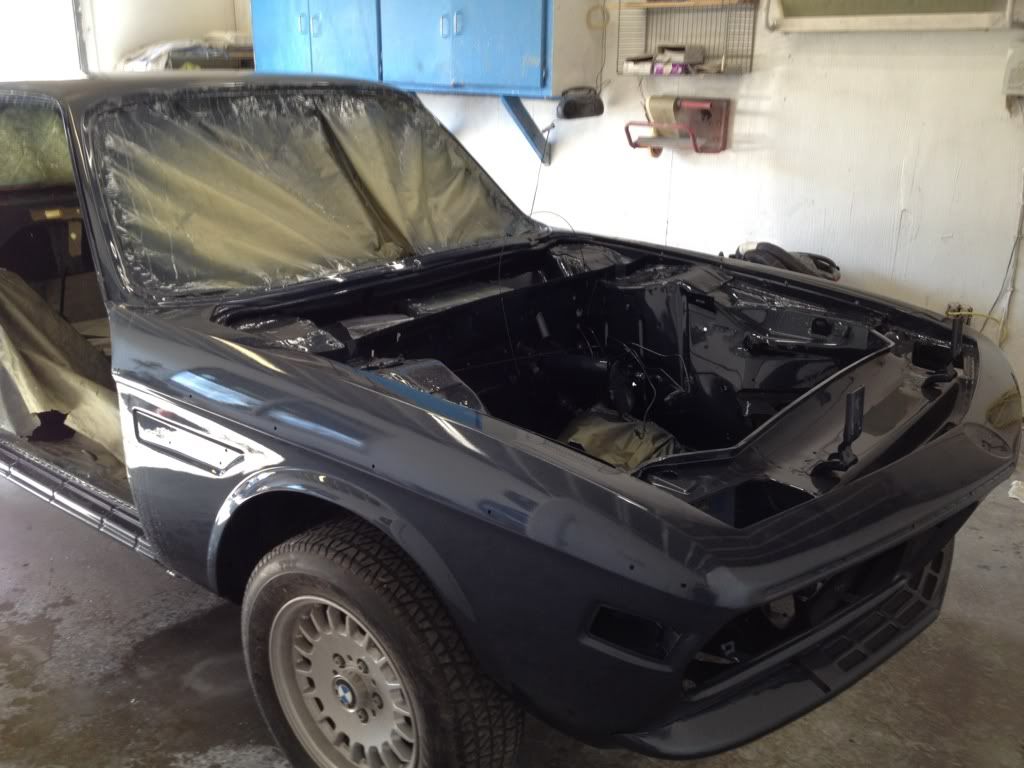
There were many issues that had to be dealt with including getting the color right. Nacht Blau isn't so exotic of a color; but now that the EPA is so tight on paint and since water base is mandatory in California getting the formula right isn't an easy task especially when the swatches are 40 years old. The first round of paint came out like Royal Blau. Great color but not for the Coupe.
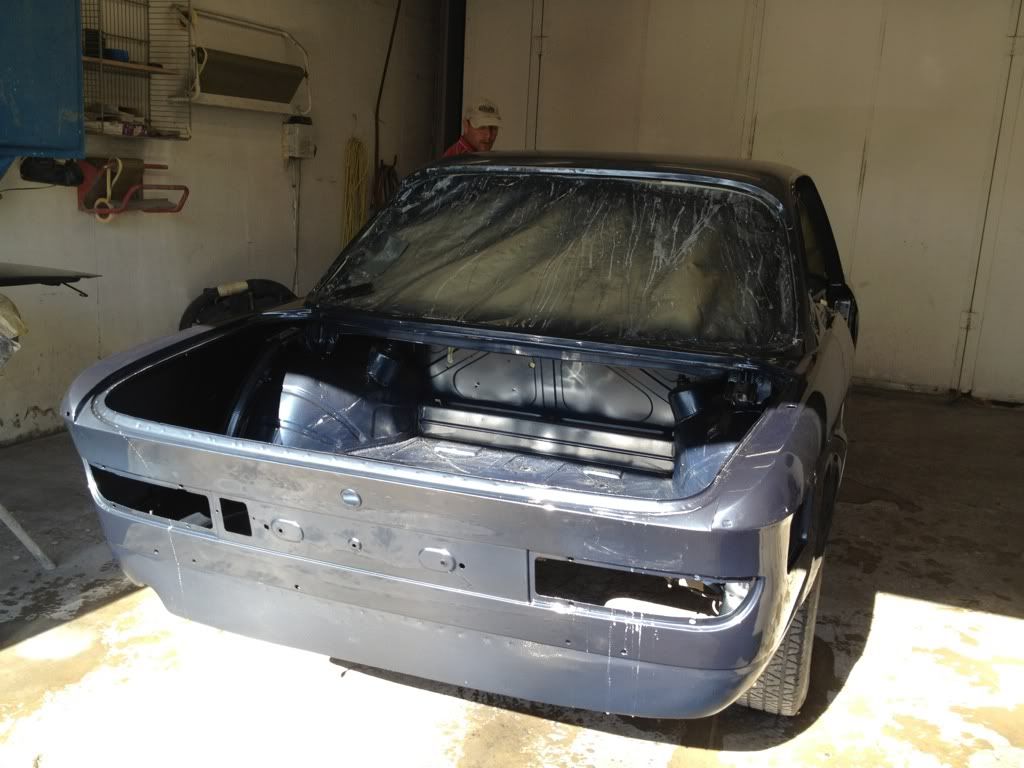
I got a call on Wednesday "your car is painted". I was in shock, really? I went down today to take a look and here is what I saw:
(sorry for the lousy shots)
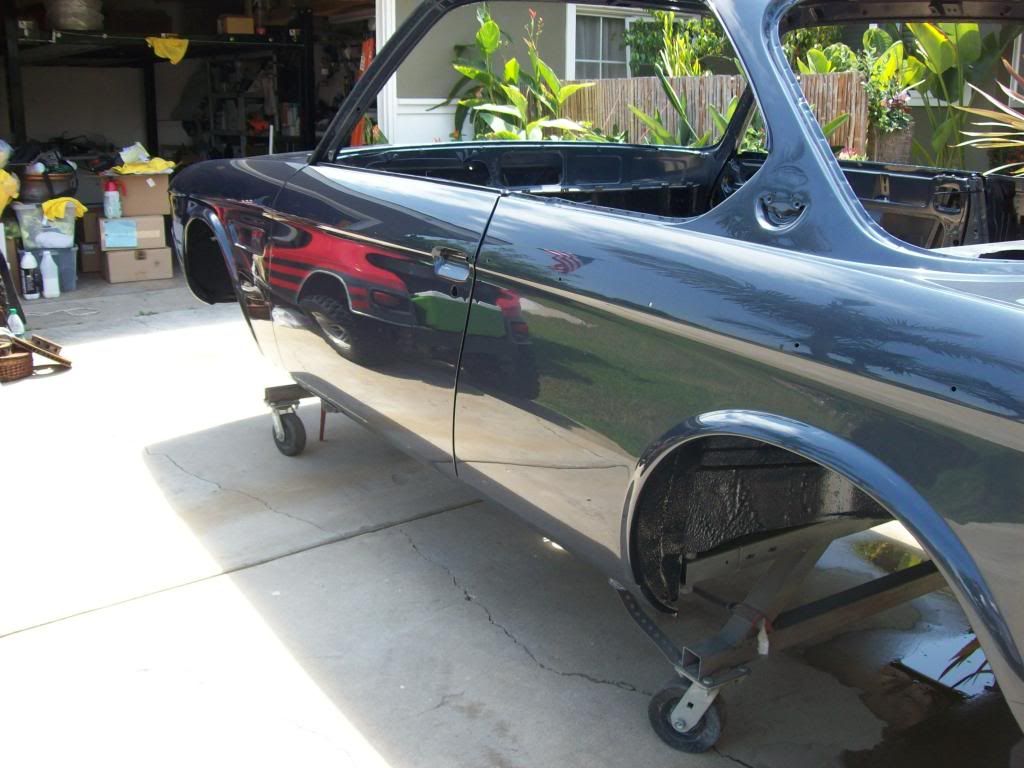
Doors. Notice the subtle mid line:
Rear deck lid:
Trunk, tough to see:
This is a partial of the hood:
US markers have been shaved and the euro headlight added. I also tucked the bumpers so she looks the part. Next is getting her home and letting her rest so the paint hardens before we get started on reassembly. Then we get started on the motor and interior.
I'll try to keep everyone posted with our progress.
Thanks for looking and for your support!
Mike
Last edited: