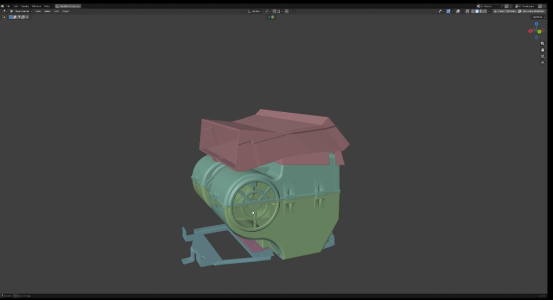
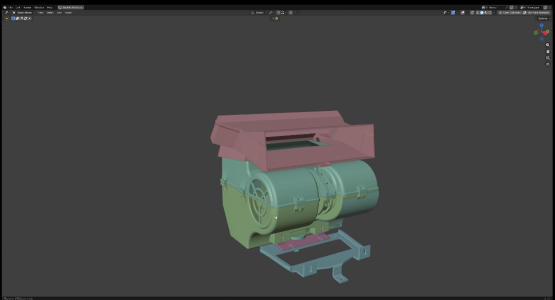
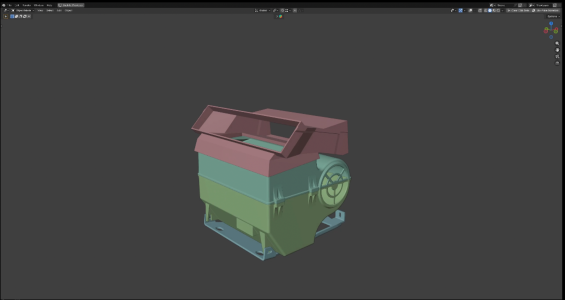
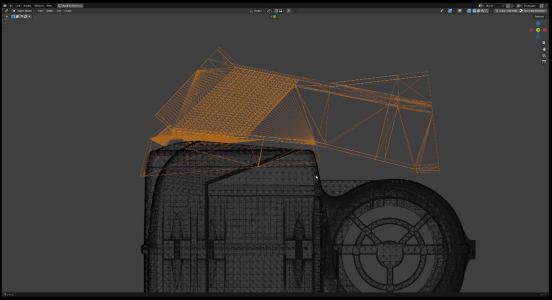
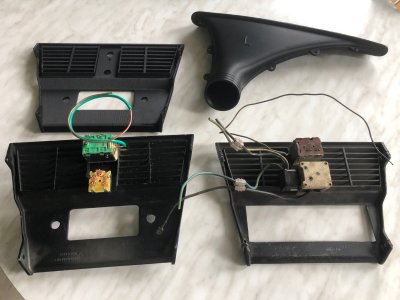
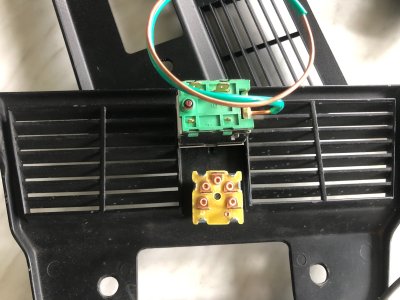
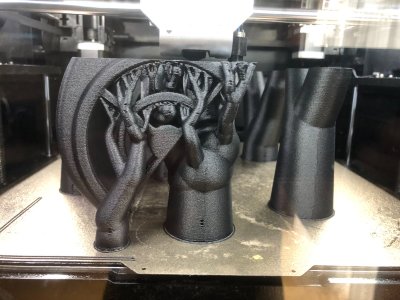
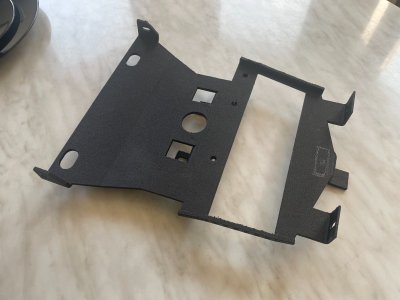
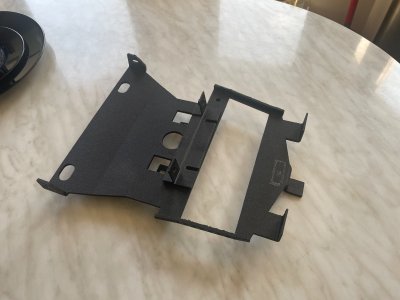
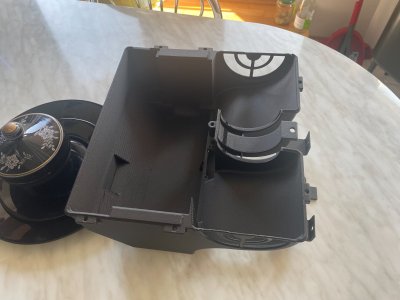
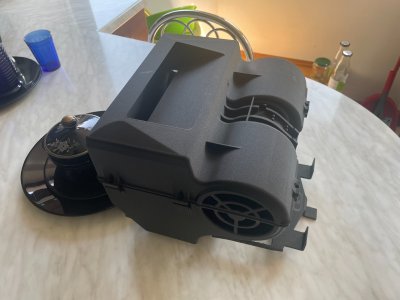
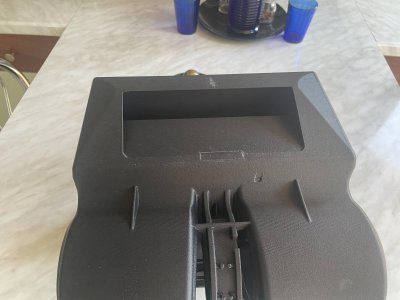
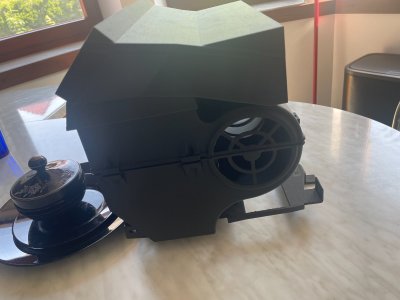
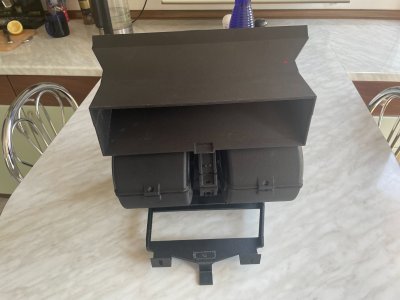
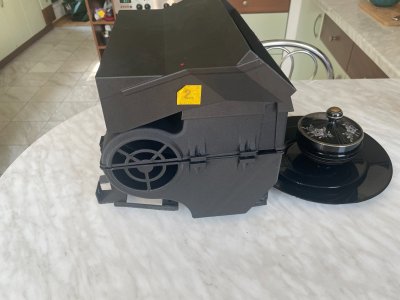
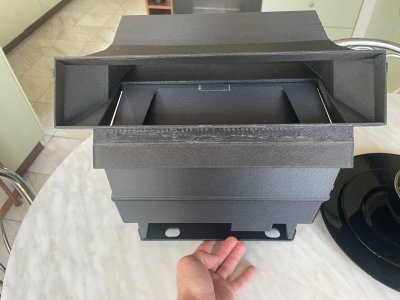
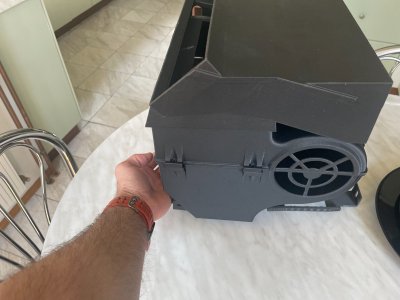
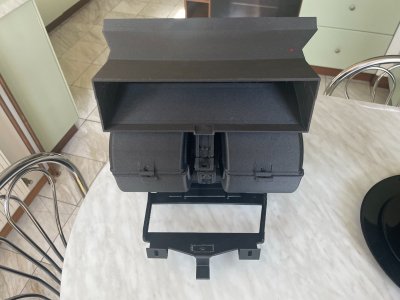
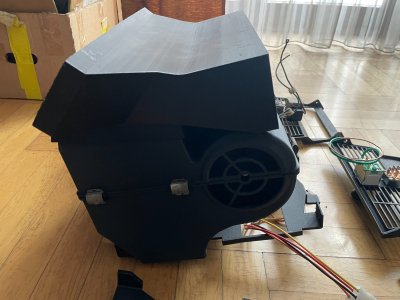
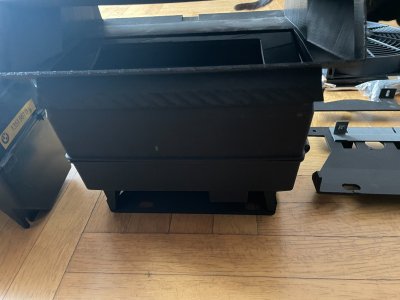
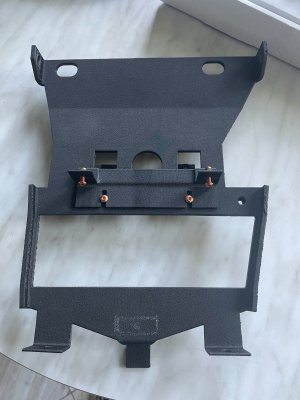
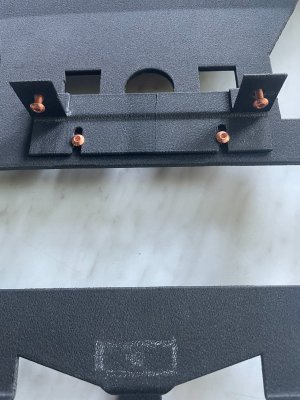
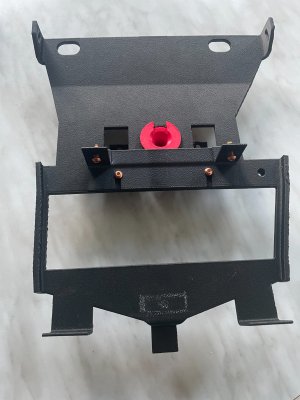
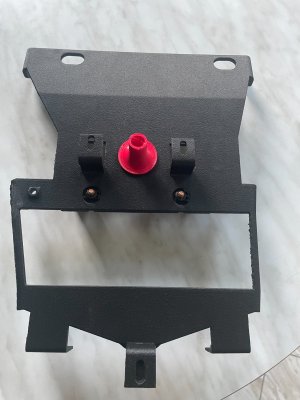
3D Printed elements of air conditioning/ventilation systems.

Okay, the longer one is E9, the shorter one is E24/E21. What about the third one in the photo?
It's in 2800 from the USA.
It's different from the others.
 

Attachments

  • Zrzut ekranu 2025-10-21 o 20.58.30.png
    Zrzut ekranu 2025-10-21 o 20.58.30.png
    448 KB · Views: 231
Regarding bases? Which one is E9 again?

The one with the extra window is for the E9, the shorter one for the E24/E21.
The third one in the photo below is installed in a Nevada 2800 imported from the USA.
The front is completely different.
 

Attachments

  • Zrzut ekranu 2025-10-21 o 17.50.08.png
    Zrzut ekranu 2025-10-21 o 17.50.08.png
    222.9 KB · Views: 220
It is exact match to that in my '75 Euro CS.

It appears that the E9 model had two different evaporator bases.
Perhaps these differences exist in the construction of the evaporator base in pre- and post-facelift models.
In any case, the original A/C evaporator base is difficult to replicate.
Every craftsman I spoke with about this said it was certainly possible, but it wouldn't be cheap due to the shape, which requires more precision and time to replicate.
I think the best solution would be to redesign the base to standardize and simplify its construction while maintaining its functionality.
I see what you mean. Could the first one be e3 as the console is very different?

I think the longer ones with a window are only for E9.

I'll keep you updated on progress.
 
looking forward to hearing of your development on this ... of course then there is the decision of where / how to put in other vents. one approach is to connect them to the defroster vents. another is to do something in the panel under the steering column ... the passenger side is a little more difficult - perhaps under the glove box. i am curious how a flexible duct will work around the passenger glovebox supports

View attachment 200385
Why not route the air up to and out of the speaker grille? I personally like fresh air blowing at me when driving
 
Hello after a long absence.

We're slowly approaching the end.
In about a month, a complete air conditioning system will be available, modeled after the factory one but equipped with modern components.
We're currently conducting final tests and minor modifications.
The kit will allow for air conditioning installation in any E9 that wasn't factory-equipped.
Plug and play installation.
No modifications to the vehicle's structure are required.
The system is adapted to the new refrigerant.

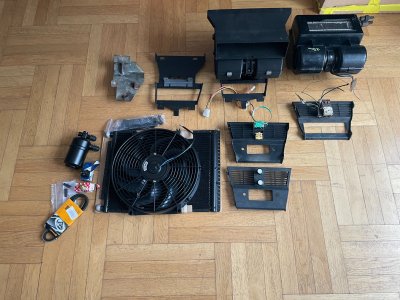
The kit will include:

- Sanden compressor with bracket for the M30 block.
- Compressor drive belt.
- Condenser with fan.
- Drier.
- Refrigerant service connections.
- A complete set of system hose connections.
- Refrigerator hose to be cut to the correct length.

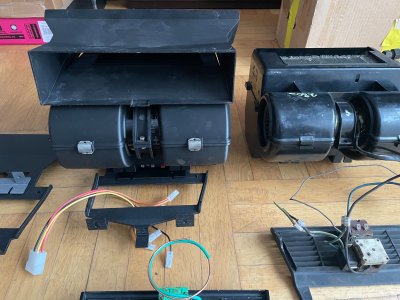
- Evaporator with a modern core and fan.
The exterior of the evaporator housing will be identical to the original.

- Evaporator air duct.
- Evaporator base.
- Side panels with inlet openings and inlet covers with an elephant skin texture, just like the original.
- Central panel with markings in English or German, along with modern climate control parameters.
- Radiator fan thermoswitch
- Relay.

The photos below obviously do not show all the components.
We are currently in the final stages of improving the efficiency of the cold air vents, and everything indicates that the next upgrade will be a modification to the cold airflow, which will allow cold air to exit through the windshield defrosters. This will prevent cold air from escaping exclusively through the heater outlet vents.
This should improve cold air circulation in the cabin and cool it more quickly.
All printed elements are currently available. The entire set will be available from mid-March. If interested, please send me a DM.
Questions and comments are welcome.


It's winter, and a friend's workshop is preparing for the season.
I couldn't resist passing by.
The last two photos.
A work of art on two wheels...
 

Attachments

  • IMG_9836.jpeg
    IMG_9836.jpeg
    409 KB · Views: 139
  • IMG_9837.jpeg
    IMG_9837.jpeg
    341.3 KB · Views: 129
  • IMG_9838.jpeg
    IMG_9838.jpeg
    260.2 KB · Views: 115
  • IMG_9839.jpeg
    IMG_9839.jpeg
    224.9 KB · Views: 124
  • IMG_9834.jpeg
    IMG_9834.jpeg
    410.1 KB · Views: 119
  • IMG_9835.jpeg
    IMG_9835.jpeg
    382.1 KB · Views: 130
Work in progress.
Final touches...
 

Attachments

  • Zrzut ekranu 2026-07-14 o 09.50.22.png
    Zrzut ekranu 2026-07-14 o 09.50.22.png
    1.3 MB · Views: 34
  • Zrzut ekranu 2026-07-14 o 09.50.02.png
    Zrzut ekranu 2026-07-14 o 09.50.02.png
    1.6 MB · Views: 36
  • Zrzut ekranu 2026-07-14 o 09.49.44.png
    Zrzut ekranu 2026-07-14 o 09.49.44.png
    1.5 MB · Views: 37
  • Zrzut ekranu 2026-07-14 o 09.49.25.png
    Zrzut ekranu 2026-07-14 o 09.49.25.png
    930.9 KB · Views: 36
  • IMG_5413.jpeg
    IMG_5413.jpeg
    212 KB · Views: 32
  • IMG_5414.jpeg
    IMG_5414.jpeg
    251.4 KB · Views: 35
  • IMG_5411.jpeg
    IMG_5411.jpeg
    319.6 KB · Views: 36
  • IMG_1482.jpeg
    IMG_1482.jpeg
    208.3 KB · Views: 35
  • IMG_1483.jpeg
    IMG_1483.jpeg
    185 KB · Views: 33
  • IMG_1484.jpeg
    IMG_1484.jpeg
    183.7 KB · Views: 33
  • IMG_1485.jpeg
    IMG_1485.jpeg
    182.9 KB · Views: 33
  • IMG_1486.jpeg
    IMG_1486.jpeg
    261.7 KB · Views: 34
  • IMG_1487.jpeg
    IMG_1487.jpeg
    156.9 KB · Views: 37
  • IMG_1488.jpeg
    IMG_1488.jpeg
    191.4 KB · Views: 37
  • IMG_1489.jpeg
    IMG_1489.jpeg
    194.1 KB · Views: 36
  • IMG_1491.jpeg
    IMG_1491.jpeg
    304.4 KB · Views: 36
  • IMG_1494.jpeg
    IMG_1494.jpeg
    184.4 KB · Views: 35
  • IMG_1495.jpeg
    IMG_1495.jpeg
    228.1 KB · Views: 40
Looks great! I am wondering, how sturdy is the material (eg for the base plate) in 3D print vs the original metal parts?
 
The field of technical materials is currently seeing rapid development—specifically materials that are ultra-hard and resistant to both impact and high temperatures.

I recommend the following YouTube channel:


These materials aren't cheap and require a lot of tweaking of print settings, but the final result is excellent.
The prints are strong enough to accommodate threaded metal inserts at the connection points, allowing everything to be assembled just like the original.
 
  • Like
Reactions: Dlc
Evaporator base featuring a T-bar for securing the evaporator housing and a drainage funnel for the evaporator bottom.
The base has undergone durability testing and successfully replaces the original metal base.

The color of the rubber drainage funnel is for testing purposes.
 

Attachments

  • IMG_1561.jpeg
    IMG_1561.jpeg
    293.1 KB · Views: 25
  • IMG_1562.jpeg
    IMG_1562.jpeg
    408.3 KB · Views: 27
  • IMG_1563.jpeg
    IMG_1563.jpeg
    278.8 KB · Views: 27
  • IMG_1564.jpeg
    IMG_1564.jpeg
    266.4 KB · Views: 28
  • Like
Reactions: Dlc
Good morning, Erik.

Yes, it is possible to purchase individual parts of the system.
Essentially, all the components are ready.
Final tests are currently underway on the evaporator itself; to ensure proper operation.
Upper section required a complete redesign.
 
Will the new evaporator include the additional air circulation ducts? I also would like to purchase that part with updated fan and new evaporator. My car is with Don and we are holding off rebuilding the original evaporator.
 
Back
Top