You are using an out of date browser. It may not display this or other websites correctly.
You should upgrade or use an alternative browser.
You should upgrade or use an alternative browser.
72 Club Racer Resto and Modernization
- Thread starter bdigel
- Start date
Beautiful!
RP
RP
Baikallackierung
Well-Known Member
This dude is a hard worker! Looks amazing.
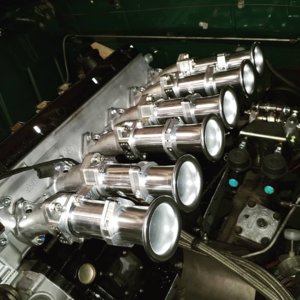
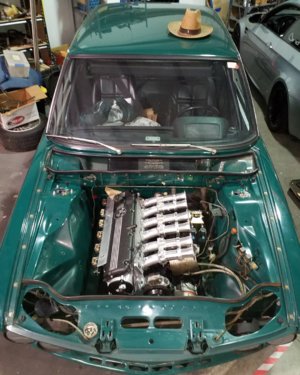
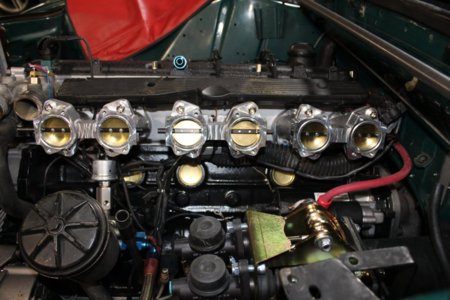
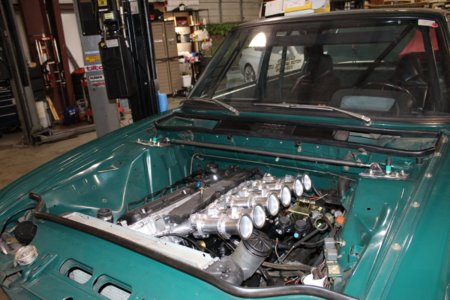
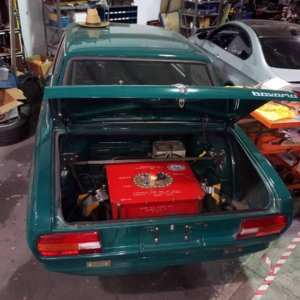
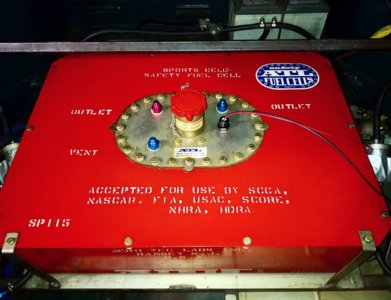
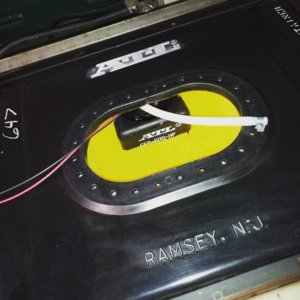
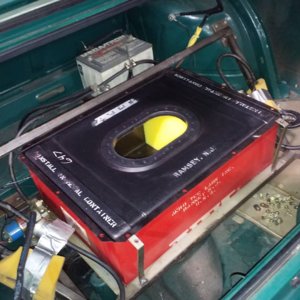
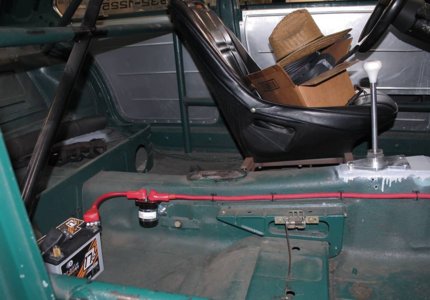
After sitting in Harolds shop for decades the fuel cell needed some attention, also snice I am going to running the car with modern fuel injection a higher output fuel pump will be needed for the fuel system. A high output pump installed in a surge tank ( aka the black box) some new foam , fresh hoses and new wiring



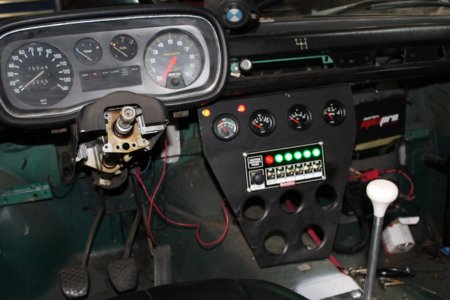
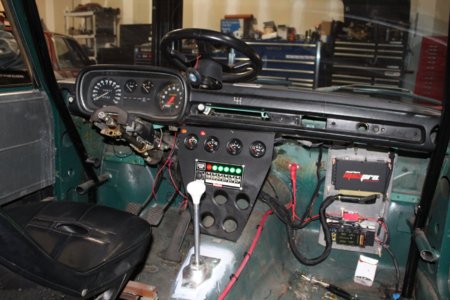
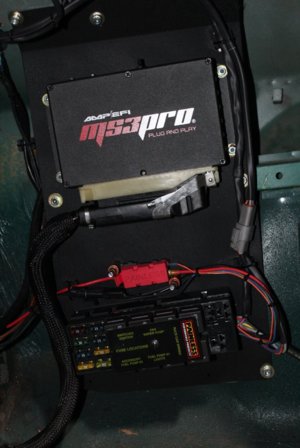
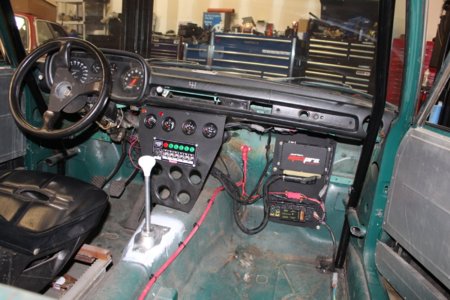
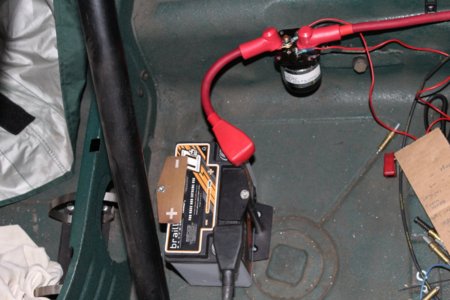
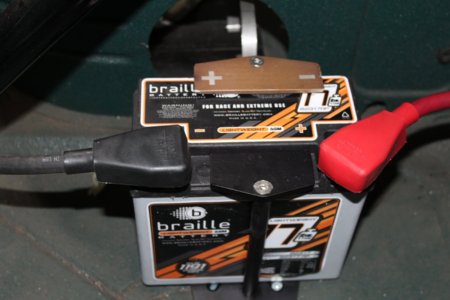
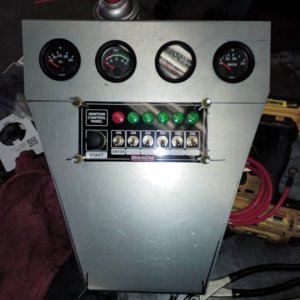
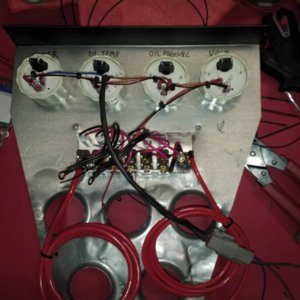
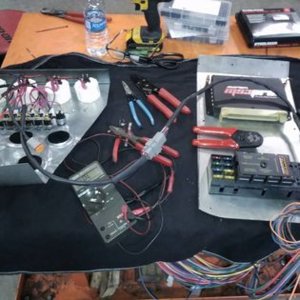
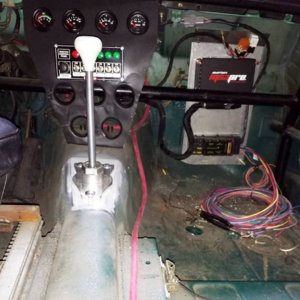
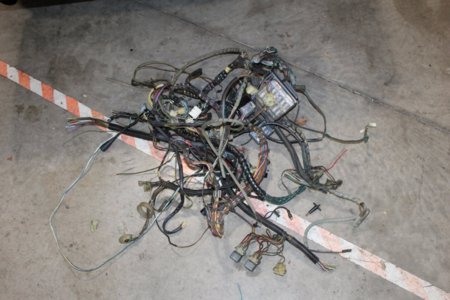
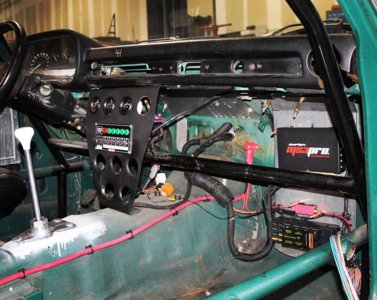
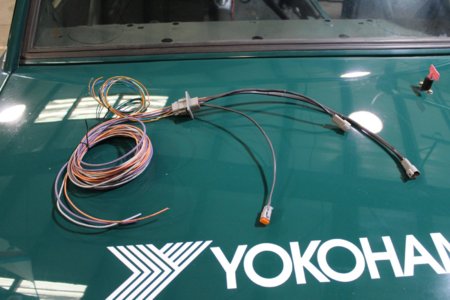
I decided to basically rewire the entire car , One to make it easier to install the electronic fuel injection, and different pumps , electric fans , etc, I removed the 50 year old harness and installed a painless 8 circuit system , and made from scratch the stuff I needed , Made a center council to hold gauges and switch s for every thing including kill switch and starter button . made a panel to hold the electronics , ECU and relay , fuse bank

Attachments
-
 120465442_2780201348970316_4868621437819231320_n.jpg76.7 KB · Views: 315
 -
 120597534_2780903862233398_5620513884616300978_n.jpg83.7 KB · Views: 305
 -
 120840835_2780969612226823_7310449911853061031_n.jpg133.8 KB · Views: 311
 -
 121306101_2787177364939381_654671348676549608_n.jpg25.1 KB · Views: 304
 -
 121082163_2787251144932003_6200005547145377840_n.jpg110.1 KB · Views: 296
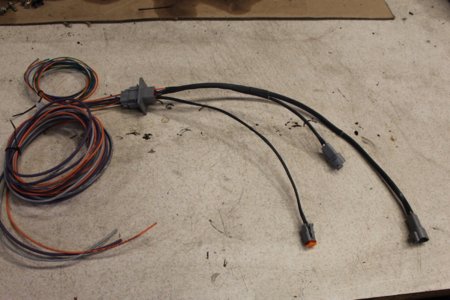
the remints of the old harness extricated from the car . modern deutsch connectors built and some bulk head connecters making the harness modular if thing need to be removed for repair .

Attachments
-
 125547141_2819691171688000_1476249575196231804_n.jpg283.7 KB · Views: 316
 -
 122830687_2800803330243451_7984068781066677926_n.jpg122 KB · Views: 309
 -
 122791208_2800804856909965_2475319506689050761_n.jpg76.9 KB · Views: 288
 -
 123194746_2807516006238850_6205206005020473178_n.jpg310.2 KB · Views: 280
 -
 123318551_2807516109572173_71656150652965197_n.jpg235.9 KB · Views: 295
bavaria
Well-Known Member
PM sent.
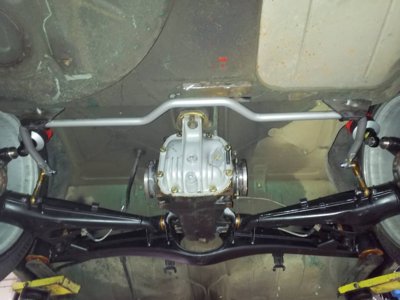
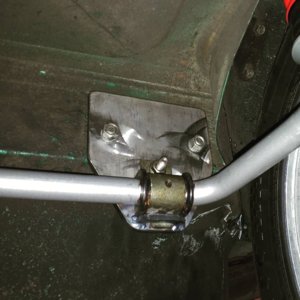
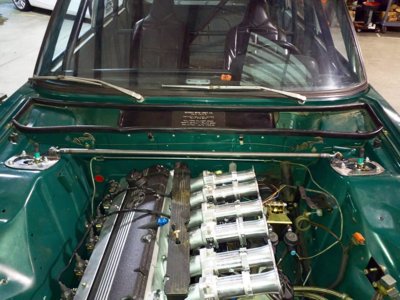
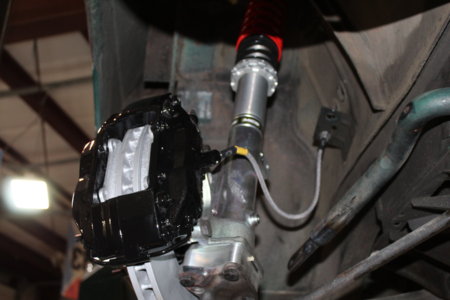
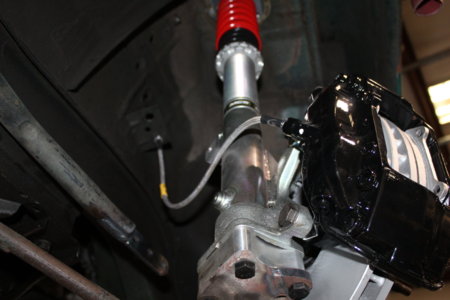
Steven Landis AKA Turtle completed the rear suspension swap by fabricating some plates to hold the e28 style rear sway bar , then we built from scratch a strut tower brace out a nice cromo tube and rodends

Attachments
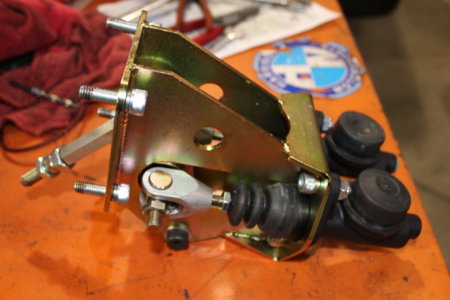
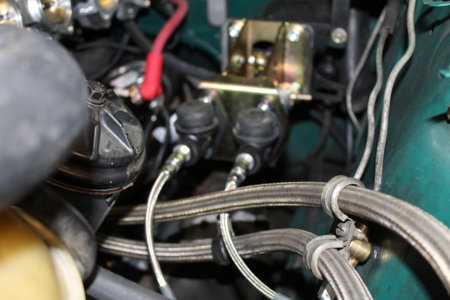
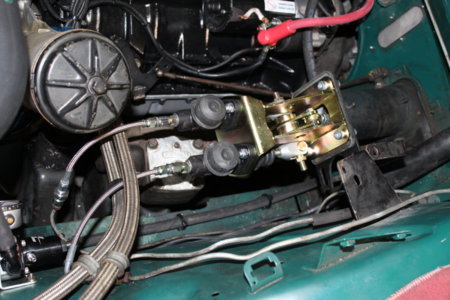
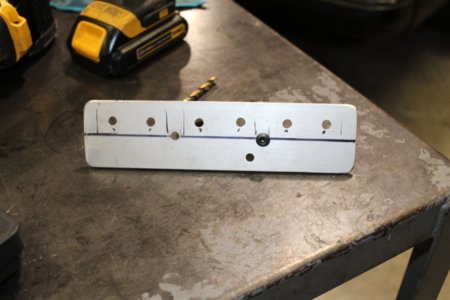
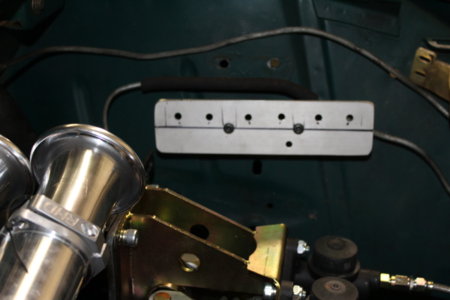
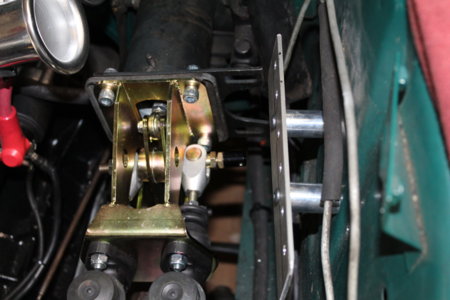
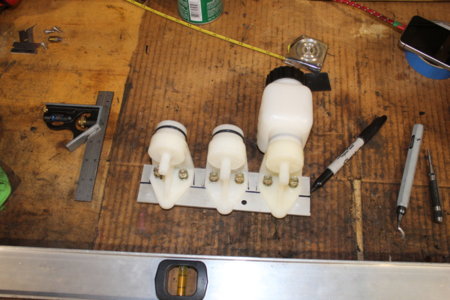
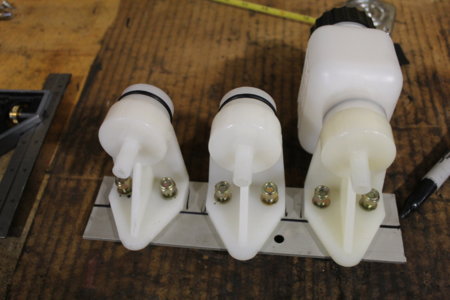
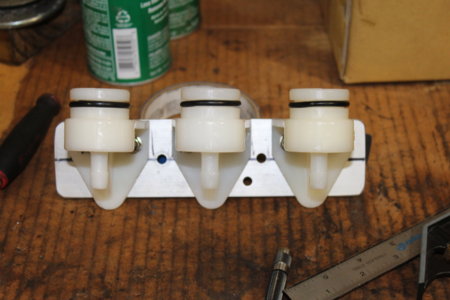
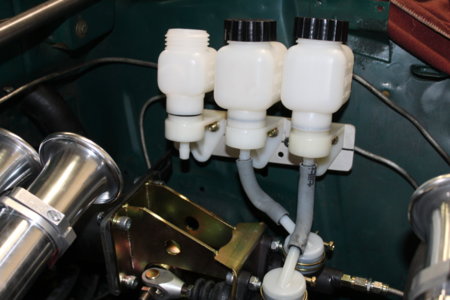
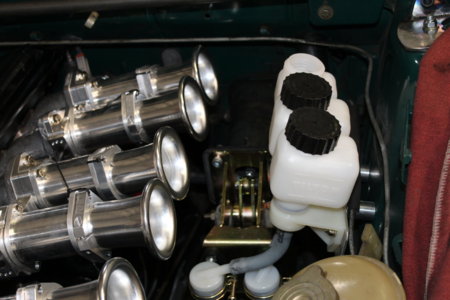
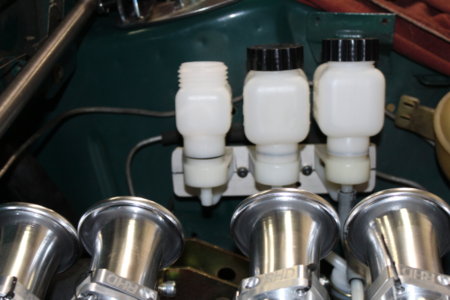
Had to mount the fluid res. remotely so made a bracket to get them out of the way

Attachments
-
 IMG_0136.JPG311.3 KB · Views: 288
 -
 IMG_0137.JPG210.9 KB · Views: 279
 -
 IMG_0138.JPG149.1 KB · Views: 275
 -
 IMG_0139.JPG218 KB · Views: 288
 -
 IMG_0134.JPG316.8 KB · Views: 277
 -
 IMG_0135.JPG199.5 KB · Views: 281
 -
 IMG_0140.JPG204.7 KB · Views: 270
 -
 IMG_0141.JPG201.8 KB · Views: 270
 -
 IMG_0143.JPG222.2 KB · Views: 277
 -
 IMG_0144.JPG191.7 KB · Views: 269
Baikallackierung
Well-Known Member
I'm curious about the weight of the finished car. Any weights for E3 race ready cars out there?
I have not weighed the car and I don't know what it weighed when Harold ran it But as I get closer to completing the project I will post up what it weighs along with corner weights etc , Form previous experience I would guess with driver and fuel load its gonna weigh 2800 to 3k eventually I would like to find a composite hood and get rid of the glassI'm curious about the weight of the finished car. Any weights for E3 race ready cars out there?
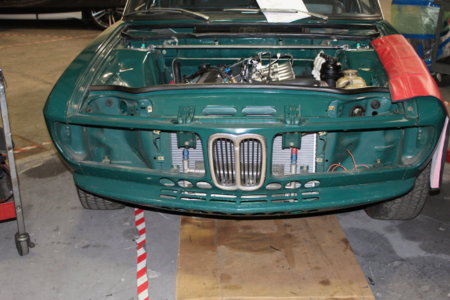
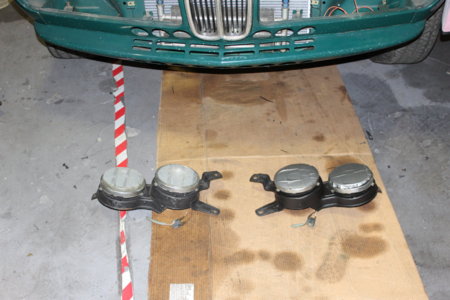
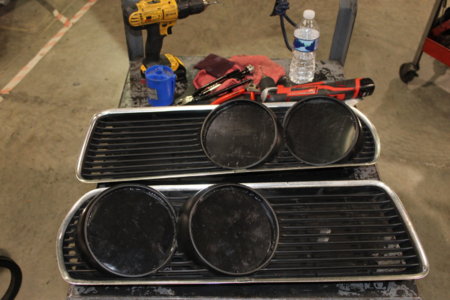
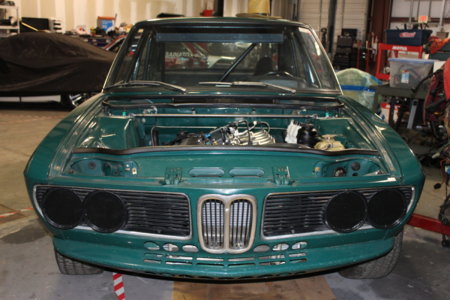
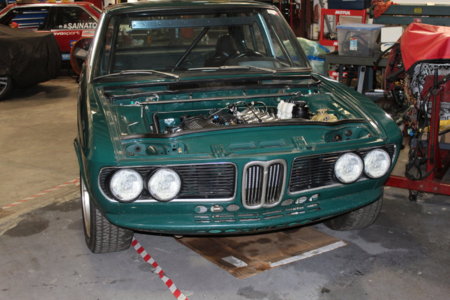
Speaking of weight one small weight reduction project I did was to remove the headlight buckets , which got rid of 10 / 15 pounds of the front end , I made aluminum plates that I fixed in the grills and applied decals I had made that make it look like there are still headlights

Attachments
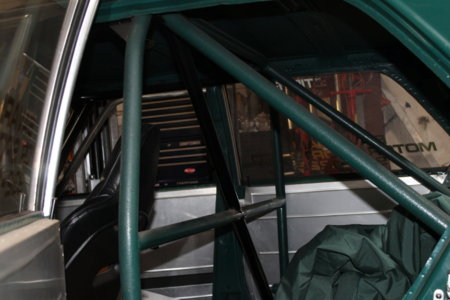
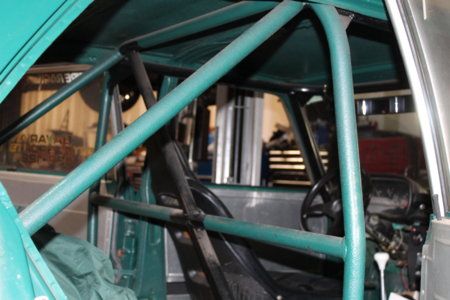
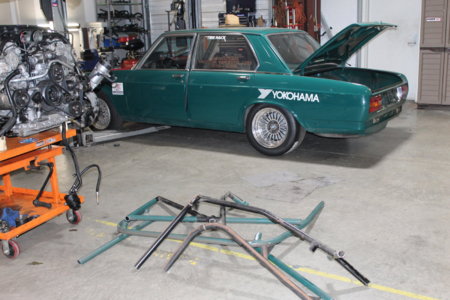
The cage in the car was basic 6 point deal that lacked some features , and had some bars in places I didn't like . So the next step was to cut out the entire old cage and prep the car for a more modern cage that tied into some place to stiffen up the chassis a bit . Regretfully I started this undertaking when I was physically exhausted and knew better , I kept pushing and while cutting the last bar I lacked the strength and it swung around and broke the windshield ughhhh

Attachments
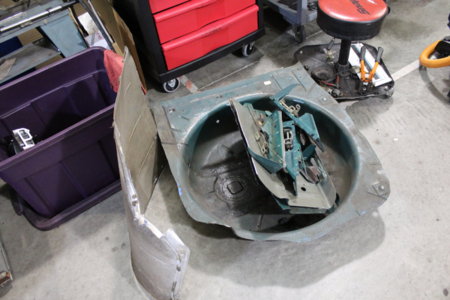
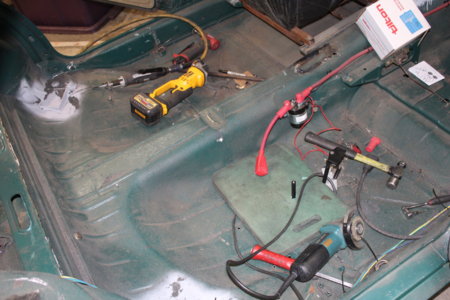
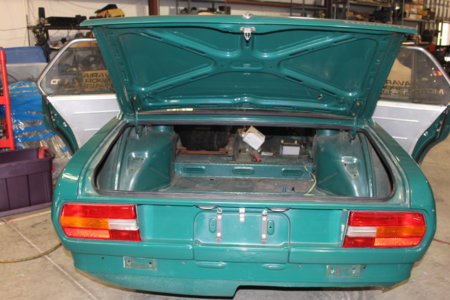
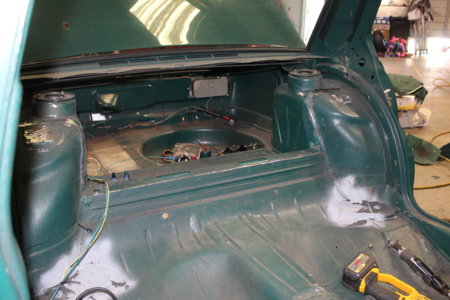
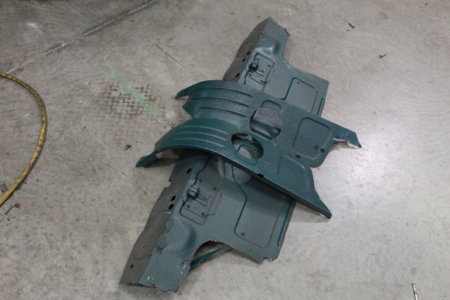
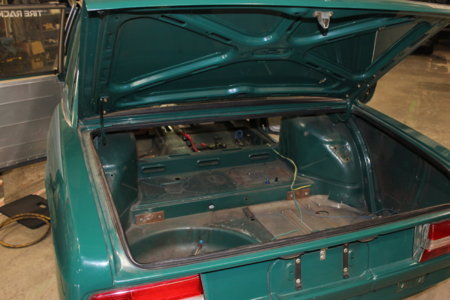
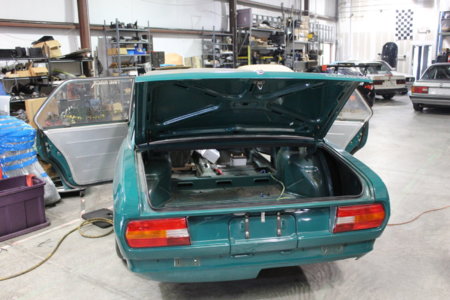
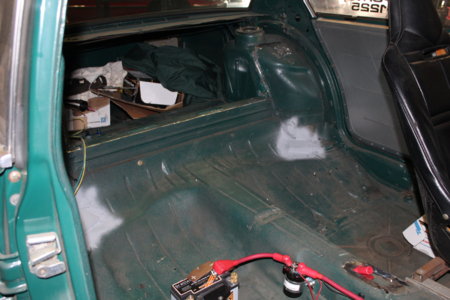
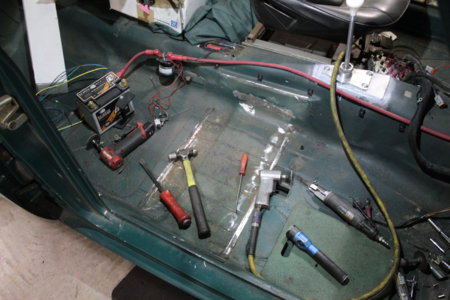
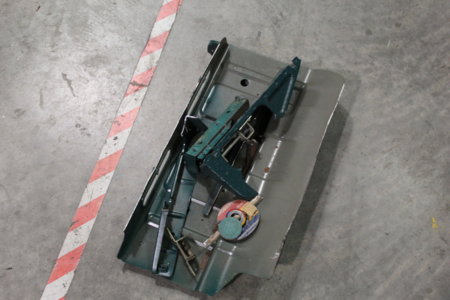
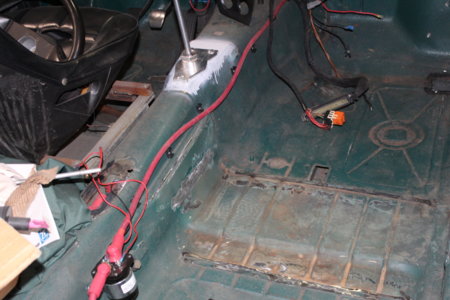
continuing with prep for the modern cage , and trying to reduce weight , I cut out any unnecessary metal , like the seat brackets , the parcel under the back seat, and to make it easy for the Cage builder to tie into the rear suspension I cut out the rear panel behind the back seat and trunk . Also ground down any tabs , old cage pieces , e brake brackets , etc Burned up a lot of grinding wheels !!

Attachments
-
 IMG_0368.JPG333.4 KB · Views: 256
 -
 IMG_0370.JPG298.7 KB · Views: 256
 -
 IMG_0371.JPG314.1 KB · Views: 271
 -
 IMG_0372.JPG253.6 KB · Views: 254
 -
 IMG_0373.JPG271.5 KB · Views: 281
 -
 IMG_0375.JPG310.2 KB · Views: 253
 -
 IMG_0382.JPG264 KB · Views: 274
 -
 IMG_0392.JPG309.9 KB · Views: 252
 -
 IMG_0393.JPG251.7 KB · Views: 255
 -
 IMG_0394.JPG301.7 KB · Views: 274
'69 2800cs
Well-Known Member
What are the rear wheels?
They are old Weds Bavaria with 10 inch wide barrels regretfully I'm struggling to get barrels that fit the front .What are the rear wheels?
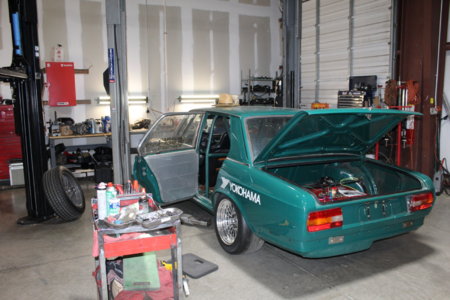
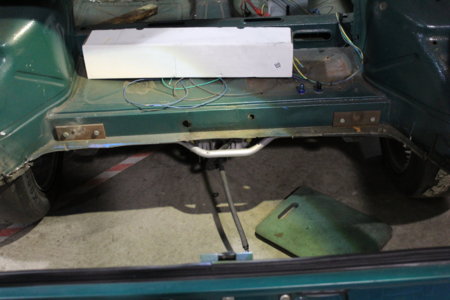
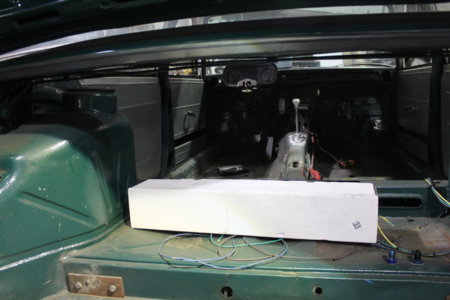
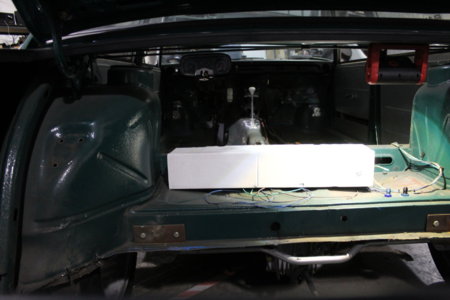
The fuel cell was mounted high up in the trunk and would be in the way of how we wanted to tie the cage into the diff mount , I cut out the old fuel cell mounting bars and the entire trunk . Just about ready to send the car to cage builder

