You are using an out of date browser. It may not display this or other websites correctly.
You should upgrade or use an alternative browser.
You should upgrade or use an alternative browser.
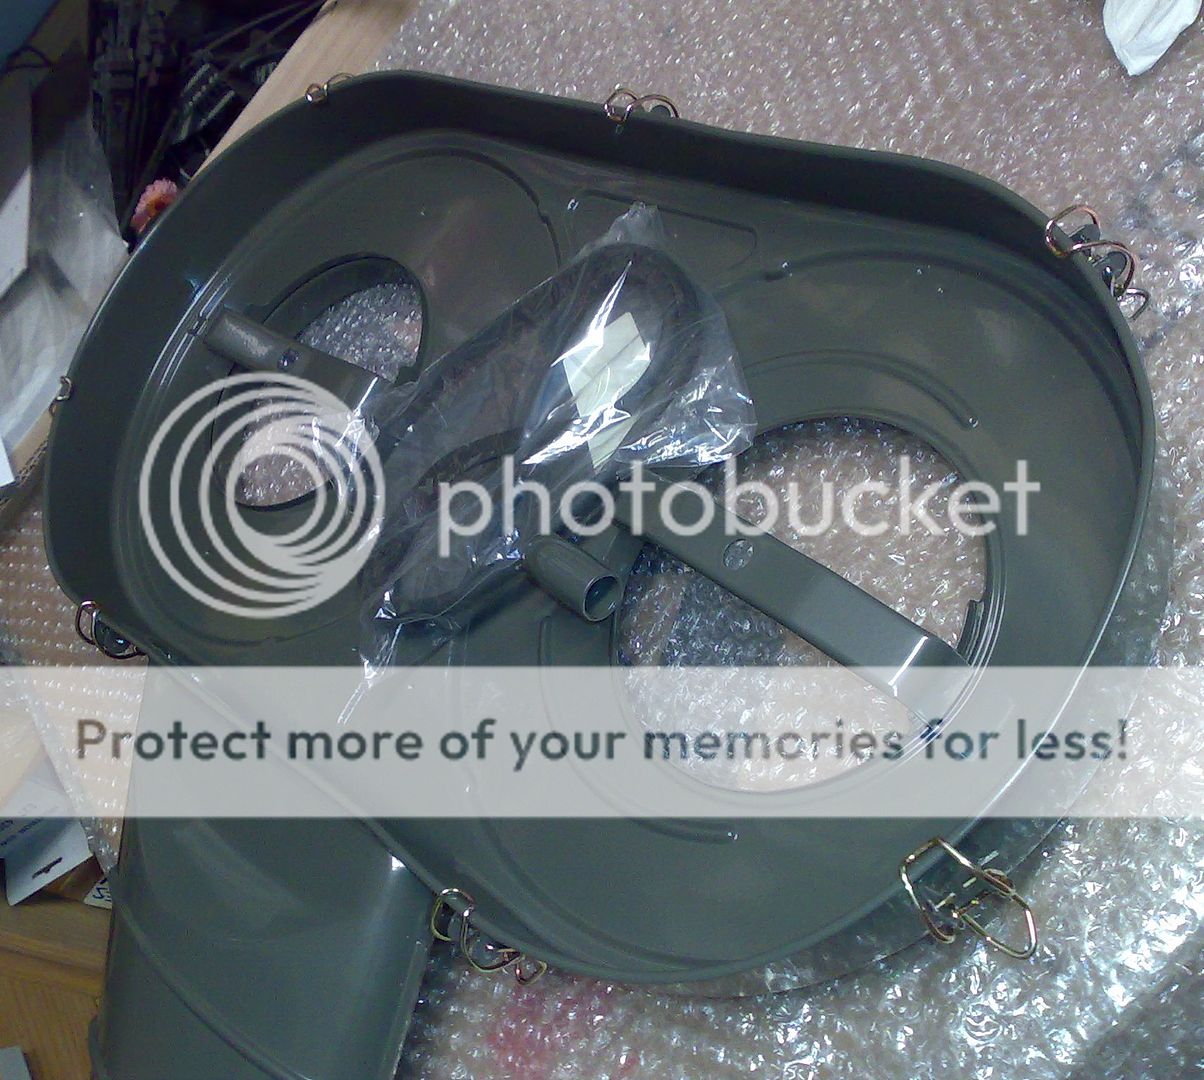
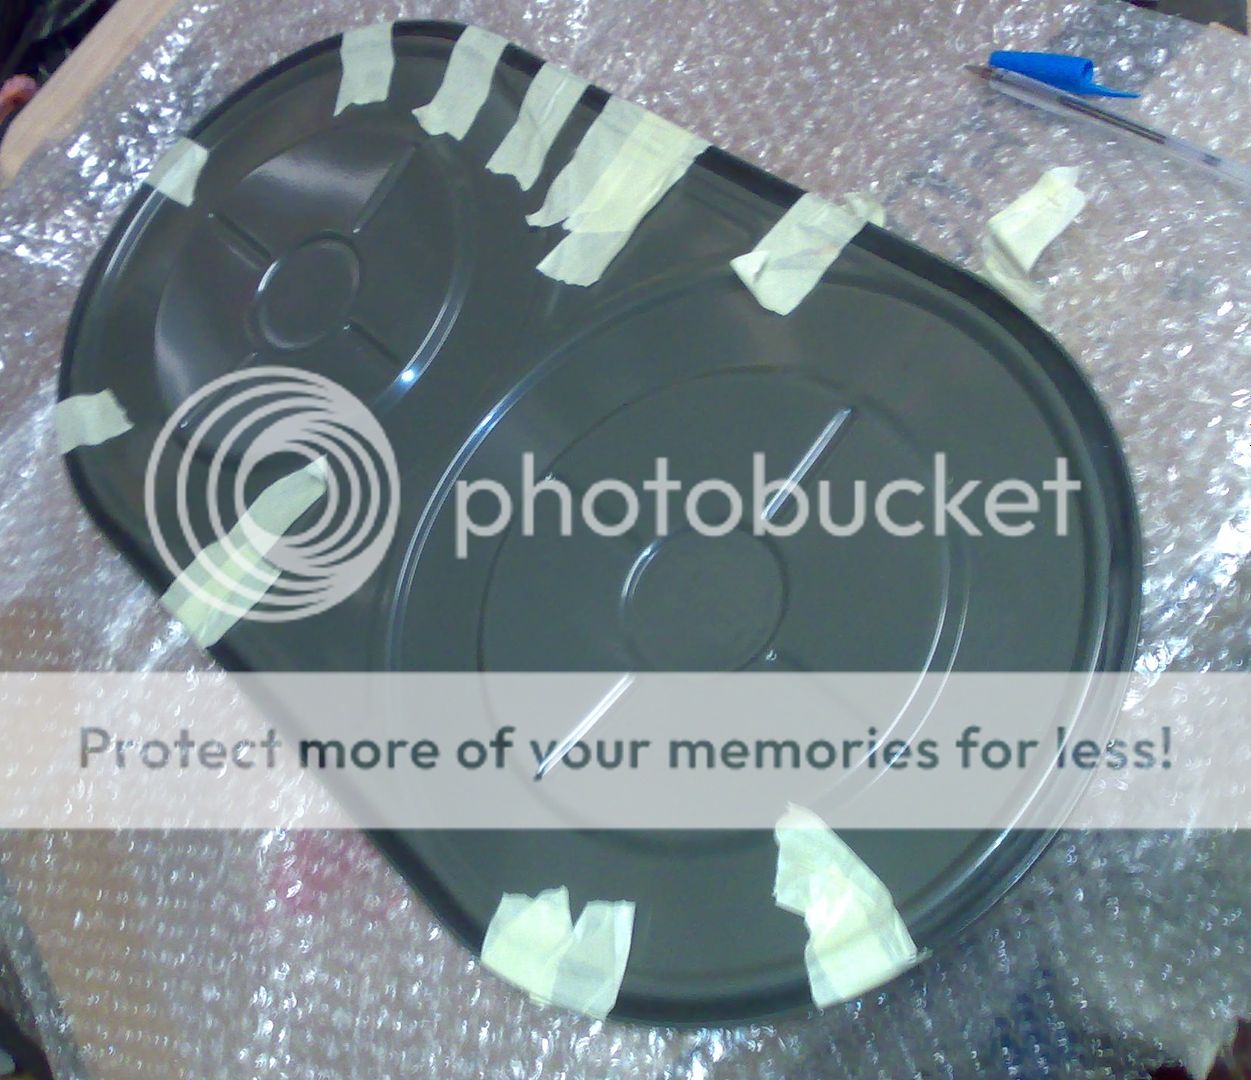
air filter box recovered and painted
- Thread starter deQuincey
- Start date
Looks great!
Looks great!
thanks, it is probably not the exact ral, i found a seven digit ral that matched perfectly the original color, but they were unable to work with seven digit ral chart
incidentally i found that there were two different tones, older air filters were sort of a clear grey
the good point of powder coating is that it clearly gives strenght to the thin sheet metal of this air box
this was peeled off to bare metal, then sand blasted, and finally powder coated, i am very happy with the result
Interesting...I was under the impression that all the 3.0 CS coupes were light gray?
And were the clips originally painted or bare metal like the new ones shown?
And were the clips originally painted or bare metal like the new ones shown?
DQ, looks great. I also had my airbox repainted and replated my original clips but wasn't successful in getting the new gasket on the lid to stay. It's a lot smaller and made to be stretched in place but wants to jump out. Even the 3M trim adhesive would not keep it in place due to the high tension. I lost patience and put the intact old one in place which fit perfectly.
Curious to see what the crafty mind and fingers of DQ do about this...
Curious to see what the crafty mind and fingers of DQ do about this...
Clips are yellow. I used 7043 traffic gray on the 2800 for a close match and 7022 on the b35 which matched the original d-jet box Mike has. 7022 has more olive in it, this pic may not show that well.
i agree, both colors look lovely in the engine bay, just a question of availability and preference, in my case it was easier to have it painted in 7022
Interesting...I was under the impression that all the 3.0 CS coupes were light gray?
And were the clips originally painted or bare metal like the new ones shown?
lets see, i found many different types of air boxes, different colors and different clips
i can not tell the years, but there are two greys, a light one probably 7038ral and this one darker 7022 or 7043ral
there are two different types of clips, wire clips like these belong to model year >73, complex clips with a bent plate belong to first series, all yellow, never painted
then the intake tube might be 60 mm or 70 mm diameter (older 2800 cs vs 3000 cs)
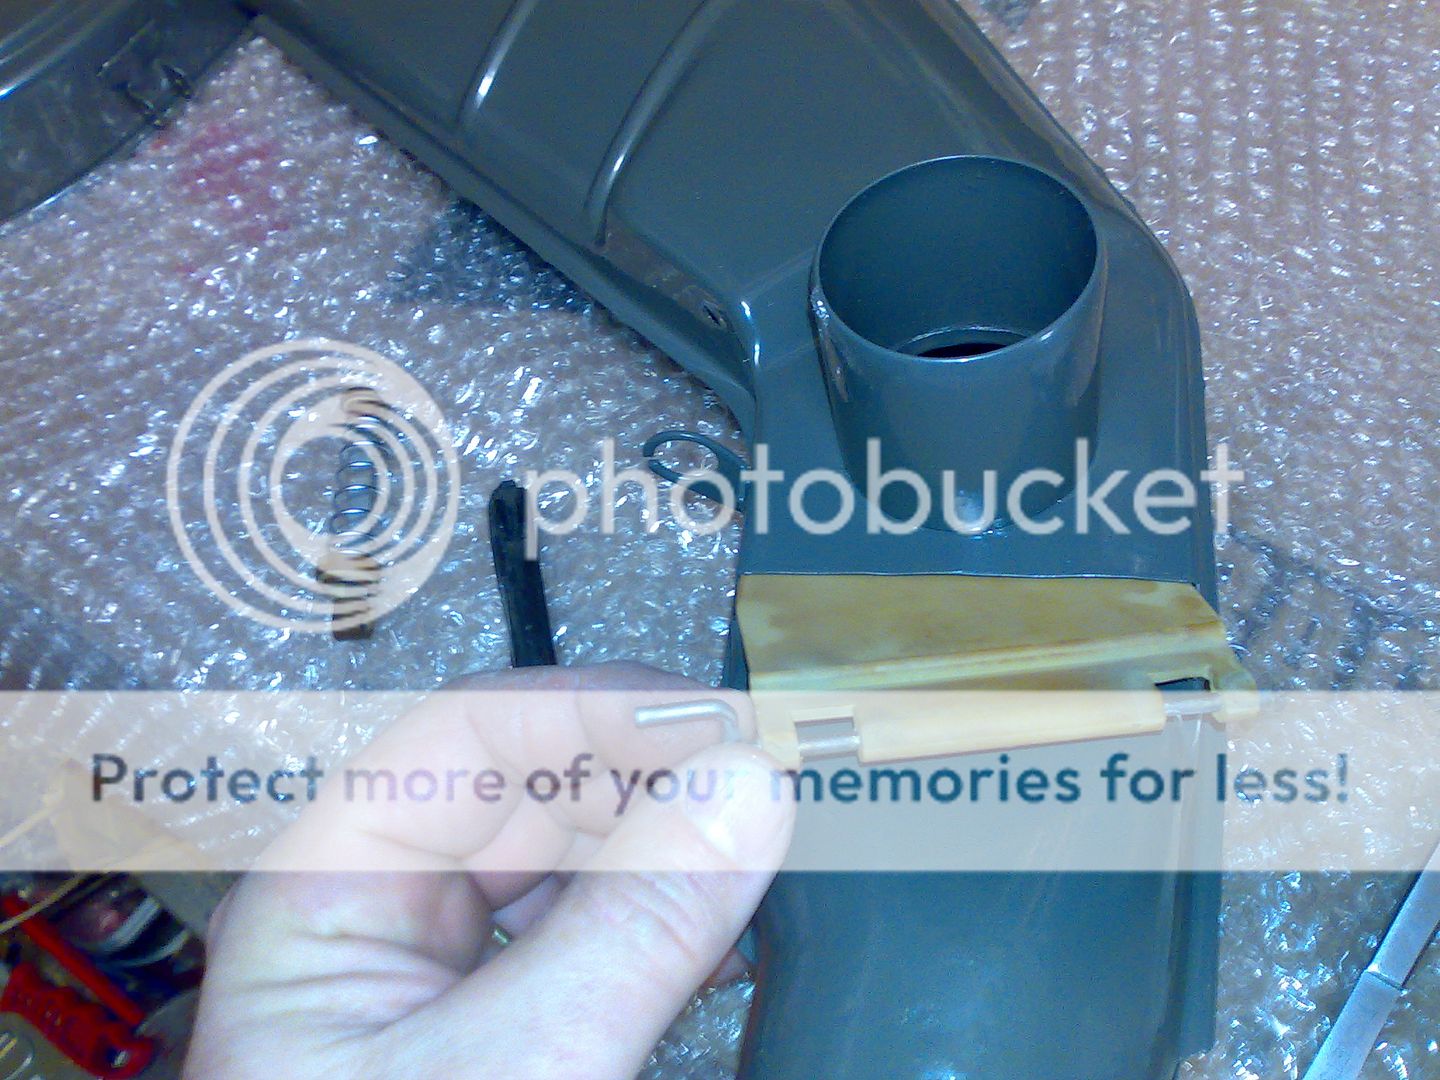
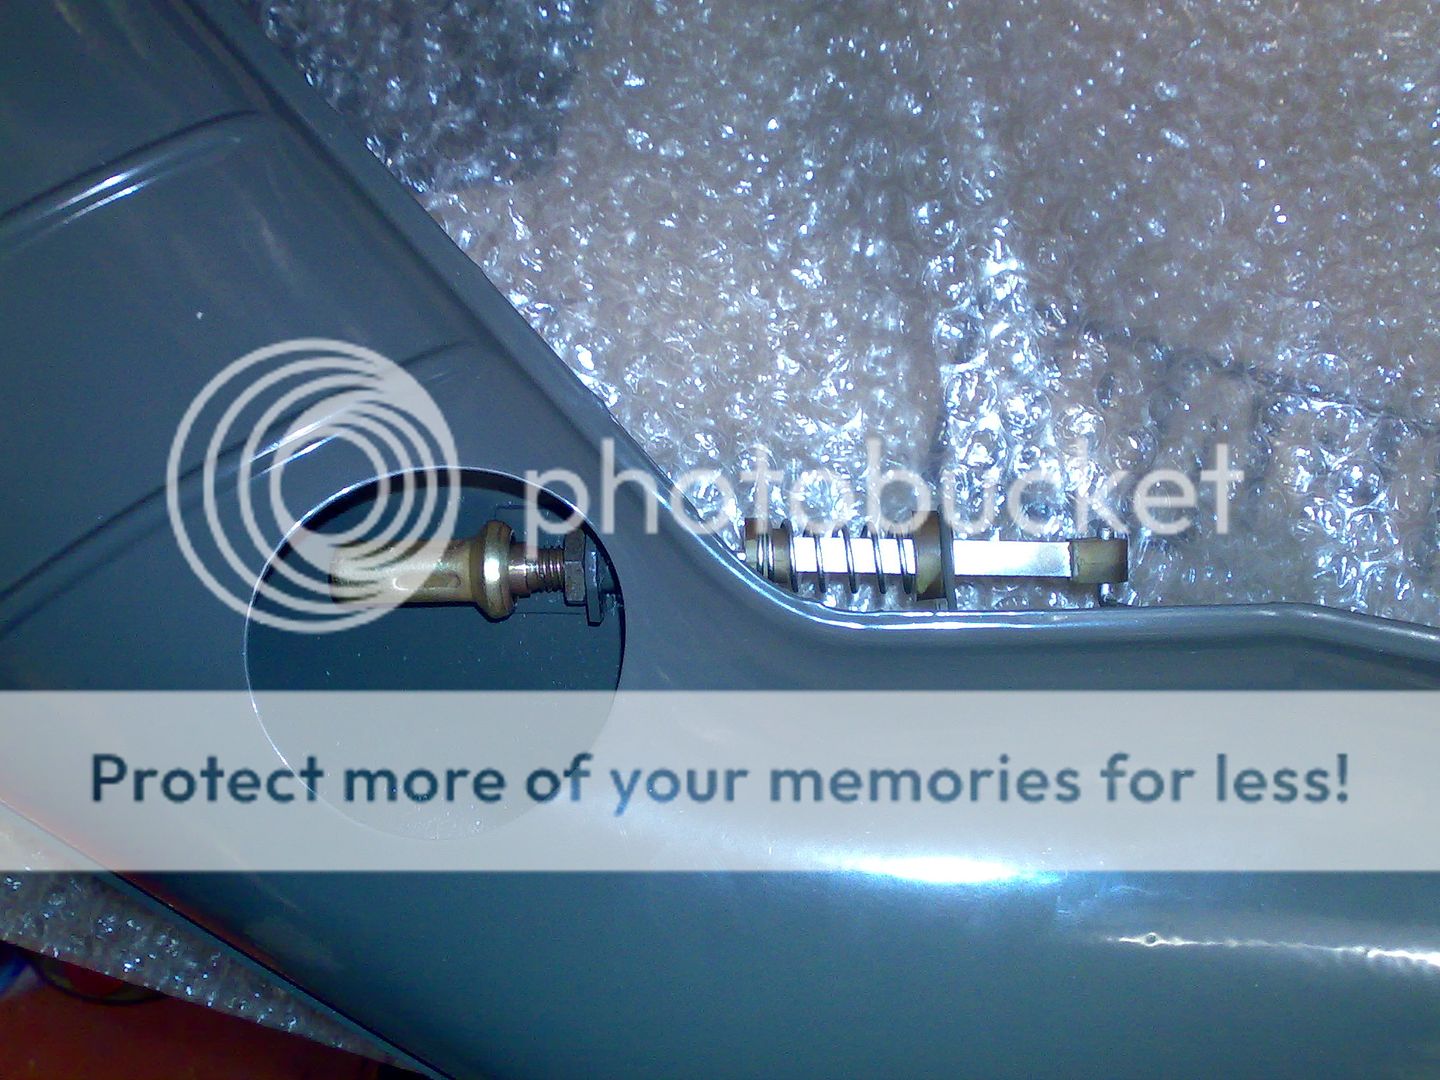
there are two versions of the heater actuated intake clap, with or without intermediate hole with rubber cap
finally there is a conventional air box and other one fitted with additional intake hose for gas vapours coming from activated carbon reservoir
make your choices ;-)
Last edited:
DQ, looks great. I also had my airbox repainted and replated my original clips but wasn't successful in getting the new gasket on the lid to stay. It's a lot smaller and made to be stretched in place but wants to jump out. Even the 3M trim adhesive would not keep it in place due to the high tension. I lost patience and put the intact old one in place which fit perfectly.
Curious to see what the crafty mind and fingers of DQ do about this...
ha, ha, ha, you came to the right place, i did it, not at the first attempt, but yes it is doable,
first, the gasket is not smaller, size is correct
second, you do not need adhesive to keep it in place,
funny, isnt it ?
well, the point is that the gasket should be elongated evenly while being introduced in (forced into) the channel, the procedure is the following, this one works:
(apologies for the way of explaining this, it is pretty difficult to explain a complex assembly procedure like this one, hope i will make myself understood)(i might have told you, but, english is not my mother tongue, right ?)
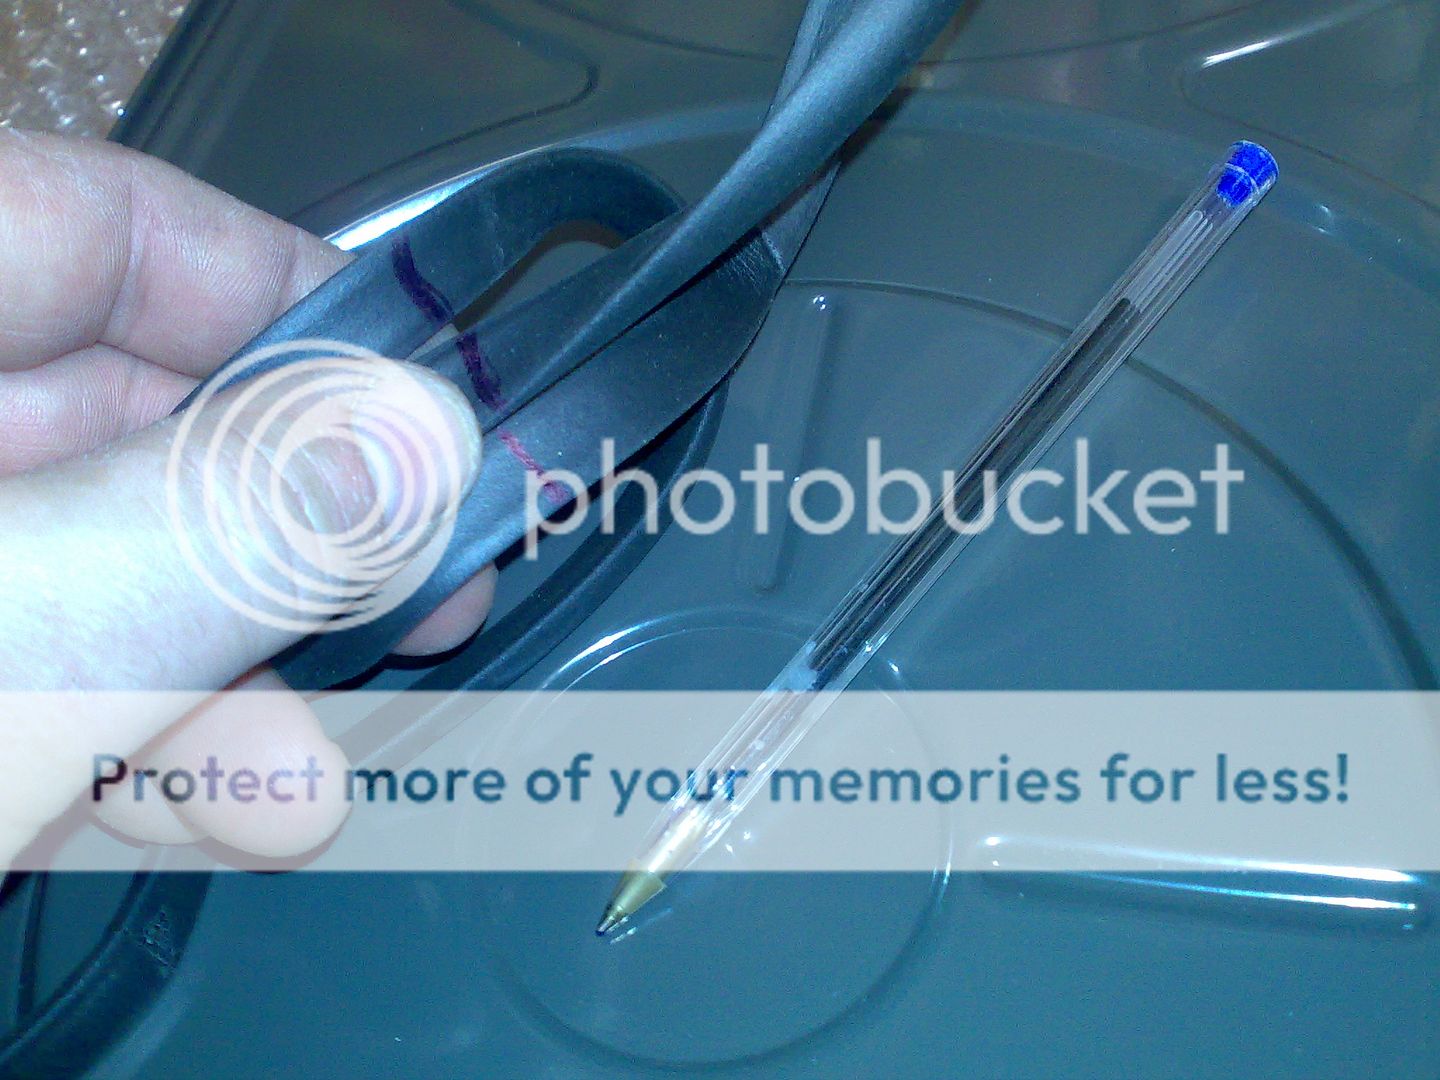
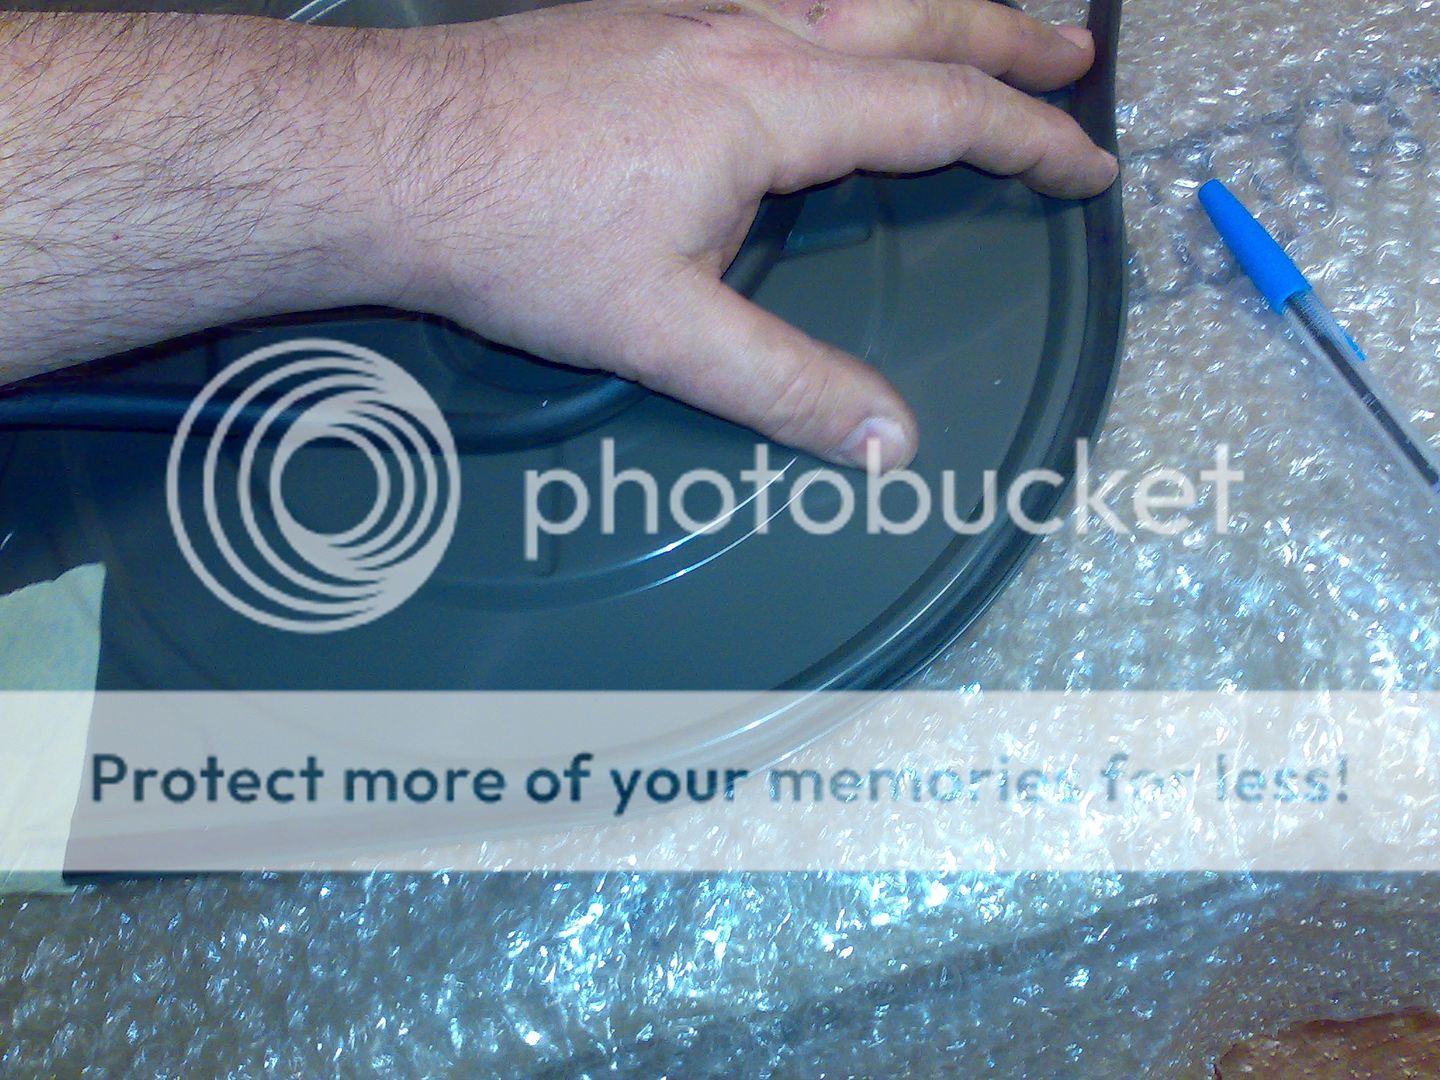
the gasket is a piece of moosgummi that has been glued in a central point, you should install it by means of the expanding pressure that the gasket exerts against the channel, it is a sort of pre-tension what you should do, when you elongate the gasket and you force it into the channel the gasket wants to recover its size, so it makes pressure against the channel and this friction makes it stay in place
this pressure/friction is able to compensate the force to pop out the channel, i can see the pressure as something that happens in the section of the gasket against the longitudinal tension that tries to pop it out
so the key is to elongate evenly the gasket, and your only help is geometry, so first mark the gasket in the flat side using a blue pen, take the glued central point as a reference and mark four sectors being the central point the first one (you must paint three marks)
this will help you knowing when you are supposed to make coincide the streched gasket with the right point of the channel
now starting point, this is crucial, you must start in the middle of one of the long sides, not in the curve, but in the straight side
use a piece of tape to assure the gasket that is left out and start stretching and pushing the gasket into the channel, as soon as you have made a few centimetres put a piece of tape to assure this,
now use the painted reference to see how much you need to stretch to reach the first quadrant, when you start doing the curve use a piece of tape to assure the gasket again, use as many tape pieces as you want, you will remove them later,
you will find the use of the tape when you start the last curved section, you will need to stretch the part you are installing, but keeping an eye on the part already done (the starting point)
if needed reinforce the holding tape around the starting point
the final part is the most difficult, as you might have too much gasket to introduce, so you should work both ways, also from the starting point and backwards
then you remove the tape pieces, and, miraculously it will hold in place, i have done two already so the procedure is now checked
Clips are yellow. I used 7043 traffic gray on the 2800 for a close match and 7022 on the b35 which matched the original d-jet box Mike has. 7022 has more olive in it, this pic may not show that well.
Chris
For clarification:
So the original clips were bare yellow metal? Not painted?
And which cars had the darker gray? Seems like most coupes have the lighter gray
Benz,
Plated yellow, our 70 2800 has the solid bands as did my 69 2002 but most coupes have the wire style. As deQ has said there were two or more colors for carb air cleaners, we did the 2800 in 7043 but 7022 is close and looks just as nice.
Chris
Plated yellow, our 70 2800 has the solid bands as did my 69 2002 but most coupes have the wire style. As deQ has said there were two or more colors for carb air cleaners, we did the 2800 in 7043 but 7022 is close and looks just as nice.
Chris
Grey and olive green. My 72 is olive green, my 73 was grey.
Interesting...I was under the impression that all the 3.0 CS coupes were light gray?
And were the clips originally painted or bare metal like the new ones shown?
dbower
Well-Known Member
I'd like to see a pic of original yellow band-type. AFAIK, BMW shows only one part number. Which type do you get when you order them now -- band or wire? Thanks.
I'd like to see a pic of original yellow band-type. AFAIK, BMW shows only one part number. Which type do you get when you order them now -- band or wire? Thanks.
you get wire ones...
I'd like to see a pic of original yellow band-type. AFAIK, BMW shows only one part number. Which type do you get when you order them now -- band or wire? Thanks.
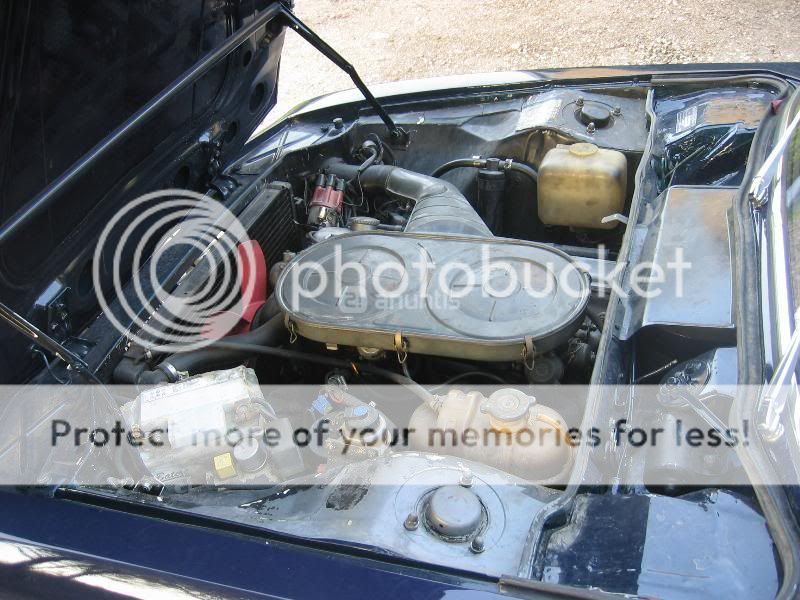
and here are the pics

i have checked that i received my coupe in this condition, so i assume this was original colour for air box, for a 1971 3.0 CS
Last edited:
Is the CSi air filter box the same colour, i.e one of the RAL codes? I need to get mine powder coated.
BTW you could eat off deQ's engine.......but I doubt he'd let you.
BTW you could eat off deQ's engine.......but I doubt he'd let you.
BTW you could eat off deQ's engine.......but I doubt he'd let you.
you are right, i wont,...:smile:
Is the CSi air filter box the same colour, i.e one of the RAL codes? I need to get mine powder coated.
BTW you could eat off deQ's engine.......but I doubt he'd let you.
7022 matched an original CSi airbox that OCCoupe has.


