BMW 3.0CS --> Bat

erneland

Active Member
Site Donor $
Messages
56
Reaction score
9
Location
Sweden
Hi,

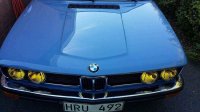
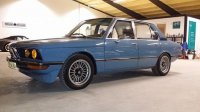
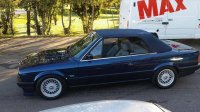
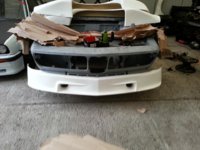
I have a bunch of BMW's and among those a 3.0CS. I have removed the interior and soon different repair work will take place ;). I have all the exterior CSL parts and also rear window and rear side windows in lexan.

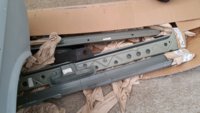
Today I started to see if I had all the exterior trim and I had no less than 4(!) rear side left chrome parts and doubled up in many other places. Some will be sold but it might be difficult to ship though.
BMW_3.0CS.jpg

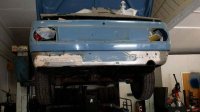
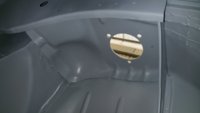
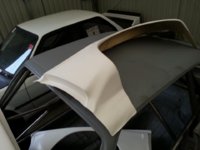
Rear ducktail will be replaced by a new one. Apparently there's some rare exhaust system on this car. I will use that as a starter for now.

BMW_3.0CS_2.jpg

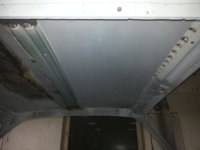
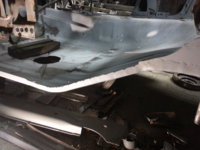
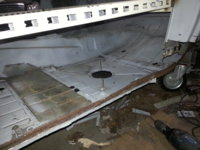
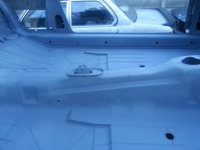
The body seem to be in very ok condition. Not a lot of rust found yet. But it's not rust free... no E9 is ;).


LSD_E9.jpg

Sideloader limited slip. Will be renovated.

Scheelmann.jpg

Scheelmann. I have this type for my E10 and E12 too.

trim_front_left_side.jpg
trim_front_right_side.jpg
trim_rear_left_side.jpg
trim_rear_right_side.jpg
Trunk.jpg

Dogleg 262CR.
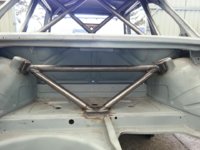
dogleg262CR.jpg
 
My other cars:
 

Attachments

  • BMWE12_2.jpeg
    BMWE12_2.jpeg
    44.1 KB · Views: 470
  • E12525_add12.jpg
    E12525_add12.jpg
    47.3 KB · Views: 456
  • Alpina_13_tum.jpeg
    Alpina_13_tum.jpeg
    34.8 KB · Views: 440
  • BMW1502.jpeg
    BMW1502.jpeg
    38.6 KB · Views: 468
  • BMW_325i_Cabrio2.jpg
    BMW_325i_Cabrio2.jpg
    197.1 KB · Views: 464
Hello
We take it on my bad English, I think
I'm also here Junior Member
we are located almost next door
I live outside Gothenburg
The car looks pretty good (for being a Swedish E9)

I send a pm to you

Daniel
 
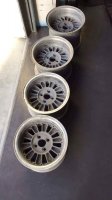
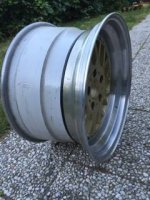
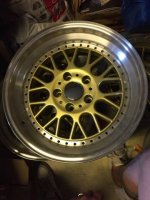
I have now decided to not use the chrome on the wheel arches. Is there any value in those? The wheels are just too wide and I have to modify the wheel house to some extent. Now I have two sets of Alpina 16" wheels too. Guess those are good to save for the future :). Mille Miglia MM2000 17" will be used. 10" wide(!).
 

Attachments

  • Mille_Miglia_MM2000.jpg
    Mille_Miglia_MM2000.jpg
    16.7 KB · Views: 410
  • Mille_Miglia_MM2000_2.jpg
    Mille_Miglia_MM2000_2.jpg
    26.8 KB · Views: 384
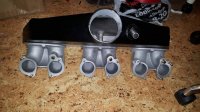
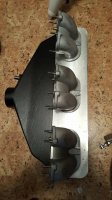
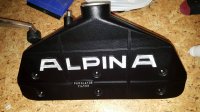
So, now I have the B2 inlet manifold :). Will try to run with Weber 45mm. If anyone have any recommendation when it comes to cam shaft, please let me know. It will be a street/track day car.
Engine is M30B35...
 

Attachments

  • 14923175_10153868914532382_1915594925_o.jpg
    14923175_10153868914532382_1915594925_o.jpg
    359.4 KB · Views: 395
  • 14937885_10153868914662382_405738848_n.jpg
    14937885_10153868914662382_405738848_n.jpg
    60.3 KB · Views: 432
  • 14958155_10153868914542382_882475722_o.jpg
    14958155_10153868914542382_882475722_o.jpg
    327 KB · Views: 431
Last edited:
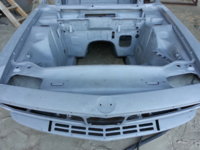
After a long pause from the forum, I'm now back! The E9 project has spiraled out of control... as usual with my projects.

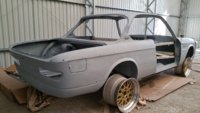
Sandblasted
20170410_165349.jpg
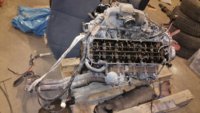
Engine
20170623_115014.jpg
Wheel housing (seem like someone has been working on the car at some point in time)
20170410_163800.jpg
Some new parts...
20170410_163529.jpg
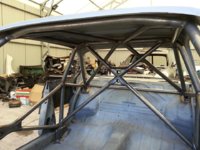
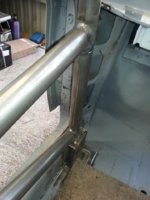
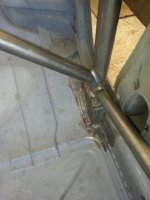
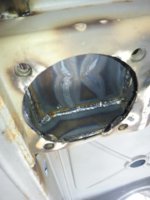
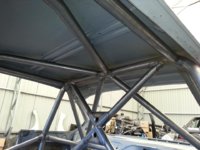
Had to delete the sunroof since there's a full roll cage is coming
20171122_222453.jpg
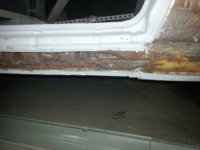
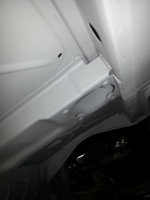
Up until this, it looked fairly good. No rust in sight... that was until the rocker panels were removed(!). Well, I actually looked inside those with fiber optic camera when buying the car. However, I didn't see the severity of it ;)
20171125_211005.jpg
20171220_213217.jpg
20171128_225744.jpg
Differential mount bracket
20171220_213400.jpg
...
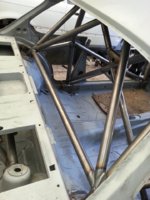
Just before the car is sent away for roll cage installation
20180313_174301.jpg

Huge thanks to Tomek for the work on the car. I have entered an era of having no time to work on cars, so all work up until now is done by Tomek ;).
 

Attachments

  • 20170327_175504.jpg
    20170327_175504.jpg
    266.6 KB · Views: 429
Last edited:
Project going forward...
 

Attachments

  • Roll Cage.jpg
    Roll Cage.jpg
    85.2 KB · Views: 420
  • Roll Cage8.jpg
    Roll Cage8.jpg
    43.5 KB · Views: 396
  • Roll Cage9.jpg
    Roll Cage9.jpg
    70.7 KB · Views: 408
  • Roll Cage2.jpg
    Roll Cage2.jpg
    60.2 KB · Views: 413
  • Roll Cage4.jpg
    Roll Cage4.jpg
    58.2 KB · Views: 394
  • Roll Cage5.jpg
    Roll Cage5.jpg
    50.8 KB · Views: 410
  • Roll Cage6.jpg
    Roll Cage6.jpg
    46.5 KB · Views: 396
  • Roll Cage7.jpg
    Roll Cage7.jpg
    64.7 KB · Views: 400
... and Alexander Calder ArtCar wide body kit ;)
 

Attachments

  • Alexander Calder1.jpg
    Alexander Calder1.jpg
    64.9 KB · Views: 400
  • Alexander Calder2.jpg
    Alexander Calder2.jpg
    35.6 KB · Views: 403
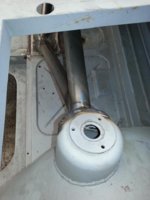
Next step is mounting the widebody kit. Then paint. I will rebuild the M106 engine. I also stumbled over a sideloader differential, 3.45. That will be equipped with cooling from Alpina B10 BiTurbo differential. They use a small 12V VDO oil pump and just leads the oil around in a long metal pipe. That's sufficient for the cooling. I will measure both temps out from diff and back from cooling. My goal is an instrument cluster that has the resemblance of that of a Vector W8 ;)... but no priority just yet.
 
Last edited:
My goal is an instrument cluster that has the resemblance of that of a Vector W8 ;)... but no priority just yet.

Ha! Now that is an obscure reference but I know just what that dashboard looks like. More like a cockpit than a vehicle cabin. I lusted after that car at the Chicago auto show in the 90's.

If you plan on keeping your center console then I have a four gauge panel that fits the AC console sides. The AC console has a better viewing angle than the non-AC console.

Here is a pic of mine, unpainted. They are 3D printed so my supply is infinite. :D

0897c225dae289917f34ffc88c8c160a.jpg
 
Cool! I have a 3D-printer at home, but it is limited when it comes to size. I'm also looking into using a retro stereo (with modern functions) so that console would work, but I'll use small square OLED-displays instead. What is the price?
Question, when you made the vents (on the side)... did you scan those with laser or modeled them directly? I'm looking for someone who can scan the rear tail lights. Both interior (without reflectors and the outer part/frame). My car will be a restomod version with a different touch and to full fill that I would prefer to create the tail lights myself. :). It will always be possible to swap back to original, so I will not modify the car beyond recognition ...
Instrument panel will be kept too, but with an "Erneland-touch" too it ;).
 
Cool! I have a 3D-printer at home, but it is limited when it comes to size. I'm also looking into using a retro stereo (with modern functions) so that console would work, but I'll use small square OLED-displays instead. What is the price?

It is printed in nylon via SLS and dyed black. I can sell them unpainted or paint them for free. The cost is the same, around $225.


Question, when you made the vents (on the side)... did you scan those with laser or modeled them directly? I'm looking for someone who can scan the rear tail lights. Both interior (without reflectors and the outer part/frame).

All of the parts that I have made are hand-drawn. I have looked into 3D scanning but it is quite expensive. You also need to turn the mesh file that it creates back into a drawing if you want to do any modification or cleanup work on it. So really it is a bit of paint by numbers that happens. So for me, it has been more effective to measure and draw stuff. I spent a year fiddling with the AC face plate that ultimately made the gauge pod above. For the AC side vents, I'm going to make another version for myself that has speaker holes instead of slats. I own the model for the AC face plate and variants, along with a few other things that I have made. I don't intend to publish them anytime soon. I did publish the AC side vents on thingiverse.com if you want to fiddle with them.
 
It is printed in nylon via SLS and dyed black. I can sell them unpainted or paint them for free. The cost is the same, around $225.


All of the parts that I have made are hand-drawn. I have looked into 3D scanning but it is quite expensive. You also need to turn the mesh file that it creates back into a drawing if you want to do any modification or cleanup work on it. So really it is a bit of paint by numbers that happens. So for me, it has been more effective to measure and draw stuff. I spent a year fiddling with the AC face plate that ultimately made the gauge pod above. For the AC side vents, I'm going to make another version for myself that has speaker holes instead of slats. I own the model for the AC face plate and variants, along with a few other things that I have made. I don't intend to publish them anytime soon. I did publish the AC side vents on thingiverse.com if you want to fiddle with them.
I saw the AC side on Thingiverse some time back, and I thought it was you ;). What would it take to actually model a tail light frame? I have Fusion 360, but I'm still a newbie. But it is fantastic to use so far.
 
I saw the AC side on Thingiverse some time back, and I thought it was you ;). What would it take to actually model a tail light frame? I have Fusion 360, but I'm still a newbie. But it is fantastic to use so far.

Anything with curves will be kind of tough. Just lots of trial and error. The good thing is that the frame doesn't have that much material. If you made it really thin you could iterate easily without spending to much on materials.
 
The side vents are for cabin air intake to the squirrel cage fan when outside vents are closed, I don’t think you would want to block with a speaker.
 
It just happens to be, that I have 2 BMW Turbo steering wheels. What would one ask for one, if selling? It's a Petri marked 38.
 
I can model a tail light frame, no problem, except
787 release overhead 1k wd.jpg
the hard part is measuring it accurately
3d scanning is the way to go
There used to be a free program for making models from photos, but they canceled the free version
Here is an example of something I modeled
 
Why would you want to model a tail light frame?
I can't imagine it would be cost effective
 
Back
Top