Hi,
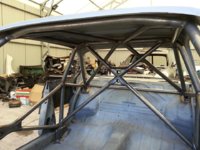
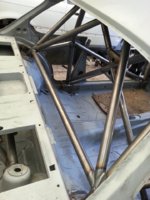
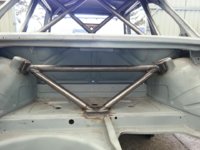
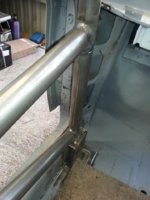
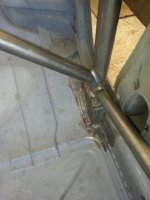
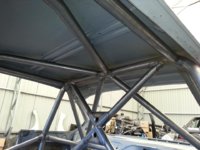
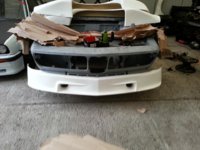
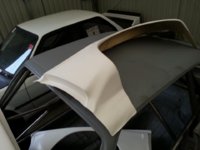
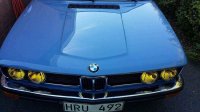
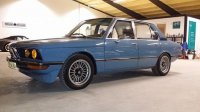
I have a bunch of BMW's and among those a 3.0CS. I have removed the interior and soon different repair work will take place") . I have all the exterior CSL parts and also rear window and rear side windows in lexan.
. I have all the exterior CSL parts and also rear window and rear side windows in lexan.
Today I started to see if I had all the exterior trim and I had no less than 4(!) rear side left chrome parts and doubled up in many other places. Some will be sold but it might be difficult to ship though.

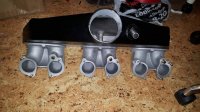
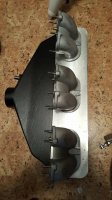
Rear ducktail will be replaced by a new one. Apparently there's some rare exhaust system on this car. I will use that as a starter for now.

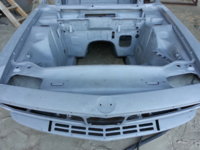
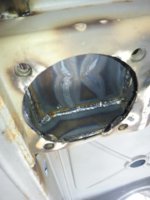
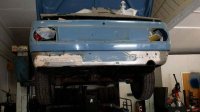
The body seem to be in very ok condition. Not a lot of rust found yet. But it's not rust free... no E9 is.

Sideloader limited slip. Will be renovated.

Scheelmann. I have this type for my E10 and E12 too.


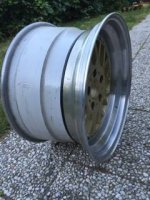
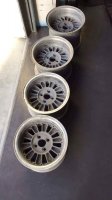
Dogleg 262CR.

I have a bunch of BMW's and among those a 3.0CS. I have removed the interior and soon different repair work will take place
. I have all the exterior CSL parts and also rear window and rear side windows in lexan.Today I started to see if I had all the exterior trim and I had no less than 4(!) rear side left chrome parts and doubled up in many other places. Some will be sold but it might be difficult to ship though.
Rear ducktail will be replaced by a new one. Apparently there's some rare exhaust system on this car. I will use that as a starter for now.
The body seem to be in very ok condition. Not a lot of rust found yet. But it's not rust free... no E9 is
.Sideloader limited slip. Will be renovated.
Scheelmann. I have this type for my E10 and E12 too.
Dogleg 262CR.
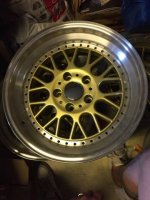
") . Mille Miglia MM2000 17" will be used. 10" wide(!).
. Mille Miglia MM2000 17" will be used. 10" wide(!).