FS: LHD/RHD complete interior wood set refurbished or new, single items also available

TomHom

Well-Known Member
Site Donor
Messages
1,215
Reaction score
1,013
Location
Germany
Hi,
as already shown here https://e9coupe.com/forum/threads/ive-got-wood-veneer-let-me-see-yours.44561/
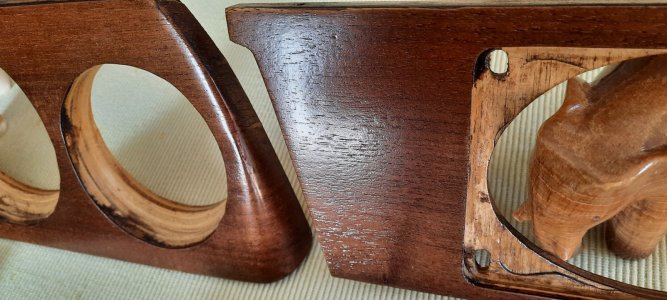
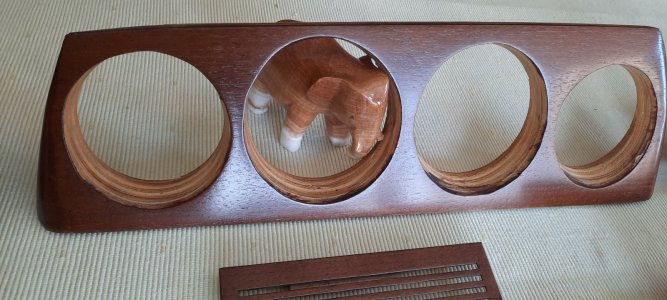
I started refurbishing some sets of our wood with, in my own opion, very good results.

20231203_135322.jpg

f_20231203_133642 .jpgf_20231203_133324 .jpgf_20231203_133356 .jpgf_20231203_135117.jpg
I did three sets, at least one will be for sale.
We (my neighbour Franz-Josef and me) will fabricate and offer complete new sets or part of the sets which might have to be replaced.
The veneer used will be high-qualtity "european walnut" or "american walnut".
As standard colour will be use the original dark one or a slightly brighter one as shown on the left unit of a 2000C model.
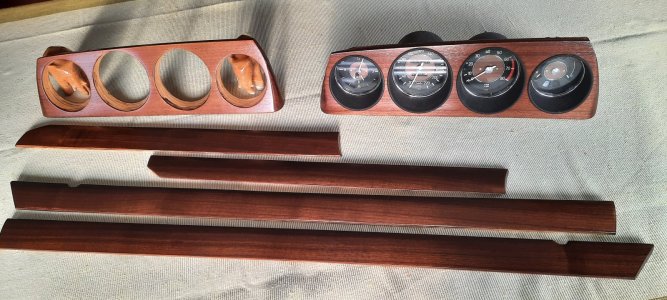
20231202_102554.jpg
As final gloss we use high-quality "Hesse" products, "seiden-glänzend" (satin-bright)

How much does it cost:
- the refurbished set as shown above will be 2500€
- if you want to trade in your parts "worth to get refurbished" the price starts at 1500€
- a complete new set will be 2500€
- costs for shipping and import tax will come additionally.

It´s christmas time and you did not find an nice present for yourself so far?
With so many options, lean back and imagine how nice this upgrade for your car might be!

Thomas
 
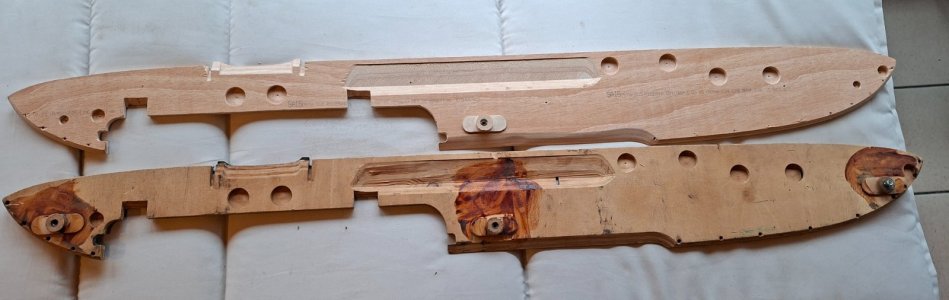
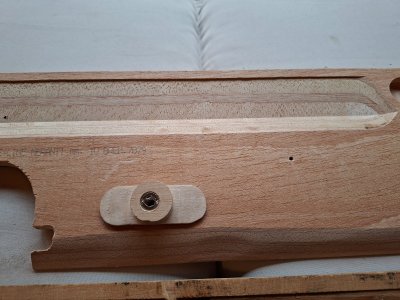
We will rebuild some of the horizontal dash part:20251104_103538.jpg
Both LHD and RHD.
One piece will cost 400€ plus shipping from Germany.
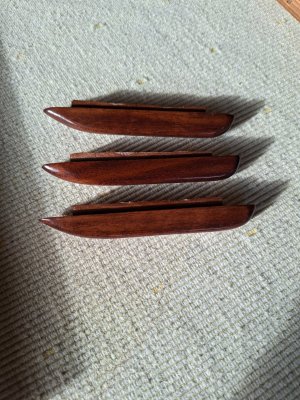
The tree small wooden strips on top, hand carved: 90€
20251023_103442.jpg
Topping of black vinyl: 70€

Thomas
 
  • Like
Reactions: Dlc
Hi Tom,

I have done my panels with a friend of my, and all are done besides the instrument part. I’m really interested in how you managed to get the new veneer around the corner of the instrument part without having the veneer to break/split apart at the sharp corner in the bottom?

Are you using steam, a veneer softener or a mold to get this done?

Thanks!
 
steam and a vacuum bag. the real trick is that the vacuum bag tends to pull the veneer into the gauge holes. we used expanding spray foam into one of the black gauge cones and cut it off flush with the wood ... that worked perfectly to keep from sucking the veneer into the holes
 
....different skills, different approaches..
We neither use steam nor vacuum.
At the area with the holes we just put a board on top of the veneer and use the press.
But: in between we put a strong cloth, which we cut in stripes towards the edges. We abandonedly use standard white waterproof glue. At the edges we apply an even bigger layer of glue and allow time to soak the veneer. Then, criss-crossing the stripes, we force them over the edge, pressing the veneer against the wood. We leave it tightly fixed for a couple of days allowing the glue to dry.

 
Last edited:
steam and a vacuum bag. the real trick is that the vacuum bag tends to pull the veneer into the gauge holes. we used expanding spray foam into one of the black gauge cones and cut it off flush with the wood ... that worked perfectly to keep from sucking the veneer into the holes
I'm going to use your foam idea, but I plan to pre-bend the veneer using veneer softener and a clamp made from some sort of casting (maybe foam or some other easy to cast material). I'll use the cowl as a form, cast the bending form around it, and then soak the veneer in softener, press it into the mold using the cowl, and let it sit for several days to take the curve. Then I'll vacuum bag it to actually apply the pre-bent veneer to the cowl.
 
I used 3M adhesive backed laminate and when I needed bends, I just soaked it in water, did not ruin the adhesive backing, yes it raises the grain a bit but you just sand it with 0000 wool. To show the extreme, I covered the e-brake handle and this has held for 6 years without issue. No vacuum etc. I follow the "KISS" principle whenever possible. Yes, I know I have to switch the positions of the window switches from front to back.

1792519991845.png
 
As were mine and I tried to find better ones but to no avail. I also covered the black plastic radio plate..original radio
 
There’s a thread on here about using a silver adhesive film to cover the switch plates, which is what I used. I needed about 1 foot of a 25 foot rolll and would be happy to send the remainder to anyone but given that I think it cost $5 the cost of shipping it would be more than you ordering from Amazon as I did. It’s a matte silver film and looks almost exactly like the aluminum trim originally there
 
Back
Top