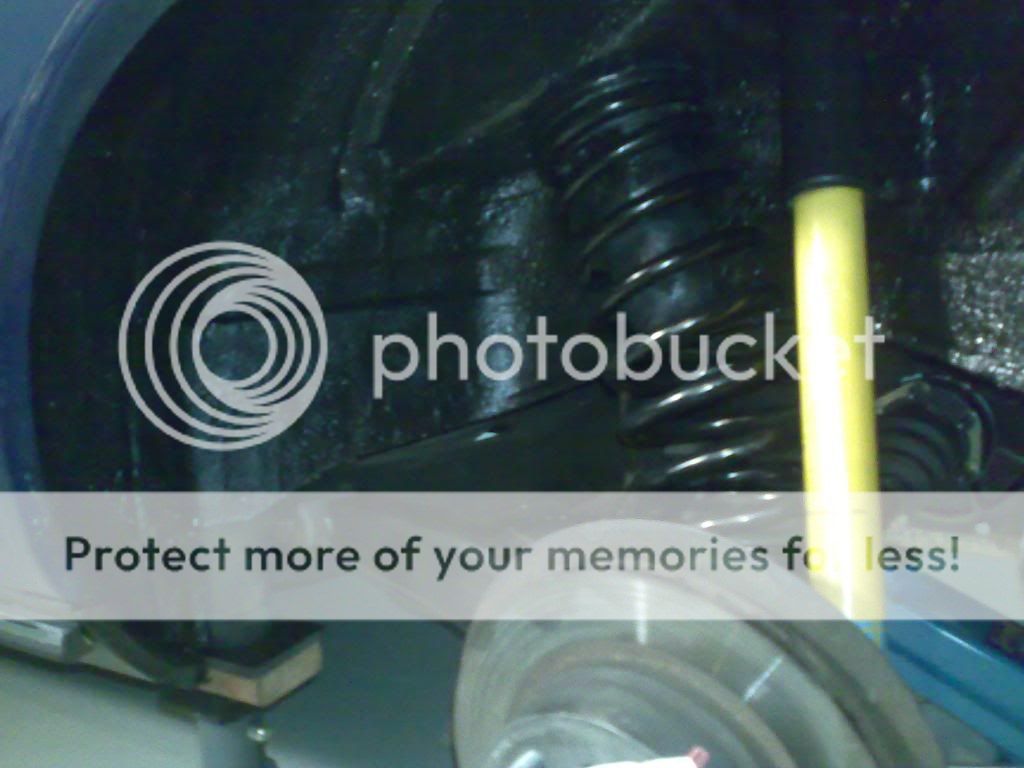
Lan-suspension new shock absorbers and springs front and rear

I wouldn't do the camber plates on a car used for cruisung and normal driving. And you have the std rims with 195/70 tires - plenty of space. Normally the car becomes less stable when braking hard as well... But it's up to the personal taste.

Cheers
A

thanks anders, much appreciated !

can you explain please when does the car becmoe less stable ? with the plates on or witout ?
 
dequincey,

Looking good on the parts.

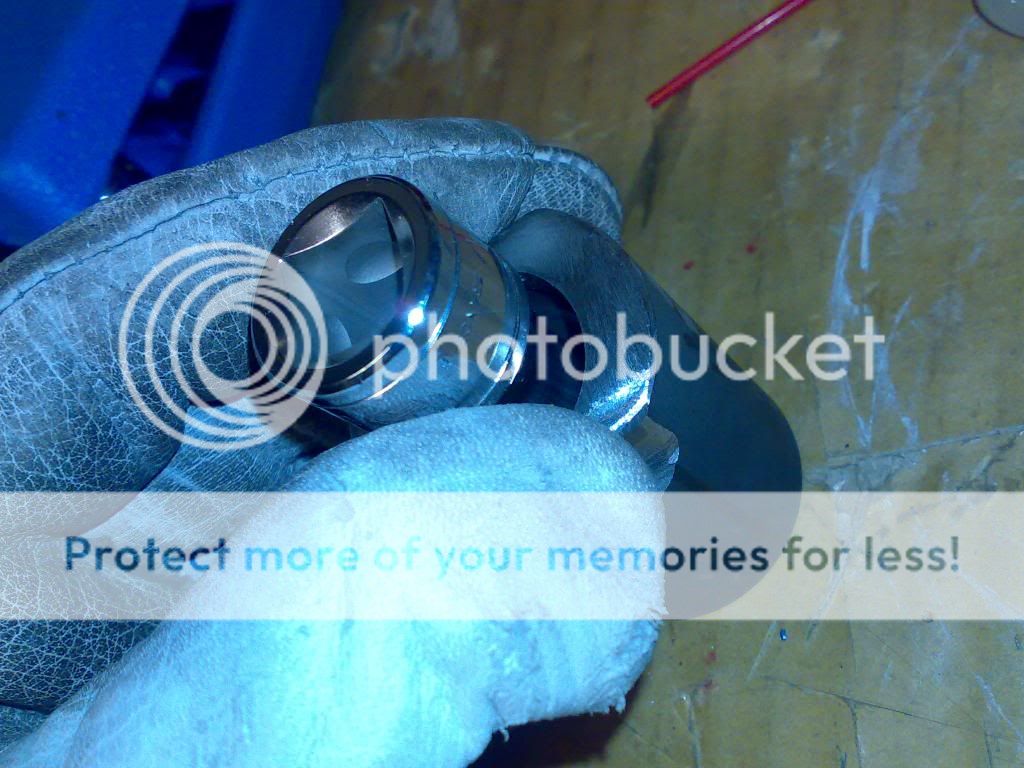
This is a special tool made for this purpose.
Most people use the impact wrench and that works.
But in case the impact doesn't work.
Found this with Google.
The big black socket goes on the nut and the small one fits on top of the shock shaft.


Gary,

do you have said tools? i need to put the decamber plates on my coupe


No I don't have them. I saw them on Amazon.com for less than $15 with shipping.

I do have other suspension tools for ball joints etc. Also have spring compressor if you need them.
 
dequincey,

Looking good on the parts.

This is a special tool made for this purpose.
Most people use the impact wrench and that works.
But in case the impact doesn't work.
Found this with Google.
The big black socket goes on the nut and the small one fits on top of the shock shaft.


thanks, they look correct, but i have had them already done hand made...:roll:
 
these are universal pieces ... not sure they are going to fit our cars. and the dang website doesn't specify the sizes. there are a few complaints in the reviews saying they didn't fit their car and that it would have been helpful for the manufacturer to give you the size information.
 
these are universal pieces ... not sure they are going to fit our cars. and the dang website doesn't specify the sizes. there are a few complaints in the reviews saying they didn't fit their car and that it would have been helpful for the manufacturer to give you the size information.


Yes, I agree. I just didn't spend the time to look any further as I don't need these. Google first as there were other suppliers.
 
my solution as to the tool problem

finally this was the way i went:


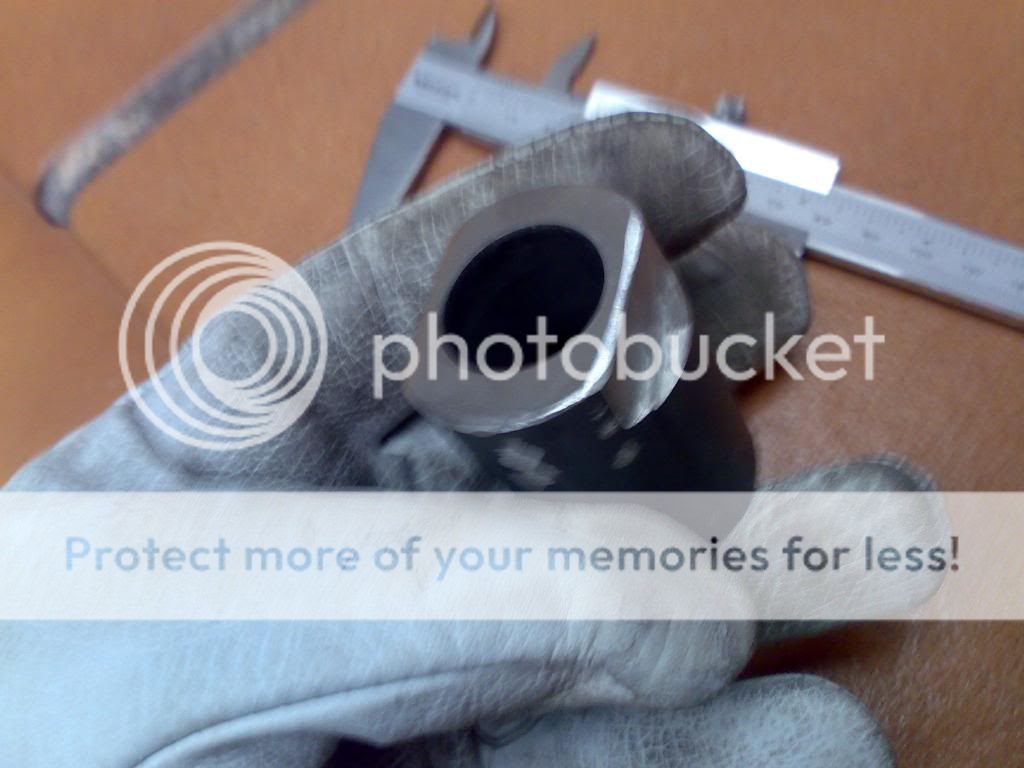
the inner shocket is 15mm, but the two parallel faces of the shock rod are 11mm,


so i made two thin plates 2mm thickness each:

 
starting setup meassures

i positioned the car on a flat surface and made meassurements for ulterior comparison:

the actual setup is the stock one, but 40 years old...

front left : 53 mm front right : 56 mm
rear left : 18 mm rear right : 18 mm

meassured this way:


start, rear springs

lift the car with the big garage jack on the differential, using a thick wood block,

this is the place in which i put the stands:


the rear of the car sits in two points, and i use an additional jack to compress the subframe, and thus the spring, firsr right side, then left side


i bought a pair of spring compressors (LASER) in HALFORDS in the UK, they are very convinient with an extended clamp that allows to use only two instead of three


see the places to position the compressors one opposite to the other, there are not many alternatives


no doubt i had to remove the shock lower fixing point, it has a M16 selfblocking nut, when reasemble remember that the torque is 120 N.m, and moreover you have to give the final torque in driving conditions (car on tyres) and fully loaded


the process was:

0- remove the lower fixing of the shock
1- compress the subframe with the small jack
2- place the compressors and compress a bit
3- relay the subframe and use the compressors to compress the spring until..
4- remove the spring
5- remove the rubber parts


now take a look to the old and new carl nelson´s springs,the c.n. ones have the spring compressors on, but they are not compressed, so you can compare the shortened lenght


i took the advantage of having all out to apply some antirust product, PERMAFILM is a very strong antirust fluid easy to apply without stripping the old paint or protection, it creates a nice, flexible and strong shield it dries in one hour





the left side, old springs and rubbers


Last edited:
the front ones

moving over the front ones,

remove the wheels

unbolt the brake hose support


undo the two M14 bolts that fix the calipers

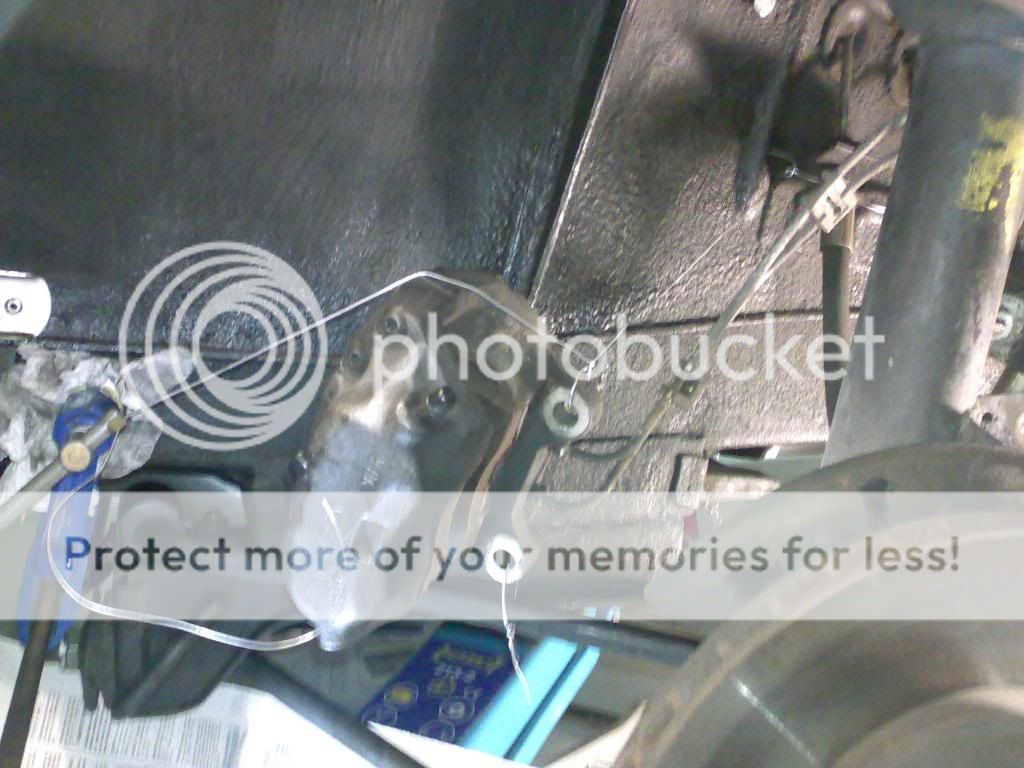
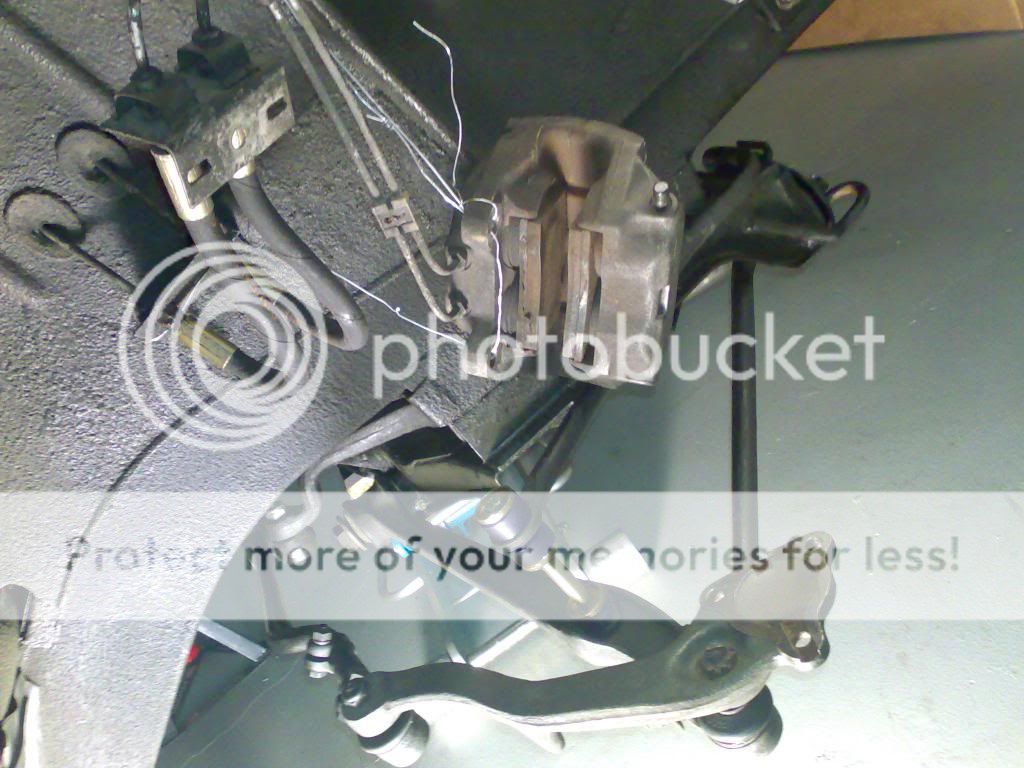
hang the calipers out of the working place:


undo the three M10 special bolts, first you will need to cut the safety cable


then you will need to use a chisel and hammer to separate both halves:


a nice tip,
you first need to undo the lower retainer nut from the sway bar, but to avoid the complete strut to fall down when removing the three top nuts, use the jack to keep the falling of the strut controlled


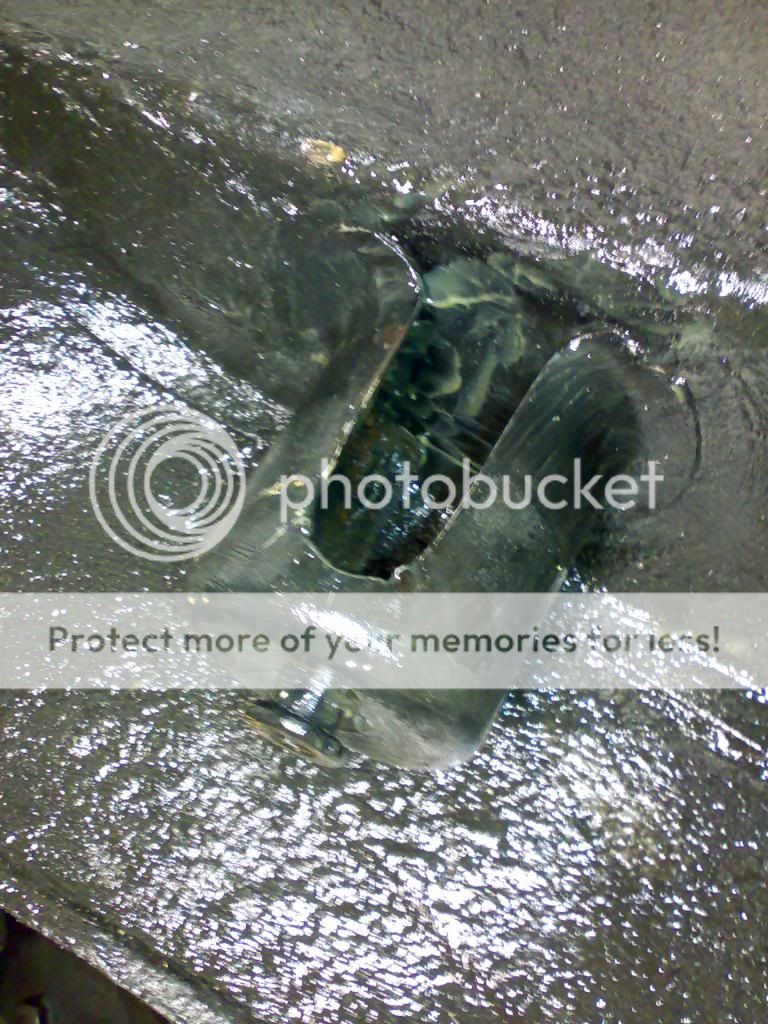
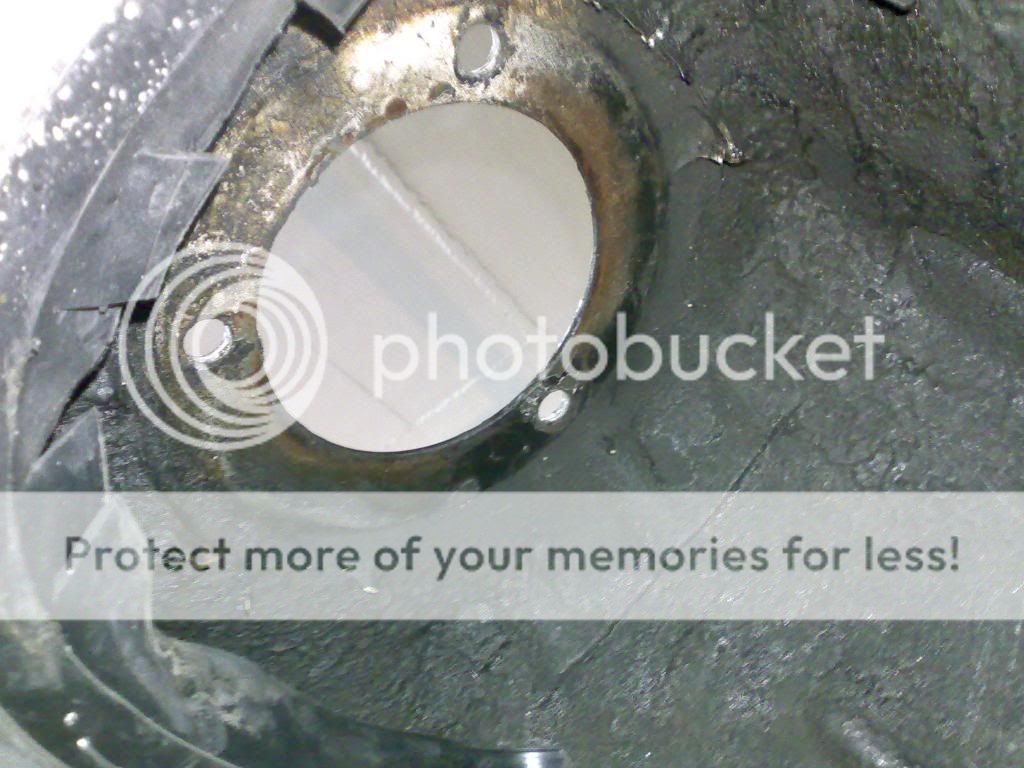
after removing the strut, see the top and i checked the integrity of the body


Impressed that you use rubber under the wood to protect the wood!!!

I sure hope those plates don't keep you waiting too long. I am going to take mine apart pretty soon, so good timing on this post.
 
Impressed that you use rubber under the wood to protect the wood!!!

I sure hope those plates don't keep you waiting too long. I am going to take mine apart pretty soon, so good timing on this post.

If you noticed the surface of the garage floor you know why :)
 
Impressed that you use rubber under the wood to protect the wood!!!

I sure hope those plates don't keep you waiting too long. I am going to take mine apart pretty soon, so good timing on this post.

wait ! the rubber under the wood is to avoid any displacement or slip between the steel of the stands and the wood, is a sort of extra protection, i am really concerned about safety
;)
 
Now is a good time to put stainless brake lines in!

I also touched up the paint on the top side of the strut mounts so it looks nice when reassembled. I also touched up and waxoiled the underside as well.
 
wait ! the rubber under the wood is to avoid any displacement or slip between the steel of the stands and the wood, is a sort of extra protection, i am really concerned about safety
;)

You keep thinking of detail improvements and it shows. Safety being the best one.
 
guys,

take a look at the grain on the piece of wood. that's no simple piece of pine 2x4. it looks like a piece of select hardwood ... my guess is that its mahogany. deQ ... you always exceed the norm.
 
guys,

take a look at the grain on the piece of wood. that's no simple piece of pine 2x4. it looks like a piece of select hardwood ... my guess is that its mahogany. deQ ... you always exceed the norm.

good one, yes, and the stands are 24kt gold, but they were painted in grey to avoid scratches:lol:

wood is not pine, right, you have a good eye, but is not mahogany either, it is this kind of exotic hard wood from africa that it is used for the floor in some houses, i got it for free at a local workshop

i see that you guys scan all the little details, ....;-)
 
Back
Top