last time I stripped undercoat, I paid a mobile tech to come shoot it with dry ice. it took an about hour and cost $140. absolutely worth it
You are using an out of date browser. It may not display this or other websites correctly.
You should upgrade or use an alternative browser.
You should upgrade or use an alternative browser.
My not a restoration Bav
- Thread starter Bearmw
- Start date
last time I stripped undercoat, I paid a mobile tech to come shoot it with dry ice. it took an about hour and cost $140. absolutely worth it
Was it only the undercoat or also the engine compartment and the motor assembly as well?
Bearmw
Well-Known Member
Basically everything is being cleaned and repaired (as needed). The electrolysis seemed to do what it was supposed to. Today I got my rebuilt booster back from IE.


Last edited:
Bearmw
Well-Known Member
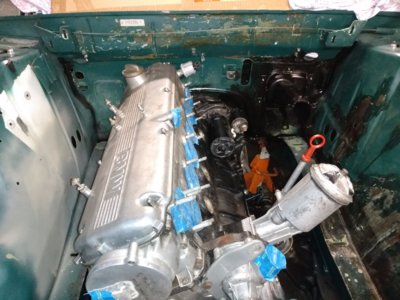
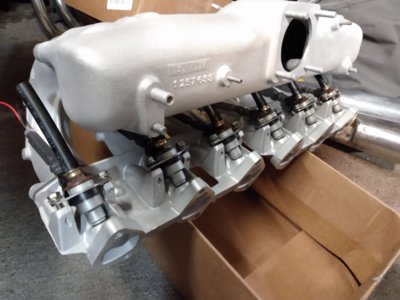
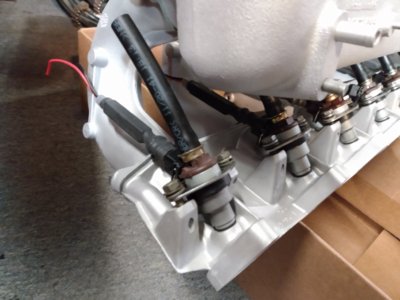
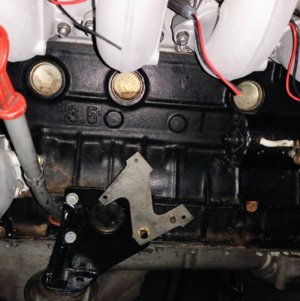
This is the motor that's going in although there will be some changes to the intake, etc.

Bearmw
Well-Known Member
After extensive scrubbing I have a better idea what I am working with.


Last edited:
it was a mk1 vw and I had already done the engine bay. no diff, engine out.Was it only the undercoat or also the engine compartment and the motor assembly as well?
Looks like a great project! I know from personal experience that cleaning an undercarriage like that is dirty, dirty work.
If you are willing to part with that cylinder head, I know someone who is looking for a casting of that vintage. I’m not far from western Mass!
If you are willing to part with that cylinder head, I know someone who is looking for a casting of that vintage. I’m not far from western Mass!
Bearmw
Well-Known Member
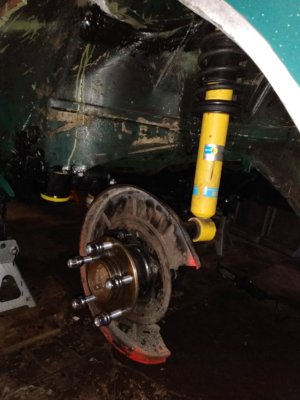
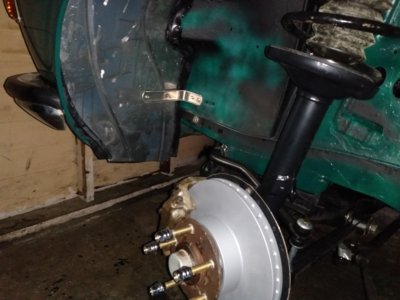
Made a little more slow progress with the new longer wheel studs (both from IE) that will be needed for thicker BBS wheels.

Bearmw
Well-Known Member
A slow bit of progress. Got the E24 subframe in and I now need to modify the brake cable sleeve extensions. My buddy will be welding the diff reinforcement pieces and sway bar mounts to the subframe and trailing arms (I'm using ST E3 kit).
Up front I was happy to see that Bavauto E28 headers fit without interference (I had them on my E30 vert hot rod). Another challenge will be the transmission mount and shifter carrier support since I am using the longer 260/6 from an E34 535i. When that's done I will have to figure out what driveshaft combo will work.
Up front I was happy to see that Bavauto E28 headers fit without interference (I had them on my E30 vert hot rod). Another challenge will be the transmission mount and shifter carrier support since I am using the longer 260/6 from an E34 535i. When that's done I will have to figure out what driveshaft combo will work.
Attachments
Poly subframe bushings I see??? Good for you.
Bearmw
Well-Known Member
Yup. I liked them on my E30. These are Powerflex Street stiffness.
Bearmw
Well-Known Member
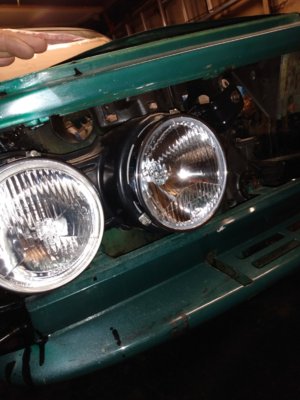
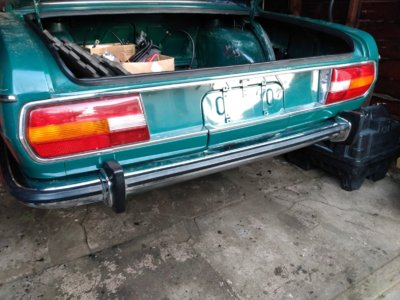
In addition to some other stuff I put all new brakes on the rear except I haven't done the hard lines yet. All new bearings and bushings too. I also installed the ST front sway bar, re-attached front fenders, and put in these new lights (e code H1/H4 with upgraded bulbs).
Attachments
Bearmw
Well-Known Member
E3-3.0Si
Well-Known Member
Looks like you had a great shell to start with, which is always a bonus. Great work so far!
Bearmw
Well-Known Member
Yes, I was fortunate the shell is in very good shape and I found no big surprises. I'm trying to get the mechanicals squared away and then will worry about cosmetics which will likely mean wash it and vacuum.
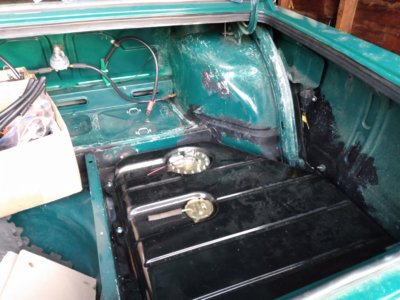
Here are some more things I've been recently working on. Lokari fender liners and trunk stuff. I am adding a fuel pump shutoff switch just in case.
Here are some more things I've been recently working on. Lokari fender liners and trunk stuff. I am adding a fuel pump shutoff switch just in case.
Attachments
Bearmw
Well-Known Member
I am now trying to figure out the rod/coupling that goes from the lever at the motor mount bracket to the throttle body. I have the parts from when it had carbs (unless I misplaced something) but it seems those are too short to reach the TB. I looked at realoem to find a part number but didn't see it listed. It looks like I may need the parts from an Si car so if anyone has the correct rod I'm interested.
Thanks
Thanks
Attachments
Simple fix might be to measure the lengths you need and buy carb linkage rods: https://www.dellorto.co.uk/product-category/car-accessories/linkage-kits-accessories/
Bearmw
Well-Known Member
Thank you for that link. Hopefully shipping isn't too much.
Here ya go, just doing this myself. The throttle stop needs to there as the pedal will sit against the firewall instead.

Pierce Manifolds sells various linkage rods and pieces as well.Thank you for that link. Hopefully shipping isn't too much.

