New VDO gauges in my dash_ final pics
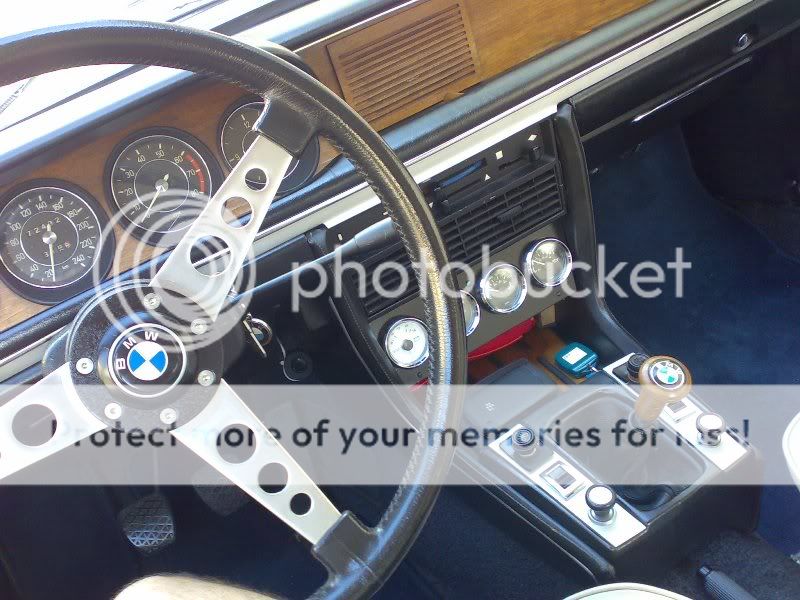
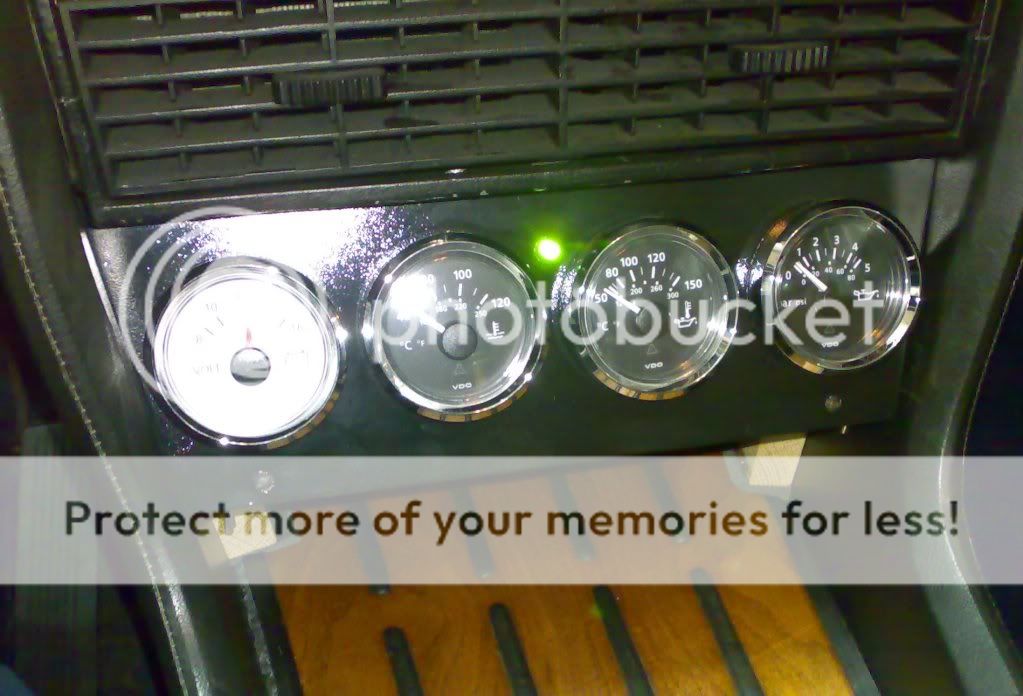
Well trying to summarize all the steps given in the last months about this issue i open this thread with the conclussions:
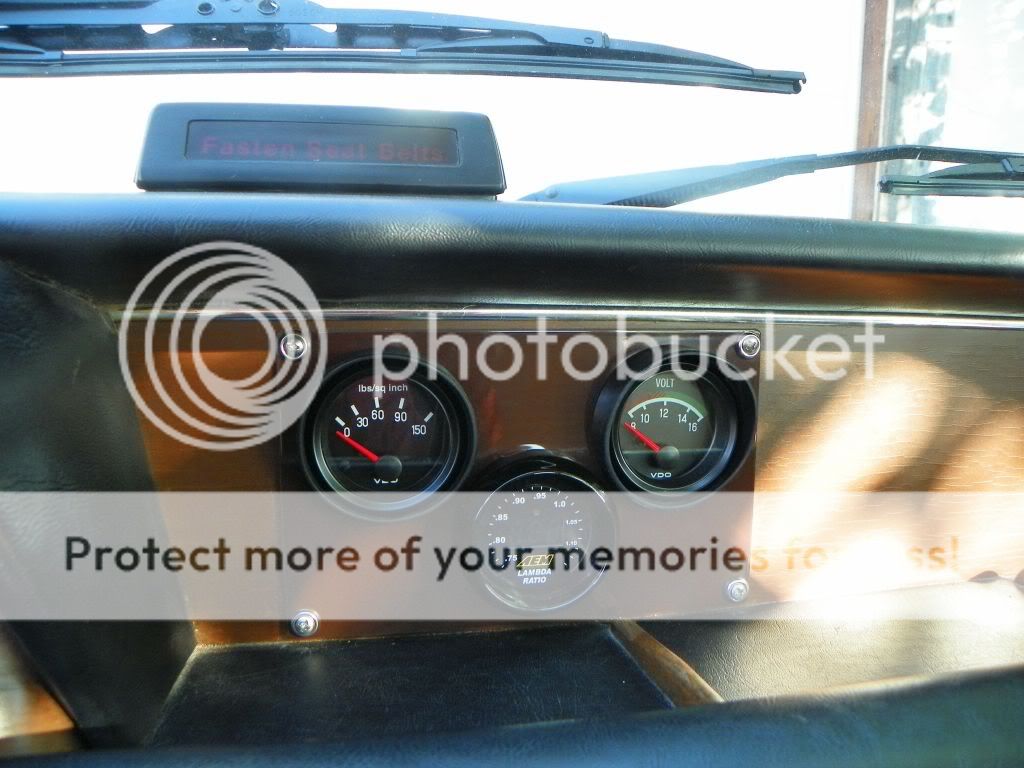
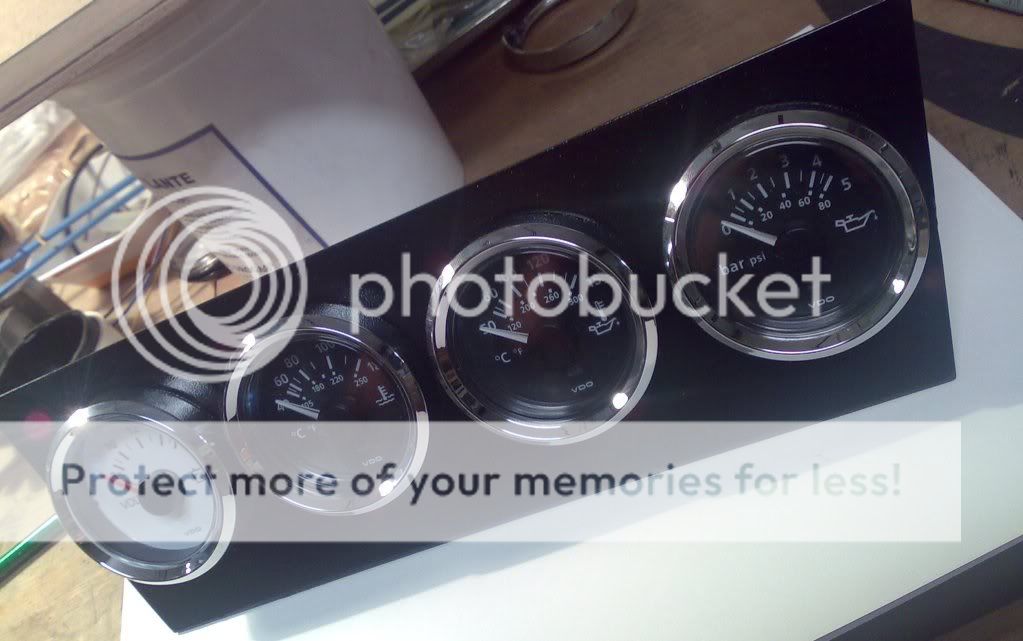
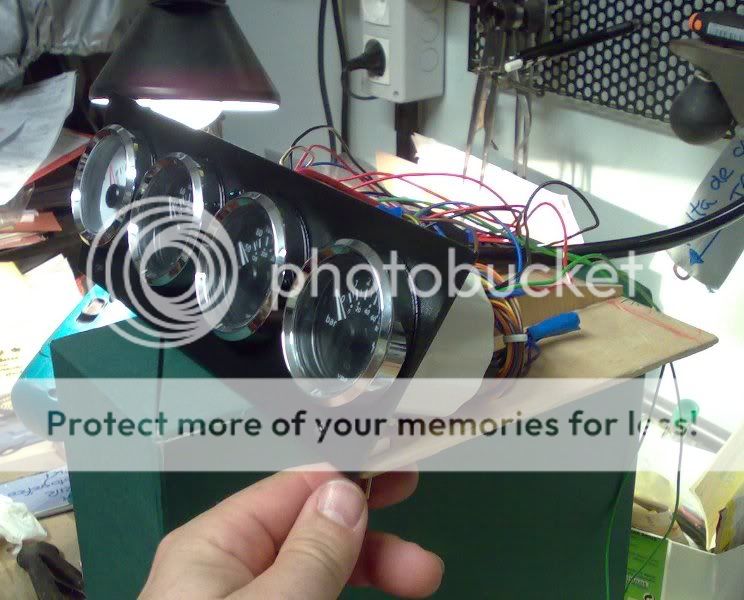
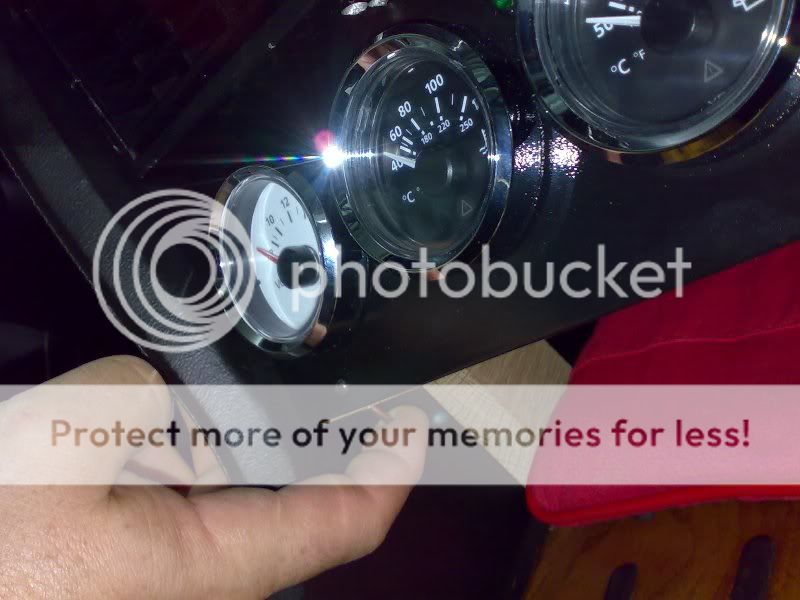
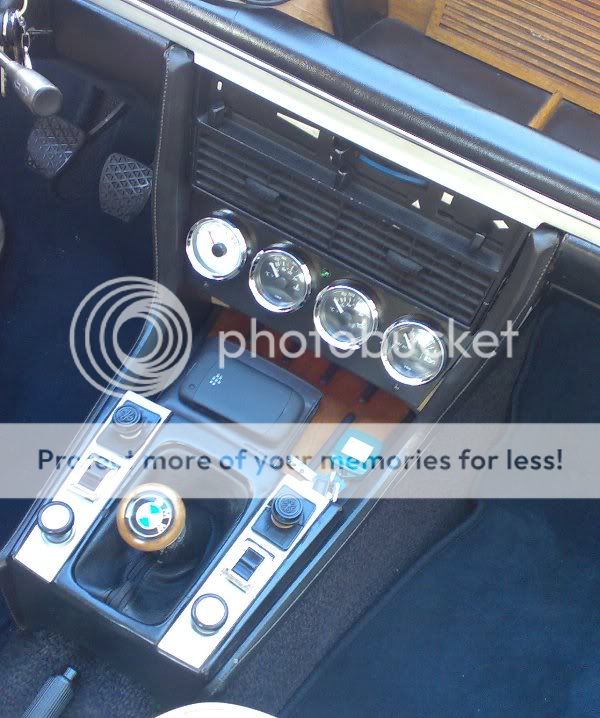
I intend to install 4 gauges that gave me fresh information of four key values in the correct running of an engine:
VOLTS
Coolant TEMPERATURE
Oil TEMP
Oil PRESSURE
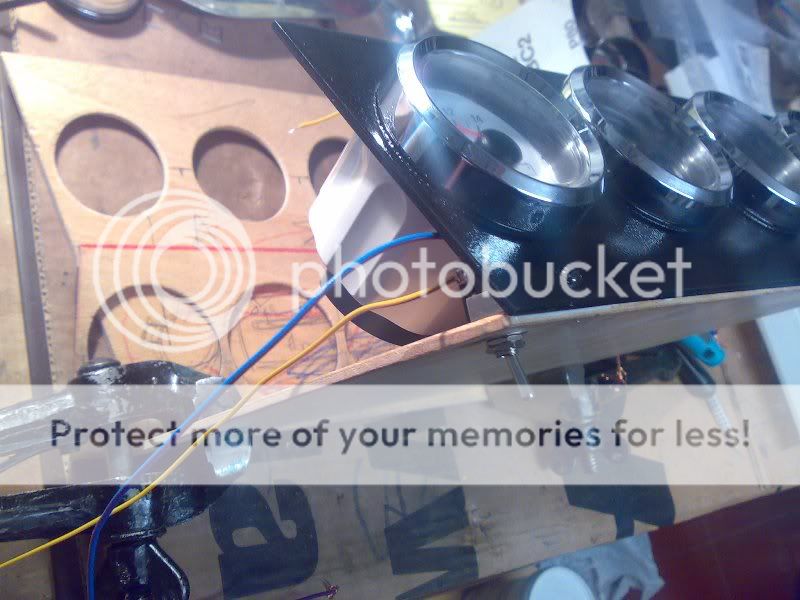
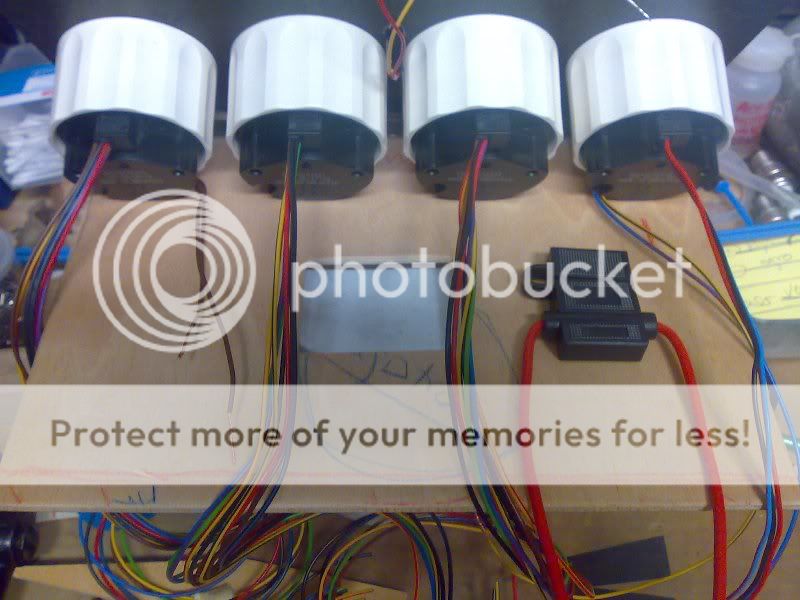
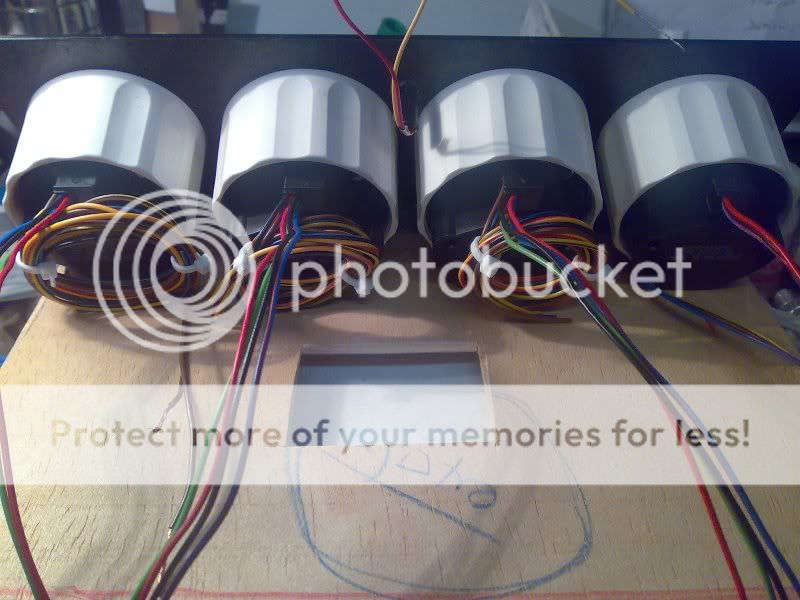
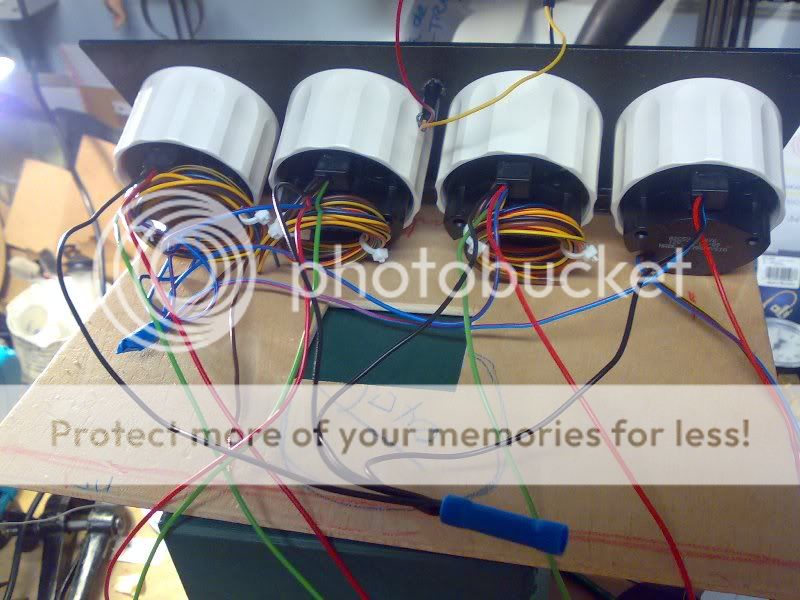
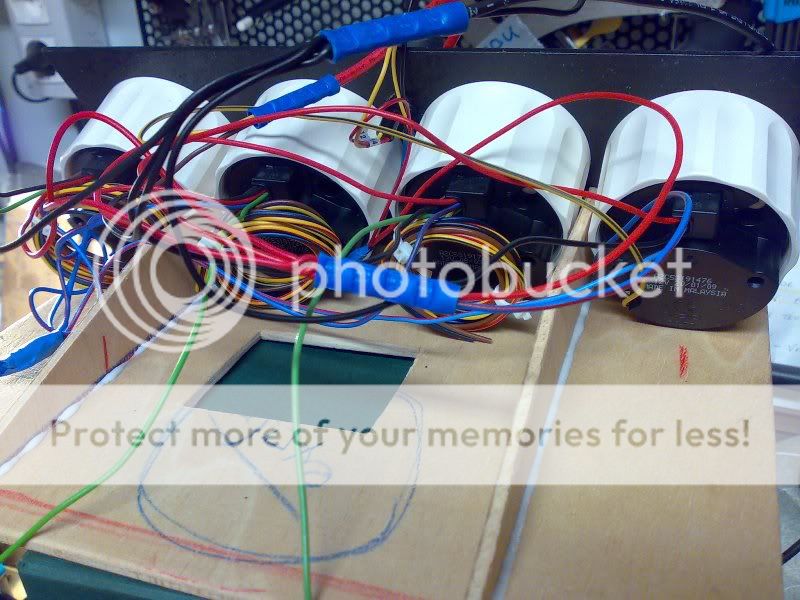
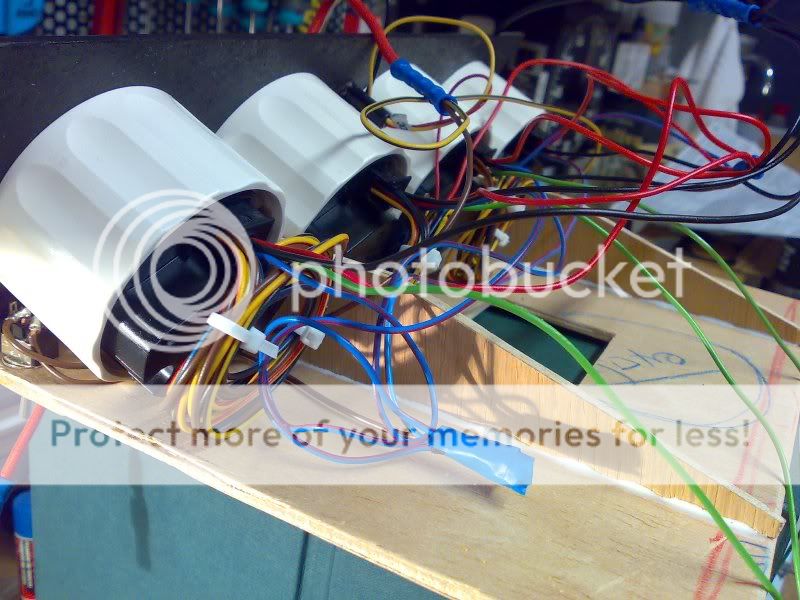
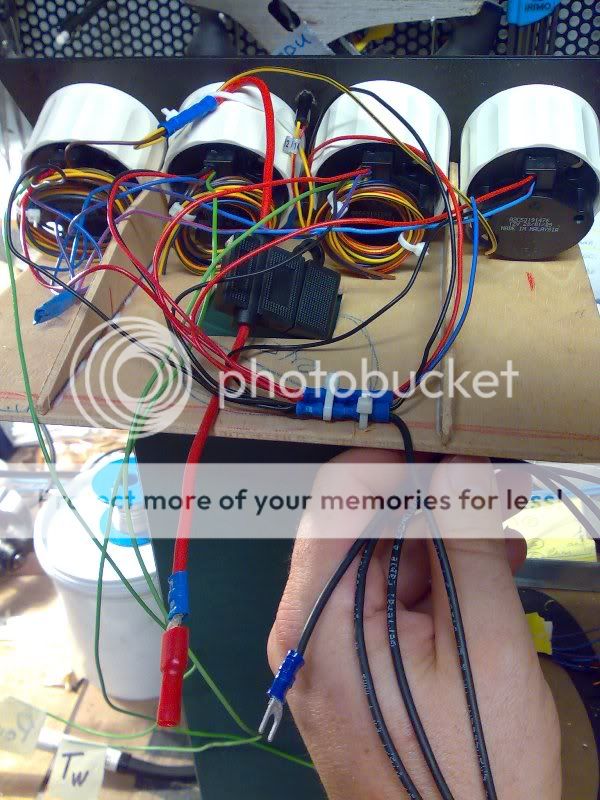
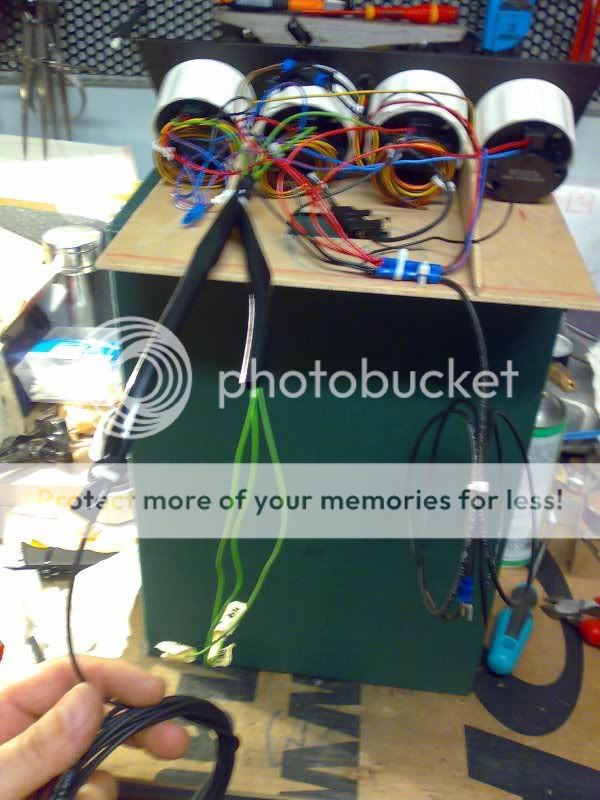
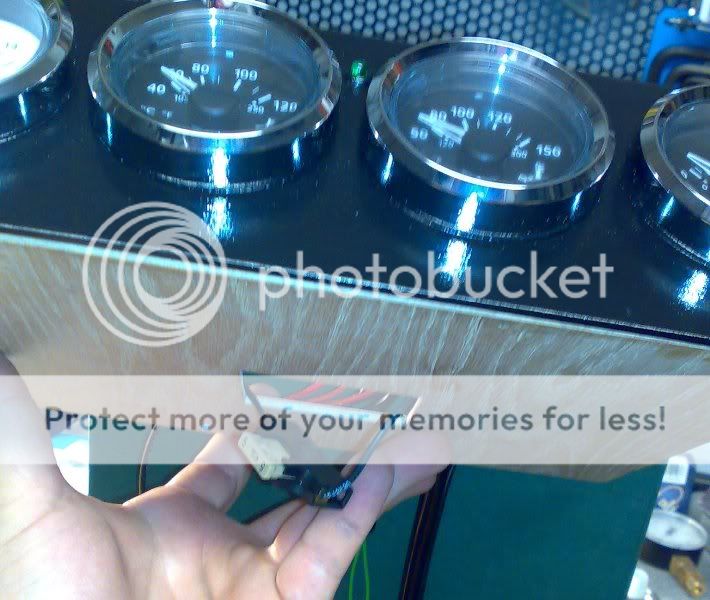
the VDO system:

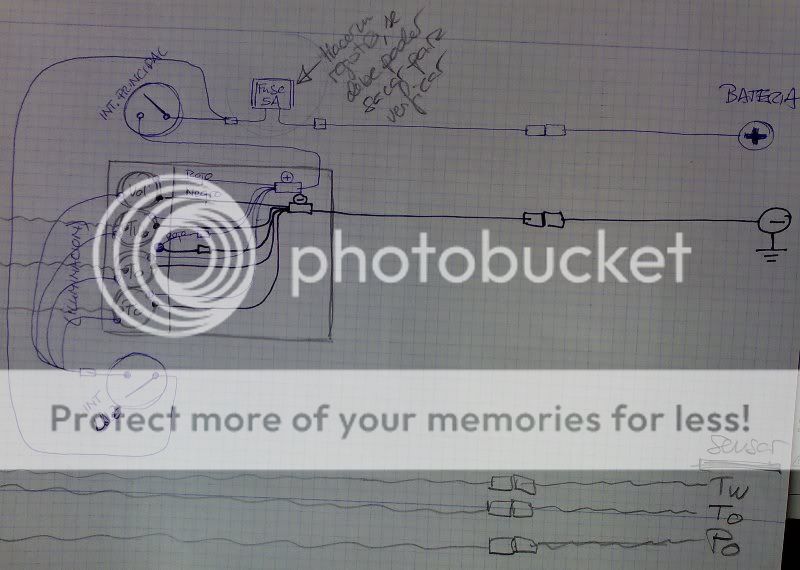
VDO gauges and sensors
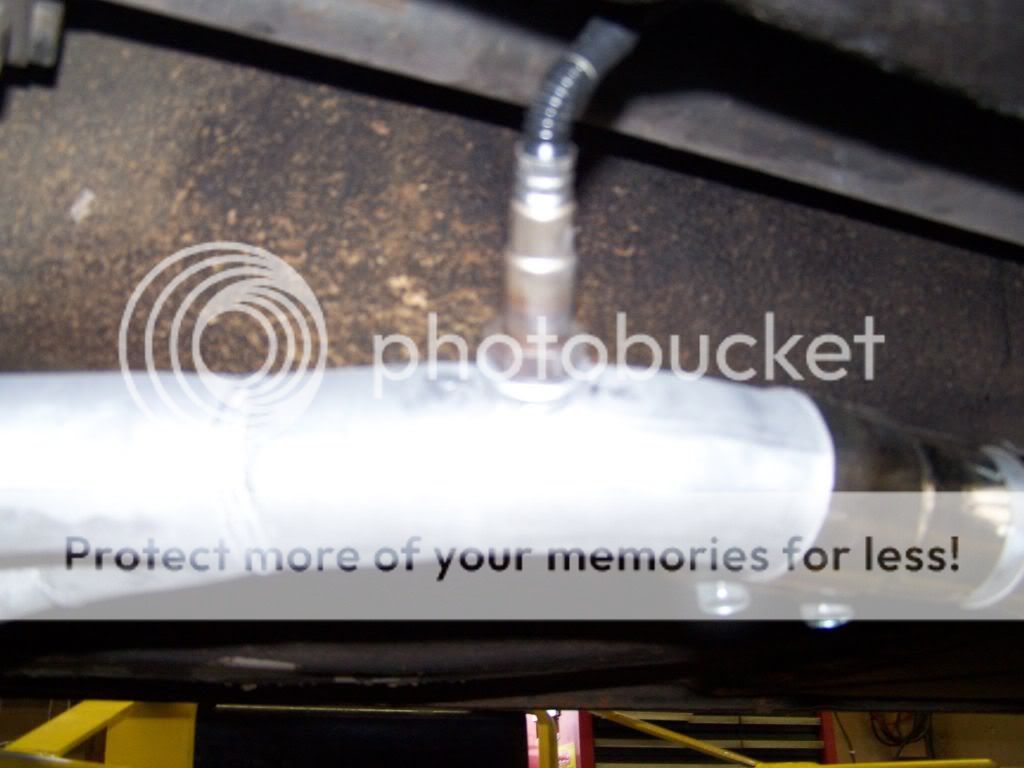
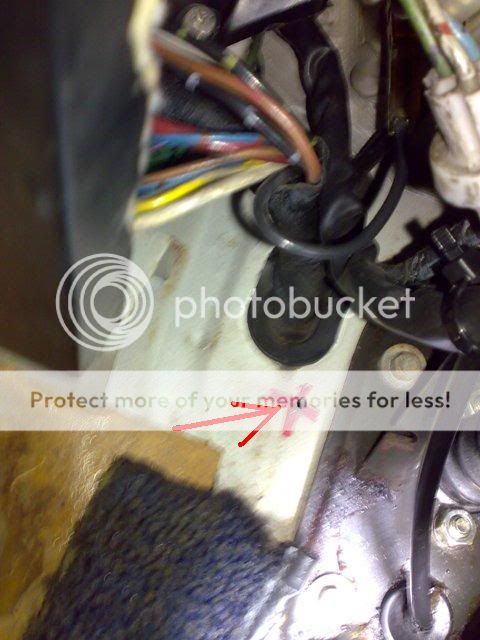
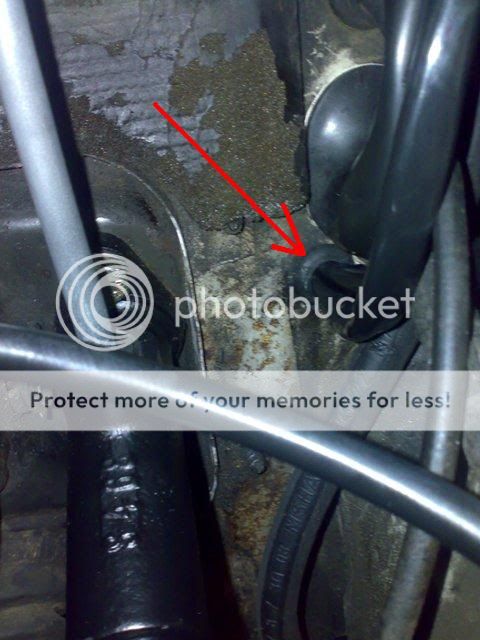
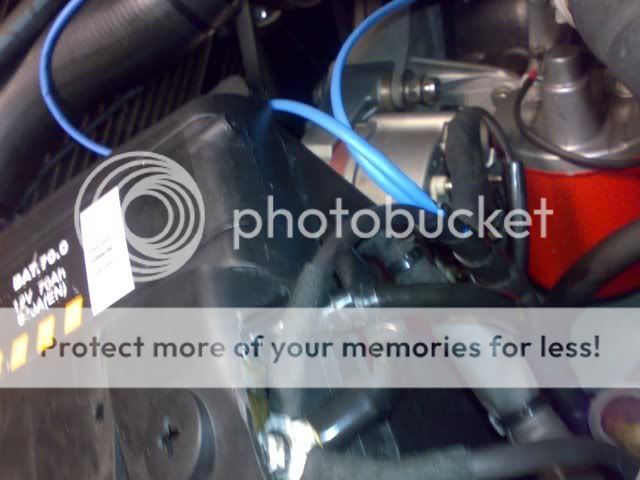
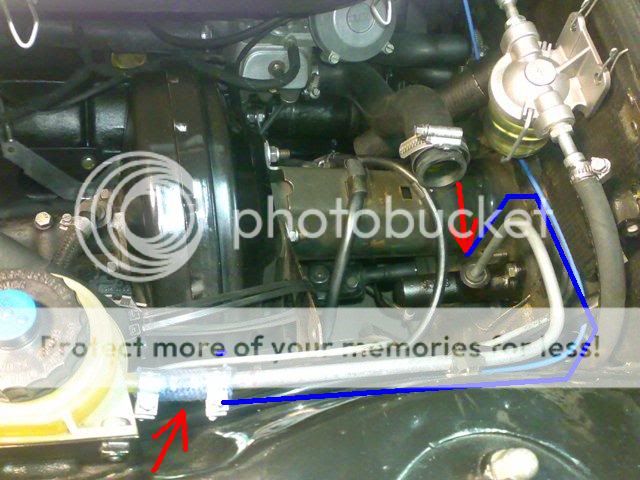
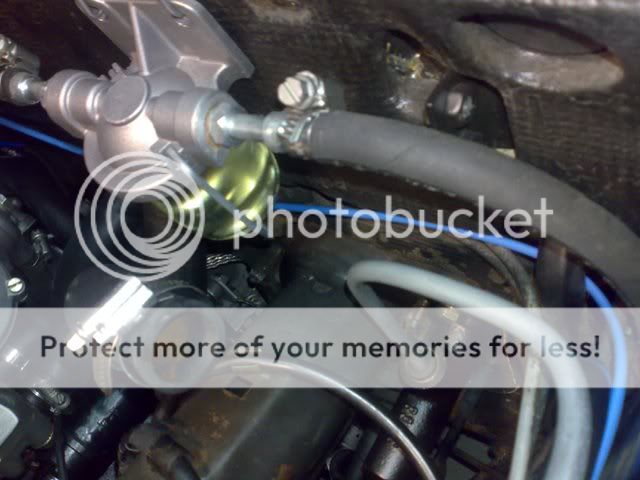
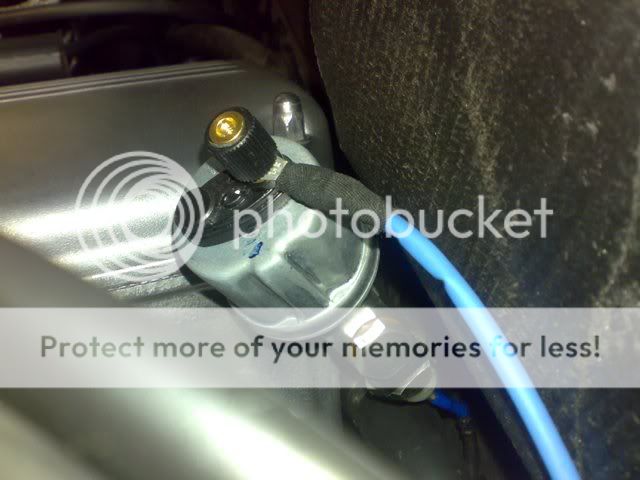
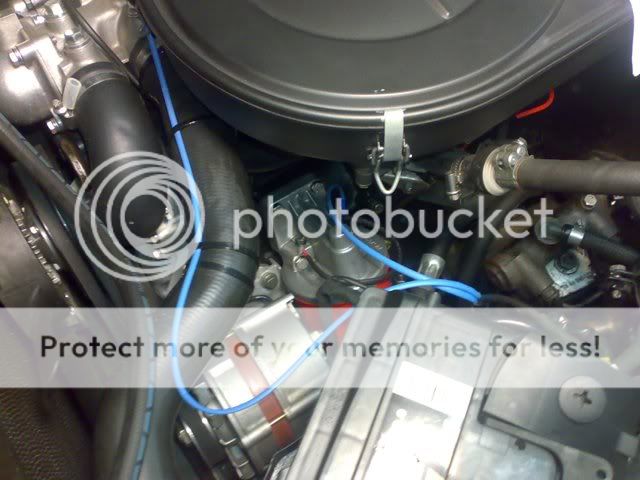
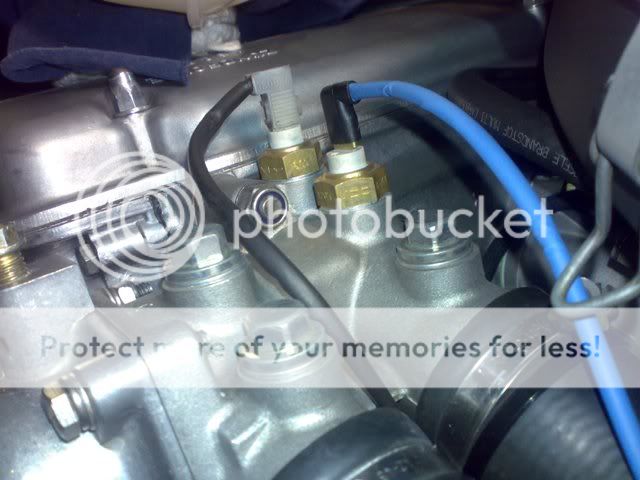
we will detail later on the position of the sensors, because it has been a hard issue
aesthetics:
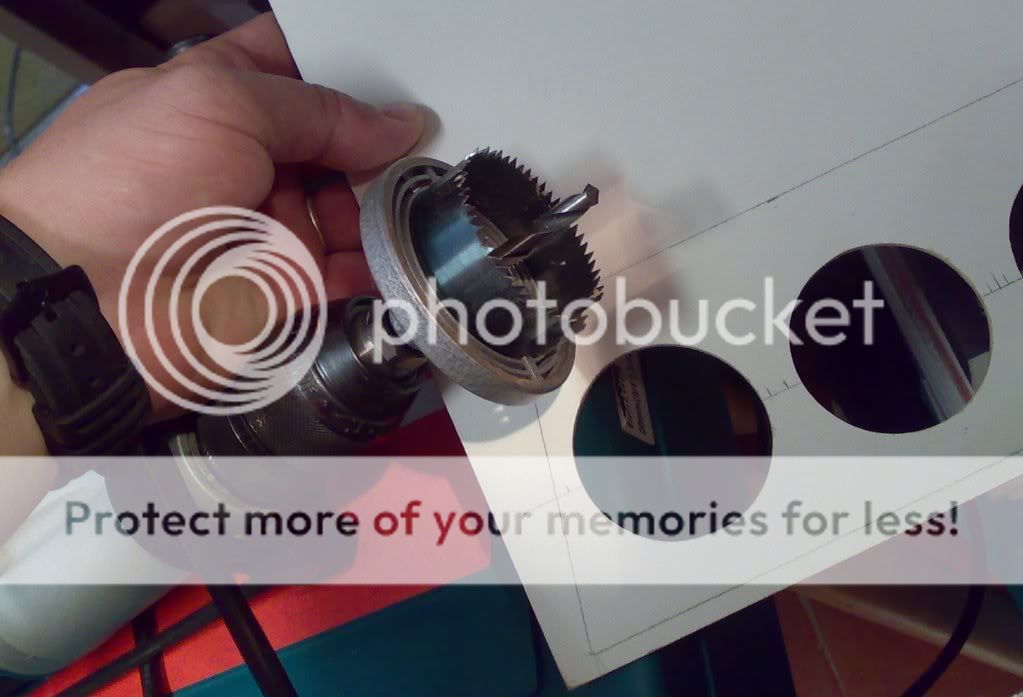

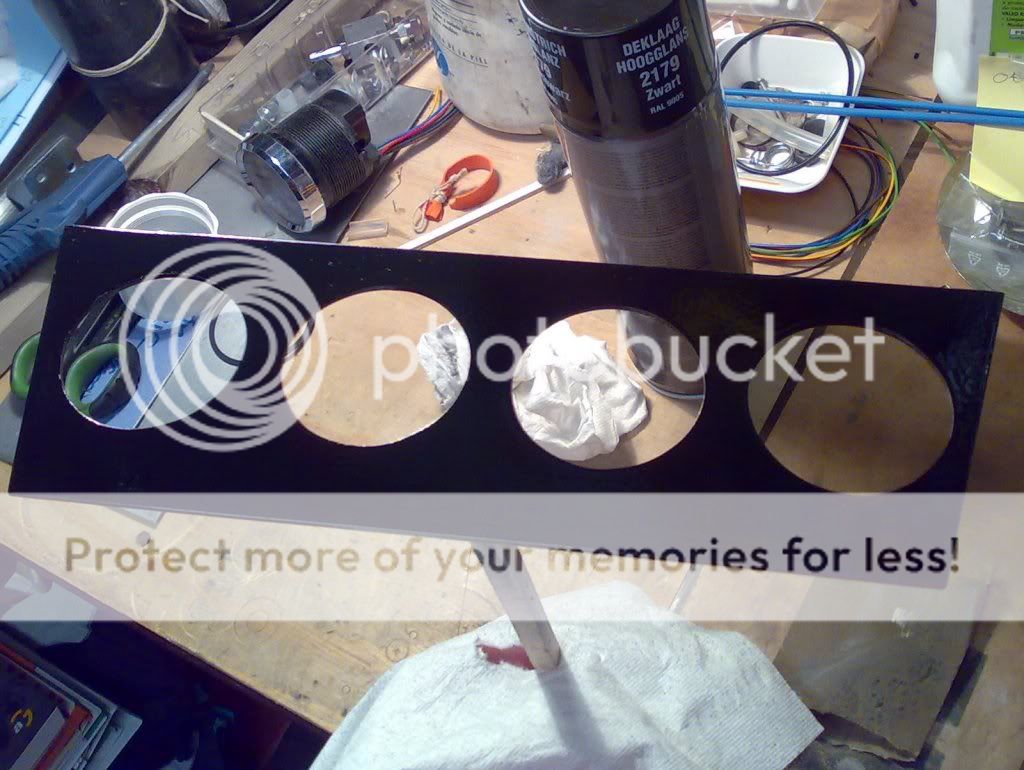
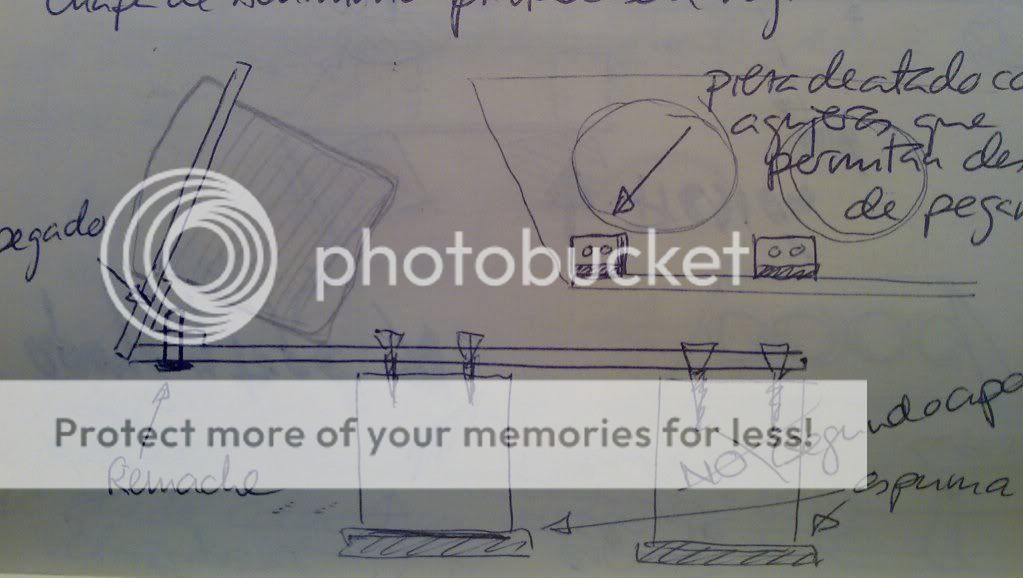
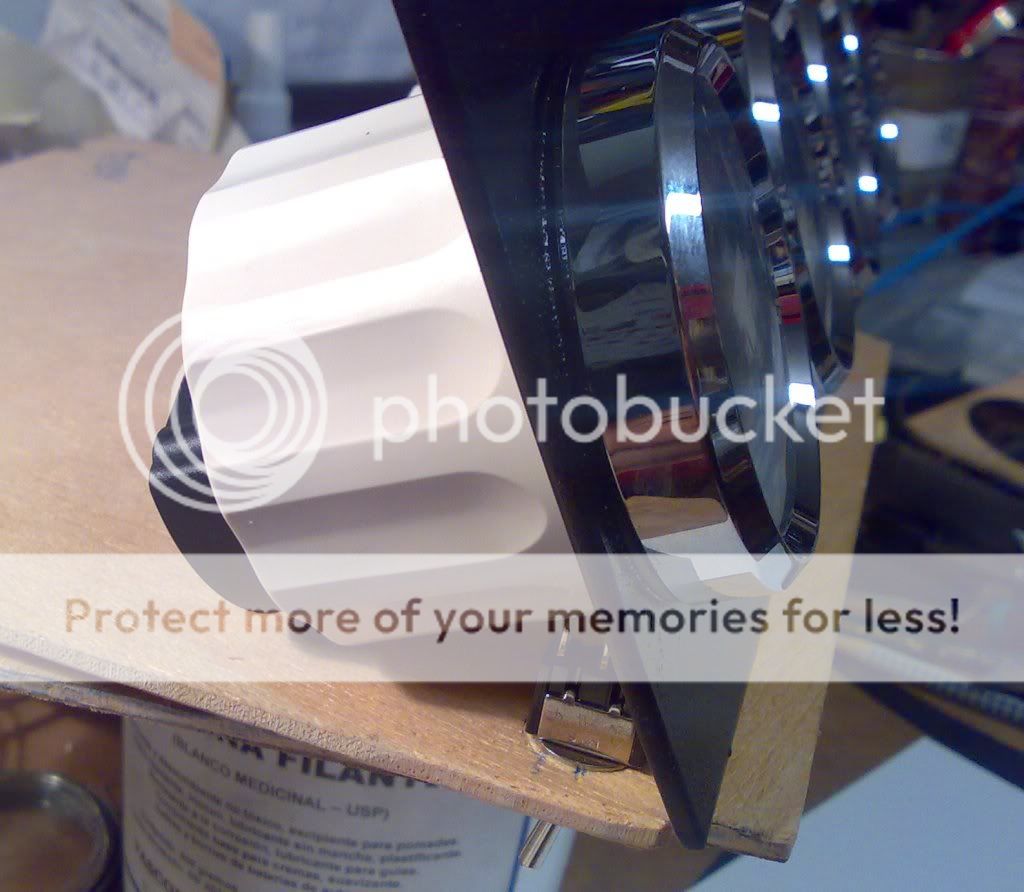
mechanical design and way of mounting to the dash (my intention is to avoid any hole or damage to the dash, so it is a self fixing unit)


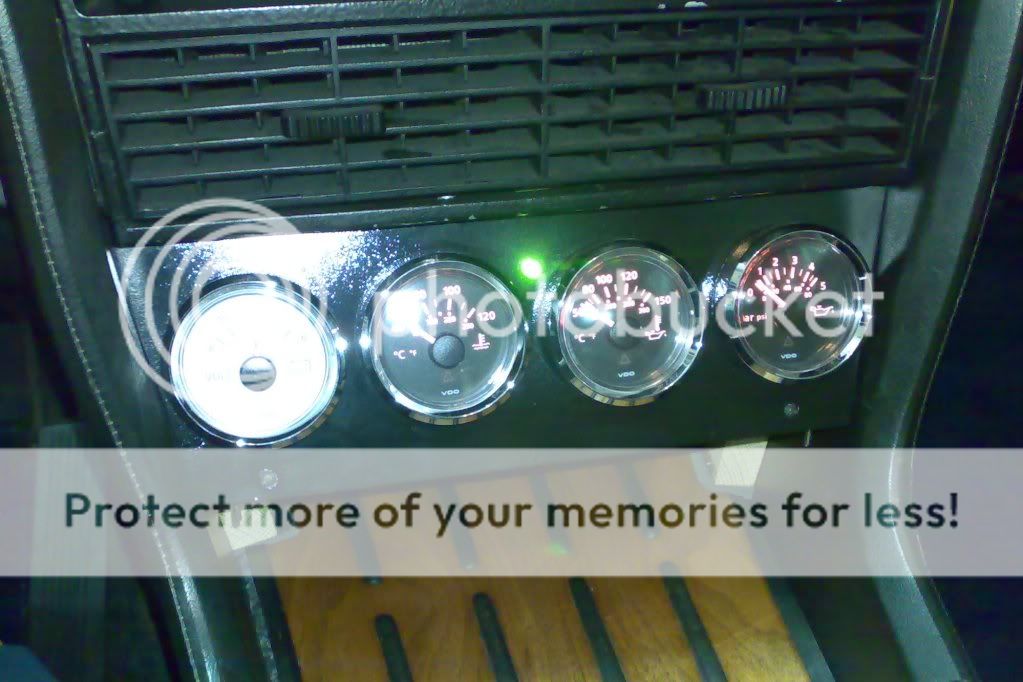
Well trying to summarize all the steps given in the last months about this issue i open this thread with the conclussions:
I intend to install 4 gauges that gave me fresh information of four key values in the correct running of an engine:
VOLTS
Coolant TEMPERATURE
Oil TEMP
Oil PRESSURE
the VDO system:
VDO gauges and sensors
we will detail later on the position of the sensors, because it has been a hard issue
aesthetics:
mechanical design and way of mounting to the dash (my intention is to avoid any hole or damage to the dash, so it is a self fixing unit)
Last edited:


")