Patricia A. Mayer's 3.0 CS / Paul Cain's Fjord project / The 300 mile Test Drive / VIII / Final Punch List

paul cain

Well-Known Member
Site Donor $$
Messages
679
Reaction score
1,328
Location
Orange County
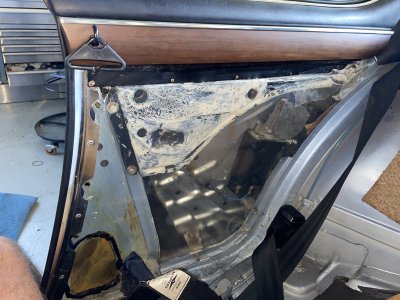
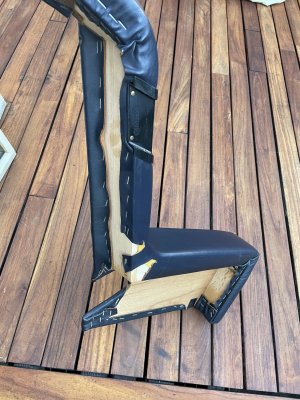
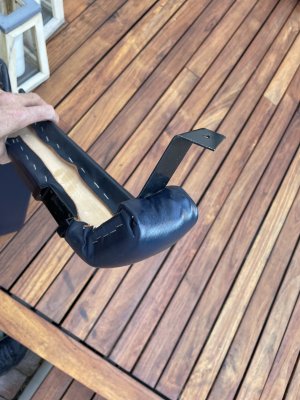
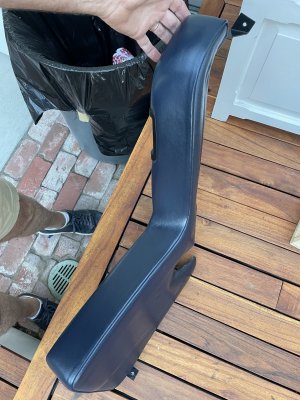
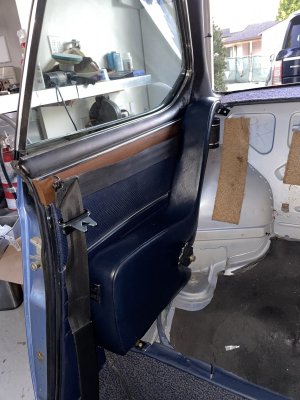
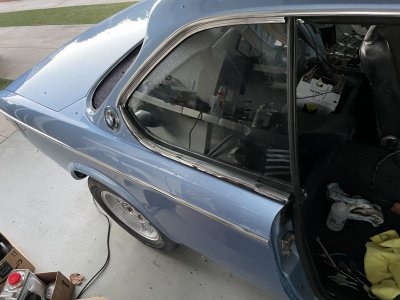
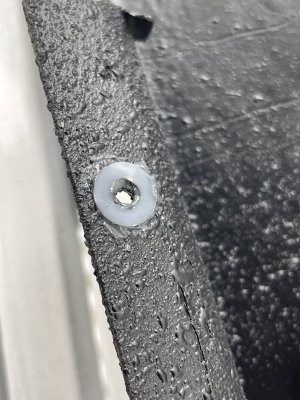
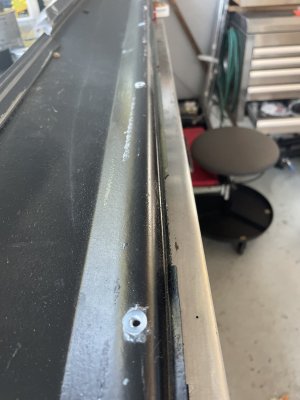
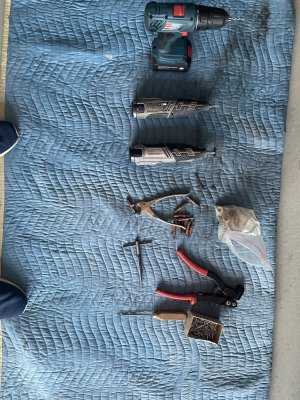
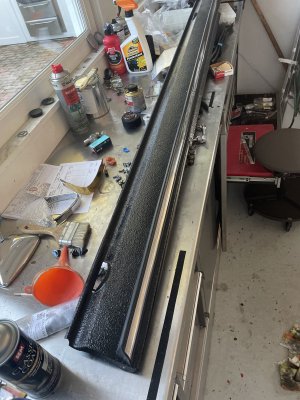
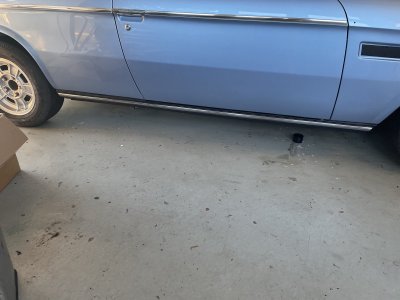
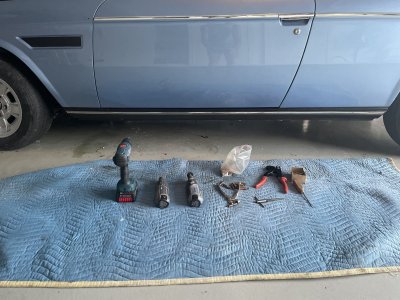
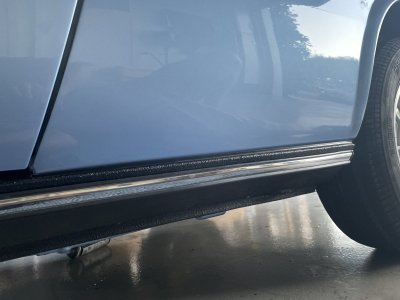
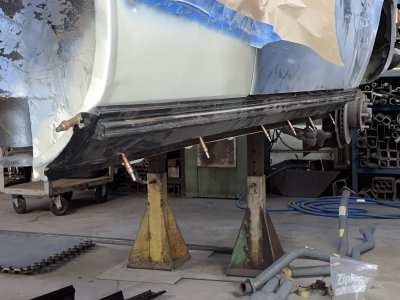
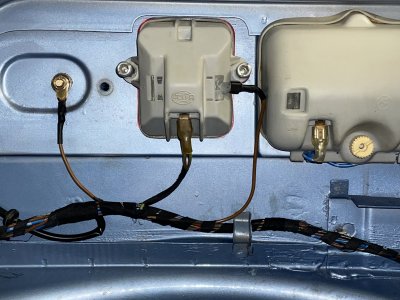
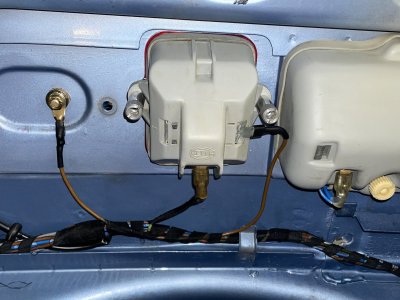
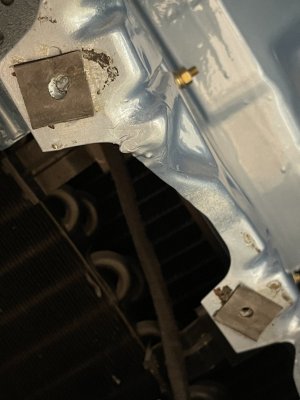
Regarding reassembly, I try and alternate between doing something difficult or burdensome followed by something easy and visually gratifying. Its the automotive restoration equivalent of 'if you don't eat your vegetables, you won't get any ice cream''. Yesterday that involved reinstalling the belt line trim on the rear quarters and doors. Followed by something enjoyable -rewiring the Euro Fog lamp to act as a third brake lamp.


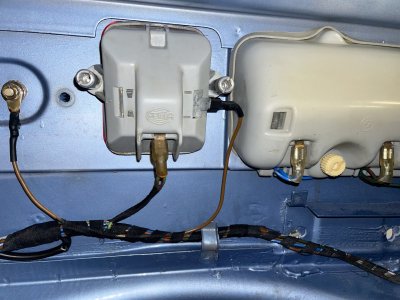
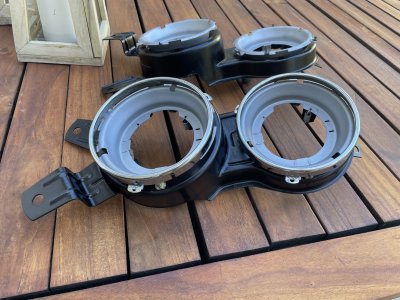
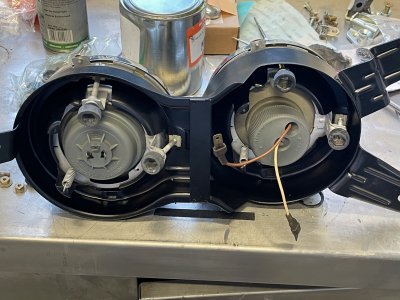
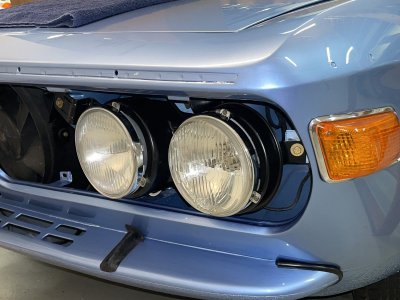
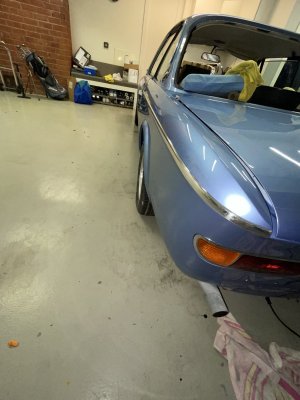
If these brake lamp lens seem to be projecting a particularly bright red light, thank @CHRIS Macha for discovering these red LED bulbs that replace the faint, candle like, incandescent bulbs. Wiring included using the correct green/red wire (for brake lamps) and a new ground lug. Headlamps when back in, rubber pads were in-between the bucket frame and the (3) body mounts. Once the car is fully reassembled and settled with a 1/2 tank of petrol, I'll do the headlamp adjusting.
 

Attachments

  • IMG_1783 (1).jpg
    IMG_1783 (1).jpg
    330.7 KB · Views: 199
  • IMG_1778.jpg
    IMG_1778.jpg
    381.3 KB · Views: 184
  • IMG_1786.jpg
    IMG_1786.jpg
    372.7 KB · Views: 166
  • IMG_1784.jpg
    IMG_1784.jpg
    299.8 KB · Views: 155
  • IMG_1780.jpg
    IMG_1780.jpg
    320.9 KB · Views: 176
  • IMG_1789.jpg
    IMG_1789.jpg
    283.7 KB · Views: 155
  • IMG_1779.jpg
    IMG_1779.jpg
    254.7 KB · Views: 152
  • IMG_1791.jpg
    IMG_1791.jpg
    261.3 KB · Views: 158

adawil2002

Well-Known Member
Site Donor $$
Messages
5,187
Reaction score
3,050
Location
Brunswick, Maine
While it's neat, that is not going to get the attention of anyone who's used to being a high mounted center 3rd brake light.

Need something like an Alpena LED Strip 3rd brake light. These are pretty stealth & work great, I've been running them since 2011. Made some 300 of these before the demand stopped.

3rd Brake Light 01.JPG
3rd Brake Light 02.JPG
3rd Brake Light 03.JPG
IMG_5474.JPG
 
Last edited:

Gary Knox

E9 Member Emeritus
Site Donor $$
Messages
1,821
Reaction score
743
Location
West Chester, Pennsylvania
I shared Andrew's concern about driver's of SUV's following closely behind me and the thought that they may never see the very low mounted brake lights on an e9. I installed a 'medium level' high brake light mounted at the center of the hat shelf contacting the rear window. To me that seemed 'close to' a vintage' high brake light without being too modern looking.. I bought the high mounted brake light module from some other (don't remember marque) brand on eBay.
 

JMinPDX

Well-Known Member
Site Donor
Site Donor $
Messages
1,269
Reaction score
1,308
Location
Portland OR
While it's neat, that is not going to get the attention of anyone who's used to being a high mounted center 3rd brake light.

Need something like an Alpena LED Strip 3rd brake light. These are pretty stealth & work great, I've been running them since 2011. Made some 300 of these before the demand stopped.

View attachment 143955View attachment 143956View attachment 143957View attachment 143958
Plus one on Andrew’s LED third brake light. 5 minute installation. At night it lights up the rear window like a Christmas tree. ;)
 

mulberryworks

Mr. Fixity
Site Donor
Messages
1,244
Reaction score
614
Location
Jacksonville FL
I've been thinking of going one step beyond the LED 3rd brake light at the top of the window. It should be possible to add yellow LEDs to either side and get elevated turn signals as well. Maybe a bit much but I'll take the added safety over handwringing about it not being stock. There are just too many inattentive drivers out there.
I think I'll draw the line at making them sequential though.
 

paul cain

Well-Known Member
Site Donor $$
Messages
679
Reaction score
1,328
Location
Orange County
Andrew, thanks for this alternative. It is very much the superior solution to the brake lamp / awareness issue. Particularly at modern SUV height. For this project, I just can't do it. It's too modern, and yes, I know I am compromising safety, but life is a series of trade offs. I'll take a little bit more safety for a lot more Euro look. Thank you for the suggestion. Great discussion.
 

paul cain

Well-Known Member
Site Donor $$
Messages
679
Reaction score
1,328
Location
Orange County
I spent pretty much the entire day on the right rear quarter window assembly. Window lift mechanism, lift motor, alignment etc. It went smoothly after I got the motor working properly. Image 1805 shows a clear adhesive membrane over the entire assembly. I can't emphasize this enough on how important this part is for both noise reduction and moisture separation. Inside arm rest is all original and just needed some mink oil. One window down, only three to go.
 

Attachments

  • IMG_1805.jpg
    IMG_1805.jpg
    362.5 KB · Views: 147
  • IMG_1807.jpg
    IMG_1807.jpg
    418.3 KB · Views: 161
  • IMG_1808.jpg
    IMG_1808.jpg
    280.1 KB · Views: 158
  • IMG_1810.jpg
    IMG_1810.jpg
    403.3 KB · Views: 152
  • IMG_1814.jpg
    IMG_1814.jpg
    308.4 KB · Views: 144
  • IMG_1812.jpg
    IMG_1812.jpg
    306.5 KB · Views: 156

Antar

Well-Known Member
Site Donor $
Messages
215
Reaction score
93
Location
D.C. (originally from Northern California)

Stan

Well-Known Member
Site Donor $$
Messages
7,006
Reaction score
1,526
Location
Newmarket, New Hampshire
Andrew, thanks for this alternative. It is very much the superior solution to the brake lamp / awareness issue. Particularly at modern SUV height. For this project, I just can't do it. It's too modern, and yes, I know I am compromising safety, but life is a series of trade offs. I'll take a little bit more safety for a lot more Euro look. Thank you for the suggestion. Great discussion.
Paul,
You may want to reconsider. I have bothe the euro fog lamp and the 3rd brake light strip.
When not lit, the strip is invisible from just a few feet away.
yiy3P%NYTxubZVQIXtUOdg.jpg
 

paul cain

Well-Known Member
Site Donor $$
Messages
679
Reaction score
1,328
Location
Orange County
For those of you who have been with this thread from the beginning, one of the themes for improvement is supplemental rust protection. Everywhere. Lots of etching primer, lots of epoxy primer and tons of Wurth Stoneguard brushed into the corners where Karmann only dreamed of. The idea is to crush any (future) rust issue in the bud -leveraging the knowledge we now have on where E9's start rusting. I've never liked the engineering on the lowers sills, particularly the hurried fastening method BMW / Karmann used. The suggested improvement is to 'float' the lower sill off of the body so all the water can drain away, vs. pinching the two together and leaving a petri dish for iron oxide to blossom. Particularly when combined with the horrible self tapping sheet metal screws BMW Spec'd. These are simply nylon washers used as a 'stand off', about 14 per side. The only way this works is if they are all securely fastened to the inside of the outer sill before you get started as most of the lower ones are blind. Yet another use for JB Weld. In almost all the locations I used stainless steel rivets. The one hole on the extreme rear end of the sill will have to wait until the tire comes off for access. Even with piloting all the holes during the sheetmetal phase, getting these into the correct position was tricky, I kept going back for more and more tools. Another unpleasant alignment task in the can. Now I can do something fun and easy - like installing an outside door mirror ;)
 

Attachments

  • JB weld to the rescue on holding these small plastic  washers in place.jpg
    JB weld to the rescue on holding these small plastic washers in place.jpg
    344.1 KB · Views: 148
  • plastic stand offs.jpg
    plastic stand offs.jpg
    223.7 KB · Views: 140
  • Drivers Sill ready to install.jpg
    Drivers Sill ready to install.jpg
    381.4 KB · Views: 139
  • How many tools are required to install lower sills  Answer is 7.jpg
    How many tools are required to install lower sills Answer is 7.jpg
    509.1 KB · Views: 141
  • Drivers Sill ready to install.jpg
    Drivers Sill ready to install.jpg
    381.4 KB · Views: 139
  • passenger side DONE.jpg
    passenger side DONE.jpg
    211.4 KB · Views: 155
  • Drivers side in process.jpg
    Drivers side in process.jpg
    340 KB · Views: 142
  • Final outcome - gasket lightly pressed against the rear quarter panel edge.jpg
    Final outcome - gasket lightly pressed against the rear quarter panel edge.jpg
    200.1 KB · Views: 168
  • back in December when doing the sheetmetal.jpg
    back in December when doing the sheetmetal.jpg
    263.6 KB · Views: 144

bavbob

Well-Known Member
Site Donor
Messages
3,372
Reaction score
1,585
Location
Boston, Ma
Likely already posted the source for the LED bulbs but can you sneak it in here?

I thought of floating the sill also but it may depend on where the car will live. Water out, but in Boston, sand in......even though I won't drive any of my older BMW's in the winter. I used SS screws, only a few. The other holes got dummy SS screws glued to cover the holes and make water tight.
 

mulberryworks

Mr. Fixity
Site Donor
Messages
1,244
Reaction score
614
Location
Jacksonville FL
This is why I’ve been waiting to install LED lamps. The output has been improving to the point where the choice is now obvious. Faster turn on is an added bonus.
I can see not switching out the instrument bulbs because they aren’t dimmable or they don’t have the right color but exterior lighting should be as bright and reliable as possible.
 
Top