Thanks very much for that explanation Paul. The Uber perfectionist in you will never cease to amaze me. 
You are using an out of date browser. It may not display this or other websites correctly.
You should upgrade or use an alternative browser.
You should upgrade or use an alternative browser.
Patricia A. Mayer's 3.0 CS / Paul Cain's Fjord project / The 300 mile Test Drive / VIII / Final Punch List
- Thread starter paul cain
- Start date
-
- Tags
- restoration list
Thanks Bmachine! I don't know about that perfectionist thing.......here is an example of a mistake. When I shot the trunk gutter last week, I did not mask the 'lip' for the weatherstripping on the inside correctly. It got sprayed with primer and is an exposed surface. So this morning was spent preping and re-masking the trunk to put down the base Fjord and clear coat around this inside edge. Just waiting for the clear coat to kick tonight and then I can continue with the latch assy and torsion bar.
Attachments
I am now waiting for a slot in the schedule for the paint booth, basically idling on other small projects before it goes in the booth. While all my spray equipment is still out and the primer table is in full swing, I decided to finish the bumper assemblies, a totally thankless job. The bumpers originally came with a taupe / warm grey paint on the inside surfaces to protect them from rusting. To recreate this I am using a two step process. First with some modern DTM primer to seal off all the inside surfaces. After mixing it, before it goes in the gun, I brush it on the back sides of the mounting plates in the inside, an area you cannot get to with a spray gun. The brush strokes sort of melt away once you spray the rest of the part. The second coat is simply a color coat with the closest color match to the original taupe color. All the bumper sections remain in their protective packaging masked right up to the edge.
You can never have enough of the correct assembly hardware in the right color. Etching primer, then base, then clear. This is tray two of two.
You can never have enough of the correct assembly hardware in the right color. Etching primer, then base, then clear. This is tray two of two.
Attachments
-
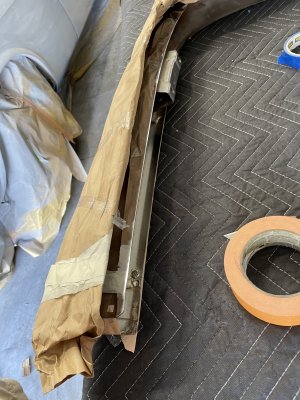 protecting the new chrome so it never touches the table top final prep before the DTM primer.jpg383.8 KB · Views: 343
 -
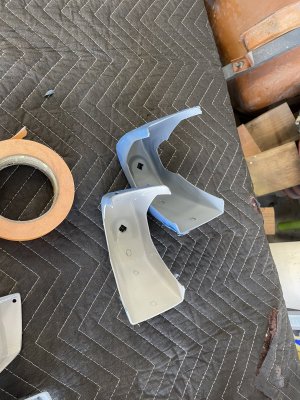 Two layers of rust protection on the insides.jpg531.7 KB · Views: 292
 -
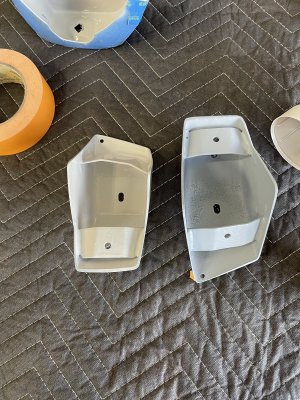 warm grey on the left and DTM primer on the right.jpg617.1 KB · Views: 287
 -
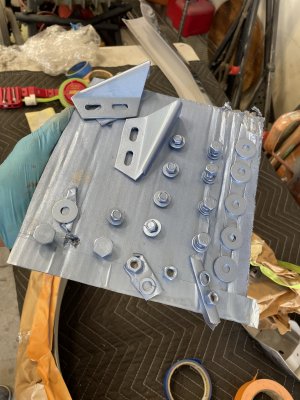 base and clear.jpg332.6 KB · Views: 267
 -
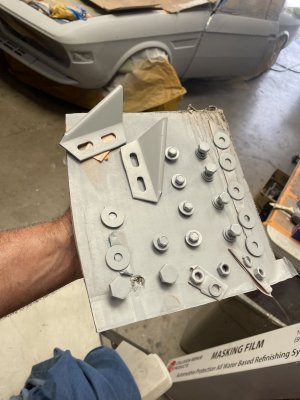 etching priimer.jpg229.5 KB · Views: 303
Last edited:
Just waiting for the call that the booth is available. The four removable panels are about 90% in their final positions.
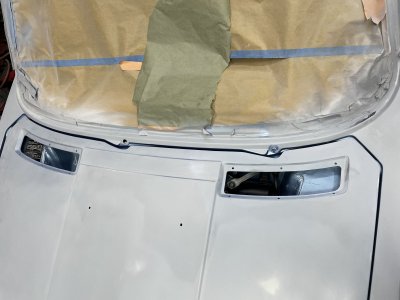
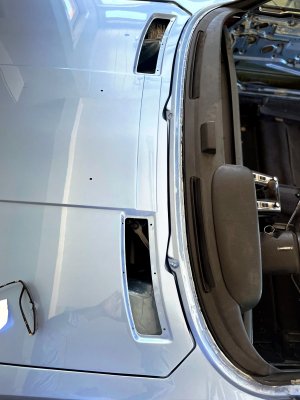
The experiment to lengthen the hood I think is going to pay off. Here is the first full test fit with the near final gaps.
The experiment to lengthen the hood I think is going to pay off. Here is the first full test fit with the near final gaps.
Attachments
Panel gaps look great!
I doubt any E9 left the Karmann factory with gaps this precise. There's a clothing store that could use these pics in their advertisements...
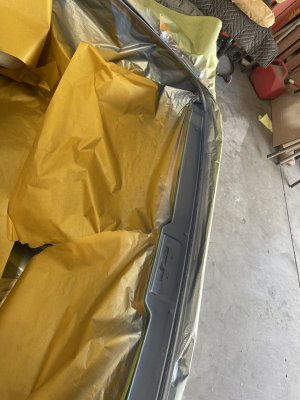
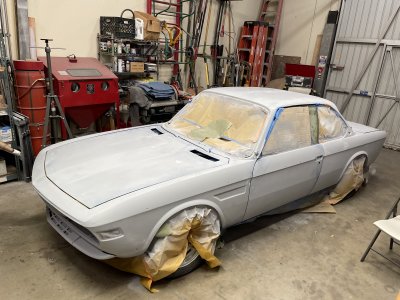
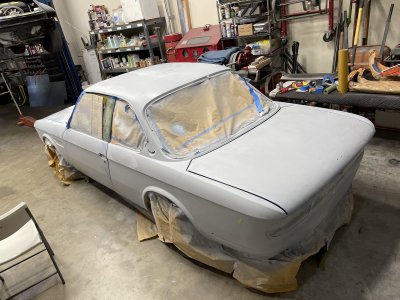
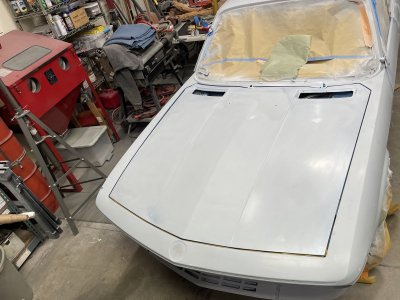
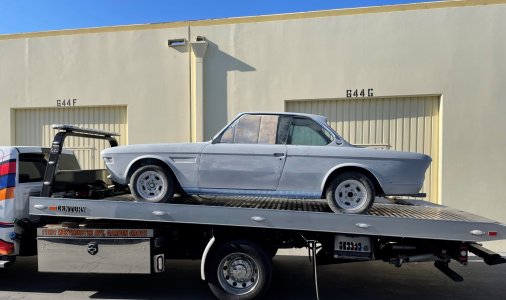
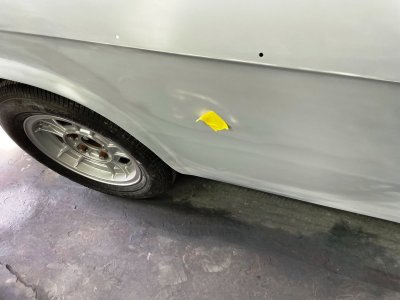
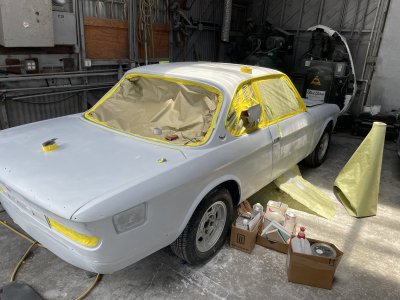
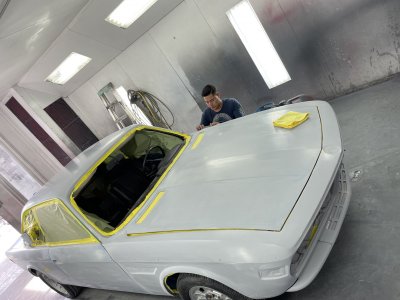
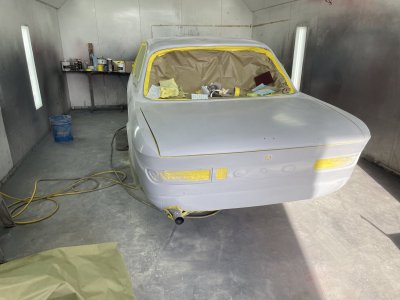
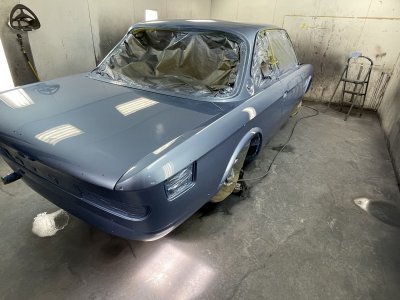
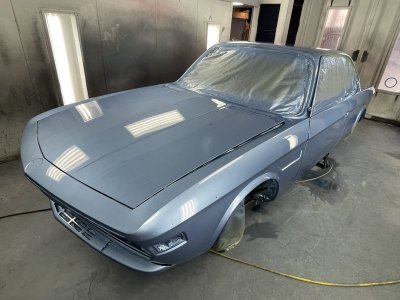
The car left the shop yesterday as a spot opened up for the paint booth. Here is the flatbed towing the Coupe to the undisclosed location. Upon arrival, the inspection by serious processionals had begun. After lots of scrutiny, it was decided to address four small low spot imperfections, and one high spot, with more bodywork and primer. I'd been starring at the panels for a month and had gone primer blind. Theses guys don't miss anything and I am oh so happy to be humbled, by professionals, while the car is in primer. That final prep and priming went quick. Todays remasking went on in parrallel and it was about 13 man hours as the entire car had to be covered with new paper and tape. Engine comp. under hood and under trunk are all taped off with soft edges. Tomorrow, it'll be a lite skuff on the primered spots and then booth cleaning, booth cleaning, filters, booth cleaning and then into the base coat and clear. Its water based so it is going to be a looooong day.
Here is a walk-a-round:
https://youtube.com/shorts/Rb5Vds9X
Here is a walk-a-round:
https://youtube.com/shorts/Rb5Vds9X
Attachments
Hopefully water base auto finishes have come a long way from the days of the paint peeling off in sheets on horizontal surfaces.
I’ve completed other cars with this same Glasurit product. With success. I think that paradigm of water based paint might have gone out of fashion with “Tony Orlando and Dawn”?Hopefully water base auto finishes have come a long way from the days of the paint peeling off in sheets on horizontal surfaces.
Paul, thank you so much for including all of your photos and videos of "the process". It helps many of us who are trying to "up their game" as it were, and these motivational shots help us see how to get there! Your car is going to look amazing! Mike
Mike, I am most happy to share. It it what gets us all to the next level of enjoyment.Paul, thank you so much for including all of your photos and videos of "the process". It helps many of us who are trying to "up their game" as it were, and these motivational shots help us see how to get there! Your car is going to look amazing! Mike
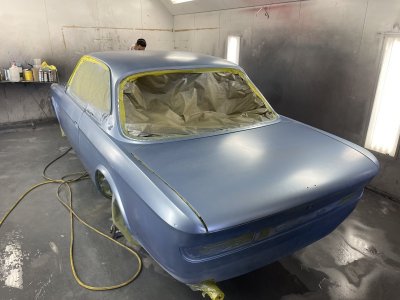
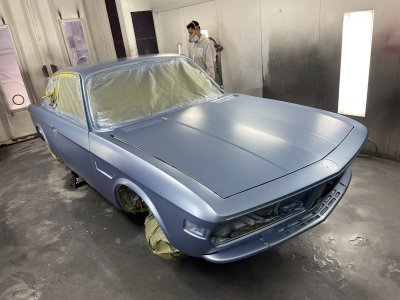
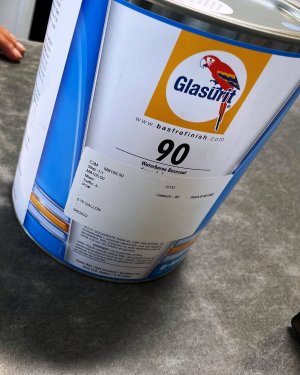
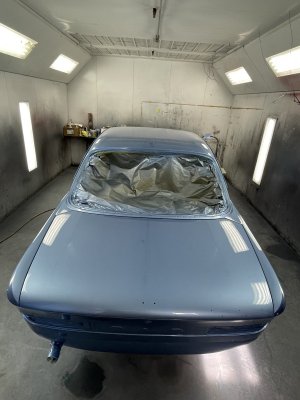
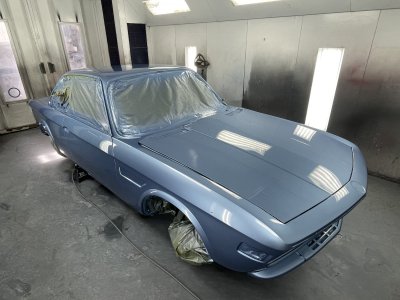
This is Glasurit's 90 line. Fully compliant in California and proud. It has the same tiny metallic flake as the original BMW paint and does not look like 'metal flake'. It goes on very evenly when applied in very restrained thin coats. We put down four coats today. It was ideal in terms of temperature -about 80F and very dry. Even with that ,after the fourth coat, we let it sit for three hours to bake out the rest of the water.
Its water based. Not because it's base chemistry is water based. Its water based because when you get the invoice from the Glasurit retailer for one gallon -it's eye watering.
But when it goes down, it's totally worth it. One more time kids: you get what you pay for. Happy to pay.
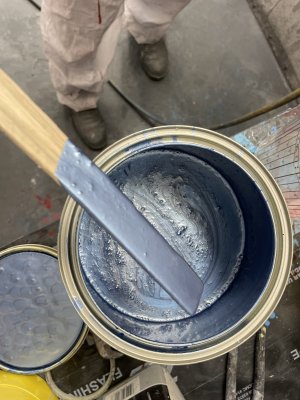
For the Fjord blue fans in the audience, image_1637 is, in street drug speak, pure uncut 037 Fjord. Before the street dealers add in the reducer. Liquid Fjord gold!!
Attachments
It was 3:10pm when I returned to the booth. Enrique was already back in the booth. The painting maestro was already at work. Clear coat was mixed and poured into the gun. It's a major Bozo No No to open the door once the booth is pressurized and the air flowing. So, I was relegated to the outside while the three coats of Glasurit clear when on the car. It's a pleasure to watch a professional.
https://youtube.com/shorts/-6IEchJVu
This is very much like watching Tiger Woods videos with him at the driving range. 'Oh yea, I could do that....". Until you have to do it yourself. Like Tiger, Enrique makes it all look so easy. "you just flick the gun -back, and forth. Back and forth'. Look closer, note how consistent the distance of the gun tip is to the panel. This is really difficult. This is why we hire professionals. Enrique is a professional. The proverbial 'hired gun'. After all the prep this past month, I find it immensely pleasurable to watch him in this final act that is so incredibly important in the resulting quality.
Not one run, not one sag. Just perfectly layed down clear. And plenty of it.
What a great day. Thanks for tuning in.
Attachments
Stunning work Paul! Will it be ready for Monterey?
It is going to be very tight. I would say not likely.Stunning work Paul! Will it be ready for Monterey?
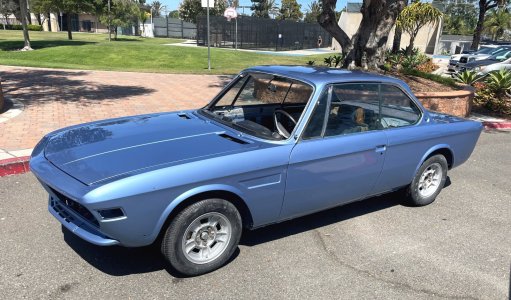
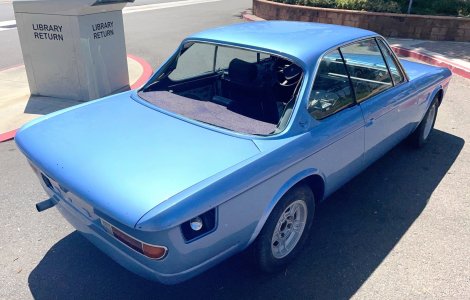
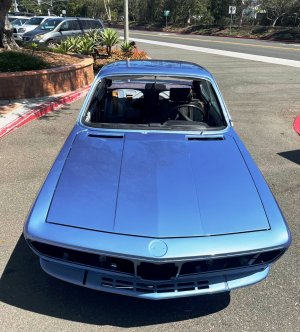
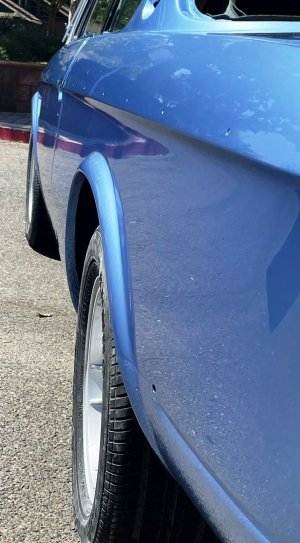
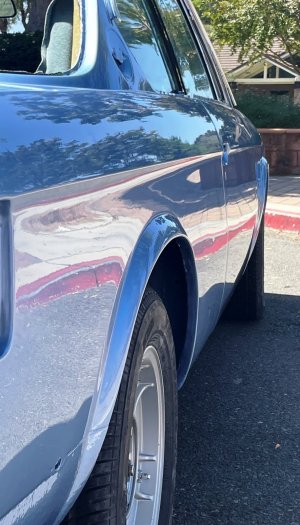
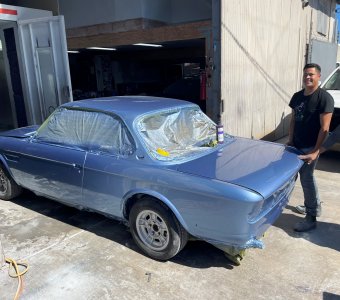
Woo Hoo! It is out of the booth and buffed. 16 hours after third coat of clear when on, color sanding and buffing began. This is majority of buffing it will need. I will do more touch up with 3M 3000 grit right before the beltline trim goes back on. For that assembly, I want it to cure for a few more weeks. Enrique is both the painter and the polisher (last photo or the right). He is 24, a super nice guy and immensely talented.
Attachments
Gaps are tight, sides are straight and the paint looks like glass! beautiful!
That looks awesome.
Thanks Lance! It is a colossal relief to have it done and buffed. Now for the easy part with final assembly. Here is the last gap image I forgot to load earlier. This experiment paid off. Whew!Gaps are tight, sides are straight and the paint looks like glass! beautiful!

