renew and improve door closing and trim parts

deQuincey

Quousque tandem...?
Site Donor
Messages
8,442
Reaction score
2,461
Location
BIO - 43°15'46.5"N 2°56'03.7"W
i carried out this little work in some weeks time

it included:

1- lower stainless mouldings disassembly, and cleaning,
2- painting of lower rocker panels in black matt paint
3- remove door retaining lock in body side
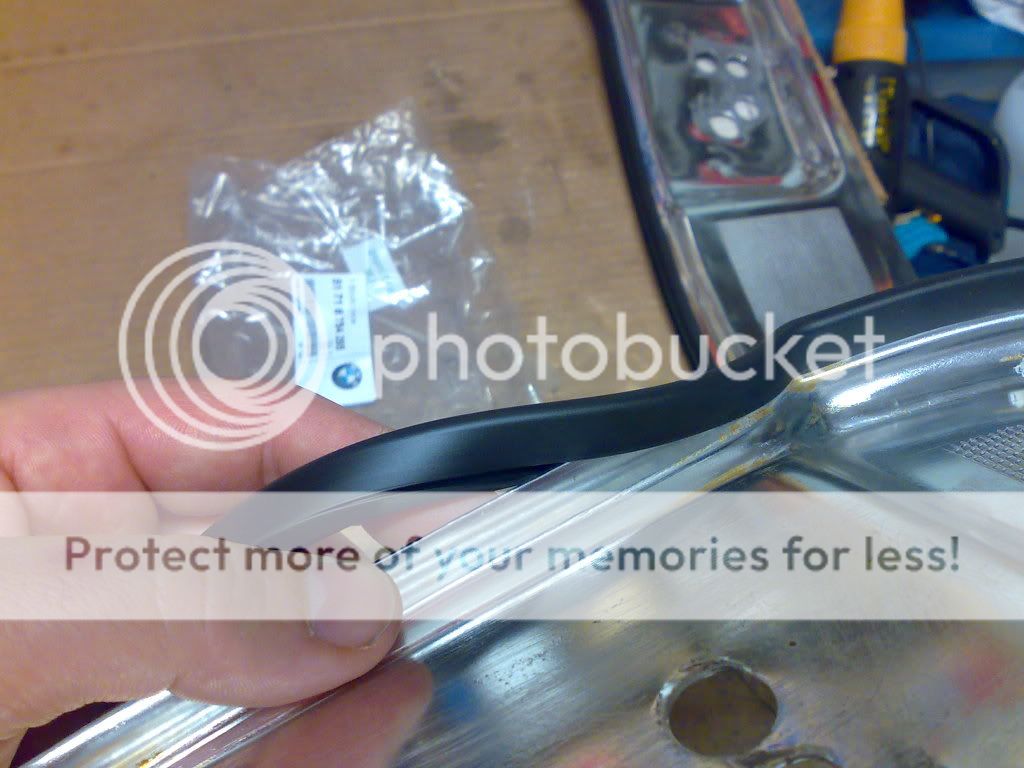
4- remove aluminium big panel, clean and install new rubber from w&n, reinstall everything
5- glue some rubber seals that had came-off while disassembly
6- renew bolts to yellow zinc-plated, and install those little rubber white caps that smooth the closing sound
7- reinstall stainless steel mouldings with new stainless steel bolts from w&n

photos will follow soon
 

deQuincey

Quousque tandem...?
Site Donor
Messages
8,442
Reaction score
2,461
Location
BIO - 43°15'46.5"N 2°56'03.7"W
disassemble and clean

040120111671.jpg


yeah the original colour was " chamonix white "

040120111672.jpg


030120111670.jpg


030120111669.jpg


040120111673.jpg
 
Last edited:

deQuincey

Quousque tandem...?
Site Donor
Messages
8,442
Reaction score
2,461
Location
BIO - 43°15'46.5"N 2°56'03.7"W
clean parts apart and reassembly

just a little advice of how to remove this aluminium trim part from the car:

first of all remove the bolts on the lock retaining piece, there are 3 small bolts and one large

please note that there are two tiny bolts in the top of the part and one more of those in the bottom, (the case of this bottom bolt is that you will remove it in the same moment you disassemble the stainless steel moulding)

remove the intermediate bolt

from those two bolts in the top, the one in the top is needed to disengage the aluminium part from the window rail, so loosen this bolt and carefully rise the window rail a bit until the top of the aluminium part can move out freely

then to remove the part from the car start from the top pull up and frontwards very slowly, you sholud rotate also a bit to get it away from the rubber profile

when you reach the low area, you will need to rotate, pull up and twist the part, always slow and small movements, you´d better do it this way or you will damage something !

200120111775-1.jpg


200120111776-1.jpg


200120111777-1.jpg


200120111778-1.jpg


200120111779-1.jpg


200120111781-1.jpg


200120111782-1.jpg


200120111783-1.jpg


200120111784-1.jpg
 
Last edited:

deQuincey

Quousque tandem...?
Site Donor
Messages
8,442
Reaction score
2,461
Location
BIO - 43°15'46.5"N 2°56'03.7"W
intermediate detail of process

painting the lower rocker panel:
070120111686.jpg


070120111687.jpg


080120111690.jpg


renew, polish and new rubber glued to aluminium trim parts:

120120111714.jpg


120120111715.jpg


after assembling the rubber profiles, impact glue is applied on the rear side of the parts, to secure position
120120111717.jpg


120120111718.jpg
 

deQuincey

Quousque tandem...?
Site Donor
Messages
8,442
Reaction score
2,461
Location
BIO - 43°15'46.5"N 2°56'03.7"W
aditional work on this topic

two weeks ago was almost impossible to remove the bolts that fixed the lock system in the door side

this was the old status (see top left bolt head damaged)
210120111793-1.jpg


the reason for change was that the rubber was broken in one side

so, i used a kind of penetrating oil thoroughly over the bolts

and some tools:
first hit the screws with the hammer and chisel, then use the "T" key with a n3 phillips head, and i removed them ok
IMG00047-20110207-1823.jpg


so this is the aspect of the basis
IMG00045-20110207-1822.jpg

and these are the old parts
IMG00044-20110207-1822.jpg

new parts from walloth, note that the new bolts "allen head" type
IMG00043-20110207-1822.jpg


and asembly
IMG00048-20110207-1832.jpg


IMG00049-20110207-1832.jpg


i put some vaseline around the rubber to avoid drying and maintain it fresh

it works ok now
 
Top