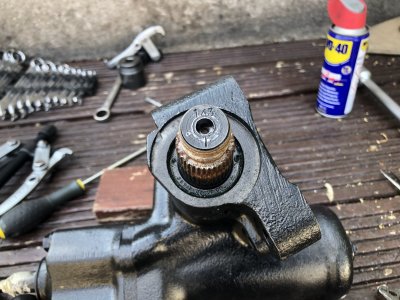
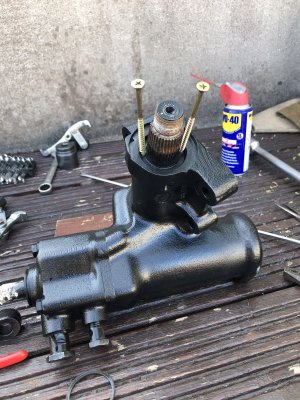
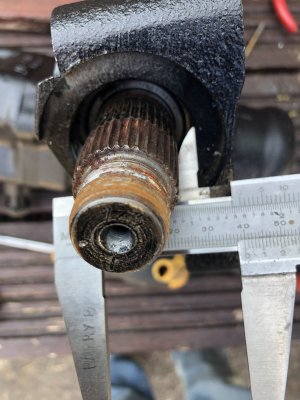
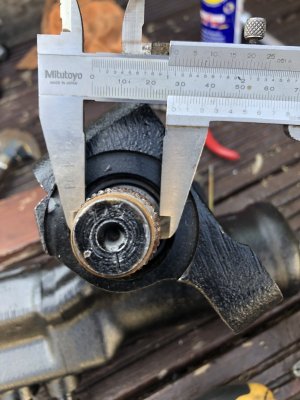
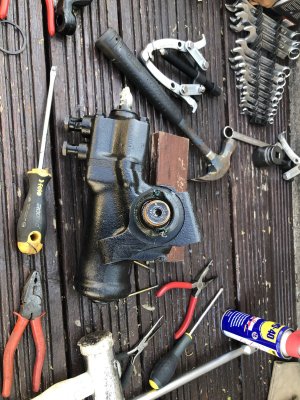
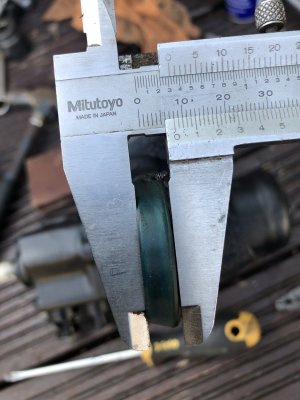
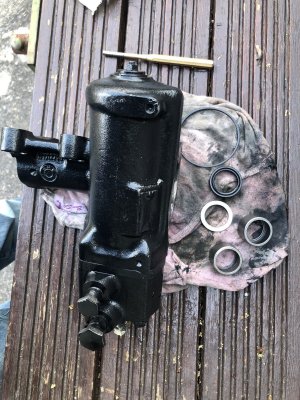
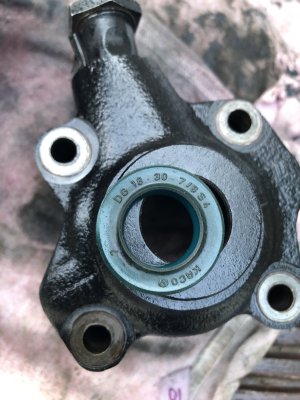
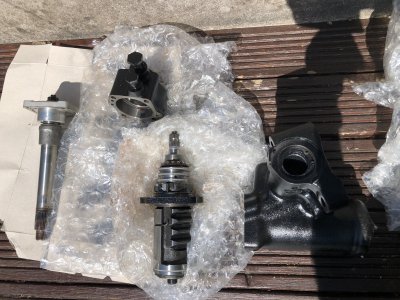
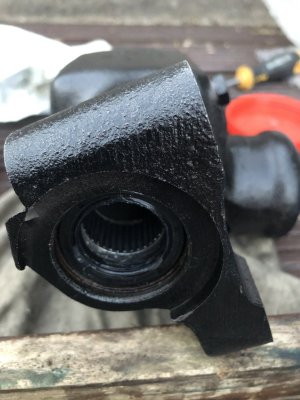
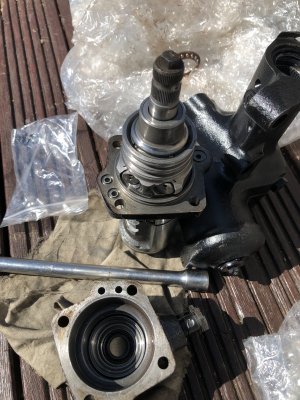
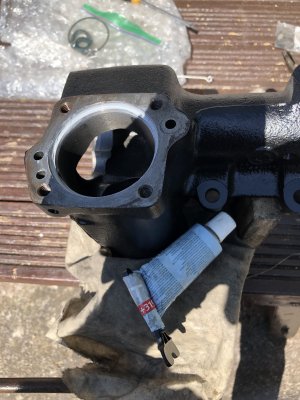
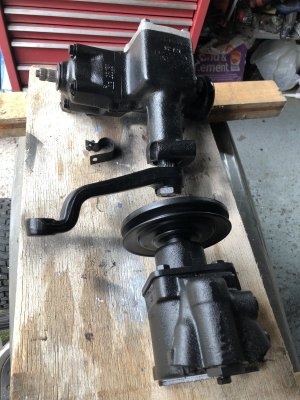
Shaft seal on hydraulic steering box

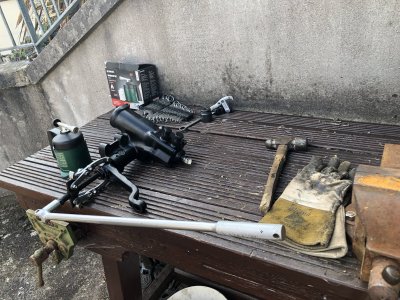
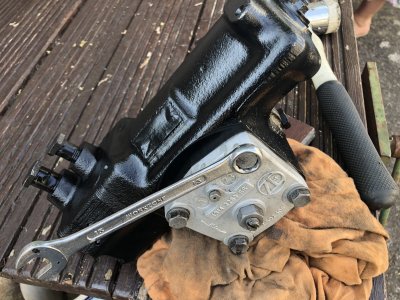
Well I pulled this out of my car today and I can definitively say there would be NO WAY it would have come out with the engine in place. The three bolt mount holes were rust-welded onto the dowel pins, as was the u-joint. Took 3 hours of sitting on the ground in the empty engine compartment with penetrating oil, blow torching, hammering and chiseling, and lots of cussing. It finally separated.

So now I’m wondering if the seals can be replaced DIY? This thing probably weighs 40 lbs so on top of $400 for it to be resealed by Jay, add another $200 for shipping there and back. It’s not leaking now but I bet it will start shortly after the engine goes back in.

Someone talk me out of this and just tell me to send it off. Next up, off with the master cylinder.

View attachment 163094
Oh yeah. That's how it works. No symptoms in a 50 year old, oil reservoir, piece of car, when access is optimum. Try to ignore best chance of rebuild before everything else is put back in the way, at your peril. We have all been there before. And I am sure this is why you ask. Better to bite bullet now, because we know how this movie ends if you try to just reinstall and hope for the best. Best of luck Steve!
 
After getting dizzy looking at the realoem diagrams and reading above about the needle bearing boobytraps lying in wait, the red flags are up. I’ve emailed Jay, no way I’m opening up this thing.
 
Hi guys
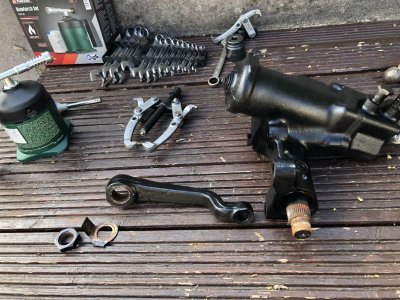
I rebuilt mine 2 weeks ago and reinstalled it this weekend.
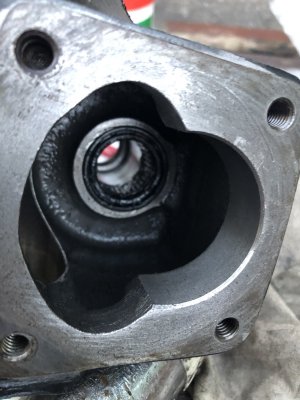
To be honest I only intended on replacing seal number 16 and o-ring number 6 as previously recommended .
Seal 16 went to plan all okay.
O-ring number 6 was a different story.
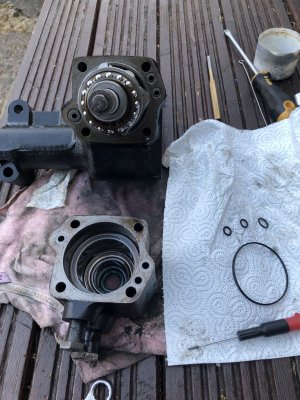
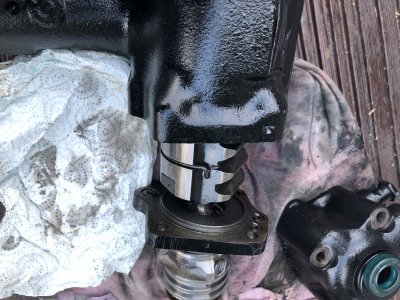
I thought that I could remove the alloy end plate to replace the o-ring and not upset the roller bearings.
I was wrong about that.
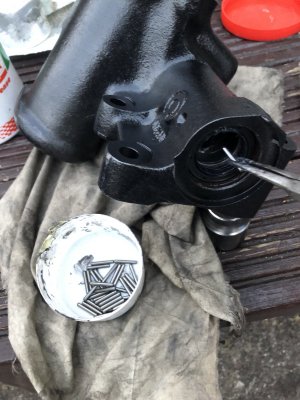
To my initial horror , some of the needle bearings fell out of their race and into the box itself.
So I ended up having to do a full strip down of the box to get everything back in place.
I did have a lot of worries to be honest, but if you take your time and clean everything it should work out okay.
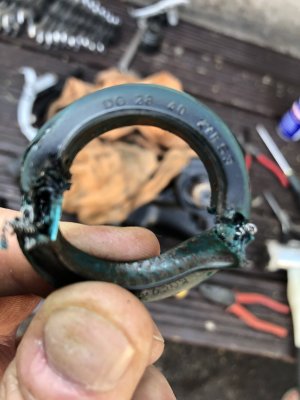
I was able to purchase everything I needed from a local seal and bearing supplier except for 2 outer seal rings , they are NOT o-rings and are not available new , so I reused them with a small bit of sealant to help them.
I am in Ireland so shipping my steering box off for a rebuild was never going to work for me and I couldn’t find any local hydraulic specialist to work on it or pressure test it , so I had to do it myself.
Now that it is done I am happy and I managed to purchase all seals for both the box and my pump for approximately €32.
 

Attachments

  • D810E1D9-69D4-44AB-9CAB-58526D9D6D19.jpeg
    D810E1D9-69D4-44AB-9CAB-58526D9D6D19.jpeg
    496.9 KB · Views: 122
  • 2C81078B-BE0C-4198-8BEA-31C43B4B8FBF.jpeg
    2C81078B-BE0C-4198-8BEA-31C43B4B8FBF.jpeg
    577.7 KB · Views: 97
  • 4FF5EB9F-88FA-4253-B04B-8639F2A84347.jpeg
    4FF5EB9F-88FA-4253-B04B-8639F2A84347.jpeg
    314.7 KB · Views: 94
  • B99B5852-7133-472E-88FA-A62A63D312FF.jpeg
    B99B5852-7133-472E-88FA-A62A63D312FF.jpeg
    570.8 KB · Views: 92
  • 9833421A-1A0D-4635-A17E-84585C2D3D24.jpeg
    9833421A-1A0D-4635-A17E-84585C2D3D24.jpeg
    427.3 KB · Views: 91
  • 343351B2-0FB0-468B-A3AA-3C963324BDA7.jpeg
    343351B2-0FB0-468B-A3AA-3C963324BDA7.jpeg
    316.7 KB · Views: 85
  • F0DE7A90-6DE5-48B5-82B0-733BD354234F.jpeg
    F0DE7A90-6DE5-48B5-82B0-733BD354234F.jpeg
    480.5 KB · Views: 107
  • D499EF19-6809-4C7B-86CB-272AD7DD98BC.jpeg
    D499EF19-6809-4C7B-86CB-272AD7DD98BC.jpeg
    403.1 KB · Views: 96
  • 85777280-55BE-4E13-9FC9-E1EC4E19C966.jpeg
    85777280-55BE-4E13-9FC9-E1EC4E19C966.jpeg
    186 KB · Views: 99
  • 7E1097F0-28DA-4FDB-9994-2EA2B6746FBF.jpeg
    7E1097F0-28DA-4FDB-9994-2EA2B6746FBF.jpeg
    265 KB · Views: 95
  • 03799E88-06DD-4DD9-A97D-F61C50611721.jpeg
    03799E88-06DD-4DD9-A97D-F61C50611721.jpeg
    244.5 KB · Views: 89
  • 6F247845-643C-4350-92B0-89EFB9182451.jpeg
    6F247845-643C-4350-92B0-89EFB9182451.jpeg
    489.7 KB · Views: 98
  • F6BA0721-B99A-4669-A13A-952A8D4650FE.jpeg
    F6BA0721-B99A-4669-A13A-952A8D4650FE.jpeg
    249.2 KB · Views: 94
Last edited:
Hi Guys
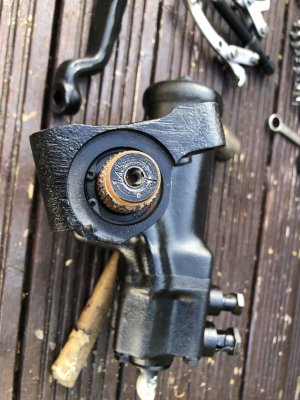
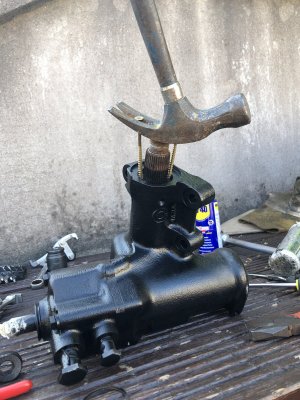
That last post showed removal of the seal from the outside.
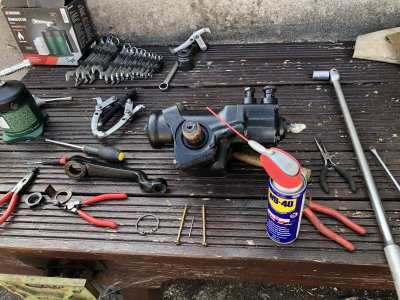
I used a puller with an extension arm on it and once the puller was tight I gave the arm a few taps with the hammer. Then with the nut still on the shaft a few threads once I applied some heat , the arm popped off.
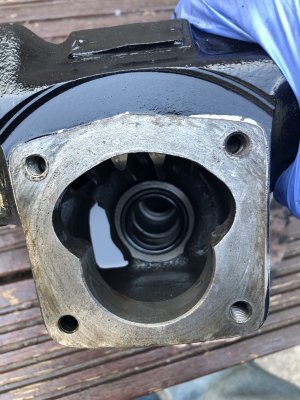
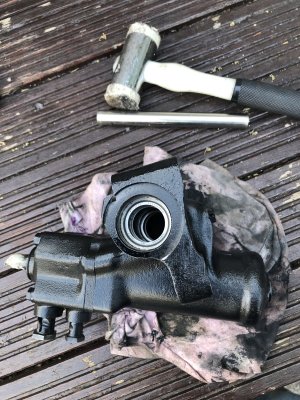
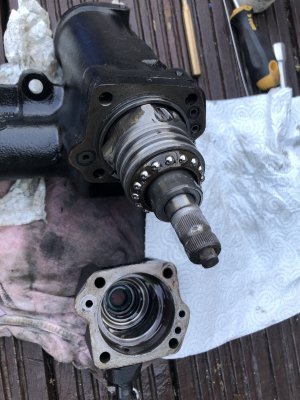
Once I removed the 4 nuts holding on the alloy end plate I was able to tap the shaft and end plate out together.
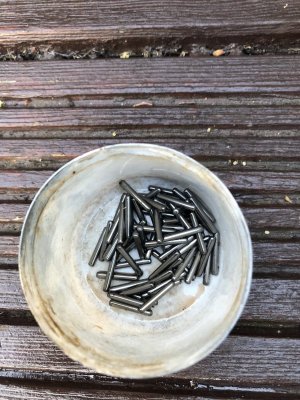
The needle bearings will fall out at this point be careful you don’t lose any !
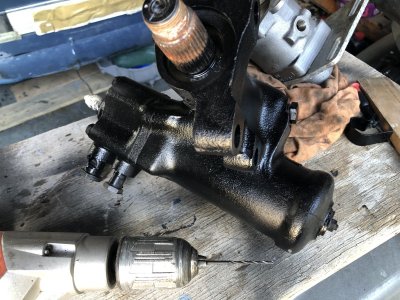
Once the shaft and end plate are out , you can then also split the input shaft side of the box.
Be careful with the 2 large diameter seals at this end as they are Not available from a seal supplier and you will have to reuse them , I put a bit of sealer on them when putting it all back together.
There are 66 needles in total , 33 per bearing. And if you grease the race and use a long nose plyers and carefully put 33 into each race the grease will hold them there whilst you re insert the shaft.
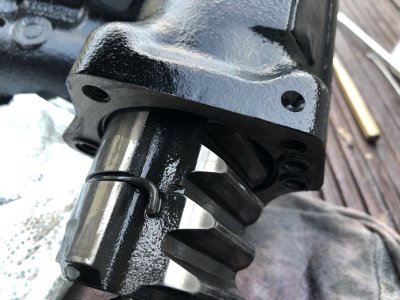
Inside in the box the 2 shafts make up a short rack and pinion when you have the rack in centralise it on the box then when inserting the pinion centralise it’s teeth so that you end up having the correct amount of travel in both directions inside the box.
This whole job is quite time consuming and a bit tricky to do , so if you have a specialist available nearby it might be easier just to pay for it to be done.
Also I have not pressure test mine yet as my engine is out but I am assuming all will be well with it.
I only needed to do the seals that could cause an external leak all other internals look good as they were.
I have attached a photo of a list of seals I used hopefully this will help you out.
It also contains the seals for the power steering pump ( except for one seal which they did not stock ) I cannot find the receipt for that seal , I think it was a 28 x 38 x 7 oil shaft seal.
Anyway hopefully this helps out a few people . :)
 

Attachments

  • C020C32B-8667-444D-9837-F07AE0770694.jpeg
    C020C32B-8667-444D-9837-F07AE0770694.jpeg
    440.6 KB · Views: 88
  • 9E0D6D8F-3EF8-4039-876B-3355DCD947BC.jpeg
    9E0D6D8F-3EF8-4039-876B-3355DCD947BC.jpeg
    371.3 KB · Views: 96
  • 37C03773-742D-4471-B11D-B10CB4FA16BF.jpeg
    37C03773-742D-4471-B11D-B10CB4FA16BF.jpeg
    412.6 KB · Views: 93
  • 7005BB4A-34F7-43FD-9EB8-7C3E099F3330.jpeg
    7005BB4A-34F7-43FD-9EB8-7C3E099F3330.jpeg
    466.9 KB · Views: 92
  • D3F790B2-7873-405F-B767-6E7FDE543AA0.jpeg
    D3F790B2-7873-405F-B767-6E7FDE543AA0.jpeg
    512.7 KB · Views: 96
  • 5E936465-8C55-4B9A-9E52-496798649F5E.jpeg
    5E936465-8C55-4B9A-9E52-496798649F5E.jpeg
    320.7 KB · Views: 94
  • 8A2C9B31-BC29-4C08-ADB2-FDD7F15AB665.jpeg
    8A2C9B31-BC29-4C08-ADB2-FDD7F15AB665.jpeg
    274.8 KB · Views: 98
  • 0E21535A-C9E5-4554-8993-79F4D49DA8BD.jpeg
    0E21535A-C9E5-4554-8993-79F4D49DA8BD.jpeg
    281.9 KB · Views: 101
  • C0BC8596-0021-43BB-A4DE-513B65C0E9A2.jpeg
    C0BC8596-0021-43BB-A4DE-513B65C0E9A2.jpeg
    430.3 KB · Views: 114
  • C3FBD276-3839-4FEF-AC03-7ED48FE0A0DC.jpeg
    C3FBD276-3839-4FEF-AC03-7ED48FE0A0DC.jpeg
    414.9 KB · Views: 87
  • 4C3770CE-3DA4-4C73-B0D4-D7C19A9218AD.jpeg
    4C3770CE-3DA4-4C73-B0D4-D7C19A9218AD.jpeg
    264.1 KB · Views: 102
  • 4F686B95-F772-4F72-B3CE-9C262904474D.jpeg
    4F686B95-F772-4F72-B3CE-9C262904474D.jpeg
    285.7 KB · Views: 91
  • E3FDE23E-CD96-441C-81D7-861791B94BA2.jpeg
    E3FDE23E-CD96-441C-81D7-861791B94BA2.jpeg
    462.6 KB · Views: 90
  • 964D2A13-1823-46C5-91FE-02D537BAE3B6.jpeg
    964D2A13-1823-46C5-91FE-02D537BAE3B6.jpeg
    280.3 KB · Views: 85
  • 701AD956-1AC3-4B47-9A5E-236732484CE4.jpeg
    701AD956-1AC3-4B47-9A5E-236732484CE4.jpeg
    423.8 KB · Views: 95
  • 6735AA93-002F-416A-B287-99A03A839A02.jpeg
    6735AA93-002F-416A-B287-99A03A839A02.jpeg
    301.5 KB · Views: 90
  • A7237856-B04C-4E5D-AF95-399C6F518287.jpeg
    A7237856-B04C-4E5D-AF95-399C6F518287.jpeg
    436.4 KB · Views: 101
Last edited:
Hi again
I took less photos of the pump rebuild as it had been covered a few times before and documented here so thanks again for that guys !!
Here are the few photos I took of the inside of the pump.
 

Attachments

  • 94F02229-8E38-427B-9041-92F730070FB6.jpeg
    94F02229-8E38-427B-9041-92F730070FB6.jpeg
    399.3 KB · Views: 92
  • D2DD333E-5860-4B99-AED8-1F0AAA9876BA.jpeg
    D2DD333E-5860-4B99-AED8-1F0AAA9876BA.jpeg
    362.9 KB · Views: 85
  • AC5D276D-C520-4B22-8B22-36C3C69967B6.jpeg
    AC5D276D-C520-4B22-8B22-36C3C69967B6.jpeg
    339.9 KB · Views: 99
Last edited:
These are the seals I used for both steering box and power steering pump
( as mentioned you also need a 28x38x7 shaft seal for the pump and it is not listed on this docket )
 

Attachments

  • 273CBCF8-52DE-4AF8-9EB3-2AF716DDDAEB.jpeg
    273CBCF8-52DE-4AF8-9EB3-2AF716DDDAEB.jpeg
    291.6 KB · Views: 111
  • 49490702-358F-44DD-869C-23F8A8A79A95.jpeg
    49490702-358F-44DD-869C-23F8A8A79A95.jpeg
    348.2 KB · Views: 107
Barry that is great information. If I wasn't in the final push to get my car moving after 5 long years on jack stands I would give it a go.
 
I’m in the same boat Steve, fix it myself, send it off, or do nothing. Amazing what you find when you take the whole thing apart. it is a heavy bugger. I had the fittings coated, and they look great of course new hoses. I didn’t do anything with the box except clean it up real well.
 
IIRC then steering box may fit in a large flat rate box. If so you are looking at about $35 shipping with USPS. There aren't any weight restrictions on the flat rate boxes. I fit 4 brake calipers in one of those boxes to ship to someone.
 
IIRC then steering box may fit in a large flat rate box. If so you are looking at about $35 shipping with USPS. There aren't any weight restrictions on the flat rate boxes. I fit 4 brake calipers in one of those boxes to ship to someone.
Jay says they don't fit unfortunately
 
Just shipped a diff cross country through UPS for $160. Cost on the steering box should be less than $100 if taken directly to their main depot, Not mail boxes unlimited or any of those places. They add a good bit of fee to the cost
 
How much was shipping?
Mine turned out to be $90 to ship and $20 to box it up and weight was 32lbs. Although not cheap to have rebuilt, Jay is a very nice guy and obviously skiiled, I have a sense of relief knowing my ham fists won't be meddling with this.
 
hey @Barry.b ; Are you Ok with it if i copy-paste parts of your above how-to on the steering box refurb into a new-to-be -created seperate DIY thread?
Rummaging through the site in search for info to rebuild my own box, it turns out your pictures and explanations are the most detailed i could find.

Anyone else has other photo's, tips or tricks to add? all is welcome :)
 
Back
Top